Introduction
This manual provides essential instructions for the safe and efficient operation of your Generic YG300 Portable Mini Projector. Please read this manual thoroughly before using the device and retain it for future reference.
Important Safety Information
- Do not expose the projector to rain or moisture to prevent fire or electric shock.
- Do not open the projector casing. Refer all servicing to qualified personnel.
- Ensure proper ventilation. Do not block ventilation openings.
- Avoid direct eye exposure to the projector lens when the lamp is on.
- Use only the power adapter supplied with the projector.
Package Contents
Verify that all items listed below are included in your package:
- YG300 Mini Projector
- Remote Control
- Power Cord
- HDMI Cable
- AV Cable (3-in-1)
- User Manual (this document)
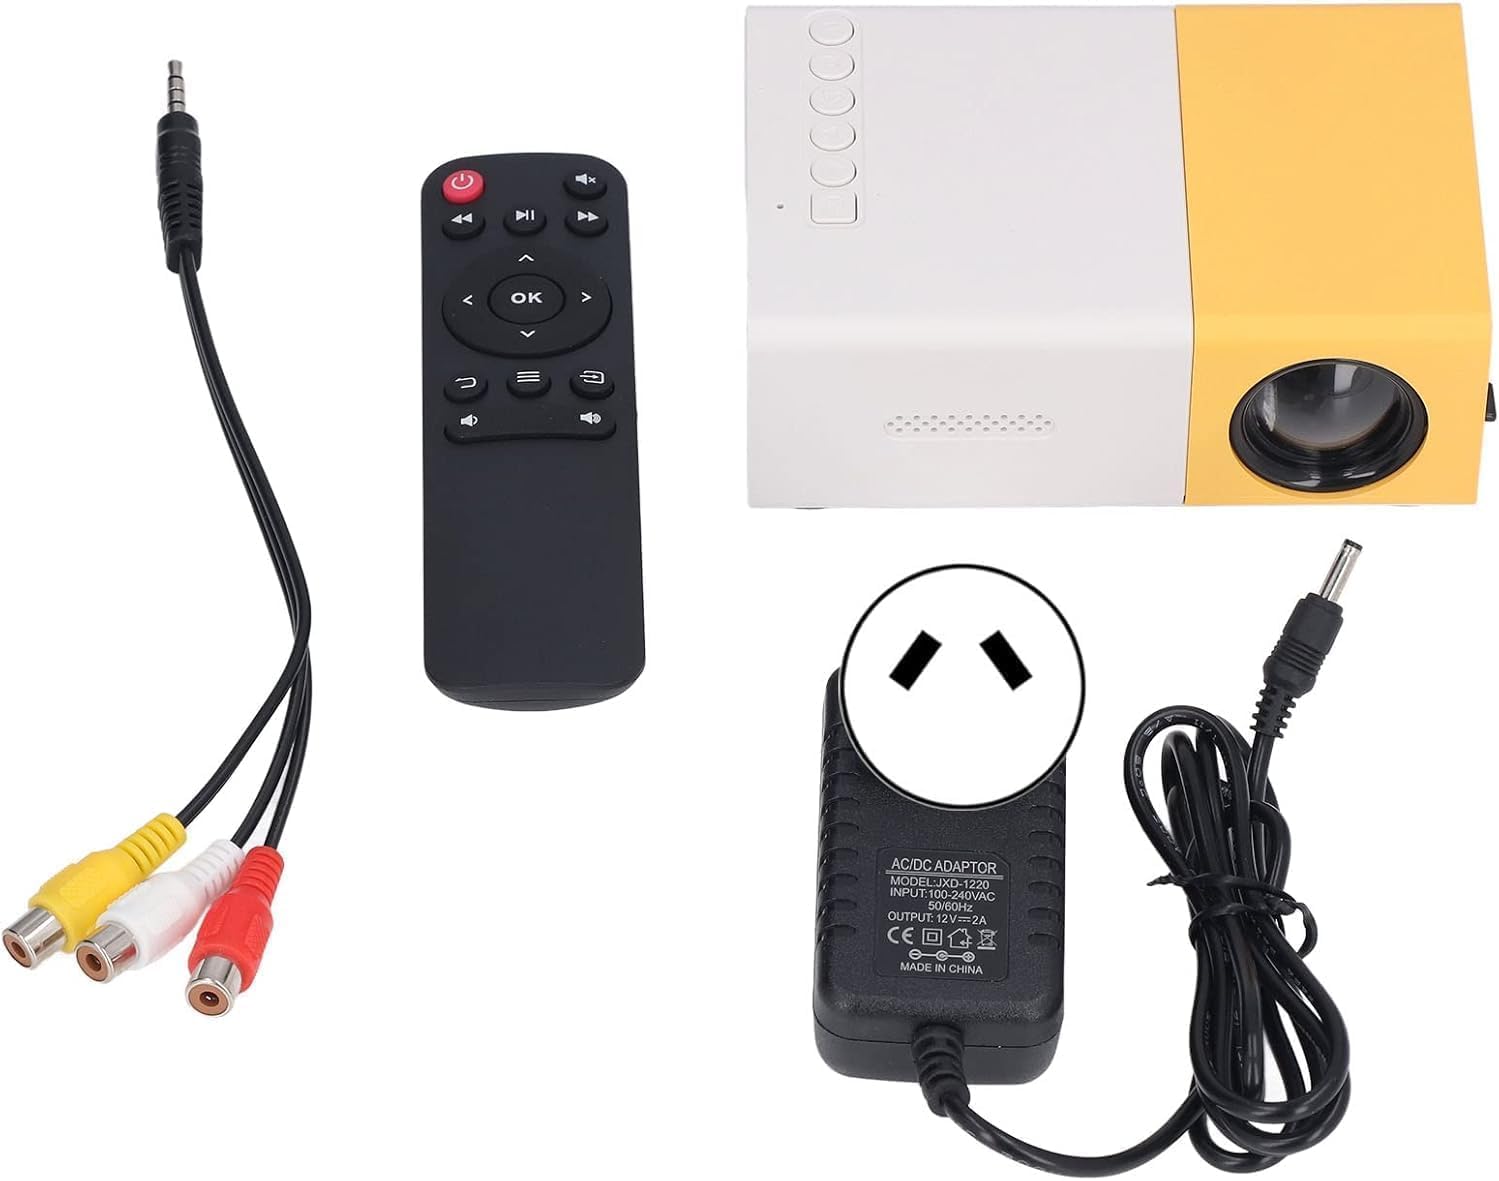
Figure 1: YG300 Mini Projector and its accessories, including the remote control, AV cable, and power adapter.
Product Overview
Familiarize yourself with the projector's components and interfaces.

Figure 2: Detailed view of the YG300 Mini Projector's interfaces and control buttons. This includes the Micro SD card slot, AV input, Micro USB (5V/2A) port, earphone slot, USB input slot, DC power input, HDMI input slot, and control buttons for power, navigation, OK, input selection, and return.
Interfaces:
- Micro SD Card Slot: For playing media directly from a Micro SD card.
- AV Input: Connect to devices using the included AV cable.
- Micro USB (5V/2A): Power input or for connecting compatible devices.
- Earphone Slot (3.5mm): For connecting external headphones or speakers.
- USB Input: For connecting USB storage devices (e.g., flash drives).
- DC Power Input: Connect the power adapter here.
- HDMI Input: Connect to HDMI-enabled devices like laptops, game consoles, or set-top boxes.
Control Buttons:
- Power Switch: Turns the projector on or off.
- Left/Right/Up/Down: Navigation buttons for menu selection.
- OK: Confirms selection.
- Input: Selects the input source (HDMI, AV, USB, SD).
- Return: Goes back to the previous menu.
Setup
- Placement: Place the projector on a stable, flat surface. Ensure there is adequate space around the projector for ventilation. The optimal projection distance is between 0.8m and 2m, yielding a screen size of 24 to 80 inches.

Figure 3: Projection distance guide for the YG300 Mini Projector, showing recommended distances for various screen sizes.
- Power Connection: Connect the power adapter to the DC Power Input port on the projector, then plug the adapter into a power outlet.
- Connect Input Source:
- HDMI: Connect an HDMI cable from your source device (e.g., laptop, game console) to the HDMI Input port on the projector.
- AV: Use the included 3-in-1 AV cable to connect to devices with AV output.
- USB/Micro SD: Insert a USB flash drive into the USB Input port or a Micro SD card into the Micro SD Card Slot.
- Power On: Press the Power Switch button on the projector or the power button on the remote control to turn on the device.
Operating Instructions
- Select Input Source: Press the "Input" button on the projector or remote control to cycle through available input sources (HDMI, AV, USB, SD). Select the source corresponding to your connected device.
- Adjust Focus: Rotate the focus adjustment roller (typically located near the lens) until the projected image is clear and sharp.
- Adjust Keystone Correction: If the projected image appears trapezoidal, use the manual keystone correction feature (if available, often a small wheel or lever) to adjust the image geometry until it is rectangular.
- Navigate Menus: Use the navigation buttons (Left, Right, Up, Down) on the projector or remote to browse menus. Press "OK" to confirm selections and "Return" to go back.
- Media Playback (USB/SD): When a USB drive or Micro SD card is inserted, the projector's multimedia system will allow you to browse and play supported media files (videos, photos, music).
- Audio Output: The projector has a built-in speaker. For external audio, connect headphones or external speakers to the 3.5mm earphone slot.

Figure 4: The YG300 Mini Projector in operation, demonstrating its compact size and the included remote control for easy navigation.
Maintenance
- Cleaning the Lens: Use a soft, lint-free cloth specifically designed for optical lenses. Do not use abrasive cleaners or cloths.
- Cleaning the Casing: Wipe the projector's exterior with a soft, dry cloth. For stubborn dirt, a slightly damp cloth can be used, but ensure no liquid enters the device.
- Ventilation: Regularly check that the ventilation openings are not blocked by dust or debris to ensure proper heat dissipation.
- Storage: When not in use for extended periods, store the projector in a cool, dry, dust-free environment.
Troubleshooting
| Problem | Possible Cause | Solution |
|---|---|---|
| No image projected |
|
|
| Image is blurry |
|
|
| Image is trapezoidal |
|
|
| No sound |
|
|
Specifications
| Feature | Detail |
|---|---|
| Model | YG300 |
| Brightness | 600 Lumens |
| ANSI Lumens | 50 ANSI |
| Native Resolution | 320*240 |
| Supported Resolution | Up to 1920 x 1080 (1080P Full HD) |
| Contrast Ratio | 500:1 |
| Projection Technology | LCD |
| Light Source | LED (Bridgelux) |
| LED Life | > 20,000 hours |
| Projected Dimension | 24 - 80 inches |
| Projection Distance | 0.8 - 2 meters |
| Aspect Ratio | 4:3 / 16:9 |
| Keystone Correction | Manual |
| Power Consumption | 10 - 24 W |
| Power Supply | 12V/2A (via DC input) or 5V/2A (via Micro USB) |
| Interfaces | HDMI, USB, AV, Micro SD, 3.5mm Audio Out, Micro USB (5V/2A) |
| Built-in Speaker | Yes |
| Bluetooth Compatible | No |
| Weight | 0.47 kg |
| Certifications | CE, FCC, RoHS |
Customer Support
For technical assistance or inquiries regarding your Generic YG300 Mini Projector, please refer to your purchase documentation for contact information or visit the retailer's support page.