1. Introduction
This manual provides essential information for the setup, operation, and maintenance of your Ugonetend R36MAX Retro Game Console. The R36MAX is a portable handheld gaming device featuring a 4.0-inch IPS screen, a Linux open-source system, and support for over 30 emulators with 18,000+ pre-installed games. It is designed to offer a classic gaming experience with modern convenience.
2. Safety Information
Choking hazard:
All packaging materials (such as tape, labels, plastic sheets, binding wires) and small accessories inside the machine should not be in contact with children under three years old to avoid choking hazards, and should be used under adult supervision. When choosing a charger for charging, be sure to use a charging capacity of no more than 5V=2A.
3. Product Overview
3.1. Package Contents
The R36MAX console package includes the following items:
- R36MAX Retro Game Console
- 64GB MicroSD Card (pre-installed with games)
- USB Type-C Charging Cable
- Storage Case
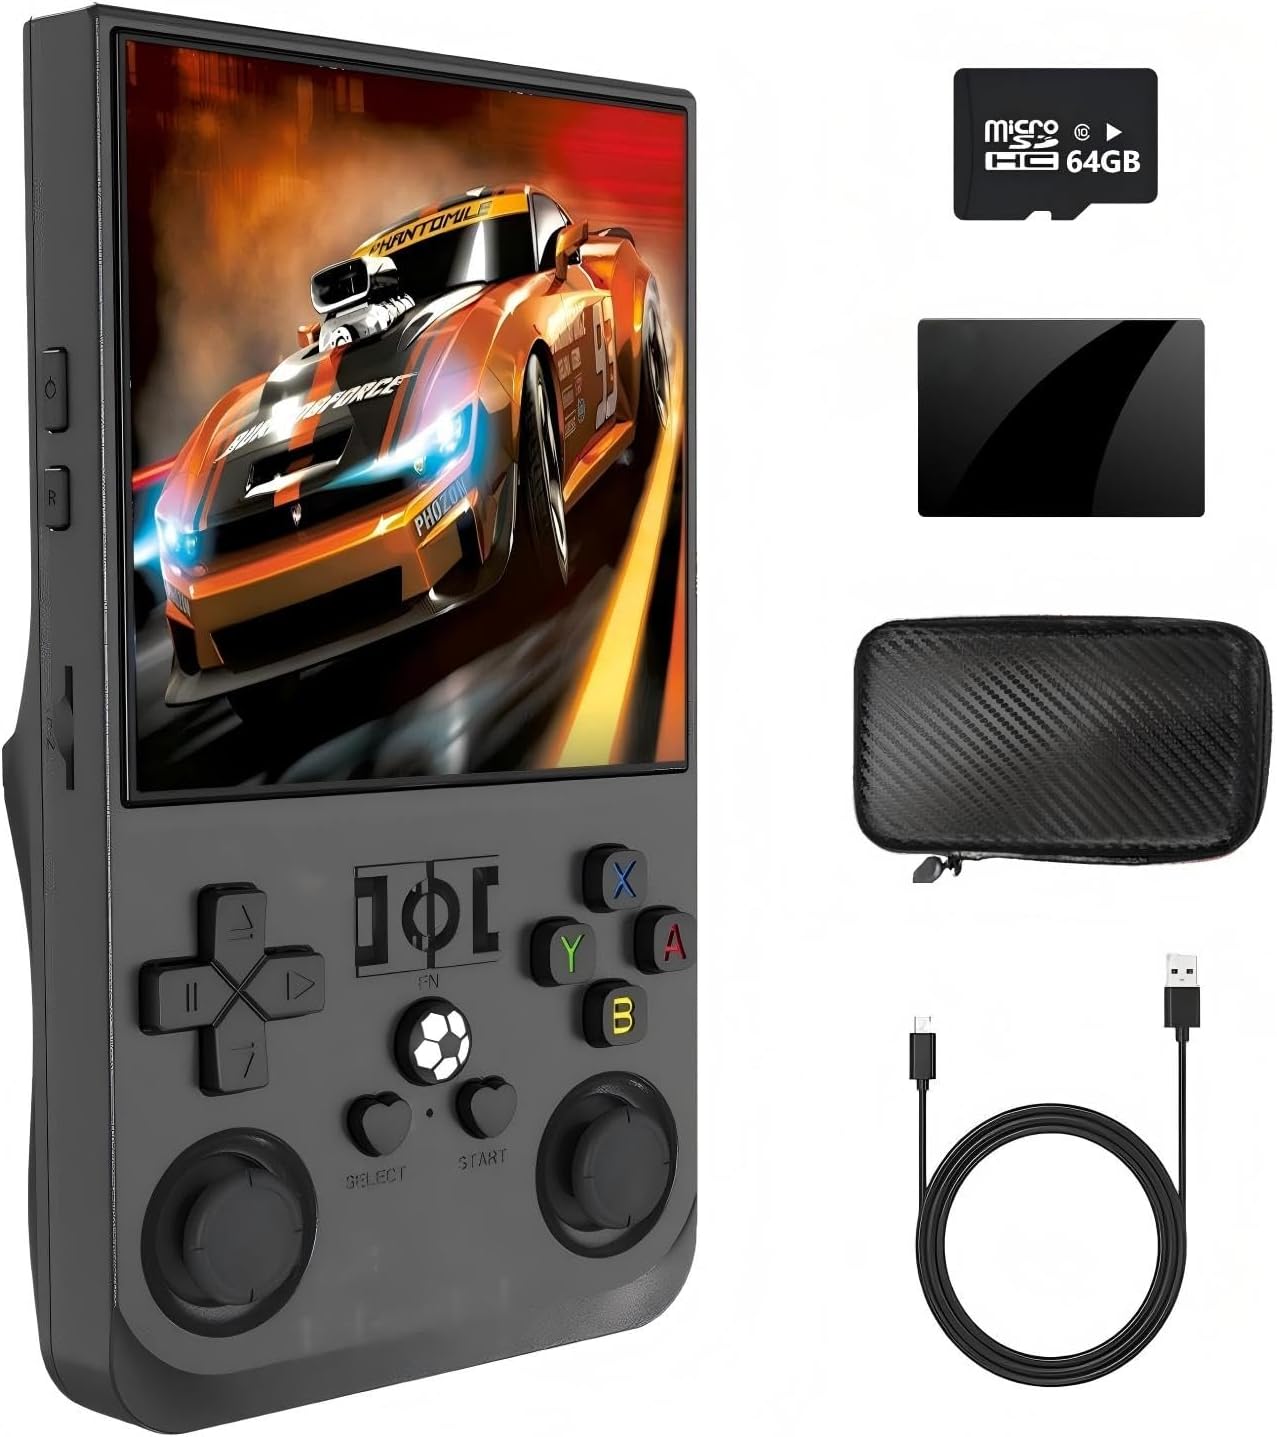
Image: R36MAX console with included 64GB MicroSD card, USB-C charging cable, and protective carrying case.
3.2. Console Layout and Controls
Familiarize yourself with the buttons, joysticks, and ports on your R36MAX console for optimal use.

Image: Detailed diagram illustrating the location and function of the power button, reset button, volume keys, TF (game) card slot, audio jack, direction pad, select button, start button, left and right analog joysticks, and function buttons (A, B, X, Y) on the R36MAX console. The top of the console shows the charging port (USB Type-C) and headset port.
- Power Button: Located on the side, used to turn the console on/off.
- Reset Button: Small button for system reset.
- Volume Keys (+/-): Adjust audio output.
- TF (Game) Card Slot: For inserting the MicroSD card containing games and the operating system.
- BOX Audio Hole: Audio output.
- Direction Pad (D-Pad): For directional input in games and menu navigation.
- Select Button: Typically used for in-game options or menu selections.
- Start Button: Used to begin games or confirm selections.
- Left/Right Rocker (Analog Joysticks): Provide precise 3D control in supported games.
- Function Buttons (A, B, X, Y): Primary action buttons for gameplay.
- Charging Port (USB Type-C): For charging the device.
- Headset Port: For connecting headphones.
3.3. Ergonomic Design
The R36MAX features a design optimized for comfortable handling during extended gaming sessions.

Image: The R36MAX console highlighting its ergonomic grip, designed for comfortable use.
4. Setup
4.1. Initial Charging
Before first use, fully charge your R36MAX console. Connect the provided USB Type-C cable to the charging port on the console and plug the other end into a compatible USB power adapter (not included). Ensure the charger output is no more than 5V=2A. A full charge typically provides 5-7 hours of gameplay.

Image: Visual representation of the R36MAX console's 4000mAh polymer lithium-ion battery.
4.2. Inserting the MicroSD Card
The R36MAX comes with a 64GB MicroSD card pre-loaded with games. Insert this card into the TF (game) card slot on the console. Ensure it is inserted correctly until it clicks into place. The console supports expansion up to 128GB.
4.3. Powering On/Off
To power on the console, press and hold the Power button until the screen illuminates. To power off, navigate to the system menu and select the shutdown option, or press and hold the Power button until the device powers down.
5. Operating Instructions
5.1. System Navigation
Use the Direction Pad or the Left/Right Analog Joysticks to navigate through the system menus and game lists. The A, B, X, Y buttons, along with Select and Start, are used for confirming selections and performing actions within the interface.
5.2. Game Selection and Play
The R36MAX supports over 30 emulators and comes with 18,000+ games. Browse through the emulator categories to find your desired game. Select a game using the A button to launch it. During gameplay, utilize the console's dual 3D joysticks and buttons for control.
5.3. Adding More Games
The console supports MicroSD card expansion up to 128GB. To add more games, you will need to copy compatible game ROMs to the appropriate folders on the MicroSD card when connected to a computer. Refer to the detailed instructions provided in the package for the specific folder structure and file types supported.
5.4. Connecting External Controllers
The R36MAX features an OTG interface, allowing connection of external joysticks or gamepads for two-player games or alternative control methods. Simply plug a compatible controller into the OTG port.
Video: An overview of the R36MAX handheld game console, demonstrating its features and showing it in use. This video highlights the console's design and user interface.
5.5. Connecting to a Large Screen
The console supports large screen output, allowing you to connect it to a TV or monitor for a larger gaming experience. Use a compatible cable (not included) to connect the console's video output port to your display device.
6. Maintenance
To ensure the longevity of your R36MAX console, follow these maintenance guidelines:
- Keep the device clean by wiping it with a soft, dry cloth.
- Avoid exposing the console to extreme temperatures, moisture, or direct sunlight.
- Do not attempt to disassemble the device, as this will void any potential warranty.
- For optimal battery life, avoid fully discharging the battery frequently. Charge the device regularly.
7. Troubleshooting
If you encounter any issues with your R36MAX console, refer to the following troubleshooting steps:

Image: A visual guide detailing common troubleshooting methods for the R36MAX handheld game console.
- Screen Dark After Power On: If the screen becomes dark after a few seconds but sound is present, operate the BUG repair function by pressing and holding the left remote control + L2 button, then press the Y button three times.
- System Cannot Be Read: If an interface prompt indicates the system cannot be read, try removing and reinserting the MicroSD card, then restart the machine. Alternatively, plug the card into the TF1 slot and restart. If the issue persists, operate the BUG repair function (press and hold the left joystick + L2, then press the Y button three times).
- Game Launch Issues: If some games do not launch normally, try changing the simulator core within the game settings according to the instructions.
- General Machine Failure: For general machine failures, first attempt the BUG repair function (press and hold the left remote control + L2, then press the Y button three times).
- Charging Issues: Always use a charger with a capacity of no more than 5V=2A to prevent damage.
8. Specifications
| Feature | Specification |
|---|---|
| Model | R36MAX |
| Screen Size | 4.0 Inches |
| Display Type | IPS LCD, 720*720 resolution |
| Operating System | Linux Open Source System |
| CPU | RK3326 (RK3326.NET) |
| GPU | MALI-G31MP2 (520MHZ) |
| Memory Storage Capacity | 64 GB (expandable to 128GB) |
| Emulators Supported | 30+ |
| Battery | 4000mAh Polymer Lithium-Ion |
| Battery Life | 5-7 Hours |
| Charging Interface | USB Type-C |
| OTG Interface | Yes |
| Connectivity | 802.11N WiFi (for online matchmaking, external equipment needed) |
| Controller Type | Dual 3D Joystick + Buttons |
| Product Dimensions | 5.75 x 3.25 x 1.35 inches |
| Item Weight | 13.1 ounces |
| Material | Plastic |
8.1. R36MAX vs R36S Comparison
For a detailed comparison of the R36MAX with the R36S model, refer to the table below:

Image: A comparison chart highlighting the differences in specifications between the R36S and R36MAX handheld game consoles.
9. Support
If you encounter any problems during use that are not covered in this manual or require further assistance, please contact us by email. Our support team will be happy to help you.