Introduction
Thank you for choosing the Sakugi Clothes Rack Model US0YJ006. This multi-functional clothing and shoe rack is designed to provide efficient and organized storage for your garments and footwear. Its sturdy construction and thoughtful design make it suitable for various spaces, including bedrooms, entryways, and laundry rooms. This manual provides detailed instructions for assembly, operation, maintenance, and troubleshooting to ensure optimal use of your new clothes rack.
The rack measures 29 inches wide, 11.8 inches deep, and 57.3 inches high, offering ample space for approximately 30 garments and 6-8 pairs of shoes. It features anti-slip stoppers on the hanging rod and non-slip feet for enhanced stability and floor protection.
Package Contents
Before beginning assembly, please ensure all components are present and undamaged. If any parts are missing or damaged, please contact customer support.
- Main Metal Frame Components (Vertical and Horizontal Bars)
- Hanging Rod
- 2 x Shoe Shelf Panels
- Plastic Connectors
- Non-Slip Feet
- Assembly Manual
Setup and Assembly
The Sakugi Clothes Rack is designed for tool-free assembly. Follow these steps carefully for a quick and easy setup.
- Unpack Components: Carefully remove all parts from the packaging and lay them out on a clean, flat surface. Verify all package contents are present.
- Assemble Base Frame: Connect the vertical metal tubes to the horizontal base tubes using the provided plastic connectors. Ensure all connections are secure and fully inserted.
- Install Shoe Shelves: Slide the two shoe shelf panels into the designated slots on the vertical frame components. Ensure they are level and firmly seated.
- Attach Hanging Rod: Insert the hanging rod into the top connectors of the vertical frame. Confirm it is securely locked into place.
- Attach Non-Slip Feet: Press the non-slip feet onto the bottom ends of the vertical frame tubes. These protect your floor and enhance stability.
- Final Check: Gently shake the assembled rack to ensure all connections are stable and secure. Adjust any loose parts as needed.

This diagram provides precise measurements of the Sakugi Clothes Rack, including its overall height, width, depth, and the spacing between the two shoe shelves. These dimensions are crucial for planning placement and understanding the rack's capacity.
Operating Instructions
To maximize the utility and lifespan of your Sakugi Clothes Rack, follow these operating guidelines:
- Hanging Garments: Use standard hangers to hang clothes on the top rod. The rod is designed to support up to 70 lbs (approximately 30 garments). Distribute weight evenly to maintain stability. The anti-slip stoppers on the rod prevent hangers from sliding off.
- Shoe Storage: Place shoes on the two lower shelves. Each shelf can hold up to 10 lbs (approximately 3-4 pairs of shoes per shelf). Avoid placing excessively heavy items on the shelves.
- Accessory Storage: Utilize the anti-slip stoppers at the ends of the hanging rod to hang bags, hats, or belts, providing additional organized storage.
- Placement: Position the rack on a flat, level surface to ensure maximum stability. Its compact size makes it suitable for various rooms, including entryways, bedrooms, and laundry areas.
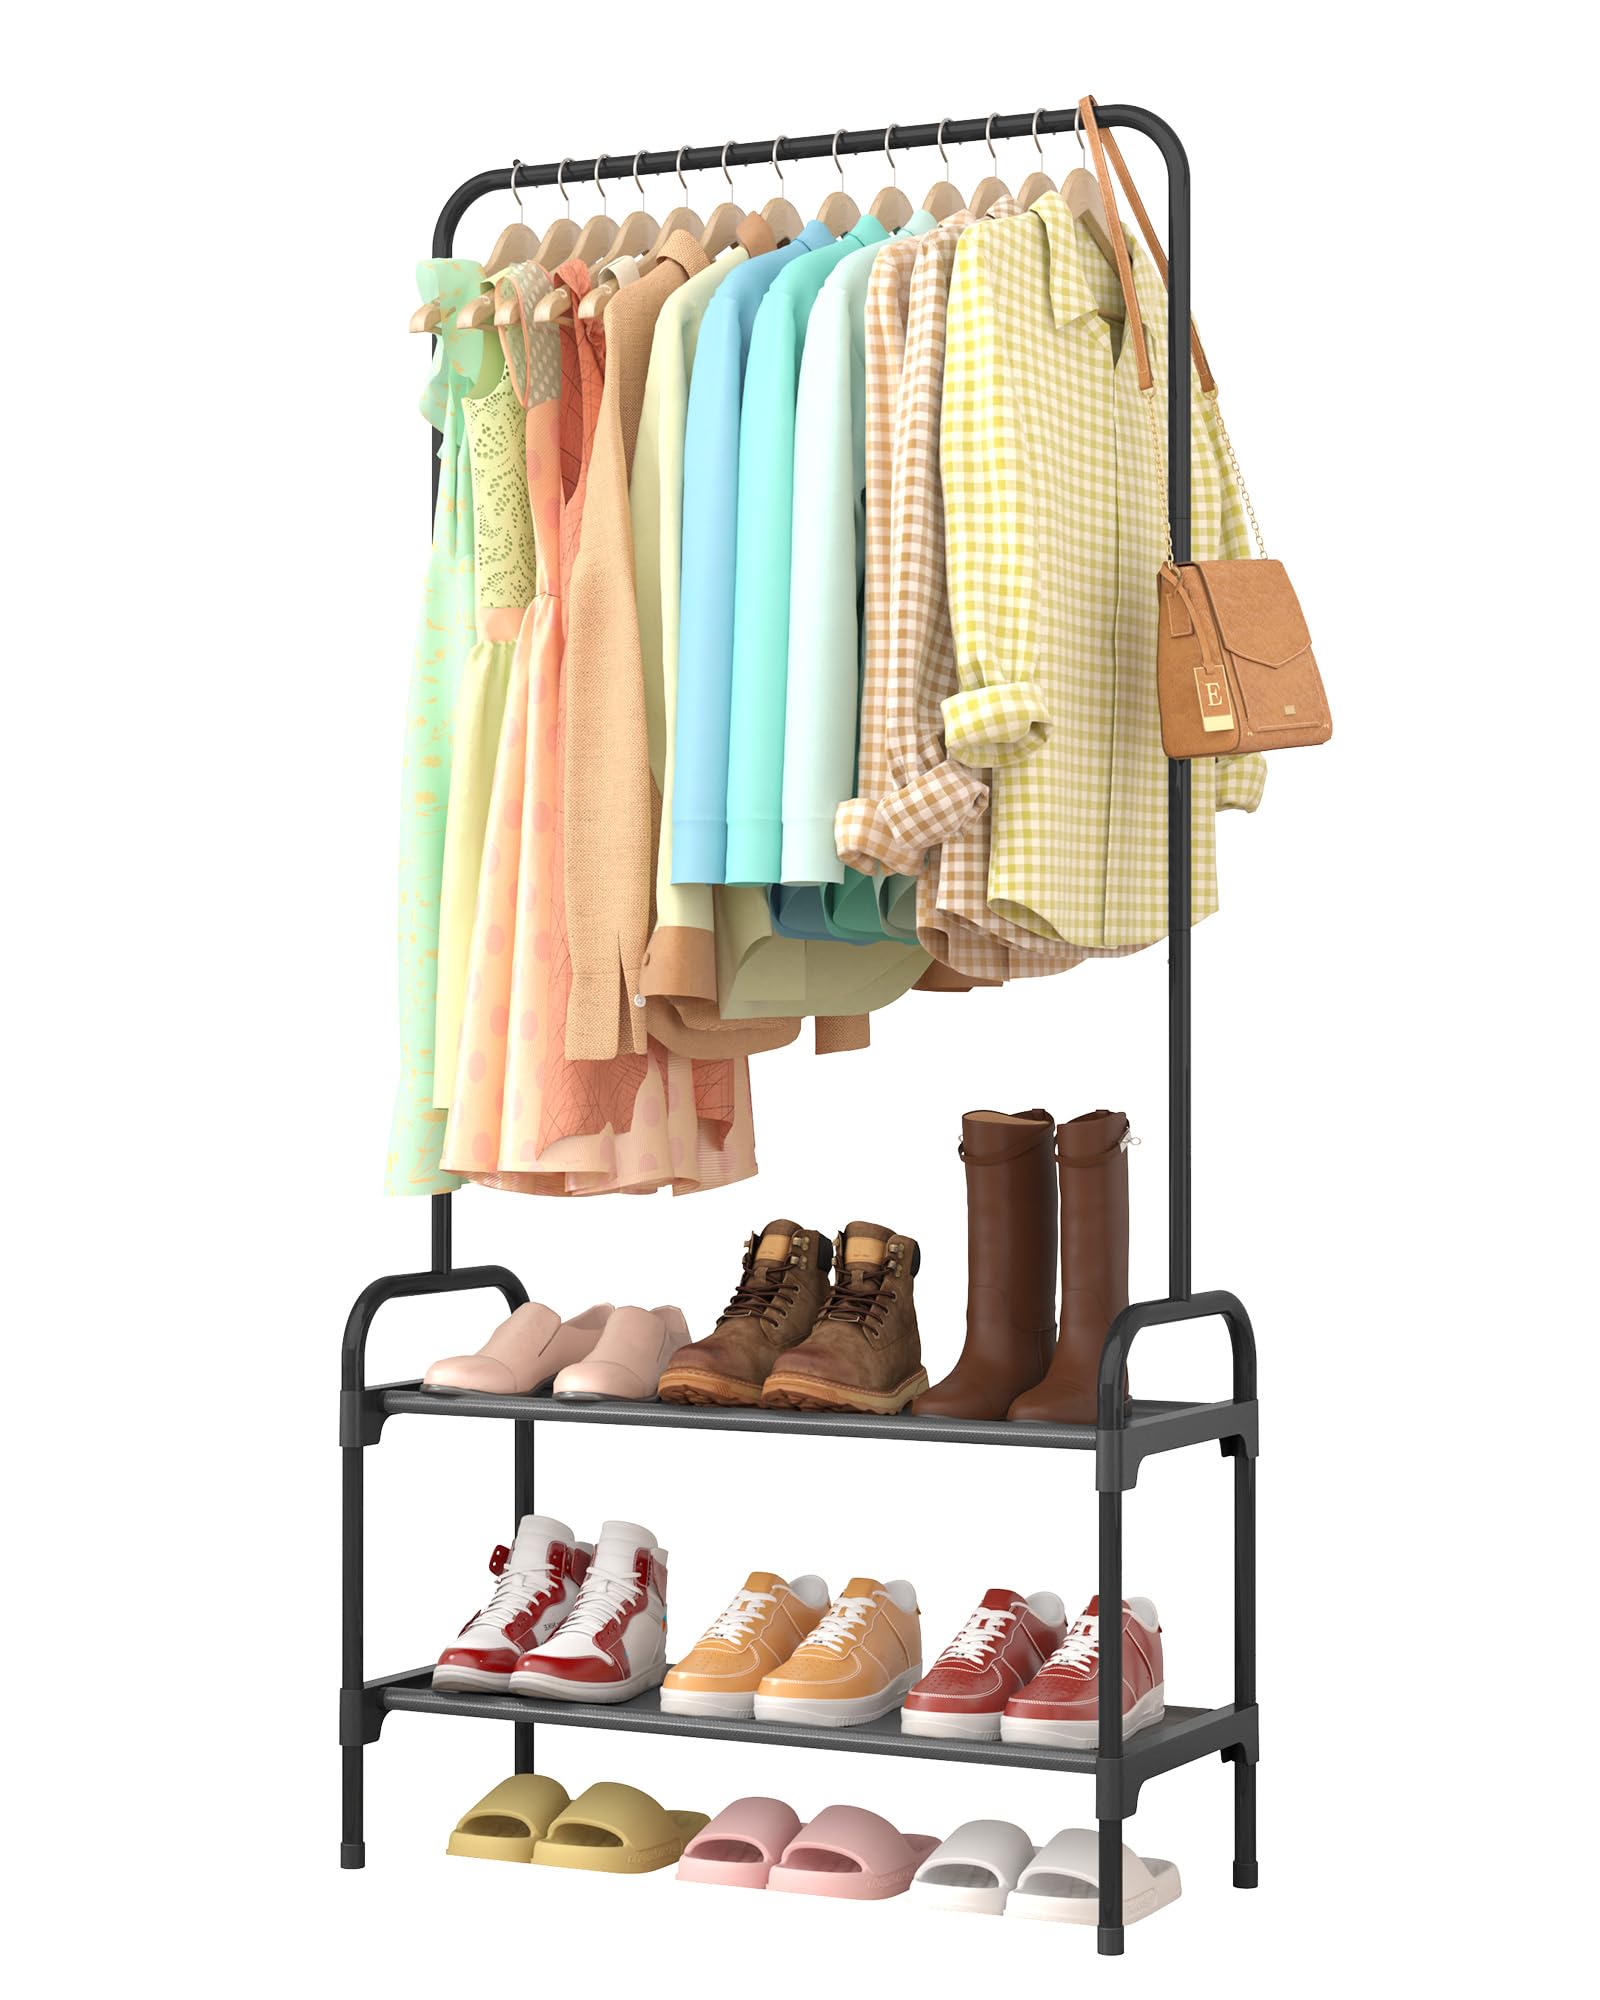
This image displays the Sakugi Clothes Rack in a typical use scenario, showcasing its capacity for hanging garments, storing shoes on two tiers, and utilizing the top stoppers for bags or hats. The rack is black metal with two lower shelves.
Maintenance
Regular maintenance will help preserve the appearance and functionality of your clothes rack.
- Cleaning: Wipe down the metal frame and plastic components with a soft, damp cloth. For stubborn dirt, a mild soap solution can be used, followed by drying with a clean cloth. Avoid abrasive cleaners or harsh chemicals.
- Inspection: Periodically check all connections and joints to ensure they remain tight and secure. Re-tighten any loose parts if necessary.
- Weight Distribution: Always ensure weight is distributed evenly across the hanging rod and shelves to prevent stress on the frame.
Troubleshooting
If you encounter any issues with your Sakugi Clothes Rack, refer to the following common problems and solutions:
- Rack is Unstable or Leaning:
- Ensure the rack is placed on a completely flat and level surface.
- Verify that all plastic connectors are fully inserted and secure. Disassemble and reassemble any sections that appear loose.
- Check if weight is evenly distributed. Remove some items if the rack is overloaded on one side.
- Parts Do Not Fit Together:
- Double-check the assembly instructions to ensure you are using the correct parts for each step.
- Apply gentle, even pressure when connecting parts. Avoid forcing components.
- Hangers Slide Off Rod:
- Ensure the anti-slip stoppers are correctly positioned at the ends of the hanging rod.
- Consider using hangers with non-slip surfaces if clothes continue to slide.
Specifications
| Brand | Sakugi |
| Model Number | US0YJ006 |
| Material | Metal |
| Color | Black |
| Product Dimensions (D x W x H) | 11.8" x 29" x 57.3" |
| Hanging Rod Weight Capacity | 70 lbs |
| Shoe Shelf Weight Capacity (each) | 10 lbs |
| Assembly Required | Yes (Tool-free) |
Warranty and Support
For any questions, concerns, or assistance with your Sakugi Clothes Rack, please refer to the retailer's return policy or contact Sakugi customer support directly. Please have your model number (US0YJ006) and purchase information ready when contacting support.
Specific warranty details may vary by region and retailer. Please consult your purchase documentation for information regarding warranty coverage.