1. Introduction
This manual provides detailed instructions for the setup, operation, and maintenance of your dreeong CXE5116 remote control. This remote is designed to be compatible with specific Pioneer car stereo models, including AVH-W4400NEX and AVH-X8500BHS, offering convenient control over your audio and video functions.
2. Safety Information
- Battery Handling: Always insert batteries with the correct polarity (+/-). Do not mix old and new batteries, or different types of batteries. Remove batteries if the remote will not be used for an extended period to prevent leakage.
- Disposal: Dispose of used batteries and the remote control according to local regulations. Do not incinerate.
- Environment: Avoid exposing the remote to extreme temperatures, direct sunlight, moisture, or dust.
- Cleaning: Use a soft, dry cloth for cleaning. Do not use liquid or aerosol cleaners.
3. Package Contents
- dreeong CXE5116 Remote Control (1 unit)
Note: Batteries are typically not included and must be purchased separately.
4. Product Overview
The dreeong CXE5116 remote control features a comprehensive layout for intuitive operation of your compatible Pioneer car stereo. Familiarize yourself with the button functions below.
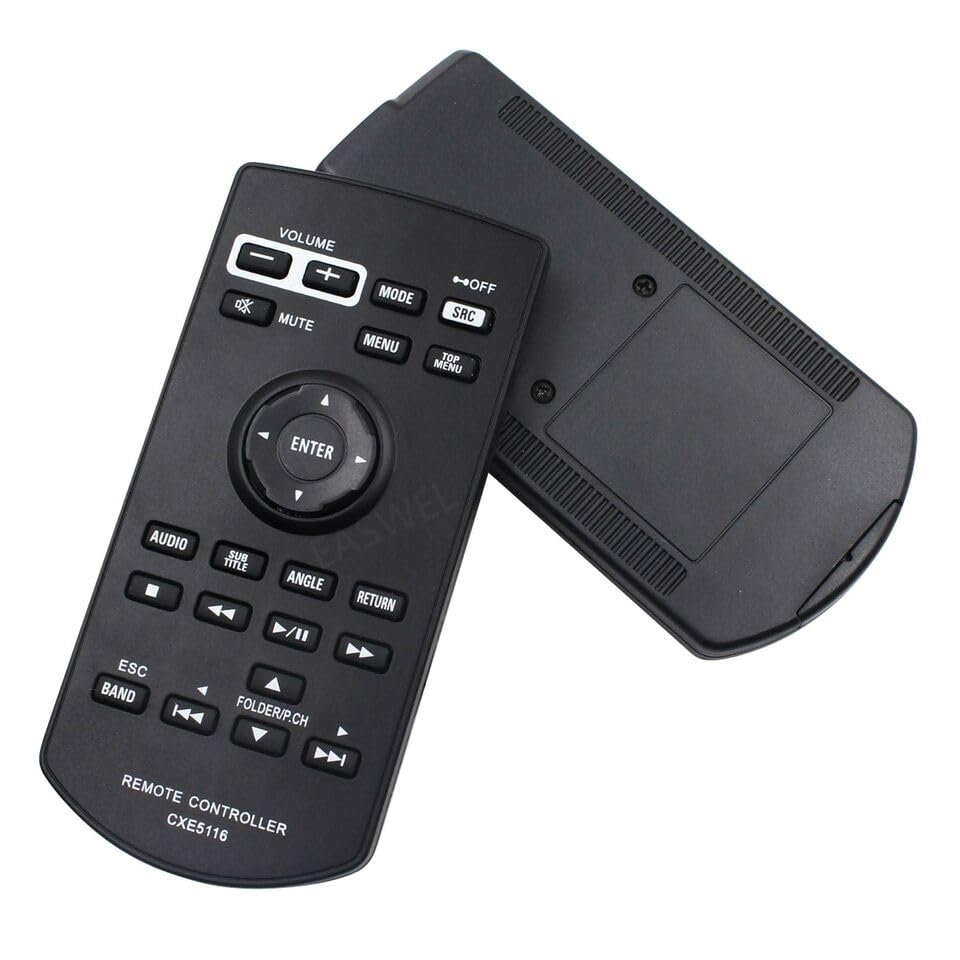
Figure 4.1: Front view of the dreeong CXE5116 remote control, showing the button layout.
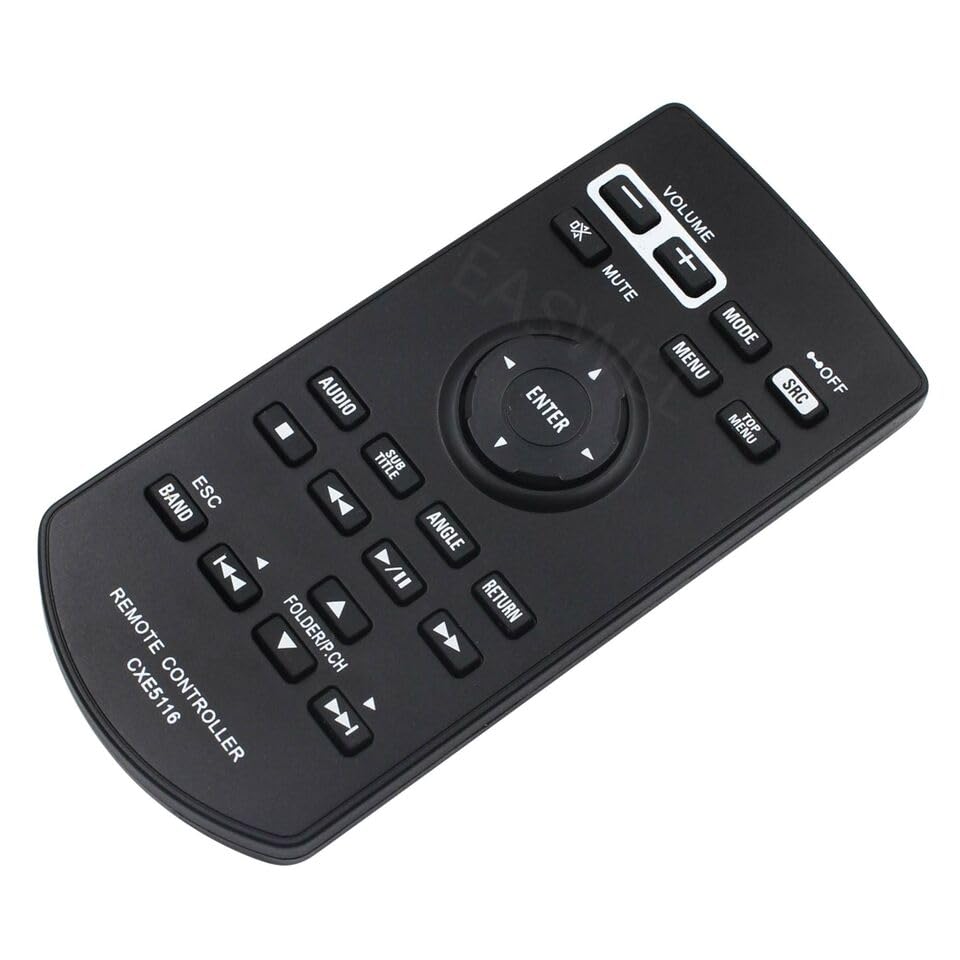
Figure 4.2: Angled view of the dreeong CXE5116 remote control, highlighting its ergonomic design.
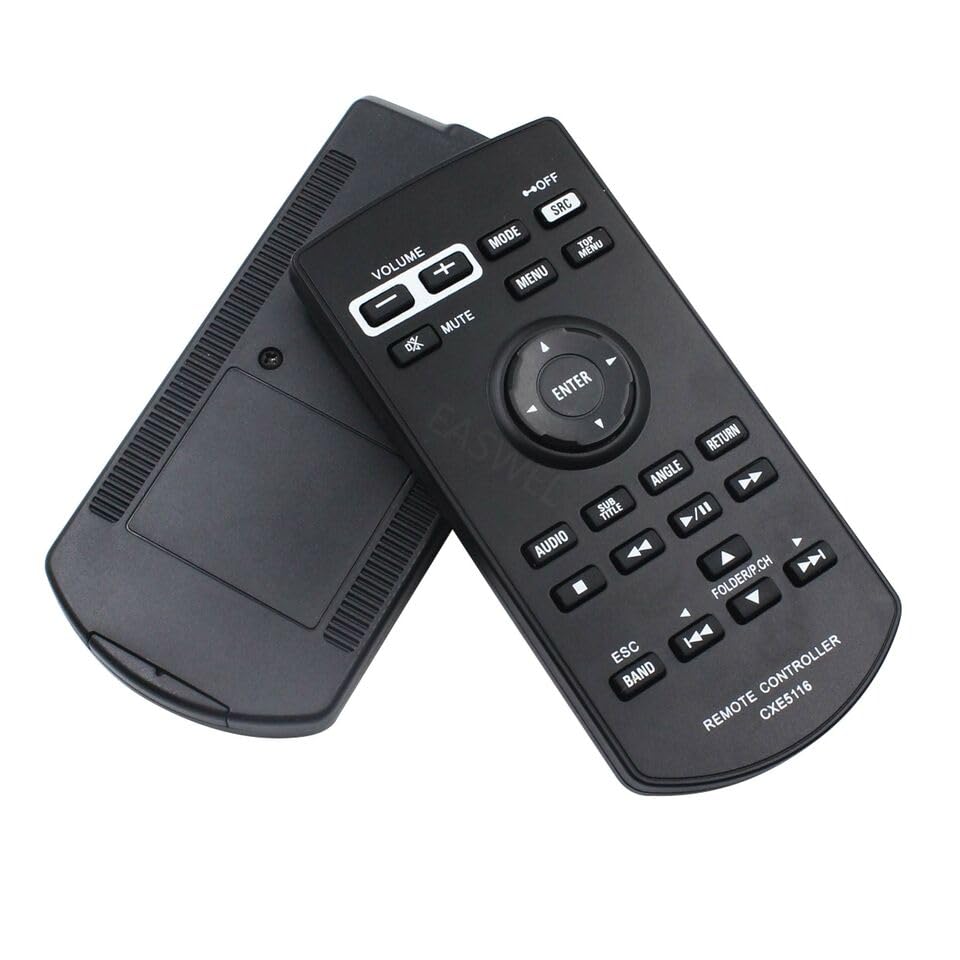
Figure 4.3: View of the dreeong CXE5116 remote control, displaying both the front and the rear battery compartment.
Button Functions:
- VOLUME (+/-): Adjusts the audio output level.
- MUTE: Silences or restores audio output.
- MODE: Cycles through various operational modes (e.g., Radio, USB, Bluetooth).
- SRC (Source): Selects the input source.
- OFF: Turns off the car stereo unit.
- MENU: Accesses the main menu of the car stereo.
- TOP MENU: Navigates to the top level of a menu or disc menu.
- Directional Pad (Up/Down/Left/Right) & ENTER: Navigates through menus and confirms selections.
- AUDIO: Accesses audio settings or functions.
- SUB TITLE: Selects subtitle options for compatible media.
- ANGLE: Changes camera angles for compatible DVD/video content.
- RETURN: Goes back to the previous screen or menu.
- Playback Controls (◀◀, ▶▶, ▮▮, ▶▶): Rewind, Fast Forward, Stop, Play/Pause.
- Skip Controls (◀|, |▶): Skips to the previous or next track/chapter.
- ESC (Escape): Exits a current function or menu.
- BAND: Changes radio bands (e.g., FM1, FM2, AM).
- FOLDER/P.CH (+/-): Navigates through folders or preset channels.
5. Setup
5.1 Battery Installation
- Locate the battery compartment on the back of the remote control.
- Slide the battery compartment cover downwards or in the direction indicated by an arrow to open it.
- Insert two AAA batteries (not included), ensuring the positive (+) and negative (-) terminals align correctly with the markings inside the compartment.
- Replace the battery compartment cover by sliding it back into place until it clicks securely.
The remote control is now ready for use. No pairing or programming is typically required for this replacement remote, as it is designed to function directly with compatible Pioneer units.
6. Operating Instructions
Point the remote control directly at the infrared receiver on your Pioneer car stereo unit. Ensure there are no obstructions between the remote and the unit.
6.1 Basic Functions
- Power On/Off: Press the OFF button to turn the unit off. To turn it on, you may need to use the unit's power button or select a source using the remote.
- Volume Adjustment: Use the VOLUME + or VOLUME - buttons to increase or decrease the sound level.
- Mute: Press the MUTE button to temporarily silence the audio. Press it again to restore sound.
- Source Selection: Press the SRC button to cycle through available input sources (e.g., Radio, USB, Bluetooth, AUX).
6.2 Advanced Functions
- Menu Navigation: Press the MENU button to access the main menu. Use the Directional Pad (Up/Down/Left/Right) to navigate and ENTER to confirm selections.
- Playback Control: When playing media (e.g., CD, USB, DVD), use the playback control buttons (Play/Pause, Stop, Rewind, Fast Forward, Skip) to manage media playback.
- Radio Functions: Use the BAND button to switch between radio bands. Use the skip buttons (◀|, |▶) to tune to the next/previous station or preset.
- Folder/Preset Navigation: Use the FOLDER/P.CH (+/-) buttons to navigate through folders on USB media or cycle through radio presets.
7. Maintenance
- Cleaning: Wipe the remote control regularly with a soft, dry cloth to remove dust and fingerprints. Do not use abrasive cleaners or solvents.
- Battery Replacement: Replace batteries when the remote's range decreases or it becomes unresponsive. Always replace both batteries at the same time with new ones of the same type.
- Storage: Store the remote in a cool, dry place away from direct sunlight and extreme temperatures.
8. Troubleshooting
| Problem | Possible Cause | Solution |
|---|---|---|
| Remote not working | Dead or incorrectly inserted batteries. | Replace batteries with new ones, ensuring correct polarity. |
| Remote has short range | Weak batteries; Obstruction between remote and unit. | Replace batteries. Ensure a clear line of sight to the car stereo's IR receiver. |
| Specific functions not working | Function not supported by the current source or media; Unit not compatible. | Verify the function is applicable to the current mode. Confirm your Pioneer unit model is listed as compatible. |
9. Specifications
- Model: CXE5116
- Brand: dreeong
- Compatibility: Pioneer AVH-W4400NEX, AVH-X8500BHS, and other compatible models.
- Power Source: 2 x AAA Batteries (not included)
- Transmission Type: Infrared (IR)
10. Warranty and Support
This dreeong remote control is typically covered by a standard manufacturer's warranty. Please refer to your purchase documentation or contact the seller directly for specific warranty terms and conditions. For technical support or further assistance, please reach out to the dreeong customer service team through the retailer where the product was purchased.


