
1. Introduction
This manual provides detailed instructions for the safe and effective use of your LeLuv Premium iPump Smart LCD Penis Pump. Please read this manual thoroughly before initial use and retain it for future reference.
The LeLuv Premium iPump is designed to assist with erectile dysfunction through vacuum therapy. It features both a Manual Mode for direct control and a Smart Mode for automated sessions with a pre-set vacuum level and duration.
2. Safety Information
- Always clean the cylinder and sleeves with soap or a toy cleaner before and after each use.
- Never immerse the iPump head unit in water.
- Do not use silicone-based lubricants with this device, as they may damage the materials. Use water-based lubricants only.
- For beginners, initiate the pumping process slowly to prevent discomfort.
- If the vacuum becomes too intense or causes discomfort, immediately use the quick release valve to relieve pressure.
- Adjust vacuum levels until a comfortable, swollen appearance is achieved without pain.
- Limit sessions to a maximum of 20 minutes.
- Consult a healthcare professional if you have any pre-existing medical conditions or experience persistent discomfort.
Statements regarding this product have not been evaluated by the FDA and are not intended to diagnose, treat, cure, or prevent any disease or health condition.
3. Package Contents
Verify that all components are present in your package:
- LeLuv Premium iPump Smart LCD Head Unit
- Clear Acrylic Cylinder (9" x 2.75" Untapered Round-Flange)
- 1/4" Quick-Disconnect Vacuum Hose
- LeLuv Head Adapter
- Soft Sleeves (various sizes, typically included)
- USB Charging Cable
- Storage Bag (purple)

Image: Overview of the LeLuv Premium iPump Smart LCD Penis Pump, showing the main components: the LCD pump head, the clear acrylic cylinder, the vacuum hose, and a purple storage bag.
4. Setup
4.1 Charging the Device
Before first use, fully charge the iPump head unit using the provided USB cable. The battery indicator on the LCD screen will show charging status.
4.2 Assembling the Pump
- Attach the LeLuv Head Adapter to the iPump head unit. Ensure it is securely twisted into place.
- Connect the 1/4" Quick-Disconnect Vacuum Hose to the fitting on the Head Adapter.
- To connect the hose to the cylinder, push the metal tab on the cylinder's fitting inward until you hear a "click." This unlocks the fitting.
- Insert the male fitting of the hose into the cylinder's fitting. The metal tab will push down and then click outward again, indicating a secure, air-tight connection.
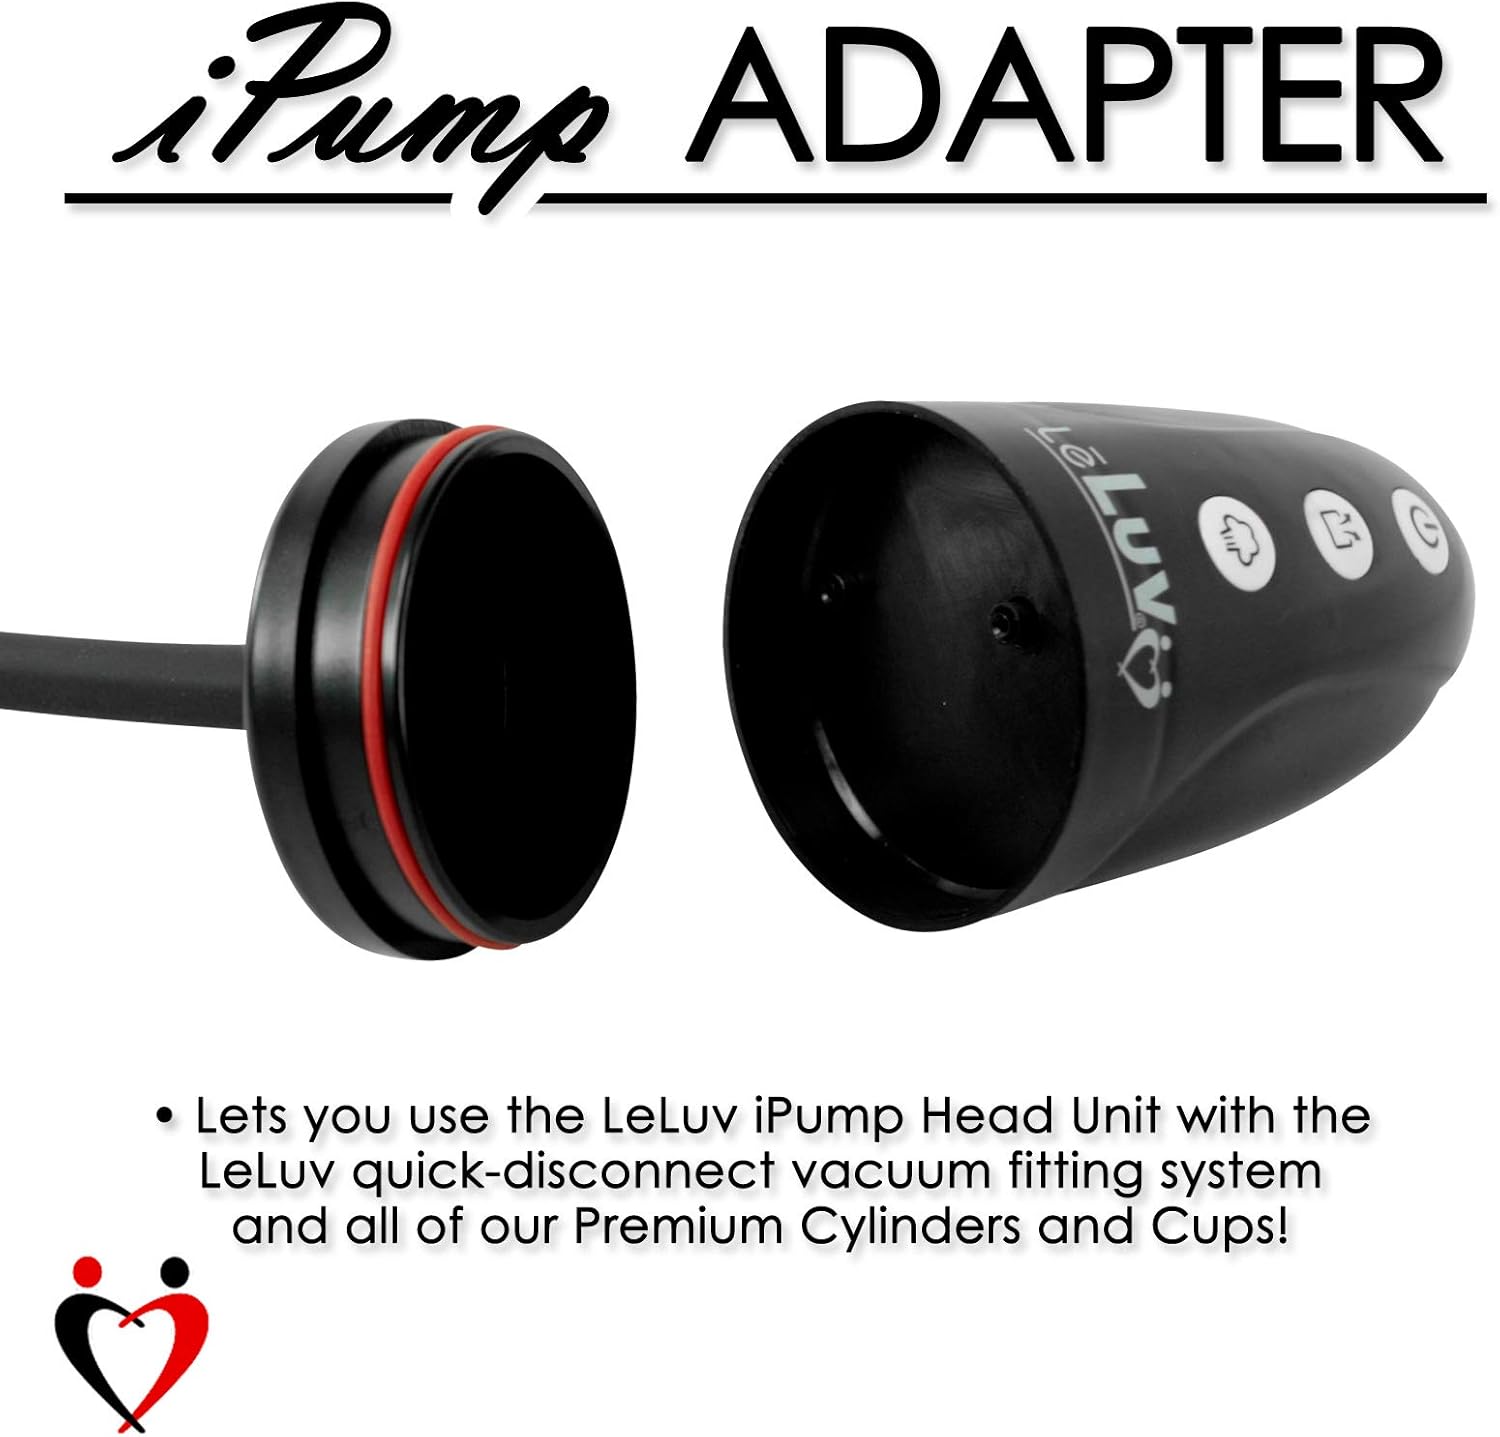
Image: The LeLuv iPump Adapter, illustrating how it connects to the head unit and the quick-disconnect vacuum fitting system.

Image: Step-by-step visual guide on connecting the vacuum hose to the cylinder, highlighting the metal tab for unlocking and securing the connection.
Proper use of the fittings will prevent damage to your O-rings and ensure a good seal.
5. Operating Instructions
5.1 Travel-Lock Activation/Deactivation
To remove the Travel-Lock and activate your LeLuv iPump, hold the Power Button (labeled #1 in the instructions image) down for three seconds. Hold again for three seconds to turn the device OFF and re-engage the Travel-Lock.
5.2 Manual Mode Operation
- Click the Power Button (#1) once to begin pumping.
- Click the Power Button (#1) again to stop pumping.
- Tap or hold the Release Button (#2) to stop pumping and release vacuum to your desired comfort level.
5.3 Smart Mode Operation
The desired vacuum level must be set in Manual Mode before entering Smart Mode.
- In Manual Mode, achieve your desired vacuum level.
- Hold the Smart Button (labeled #3 in the instructions image) for three seconds to record this vacuum level. The Smart Mode icon will appear on the display.
- To erase this setting, hold the Smart Button for three seconds again.
- Click the Smart Button once to begin your automated routine. Each click will increase the Holding Time by one minute, up to a maximum of ten minutes.
- The pump will automatically hold and release vacuum to your set level in a cycle for a twenty-minute session.
- You can exit Smart Mode at any time by pressing the Power Button (#1) or Release Button (#2).
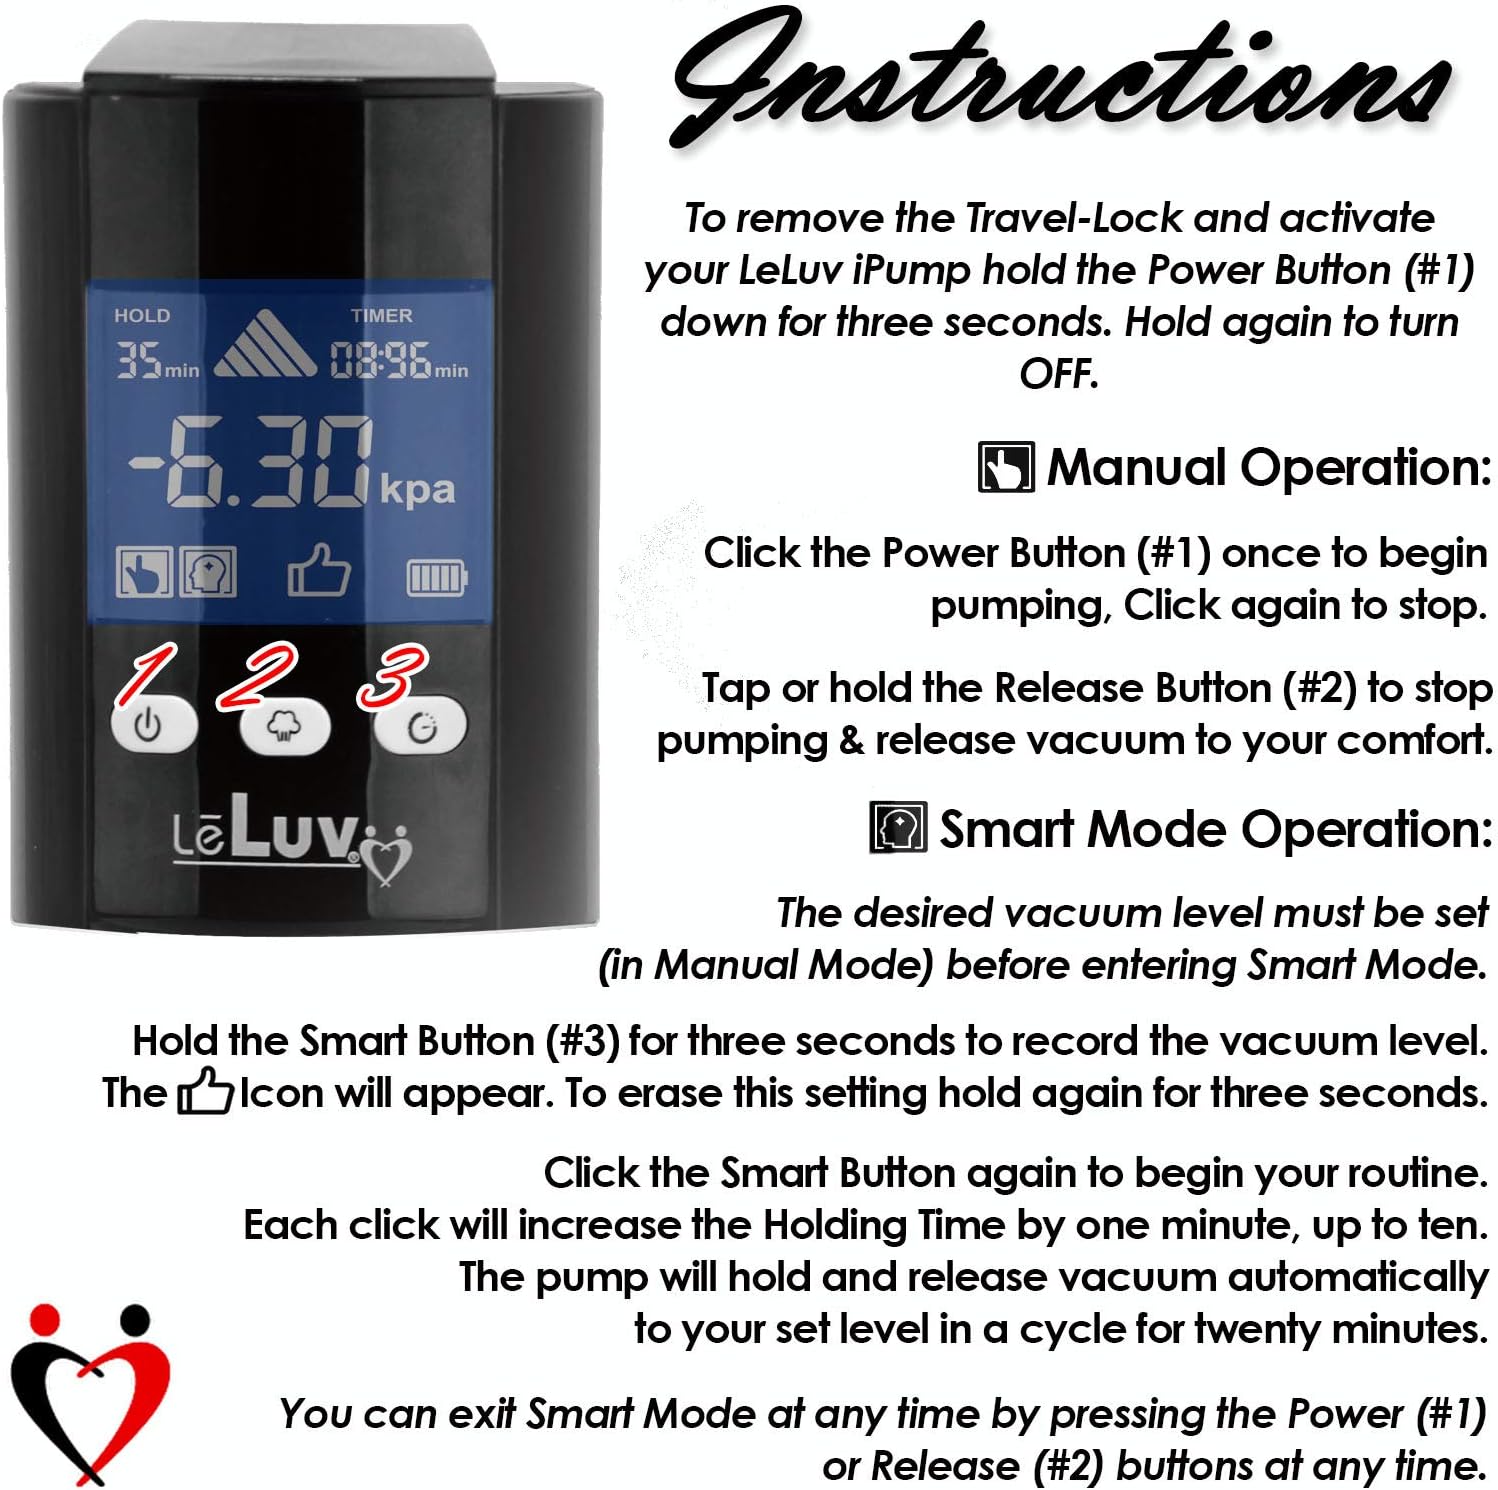
Image: Detailed instructions for operating the LeLuv iPump, showing the power, release, and smart mode buttons, and how to use them for both manual and smart operation.
5.4 Display Features
The LCD screen provides real-time information:
- HOLD: Displays the set holding time in Smart Mode.
- TIMER: Shows the remaining time for the current session.
- Real-time vacuum: Indicates the current vacuum pressure in kPa.
- Manual Mode icon: Appears when the device is in Manual Mode.
- Smart Mode icon: Appears when the device is in Smart Mode.
- Battery charge: Shows the current battery level.
- Vacuum level set: Indicates the vacuum level saved for Smart Mode.
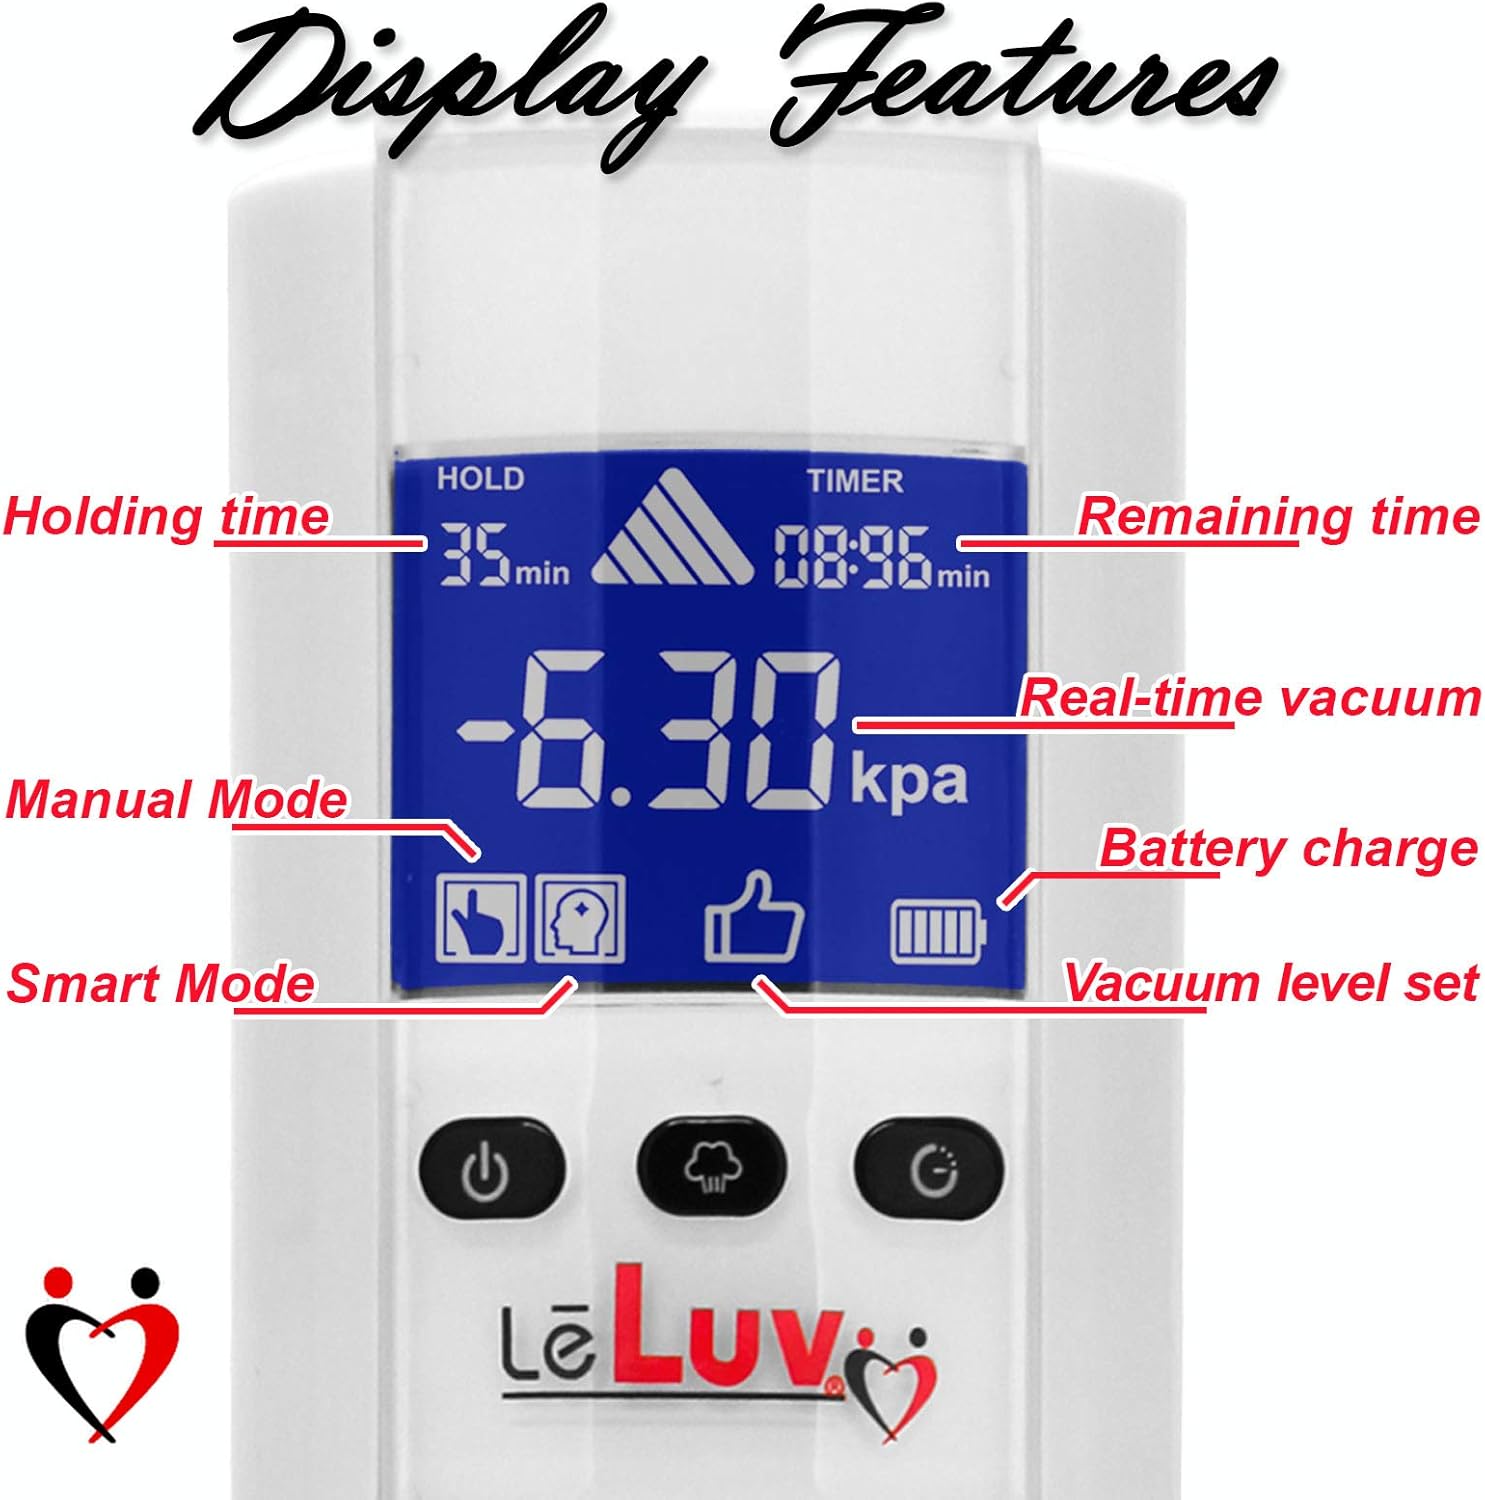
Image: A close-up view of the iPump's LCD display, with annotations explaining each feature such as holding time, remaining time, real-time vacuum, and battery charge.
6. Cleaning and Maintenance
Proper cleaning and maintenance ensure the longevity and hygiene of your LeLuv iPump.
- After each use, disassemble the controller head and hose adapter from the cylinder by twisting the head from the adapter with a counter-clockwise motion.
- To disconnect the hose from the cylinder, push the metal tab inward until it clicks, then pull the hose out.
- Clean the cylinder and sleeves thoroughly with warm water and a mild soap or a specialized toy cleaner. Rinse completely.
- Wipe the iPump head unit with a damp cloth. Do not immerse it in water.
- Ensure all components are completely dry before reassembling or storing.
- Store the device in its provided storage bag in a cool, dry place away from direct sunlight.

Image: Visual guide on disconnecting the vacuum hose from the cylinder, illustrating the metal tab mechanism for release.
7. Troubleshooting
| Problem | Possible Cause | Solution |
|---|---|---|
| Device does not turn on. | Low battery; Travel-Lock engaged. | Charge the device fully. Hold the Power Button for 3 seconds to deactivate Travel-Lock. |
| Loss of vacuum or poor seal. | Improper connection; damaged O-rings; insufficient lubrication; incorrect sleeve size. | Ensure all connections are secure and air-tight. Check O-rings for damage. Apply sufficient water-based lubricant. Ensure correct sleeve size is used. |
| Discomfort during use. | Vacuum level too high; insufficient lubrication; prolonged session. | Immediately use the quick release valve. Reduce vacuum pressure. Apply more water-based lubricant. Limit session duration to 20 minutes. |
8. Specifications
- Model: LeLuv Premium iPump Smart LCD Penis Pump
- Cylinder Dimensions: 9 inches (length) x 2.75 inches (diameter), Untapered Clear Acrylic, Round-Flange
- Maximum Vacuum: 68 KPA (approximately 20 InHg)
- Hose Length: 18 inches (smooth, uncollapsable silicone)
- Power Source: Rechargeable via USB cable
- Modes: Manual Mode, Smart Mode

Image: Detail of the cylinder's round flange, illustrating the opening diameter is approximately 1/4 inch (6mm) smaller than the inside diameter, designed for a better seal.
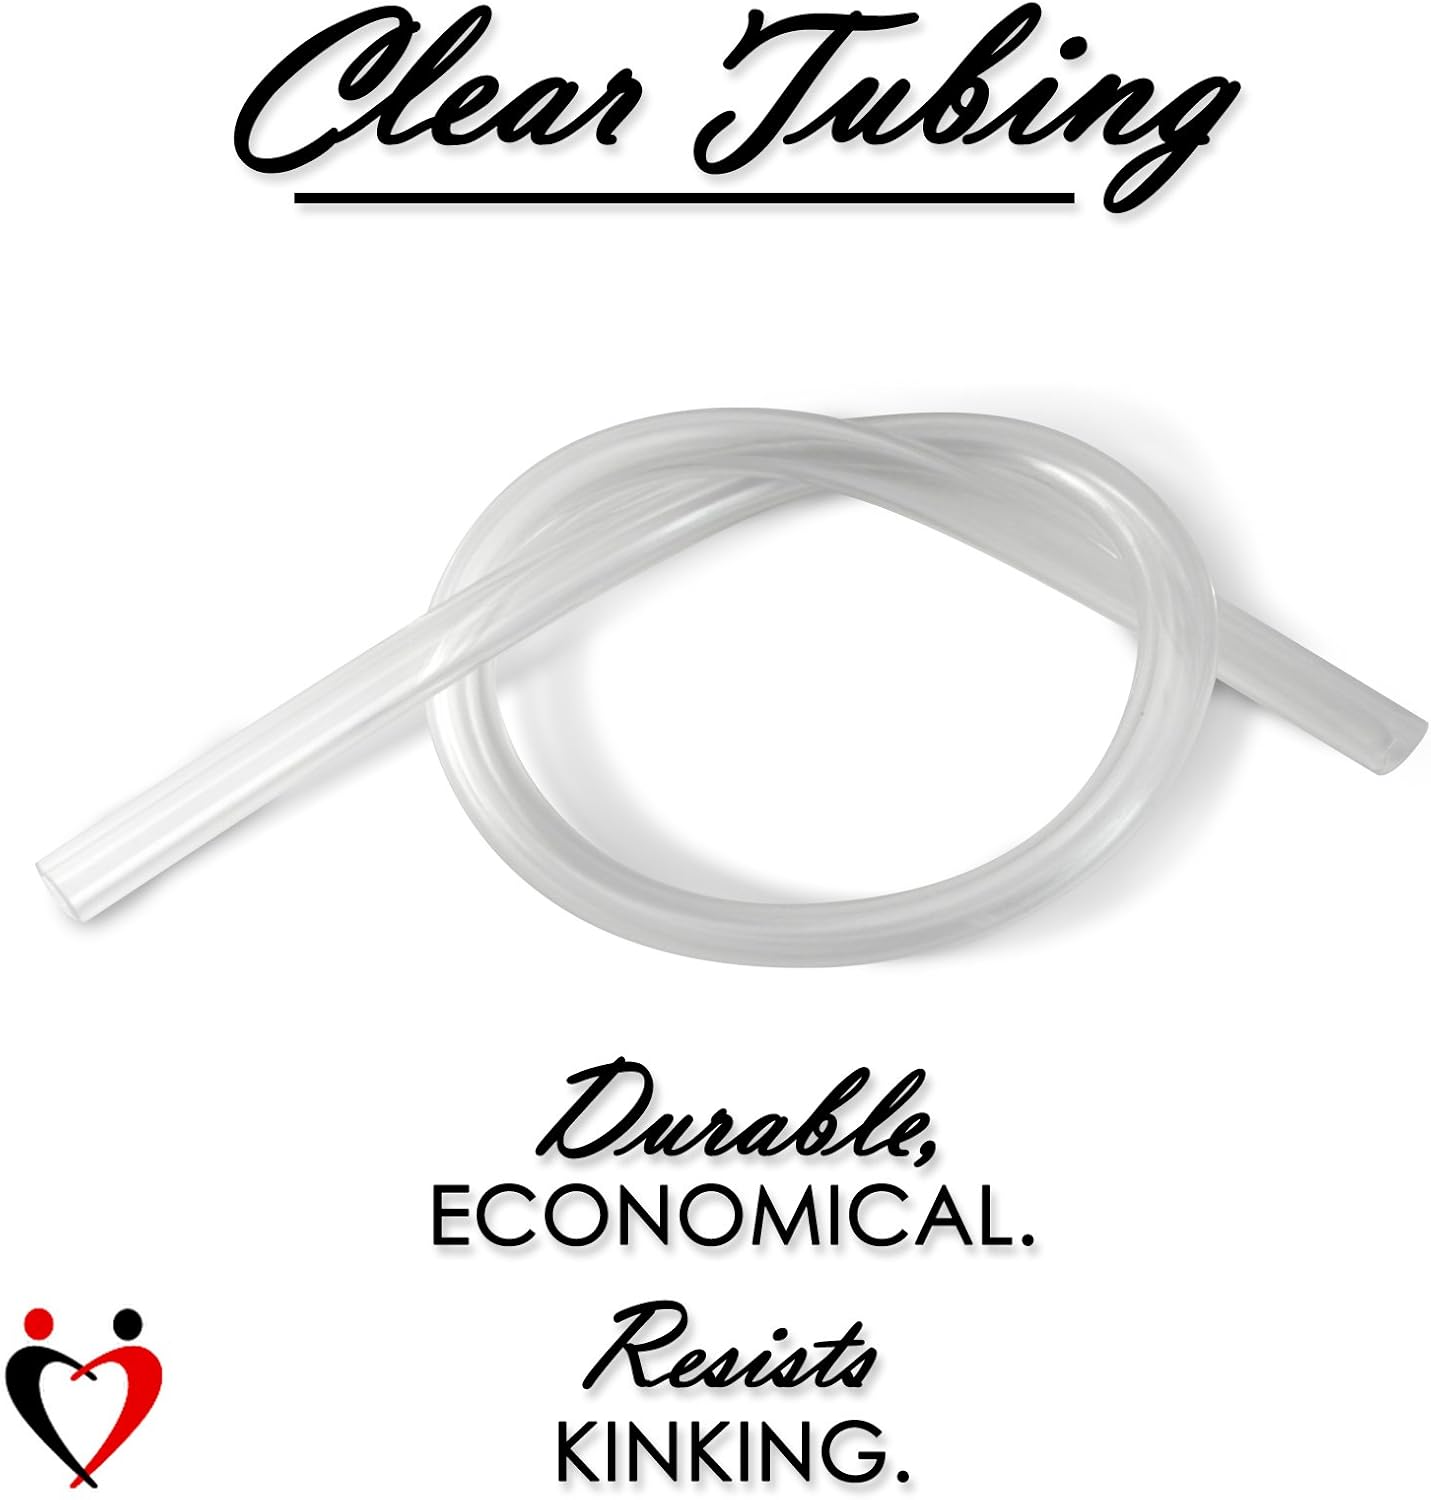
Image: The clear tubing component, highlighting its durability, economical nature, and resistance to kinking.
9. Warranty and Support
For warranty information or technical support, please refer to the contact details provided with your purchase or visit the official LeLuv website. Keep your proof of purchase for any warranty claims.
Manufacturer: LeLuv
Date First Available: October 8, 2015