1. Product Overview
The RCA 12-Cup Programmable Digital Coffeemaker (Model RC-CAF3) is designed for convenient and efficient coffee brewing. It features a digital touchscreen, anti-drip system, and a reusable filter for ease of use and maintenance.

Figure 1: RCA 12-Cup Programmable Digital Coffeemaker RC-CAF3.
2. Setup and First Use
2.1 Unboxing and Initial Cleaning
- Carefully remove all packaging materials and labels from the coffeemaker.
- Wash the glass carafe, lid, and reusable filter in warm, soapy water. Rinse thoroughly and dry.
- Wipe the exterior of the coffeemaker with a damp cloth.
2.2 Placement
Place the coffeemaker on a flat, stable, heat-resistant surface, away from the edge of the counter. Ensure it is not directly under cabinets to prevent steam damage.
2.3 First Brew Cycle (Cleaning)
- Fill the water reservoir with clean water up to the 12-cup mark.
- Place the empty reusable filter into the filter basket.
- Place the empty glass carafe on the warming plate.
- Press the 'ON/OFF' button to start a brew cycle with only water.
- Once the cycle is complete, discard the water and rinse the carafe. This cleans the internal components before first use.
Video 1: General operation of a 12-cup drip coffeemaker, demonstrating water and coffee addition, and brewing process.
3. Operating Instructions
3.1 Setting the Clock
- When first plugged in, the clock will display 12:00.
- Press and hold the 'PROG' button until the display flashes.
- Press the 'HR' button to set the hour (AM/PM will adjust automatically).
- Press the 'MIN' button to set the minutes.
- After 10 seconds of inactivity, the display will stop flashing, and the time will be set.

Figure 2: Digital display and control buttons for setting time and programming.
3.2 Brewing Coffee
- Open the top lid and fill the water reservoir with fresh, cold water to your desired level (up to 12 cups). The water level indicator on the side helps measure.
- Place the reusable filter into the filter basket.
- Add your preferred amount of ground coffee to the reusable filter. A general guideline is one tablespoon of coffee grounds per cup.
- Close the top lid securely.
- Place the glass carafe with its lid on the warming plate.
- Press the 'ON/OFF' button to start brewing immediately. The indicator light will illuminate.
- For smaller batches (1-4 cups), press the '1-4 CUP' button before pressing 'ON/OFF' for optimized brewing.
- The anti-drip system allows you to temporarily remove the carafe during brewing to pour a cup without spills. Replace the carafe within 20 seconds to prevent overflow.
- Once brewing is complete, the coffeemaker will automatically switch to the 'keep warm' function for approximately 2 hours before shutting off.

Figure 3: The reusable filter is easy to insert and remove for adding coffee grounds.
3.3 Programming a Delayed Brew
- Follow steps 1-5 from 'Brewing Coffee' to prepare the coffeemaker with water and coffee grounds.
- Press the 'PROG' button once. The display will flash.
- Use the 'HR' and 'MIN' buttons to set the desired start time for brewing.
- Press the 'PROG' button again to confirm the programmed time. The 'AUTO' indicator light will illuminate.
- The coffeemaker will automatically start brewing at the set time.
4. Maintenance and Cleaning
4.1 Daily Cleaning
- Always unplug the coffeemaker before cleaning.
- Remove the reusable filter and discard used coffee grounds. Wash the filter and carafe in warm, soapy water or place them on the top rack of a dishwasher.
- Wipe the exterior of the coffeemaker, warming plate, and water reservoir with a damp cloth. Do not immerse the coffeemaker in water.
4.2 Descaling
Mineral deposits from water can build up in your coffeemaker over time, affecting performance. Descale your coffeemaker every 2-3 months, or more frequently if you have hard water.
- Fill the water reservoir with a mixture of white vinegar and water (1:2 ratio).
- Place the empty reusable filter in the filter basket and the empty carafe on the warming plate.
- Run a full brew cycle.
- After the cycle, let the coffeemaker cool for 15 minutes.
- Discard the vinegar solution and run 2-3 cycles with fresh, clean water to rinse thoroughly.
5. Troubleshooting
- Coffee not brewing: Ensure the coffeemaker is plugged in, the 'ON/OFF' button is pressed, and the water reservoir has sufficient water.
- Weak coffee: Increase the amount of coffee grounds or use a finer grind. Ensure the water reservoir is not overfilled.
- Overflowing filter basket: Do not overfill the filter basket with coffee grounds. Ensure the carafe is properly seated on the warming plate and the anti-drip valve is not blocked.
- Leaking: Check that the carafe is not cracked and is correctly positioned. Ensure the filter basket is properly inserted.
6. Specifications
| Feature | Specification |
|---|---|
| Brand | RCA |
| Model Number | RC-CAF3 |
| Color | Black |
| Dimensions | 31 x 26 x 31 cm |
| Capacity | 12 Cups |
| Voltage | 120 Volts |
| Material | Stainless Steel, Glass |
| Special Features | Anti-Drip System, Reusable Filter, Touchscreen, Programmable |
| Weight | 1.76 Kilograms |

Figure 4: Product dimensions for the RCA RC-CAF3 Coffeemaker.
7. Warranty and Support
This RCA Coffeemaker comes with a 1-year warranty against manufacturing defects or damage during shipping. For any warranty claims or support, please refer to your purchase documentation or contact the seller directly.
For invoicing, please send your details via message through your order platform.
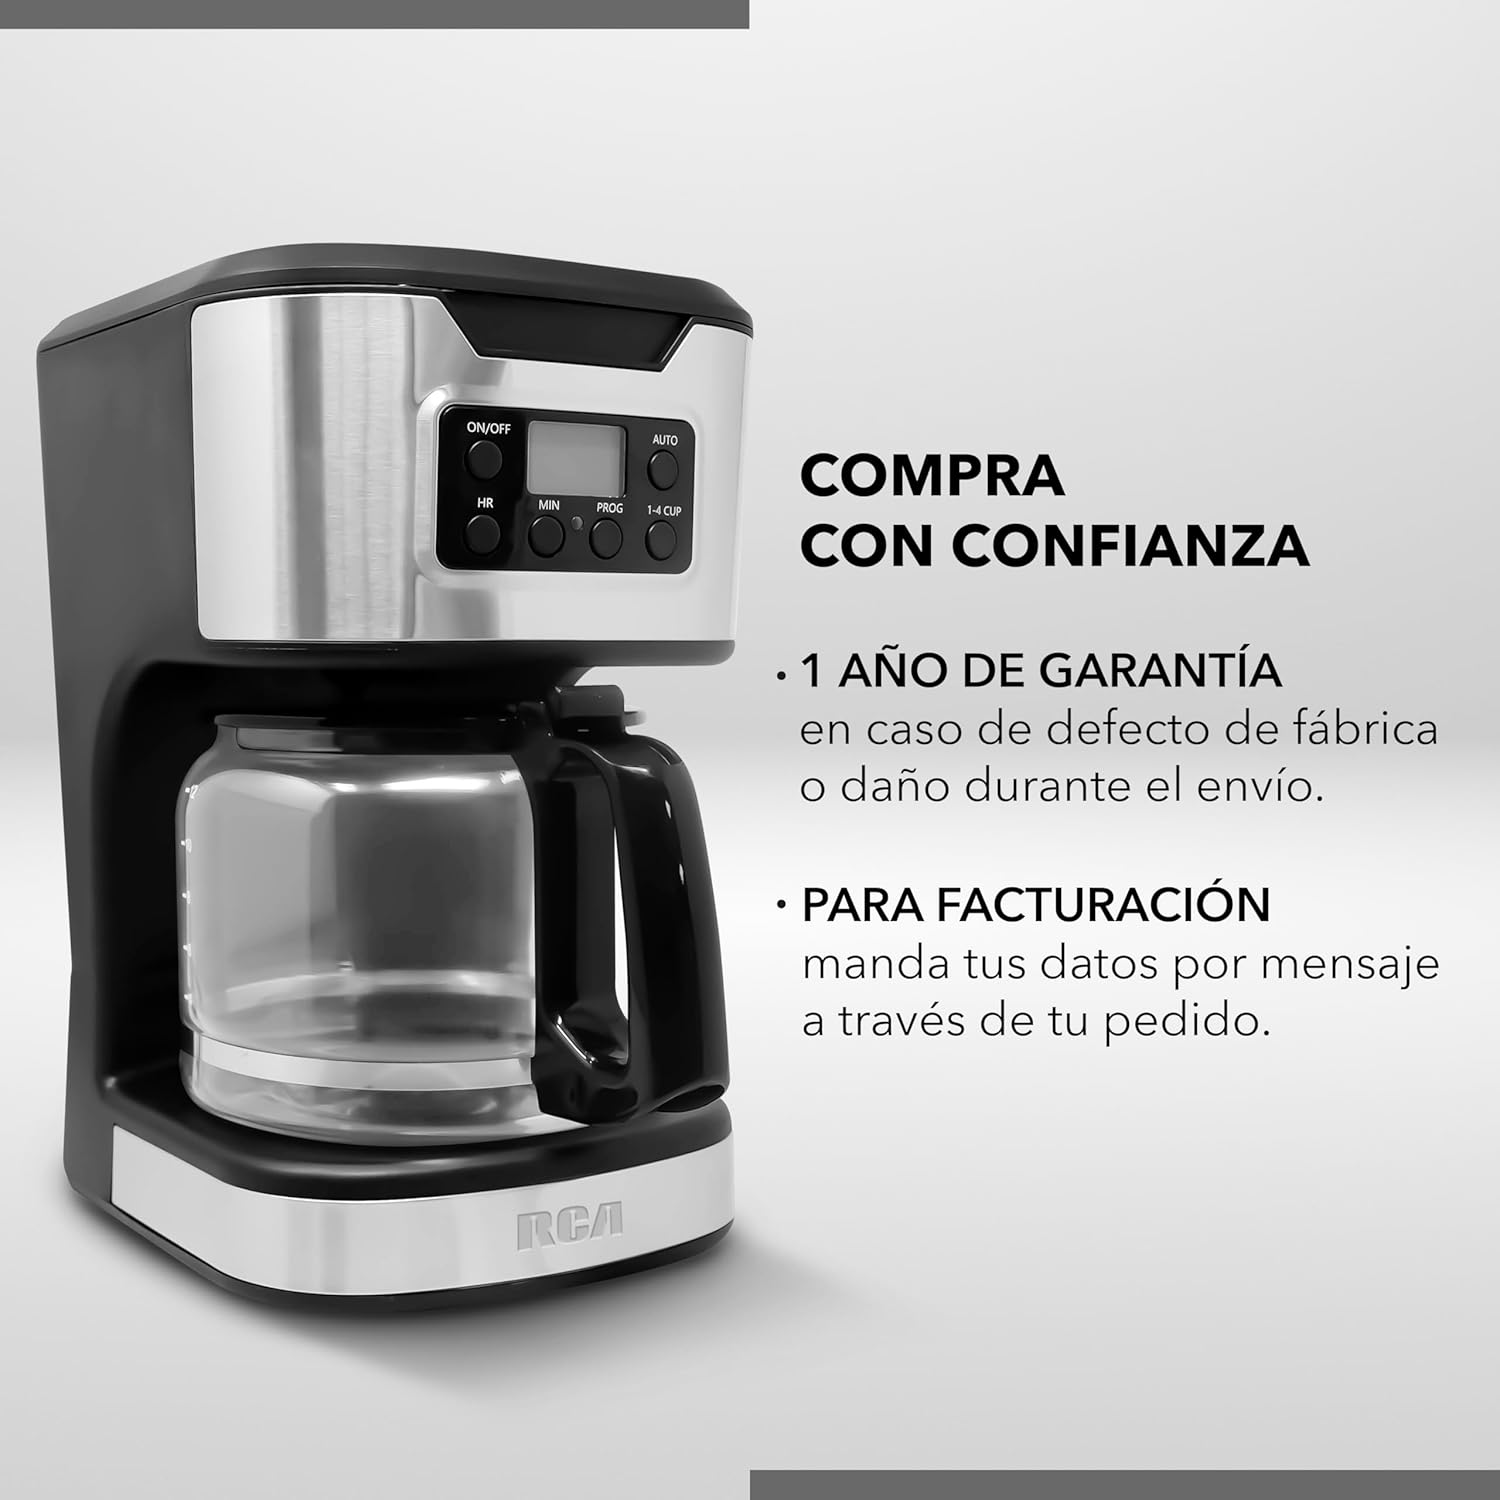
Figure 5: Warranty and invoicing details.


