1. Product Overview
This manual provides instructions for the U-MAX 13x10FT Retractable Awning. This awning is designed to provide sun shade for patios, decks, backyards, and balconies. It features a manual crank operation for extension and retraction.
The awning cover is made from 280g/m² premium polyester with a PU coating, offering splash-proof, anti-ultraviolet, and fade-resistant properties with 80UV+ solar protection. The frame is constructed from rust-resistant, powder-coated aluminum and steel for durability.
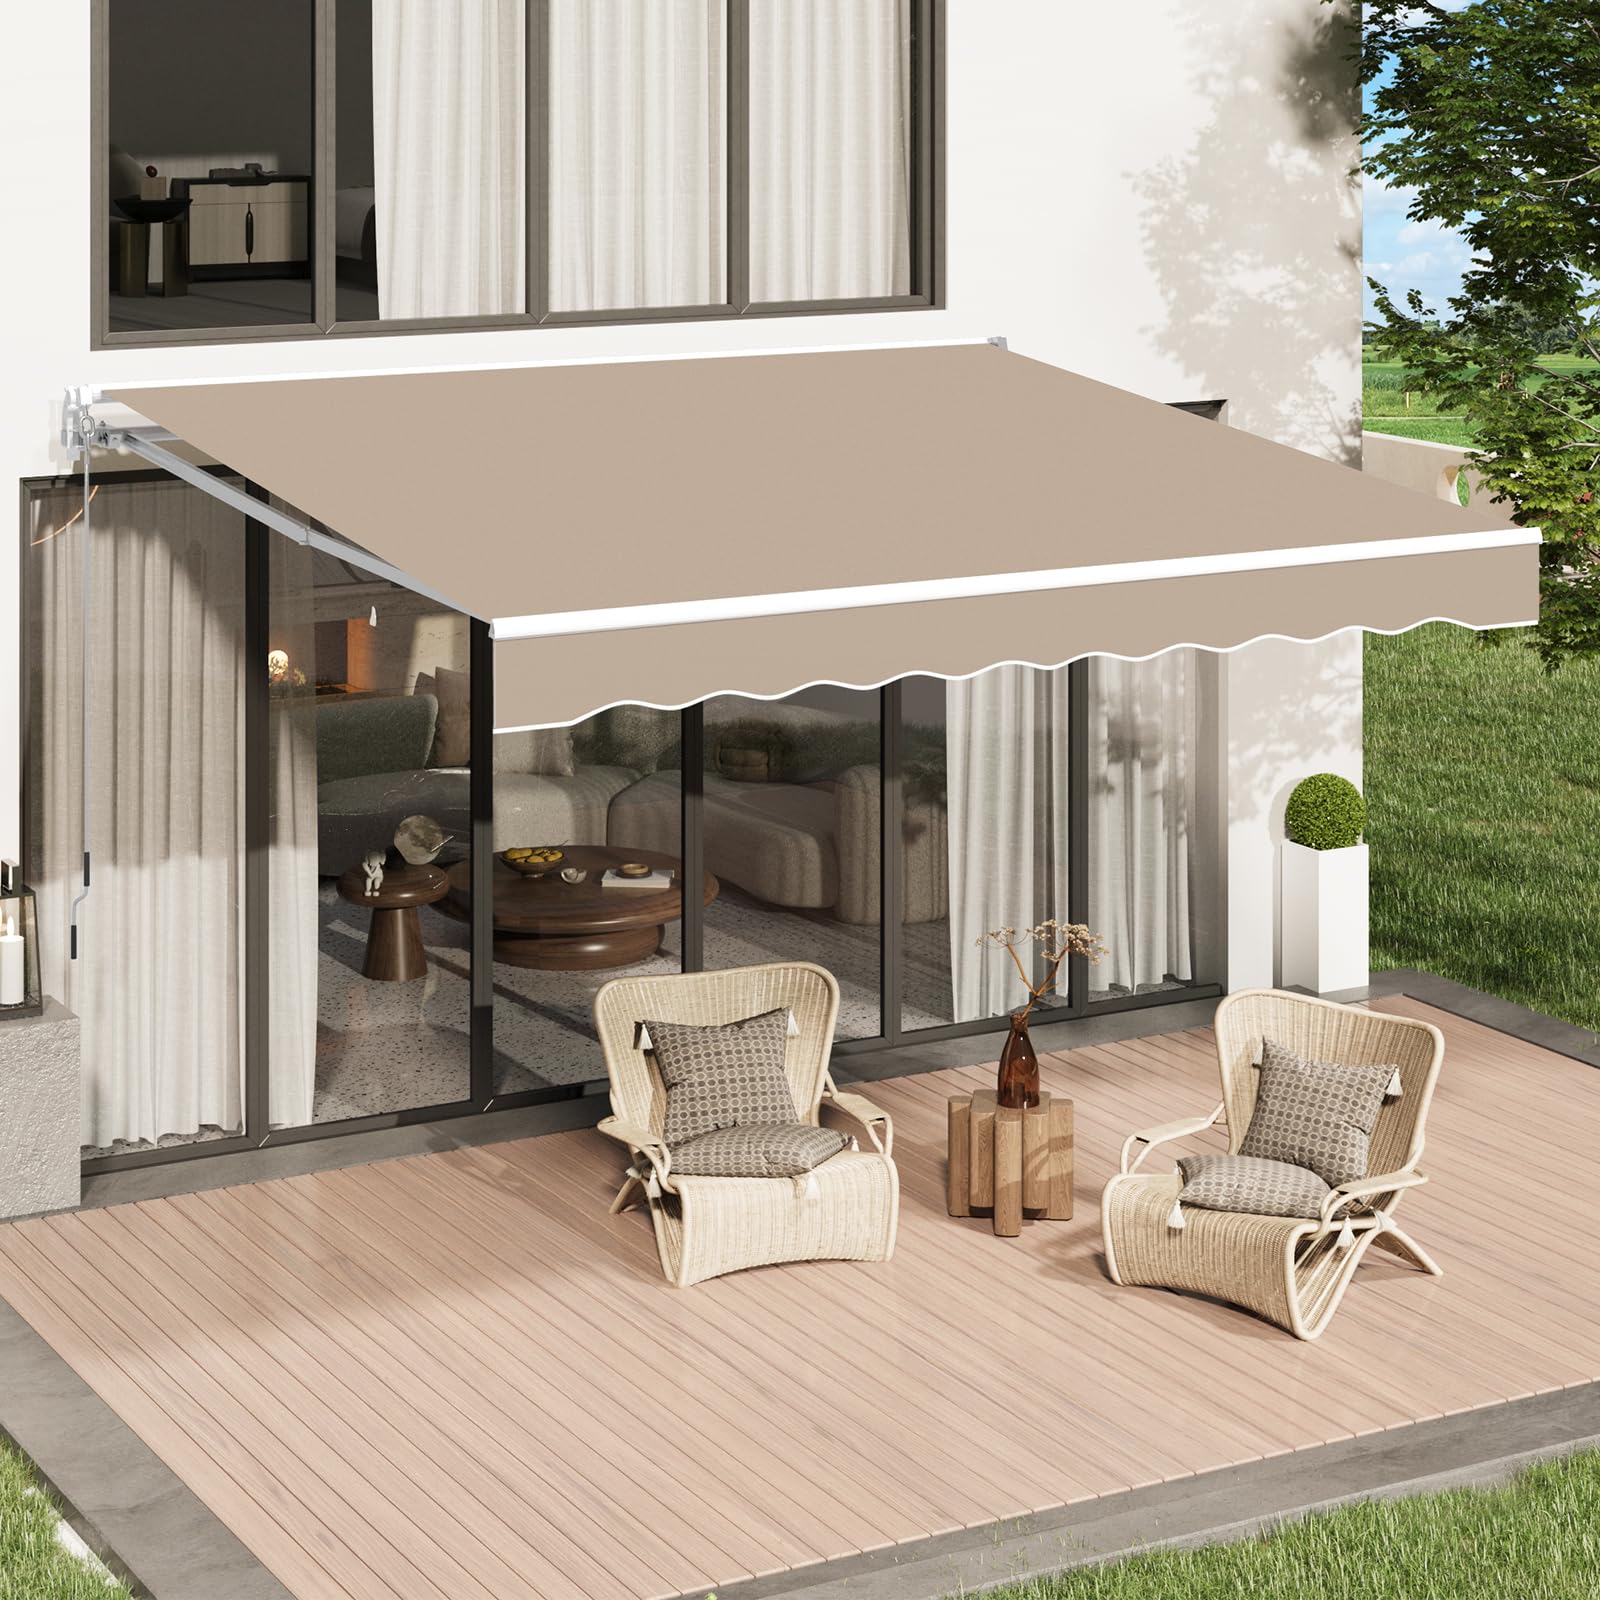
Figure 1.1: U-MAX 13x10FT Retractable Awning providing shade over a patio area.
2. Safety Information
- Assembly: Requires two people for safe assembly and installation.
- Weather Conditions: Always roll up the awning during strong winds (exceeding 30mph), thunderstorms, and blizzards to prevent damage and ensure safety.
- Protective Cover: Use a protective cover when the awning is retracted for extended periods or during harsh weather to prolong its service life.
- Structural Integrity: Ensure the mounting surface (reinforced concrete, brick, or wooden wall) is structurally sound and capable of supporting the awning's weight and wind resistance.
- Children and Pets: Keep children and pets away from the awning during operation to avoid injury.
3. Product Components
Familiarize yourself with the main components of your U-MAX Retractable Awning:
- Awning Fabric: 280g/m² premium polyester with PU coating.
- Roller: Powder-coated aluminum roller.
- Frame: Steel frame.
- Arm Bars: Support the awning fabric when extended.
- Functional Hooks: Components for securing the fabric to the roller.
- Manual Hand Crank: Used for extending and retracting the awning.
- Jack Bolts: Located on the arm clamps, used for adjusting the awning's angle.

Figure 3.1: Key components including adjustable angle mechanism, hand crank, functional hook, and enhanced arms.

Figure 3.2: Detail of the functional hooks that secure the fabric.

Figure 3.3: Detail of the enhanced arm components for structural support.
4. Setup and Installation
Carefully read all instructions before beginning assembly. Two people are required for installation.
4.1 Pre-Installation Checks
- Wall Type: Ensure your wall is suitable for installation. The awning can be secured to reinforced concrete, brick, or wooden walls.
- Mounting Hardware: Use appropriate hardware for your wall type. Expansion bolts are for concrete/brick, and spare wood screws (M10) are for wooden walls.
- Installation Height: Recommended installation height is between 8 to 13 feet (96 to 156 inches).

Figure 4.1: Recommended mounting hardware for different wall types.
4.2 Assembly Steps
- Unpack Components: Carefully unpack all parts and verify against the parts list provided in your package.
- Initial Component Assembly: Follow the provided diagrams for initial assembly of the frame and roller. Pay close attention to the sequence of installing smaller components, such as plastic pipe nipples, to avoid reassembly later.
- Arm Bar Links: When attaching the arm bar links, ensure they are correctly positioned relative to the arm bars before tightening. Some steps may require leaving these connections slightly loose until the arm bars are fully attached and positioned.
- Mounting Brackets: Secure the mounting brackets to your chosen wall at the recommended height, ensuring they are level and securely fastened using the appropriate hardware.
- Mounting the Awning: With assistance, carefully lift the assembled awning onto the mounted brackets. Secure it according to the instructions.
- Final Adjustments: After mounting, extend the awning and check for levelness. Adjust the angle as described in the Operating Instructions section.

Figure 4.2: Product dimensions and recommended installation height (8-13FT).
5. Operating Instructions
5.1 Extending and Retracting the Awning
The U-MAX Retractable Awning operates manually using a hand crank.
- To Extend: Insert the hand crank into the designated loop on the awning mechanism. Turn the crank clockwise to extend the awning to your desired length.
- To Retract: Turn the hand crank counter-clockwise to retract the awning fully. Ensure it is fully retracted during strong winds or when not in use.

Figure 5.1: Detail of the manual hand crank connection point.
5.2 Adjusting the Awning Angle
The awning angle can be adjusted from 40° to 90° to optimize shade coverage.
- Locate Jack Bolts: Identify the jack bolts on the arm clamps at each end of the awning's front bar.
- Adjust Angle: Loosen the jack bolt to adjust the angle. Tighten the jack bolt once the desired angle is achieved. Adjust both sides evenly to maintain a level front bar.

Figure 5.2: Mechanism for adjusting the awning's angle using the jack bolt.
6. Maintenance
- Regular Cleaning: Clean the awning fabric periodically with mild soap and water. Rinse thoroughly and allow to air dry completely before retracting.
- Frame Inspection: Periodically inspect the aluminum and steel frame for any signs of rust, damage, or loose fasteners. Tighten any loose bolts.
- Lubrication: Apply a silicone-based lubricant to moving parts, such as the arm joints and roller mechanism, annually to ensure smooth operation.
- Winter Storage: In areas with heavy snow or ice, it is recommended to retract the awning and use a protective cover, or remove it for indoor storage if possible.
- Weather Protection: Always retract the awning during strong winds, heavy rain, thunderstorms, and blizzards to prevent damage.
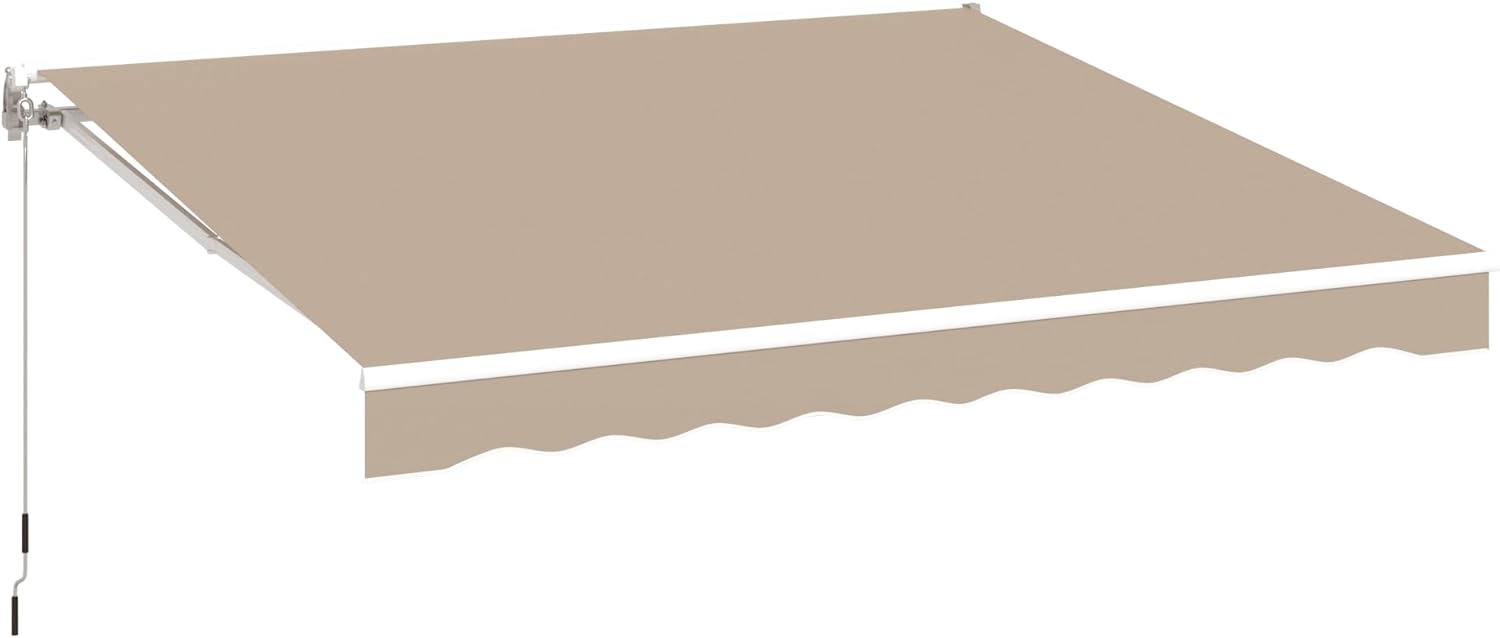
Figure 6.1: The awning fabric is designed to be splash-proof and UV resistant, but regular cleaning and proper storage are essential for longevity.
7. Troubleshooting
- Awning Does Not Extend/Retract Smoothly:
- Check for obstructions in the arm mechanism or fabric path.
- Ensure the hand crank is properly engaged.
- Lubricate moving parts as described in the Maintenance section.
- Front Bar is Uneven When Extended:
- Adjust the jack bolts on the arm clamps at each end of the front bar. Loosen one side and tighten the other until the bar is level. Refer to Section 5.2.
- Awning Sags in the Middle:
- Ensure the arm bars are fully extended and locked into position.
- Verify that the mounting brackets are securely fastened and the wall structure is sound.
- Awning Fabric is Loose or Wrinkled:
- Check the tensioning of the fabric on the roller. This may require professional adjustment if not covered in the detailed assembly instructions.
- Missing Parts or Damage:
- If you encounter missing parts or damage upon arrival, contact U-MAX customer support immediately for assistance.
8. Specifications
| Feature | Specification |
|---|---|
| Model | 13x10FT Retractable Awning |
| Dimensions (W x D x H) | 156"W x 117.6"D x 59"H (approx. 13ft x 9.8ft x 4.9ft) |
| Material (Frame) | Aluminum (roller), Steel (frame) |
| Material (Fabric) | 280g/m² Premium Polyester with PU coating |
| Color | Beige |
| Operation Mode | Manual Crank |
| Adjustable Angle | 40° to 90° |
| Wind Resistance Level | Up to 30mph (maximum damage) |
| Recommended Installation Height | 8 - 13 FT |
| Assembly Required | Yes |
9. Warranty and Support
The U-MAX retractable awning is backed by a 1-year warranty. U-MAX also offers lifetime service for your peace of mind.
If you have any issues such as missing parts, damage, or require assistance with assembly or operation, please contact U-MAX customer support. Provide your product model and purchase details for efficient service.
For further assistance, please visit the official U-MAX store or contact their customer service department.


