
SHENGJINSH A3 XP600
SHENGJINSH A3 XP600 UV Printer User Manual
Model: A3 XP600
1. Introduction
This user manual provides comprehensive instructions for the operation, maintenance, and troubleshooting of your SHENGJINSH A3 XP600 UV Printer. Designed for high-precision and fast printing, this UV flatbed printer is equipped with an ESPON XP600 6-color printhead, offering versatile printing capabilities on various materials. Please read this manual thoroughly before operating the printer to ensure safe and efficient use.
2. Safety Information
Always adhere to the following safety guidelines to prevent injury or damage to the printer:
- Ensure the printer is placed on a stable, level surface.
- Do not expose the printer to direct sunlight, excessive heat, or moisture.
- Use only recommended inks and cleaning solutions.
- Keep hands and loose clothing away from moving parts during operation.
- Always disconnect the power cord before cleaning or performing maintenance.
- Do not attempt to repair the printer yourself. Contact qualified service personnel for assistance.
- The UV light used in this printer can be harmful to eyes and skin. Avoid direct exposure.
- Ensure adequate ventilation in the operating area due to ink fumes.
- Keep out of reach of children.
3. Package Contents
Verify that all items listed below are included in your package:
- 1x A3 UV Printer
- 1x Bottle Holder
- 6x Ink Bottles (empty, no ink included)
- 1x Software (RIP 10.3)
- 1x USB Instructions
- 1x Ink Damper
- 1x Syringe
- USB and Power Cable
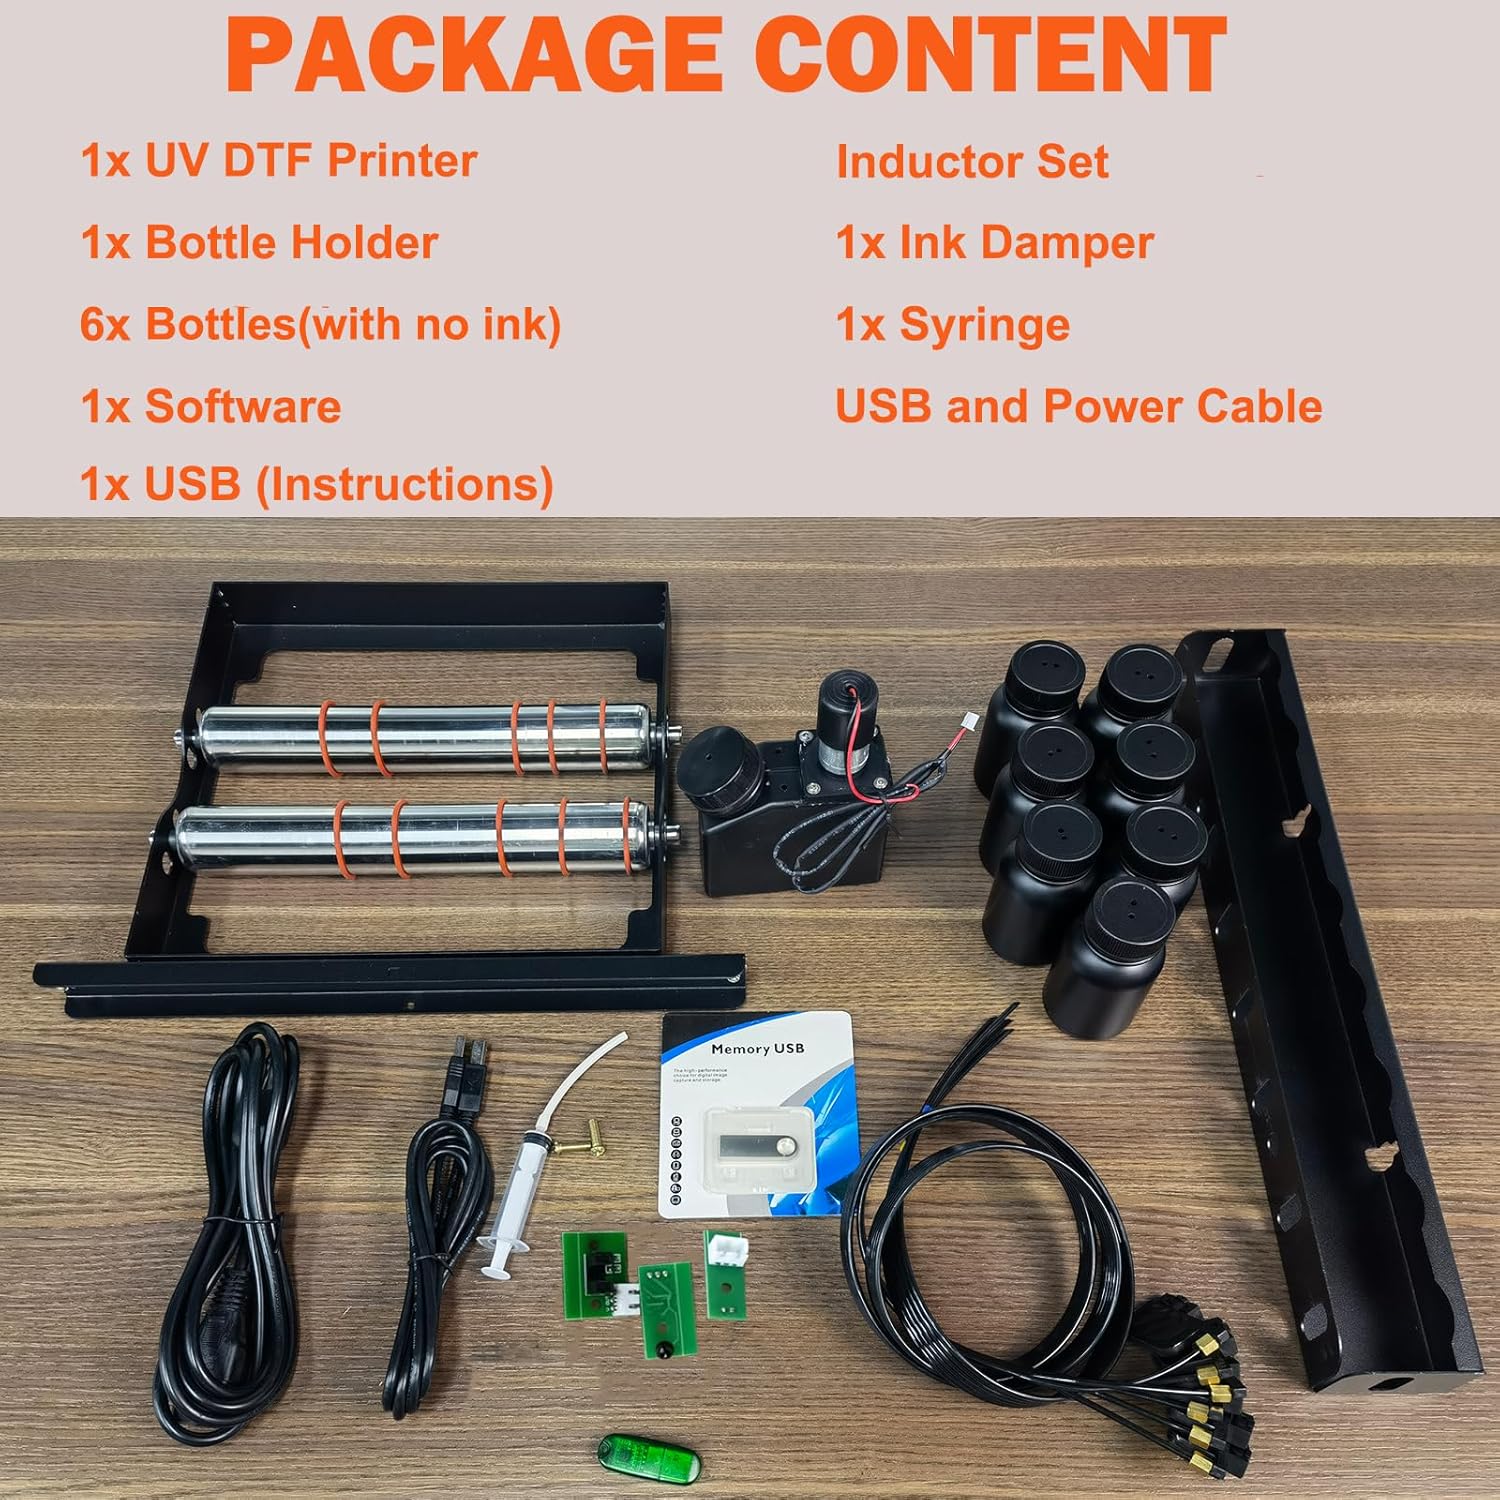
Figure 3.1: All components included in the A3 XP600 UV Printer package.
4. Setup
Follow these steps to set up your UV printer:
- Unpacking and Placement: Carefully remove the printer from its packaging. Place it on a sturdy, level surface with adequate space for operation and ventilation.
- Power Connection: Connect the power cable to the printer and a suitable power outlet.
- USB Connection: Connect the printer to your computer using the provided USB cable.
- Software Installation: Install the RIP 10.3 software from the provided USB instructions. This software is essential for accurate printing and managing print settings.
- Ink Loading: Fill the ink bottles with appropriate UV inks (not included). Refer to the detailed instructions in the USB manual for proper ink loading procedures to avoid spills and contamination.
- Initial Power On: Turn on the printer. The printer will perform an initial self-check.

Figure 4.1: The A3 XP600 UV Printer with its bottle holder accessory.
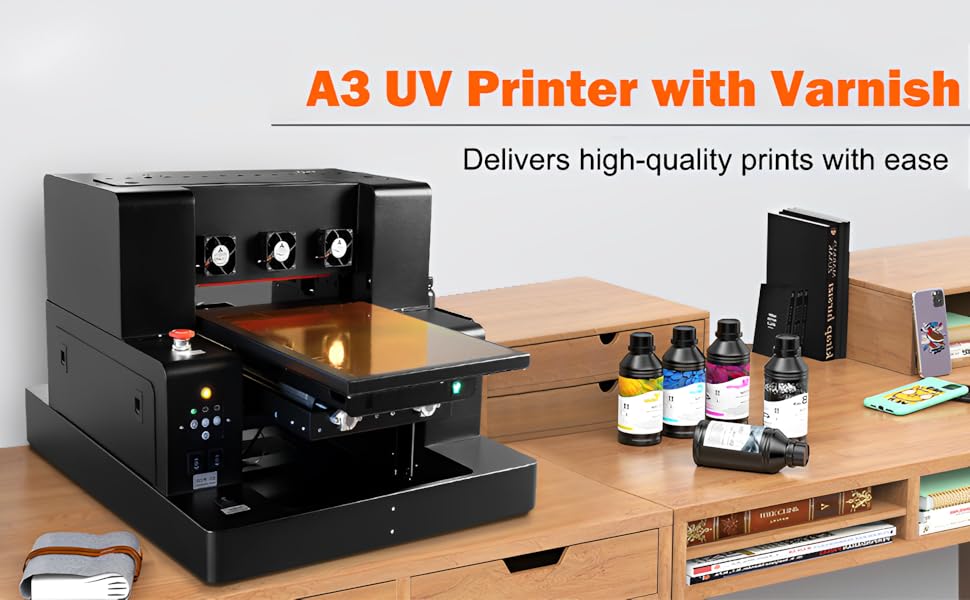
Figure 4.2: Example setup of the A3 UV Printer on a workspace.
5. Operating Instructions
The SHENGJINSH A3 XP600 UV Printer offers versatile printing methods and high precision.
5.1 Printing Methods
This printer supports various printing applications:
- Normal Flat Printing: Ideal for phone cases, acrylic, crystal, leather, metal, ABS, PVC, and other flat surfaces.
- Cylinder Printing: Use the included bottle holder for printing on cylindrical objects like bottles.
- Varnish Effects and 3D Embossing: Achieve tactile and glossy finishes.
- Sticker Printing: Create UV DTF printed stickers.
Note: This printer is not designed for garment or fabric printing.

Figure 5.1: Illustration of multiple printing methods supported by the printer.
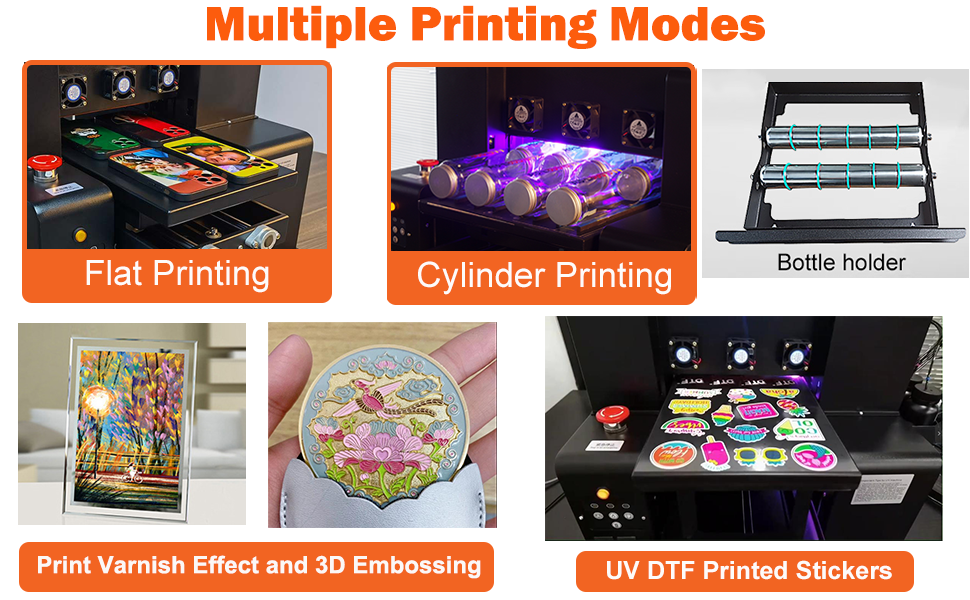
Figure 5.2: Visual examples of flat printing, cylinder printing, and the bottle holder.
5.2 Print Resolution and Speed
Equipped with an ESPON XP600 6-color printhead, this printer offers superior speed and precision. The software allows for resolution settings of 5760*1440dpi, 2880*1440dpi, or 1440*1440 dpi, ensuring vibrant colors and crisp details.

Figure 5.3: Details on the XP600 printhead's capabilities.

Figure 5.4: Performance comparison of the Epson XP600 Printhead.
5.3 Key Features in Operation
- Vacuum Suction Platform: The built-in vacuum platform secures printing materials, preventing movement and misalignment during the printing process.
- Infrared Automatic Height Adjustment: This system automatically adjusts the printhead height to optimize print quality for different material thicknesses.
- Emergency Stop Button: Located on the front panel, this button allows for immediate cessation of all printer operations in case of an emergency.

Figure 5.5: Key operational features of the printer.

Figure 5.6: Labeled diagram of the printer's control panel and components.
5.4 Printing Process Example (Wood)
Watch this video to see the UV printer in action, demonstrating printing on a wooden surface.
Video 5.1: Demonstration of the UV printer printing an image onto a circular wooden piece. The video shows the printhead moving back and forth, curing the ink with UV light, and the final high-quality print on the wood.
6. Maintenance
Regular maintenance ensures optimal performance and longevity of your printer:
- White Ink Circulation System: The printer features an automatic white ink mixing system to prevent pigment sedimentation and nozzle clogging. Ensure this system is functioning correctly.
- Self-Cleaning Printhead: The integrated self-cleaning mechanism minimizes manual upkeep. Run cleaning cycles as recommended by the software or when print quality degrades.
- General Cleaning: Regularly wipe down the exterior of the printer with a soft, damp cloth. Keep the print area free of dust and debris.
- Ink Management: Monitor ink levels and refill as needed. Use only compatible UV inks.
7. Troubleshooting
This section addresses common issues you might encounter:
| Problem | Possible Cause | Solution |
|---|---|---|
| Poor Print Quality (streaks, faded colors) | Clogged printhead nozzles, low ink levels, incorrect print settings. | Perform a printhead cleaning cycle. Check ink levels and refill if necessary. Verify print resolution and color settings in the RIP software. |
| Printer Not Responding | Loose USB cable, power issue, software error. | Check all cable connections. Ensure printer is powered on. Restart the printer and computer. Reinstall printer drivers if needed. |
| Material Movement During Printing | Vacuum platform not engaged or insufficient suction. | Ensure the vacuum suction platform is properly activated and the material is correctly placed. Clean the platform surface if it's dirty. |
| White Ink Sedimentation | White ink not properly circulated. | Ensure the white ink circulation system is active. If the problem persists, perform a manual agitation of the white ink bottle (if applicable and safe to do so, refer to USB instructions). |
For more detailed troubleshooting, refer to the comprehensive USB Instructions provided with your printer or contact SHENGJINSH customer support.
8. Specifications
| Feature | Detail |
|---|---|
| Printhead | ESPON XP600 |
| High-Resolution | 5760*1440dpi, 2880*1440dpi, 1440*1440 dpi |
| Operating System | Windows 7-11 |
| Print Software | AcroRIP White ver10.3 |
| Print Area | 19.7 x 12.6 inches |
| Diameter of Bottle (for cylinder printing) | 0.78 - 4.3 inches |
| Maximum Height of Printable Bottle | 12.6 inches |
| Product Dimensions | 33 x 24.8 x 20.4 inches |
| Item Weight | 112 pounds |
| Material | Metal |
| Color | Black |

Figure 8.1: Printer dimensions and key specifications.
Ask a question about this manual
Ask about setup, troubleshooting, compatibility, parts, safety, or missing instructions. Manuals+ will review the question and use this page’s manual context to help answer it.