
MOUDOAUER MUSF122400000
MOUDOAUER MUSF122400000 MIDI Pad Controller User Manual
Model: MUSF122400000
1. Introduction
Thank you for purchasing the MOUDOAUER MUSF122400000 MIDI Pad Controller. This device is designed for music production, offering expressive control for triggering drums, samples, and other musical elements in studio recording and live performance environments. It features 16 RGB illuminated beat pads, assignable faders, buttons, and rotary knobs for versatile control over your music software and MIDI gear.

Figure 1.1: MOUDOAUER MUSF122400000 MIDI Pad Controller
The MOUDOAUER MUSF122400000 MIDI Pad Controller is a compact and powerful tool for music creators. It features a sleek design and intuitive layout for seamless integration into any setup.
2. Package Contents
Please verify that all items listed below are included in your package. If any items are missing or damaged, please contact customer support.
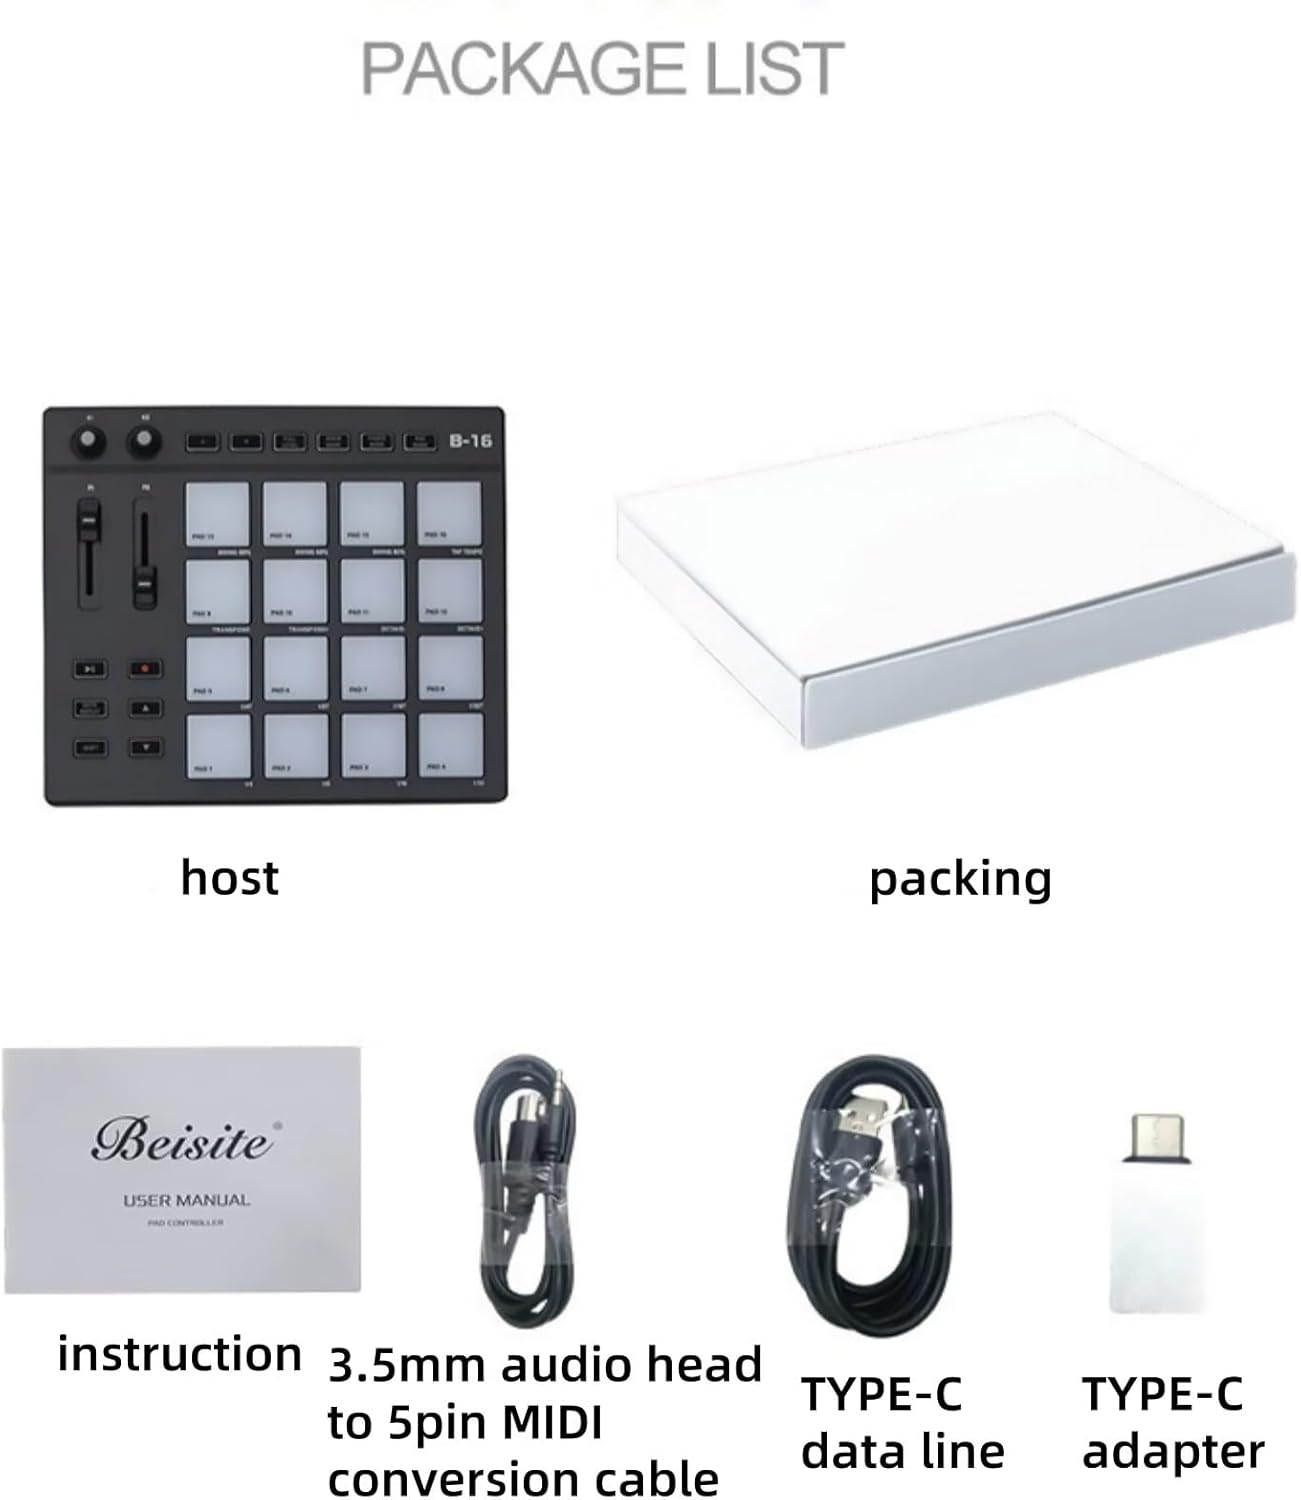
Figure 2.1: Package Contents
This image displays the complete package contents, ensuring you have all necessary components to begin using your MIDI Pad Controller.
- 1x MOUDOAUER MIDI Pad Controller
- 1x Instruction Manual
- 1x 3.5mm Audio Head to 5-pin MIDI Conversion Cable
- 1x Type-C Data Line (USB-A to USB-C)
- 1x Type-C Adapter (USB-C to USB-A)
3. Product Overview
Familiarize yourself with the layout and functions of the MIDI Pad Controller's control panel.

Figure 3.1: Control Panel Layout
This diagram illustrates the various controls and their locations on the MIDI Pad Controller, aiding in quick identification and understanding of each function.
- Assignable Knobs (K1, K2): Two rotary knobs that can be assigned to control various parameters in your music software.
- Assignable Faders (F1, F2): Two vertical faders that can be assigned to control volume, expression, or other continuous parameters.
- Assignable A/B Buttons: Two buttons (A, B) that can be assigned for various functions.
- Full Level Button: Activates full velocity for all pads, regardless of how softly they are struck.
- Knob Bank Button: Switches the function bank for the assignable knobs.
- Fader Bank Button: Switches the function bank for the assignable faders.
- Pad Bank Button: Switches the function bank for the 16 beat pads.
- Transfer Button: Used for data transfer or specific mode changes.
- Note Repetition Button: Activates note repeat function for rhythmic effects.
- Conversion Button: Used for converting or switching modes.
- Up/Down Buttons: Navigation buttons for selecting parameters or presets.
- 16 RGB Illuminated Beat Pads: Velocity-sensitive pads with customizable RGB lighting for triggering sounds and visual feedback.
The controller's compact size (approximately 215mm x 185mm x 30mm) and lightweight design make it suitable for various performance and studio setups, as shown in Figure 3.2.
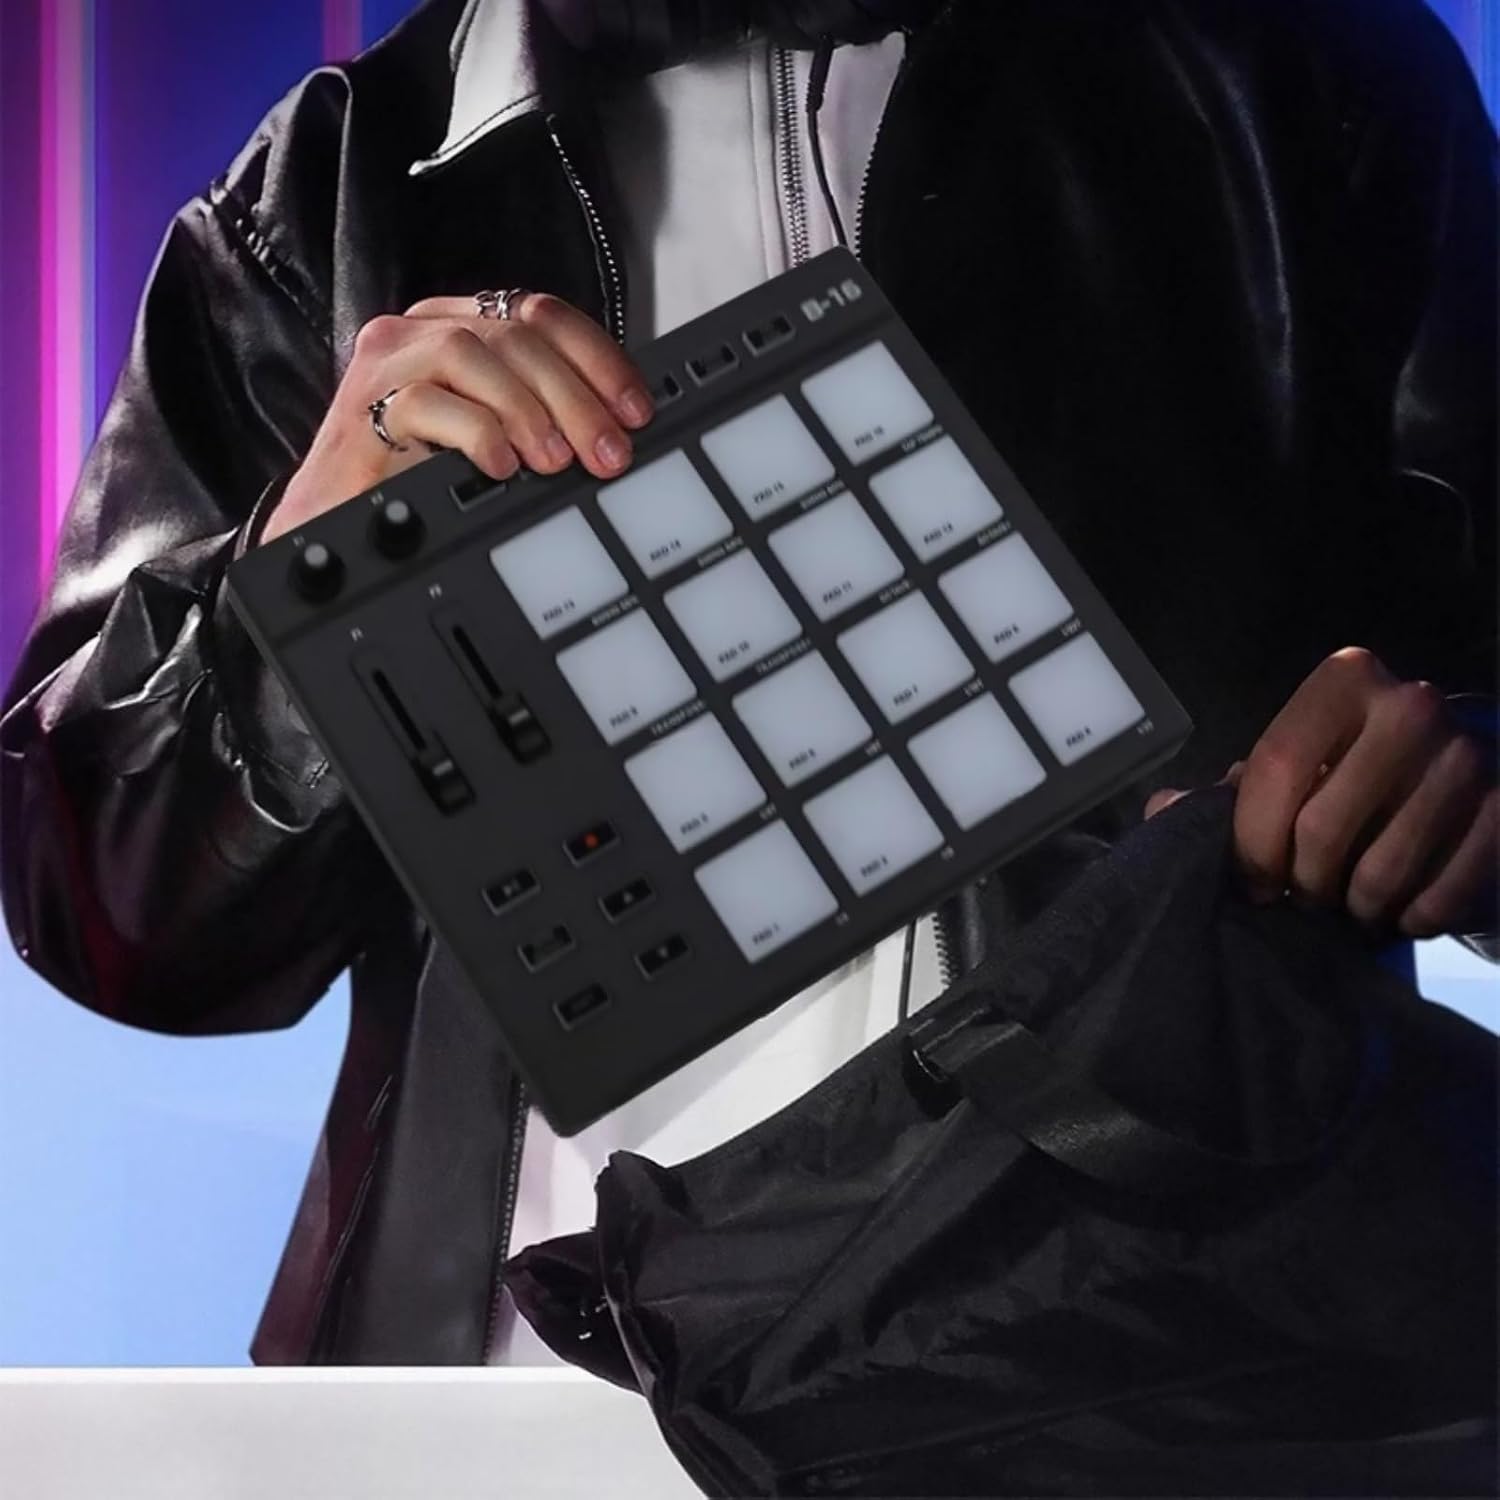
Figure 3.2: Portability of the MIDI Pad Controller
This image highlights the compact and portable design of the controller, making it easy to transport for on-the-go music production.
4. Setup and Connectivity
The MOUDOAUER MIDI Pad Controller offers flexible connectivity options for various devices.
4.1 Connecting to a Computer (PC/Mac)
- Connect one end of the provided Type-C Data Line (USB-A to USB-C) to the Type-C MIDI port on the controller.
- Connect the other end of the Type-C Data Line to an available USB port on your computer.
- The controller is class-compliant and should be automatically recognized by your operating system.
- Open your preferred Digital Audio Workstation (DAW) or music software (e.g., Ableton Live) and configure the MIDI input settings to recognize the MOUDOAUER MIDI Pad Controller.

Figure 4.1: Controller Connected to a Laptop
This image demonstrates the MIDI Pad Controller connected to a laptop, ready for use with music production software.
4.2 Connecting to a Phone/Tablet
- Connect one end of the provided Type-C Data Line (USB-A to USB-C) to the Type-C MIDI port on the controller.
- Use the provided Type-C Adapter (USB-C to USB-A) if your phone/tablet requires a USB-C connection, or an appropriate adapter for other port types (e.g., Lightning to USB Camera Adapter for iOS devices, not included).
- Connect the other end of the Type-C Data Line (or adapter) to your phone or tablet.
- Ensure your mobile device supports USB MIDI and configure your music application to recognize the controller.
4.3 MIDI Out Connection
The controller includes a 3.5mm MIDI Out port for connecting to external MIDI hardware.
- Connect the provided 3.5mm Audio Head to 5-pin MIDI Conversion Cable to the MIDI Out port on the controller.
- Connect the 5-pin DIN connector of the conversion cable to the MIDI In port of your external MIDI device (e.g., synthesizer, drum machine).

Figure 4.2: Wiring Instructions
This diagram provides clear visual instructions for connecting the MIDI Pad Controller to various devices, including computers and external MIDI gear.
5. Operation
This section details the basic operation of the MOUDOAUER MIDI Pad Controller.
5.1 Using the Beat Pads
- The 16 RGB illuminated pads are velocity-sensitive, meaning the sound's intensity will vary based on how hard you strike the pad.
- The RGB lighting provides visual feedback, often indicating pad status, velocity, or assigned color in your software.
- Press the Pad Bank button to switch between different pad assignments or banks, allowing access to more sounds than the physical 16 pads.
- Activate the Full Level button to ensure all pad strikes send maximum velocity, useful for consistent drum hits.
5.2 Assignable Controls (Knobs, Faders, Buttons)
- The two assignable rotary knobs (K1, K2) and two assignable faders (F1, F2) can be mapped to control parameters within your music software. Refer to your DAW's manual for MIDI mapping instructions.
- Use the Knob Bank and Fader Bank buttons to switch between different sets of assignments for these controls, expanding their functionality.
- The two assignable A/B buttons can also be mapped to various functions, such as mute, solo, or transport controls.
5.3 Special Functions
- Note Repetition: Press the Note Repetition button to activate rhythmic note repeats. Adjust parameters in your software for different repeat rates.
- Transfer Button: This button may be used for specific data transfer operations or to enter advanced configuration modes, depending on the software or firmware.
- Conversion Button: Used for switching between different operational modes or MIDI message types.
- Up/Down Buttons: Navigate through menus, presets, or parameter values when the controller is in a specific editing mode.
6. Maintenance
Proper care and maintenance will ensure the longevity of your MIDI Pad Controller.
- Cleaning: Use a soft, dry cloth to wipe the surface of the controller. For stubborn dirt, slightly dampen the cloth with water. Avoid using abrasive cleaners, solvents, or waxes, as these can damage the finish.
- Storage: Store the controller in a cool, dry place away from direct sunlight and extreme temperatures. If storing for extended periods, consider using the original packaging or a protective case.
- Handling: Avoid dropping the device or subjecting it to strong impacts. Do not place heavy objects on top of the controller.
- Liquid Exposure: Keep the controller away from liquids. If liquid enters the device, immediately disconnect it from power and contact customer support.
7. Troubleshooting
If you encounter issues with your MIDI Pad Controller, refer to the following common problems and solutions.
| Problem | Possible Cause | Solution |
|---|---|---|
| Controller not recognized by computer/DAW |
|
|
| Pads/controls not responding |
|
|
| RGB lights not working |
|
|
8. Specifications
| Feature | Detail |
|---|---|
| Brand | MOUDOAUER |
| Model Number | MUSF122400000 |
| Number of Pads | 16 (RGB Illuminated, Velocity-Sensitive) |
| Assignable Knobs | 2 |
| Assignable Faders | 2 |
| Assignable Buttons | 2 |
| Connectivity Technology | USB Type-C, 3.5mm MIDI Out |
| Power Source | Corded Electric (USB Powered) |
| Compatible Devices | Laptop, PC, Music Production Software, Phone, Tablet |
| Supported Software | Ableton Live (and other MIDI-compatible DAWs) |
| Dimensions (L x W x H) | 215mm x 185mm x 30mm (approx. 8.5in x 7.3in x 1.2in) |
| Material | Plastic + Silicone |
9. Warranty and Support
9.1 Warranty Information
The MOUDOAUER MUSF122400000 MIDI Pad Controller comes with a universal warranty. For specific details regarding warranty coverage, duration, and terms, please refer to the warranty card included in your product packaging or contact your retailer.
9.2 Customer Support
If you require technical assistance, have questions about product functionality, or need to report a defect, please contact MOUDOAUER customer support through the retailer where you purchased the product. Please have your model number (MUSF122400000) and purchase date available when contacting support.
Ask a question about this manual
Ask about setup, troubleshooting, compatibility, parts, safety, or missing instructions. Manuals+ will review the question and use this page’s manual context to help answer it.