1. Introduction
Thank you for purchasing the ODK Adult Bedroom Dresser. This manual provides essential information for the safe assembly, operation, and maintenance of your new furniture. Please read these instructions carefully before assembly and retain them for future reference.

Image 1.1: The ODK Adult Bedroom Dresser, showcasing its retro style, nine fabric drawers, integrated LED lighting, and convenient charging ports on the top surface.
2. Safety Information
- Always follow assembly instructions carefully. Incorrect assembly can lead to instability and injury.
- Ensure all screws and fasteners are securely tightened before use. Periodically check and re-tighten as necessary.
- To prevent tipping, always use the provided anti-tipping anchors to secure the dresser to a wall.
- Do not allow children to climb on the dresser or hang from drawers.
- Do not overload drawers. Distribute weight evenly.
- Keep electrical components (power outlets, USB ports, LED strips) away from water and moisture.
- Only use the power outlets and USB ports for devices within their specified voltage and current limits (220-250V/15A for sockets, 5V/2A for USB).
3. Package Contents
Before beginning assembly, please verify that all parts listed below are present and undamaged. If any parts are missing or damaged, please contact customer service.
- Dresser Frame Components (steel frame, wooden top panels)
- 9 Fabric Drawers (cationic fabric)
- Drawer Handles
- Power Strip with 2 EU Sockets and 2 USB Ports
- LED Light Strip with Remote Control
- Adjustable Feet
- Anti-Tipping Anchors
- Assembly Hardware (screws, bolts, Allen wrench)
- Instruction Manual
4. Setup and Assembly
Assembly is designed to be straightforward. Each part is identified by a letter or number. Please follow the detailed instructions provided in the separate assembly guide included in your package. A general overview of the assembly process is provided below.
4.1. Tools Required
- Phillips Head Screwdriver (not included)
- Allen Wrench (included)
4.2. Assembly Steps Overview
- Unpack and Identify Parts: Lay out all components and hardware. Refer to the parts list in the assembly guide to ensure everything is present.
- Assemble the Steel Frame: Connect the vertical and horizontal steel bars using the provided screws. Ensure the X-shaped crossbar is installed at the back for added stability.
- Attach Top Panels: Secure the wooden top panels to the assembled steel frame.
- Install Power Strip: Carefully insert the power strip into its designated slot on the top panel. Connect the power cord.
- Prepare Fabric Drawers: Insert the bottom support panels into each fabric drawer and attach the handles.
- Insert Drawers: Slide the assembled fabric drawers into their respective compartments in the frame.
- Install LED Strip: Adhere the LED light strip to the designated area, typically under the open shelves. Connect it to the power source.
- Attach Anti-Tipping Anchors: For safety, secure the dresser to a wall using the anti-tipping anchors.
- Adjust Feet: Level the dresser by adjusting the feet at the bottom.

Image 4.1: Diagram illustrating the overall dimensions of the dresser (130cm L x 30cm W x 97cm H) and individual drawer dimensions (41cm L x 29cm W x 22cm H for larger, 41cm L x 29cm W x 15cm H for smaller).

Image 4.2: Close-up view of the dresser's safety features, including the anti-tipping strap for wall attachment and adjustable feet for stability on uneven surfaces.
5. Operating Instructions
5.1. Using the Power Outlets and USB Ports
The dresser is equipped with a built-in power strip for convenient charging of your electronic devices.
- Plug the dresser's main power cord (150cm length) into a standard wall outlet.
- Use the 2 EU standard power sockets (220-250V/15A) for larger appliances or chargers.
- Use the 2 USB ports (5V/2A) for charging smartphones, tablets, and other USB-powered devices.
- Ensure devices are compatible with the specified voltage and current to prevent damage.

Image 5.1: Detail of the integrated power strip, showing two power outlets and two USB ports, along with the 150cm power cord.
5.2. Controlling the LED Lighting
The integrated LED light strip offers customizable ambiance for your room.
- The LED strip is controlled via a remote control (included).
- Color Selection: Choose from 10 different colors to match your mood or decor.
- Dynamic Modes: Select from 10 dynamic lighting modes for various effects.
- Brightness Adjustment: Adjust the light intensity with 7 brightness settings.
- Memory Function: The LED system retains your last selected settings when turned off and on again.

Image 5.2: The dresser illuminated with blue LED lighting, highlighting the remote control and its functions for 10 dynamic modes, memory function, 7 brightness levels, and 10 light colors.
5.3. Utilizing Storage Space
The dresser features 9 fabric drawers and open shelving for organized storage.
- Use the drawers for clothing, accessories, or other personal items. The cationic fabric is soft and wear-resistant.
- The open shelves are ideal for displaying books, decorative items, or frequently accessed essentials.
- The double separation design allows for efficient classification of different items.
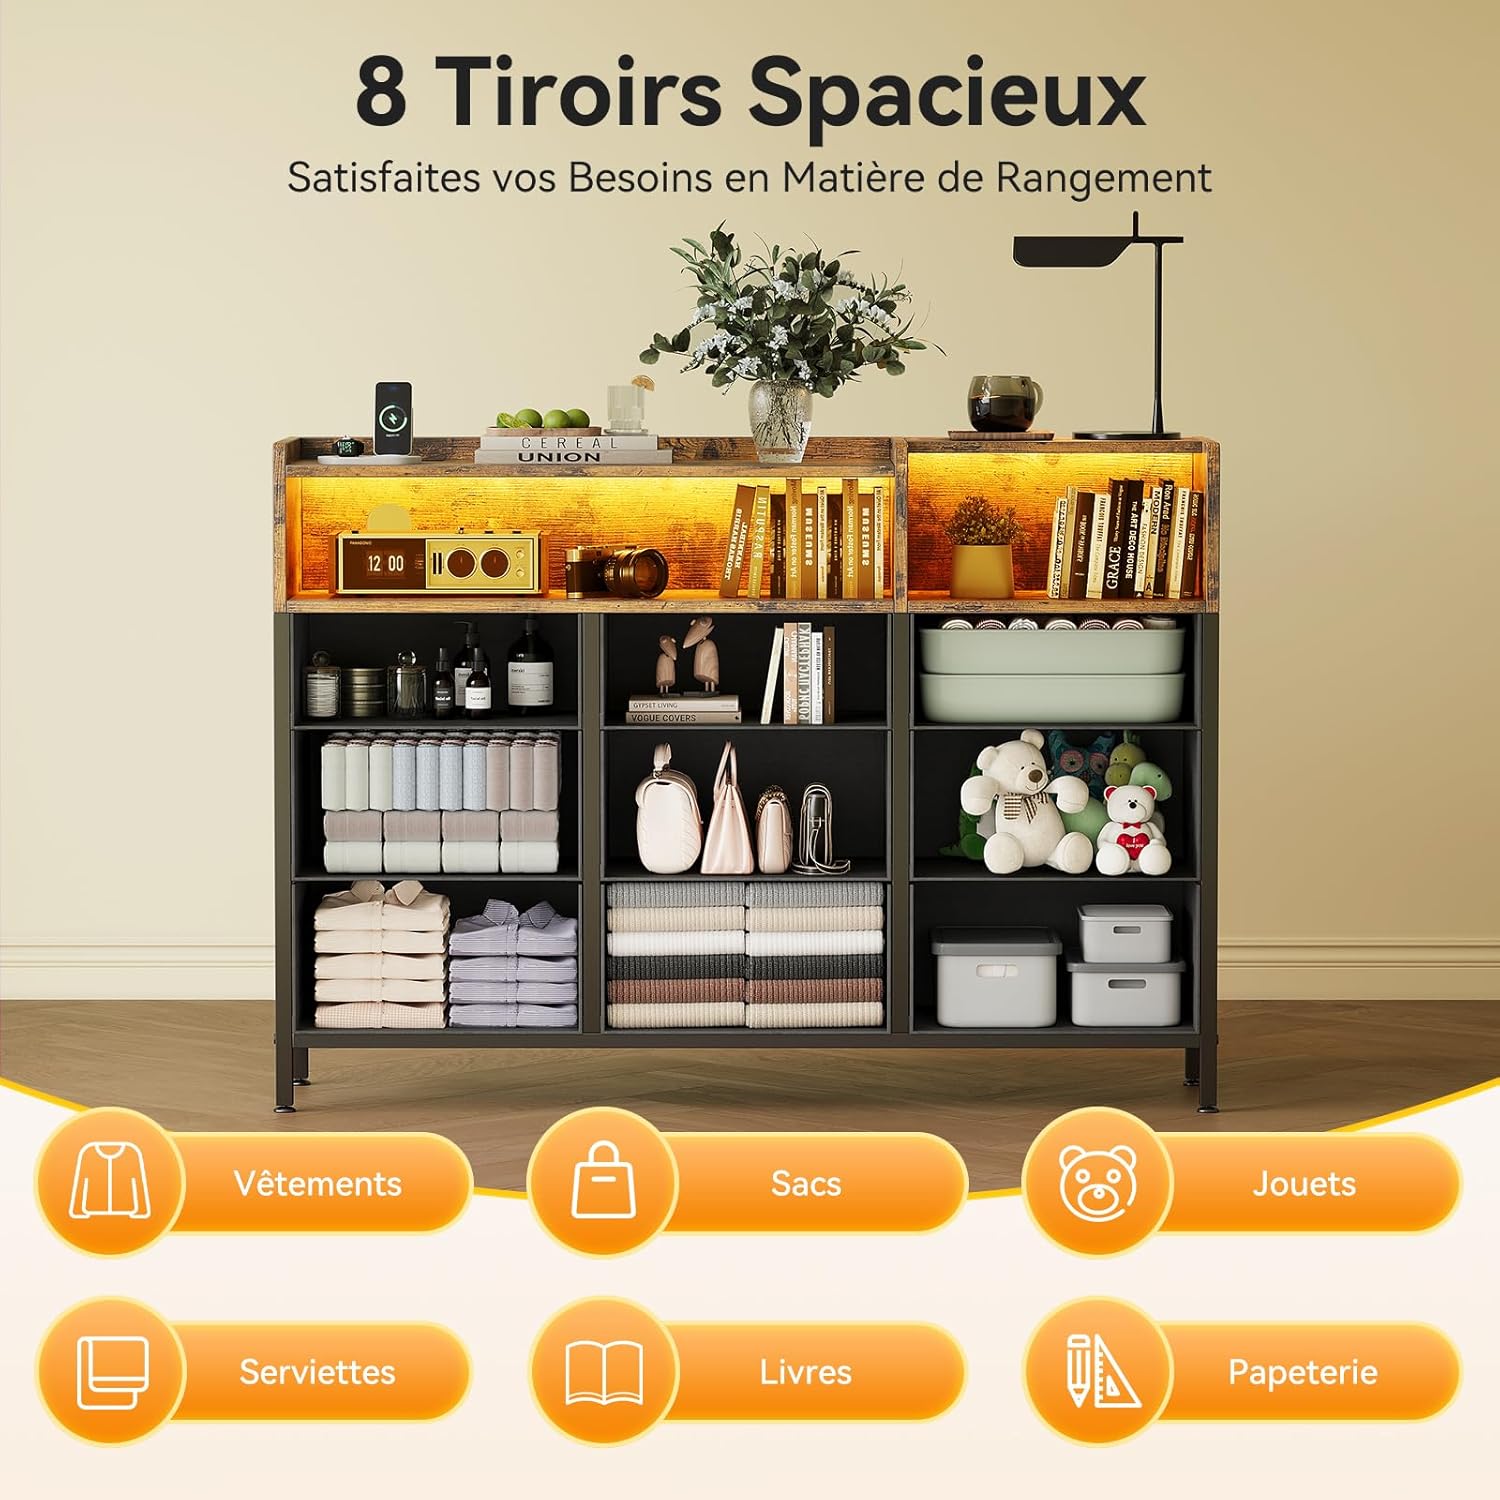
Image 5.3: An overhead view of the dresser with several drawers pulled out, demonstrating organized storage for clothes, bags, toys, towels, books, and stationery.
6. Maintenance
6.1. Cleaning
- Frame and Panels: Wipe surfaces with a soft, damp cloth. Avoid harsh chemicals or abrasive cleaners that could damage the finish.
- Fabric Drawers: Spot clean with a mild detergent and a damp cloth. Allow to air dry completely. Do not machine wash.
- Electrical Components: Ensure the dresser is unplugged before cleaning around the power outlets and USB ports. Use a dry cloth to wipe these areas.
6.2. General Care
- Periodically check all screws and fasteners to ensure they remain tight. Re-tighten if necessary.
- Avoid placing hot items directly on the wooden surfaces. Use coasters or protective pads.
- Keep the dresser away from direct sunlight and excessive humidity to prevent warping or fading.
7. Troubleshooting
| Problem | Possible Cause | Solution |
|---|---|---|
| Dresser is wobbly/unstable. | Uneven floor; loose fasteners; anti-tipping kit not installed. | Adjust the leveling feet at the bottom. Check and tighten all screws. Install the anti-tipping anchors to a wall. |
| Power outlets/USB ports not working. | Dresser not plugged in; wall outlet not working; faulty device. | Ensure the dresser's power cord is securely plugged into a functional wall outlet. Test the wall outlet with another device. Try a different device in the dresser's ports. |
| LED lights not turning on or changing colors. | LED strip not connected; remote control battery dead; remote out of range. | Check the connection of the LED strip to its power source. Replace the remote control battery. Ensure the remote is pointed at the LED receiver. |
| Drawers are difficult to open/close. | Overloaded drawer; items obstructing movement; drawer not assembled correctly. | Reduce the weight in the drawer. Check for any items blocking the drawer's path. Re-check drawer assembly according to instructions. |
8. Specifications
| Feature | Detail |
|---|---|
| Brand | ODK |
| Model | B0DP4KH2Y6 |
| Color | Retro Style |
| Overall Dimensions (L x W x H) | 130 x 30 x 97 cm |
| Item Weight | 21.2 Kilograms |
| Number of Drawers | 9 (fabric) |
| Power Outlets | 2 x EU Standard (220-250V/15A) |
| USB Ports | 2 x (5V/2A) |
| Power Cord Length | 150 cm |
| LED Colors | 10 adjustable colors |
| LED Modes | 10 dynamic modes |
| LED Brightness | 7 settings |
| Safety Features | Anti-tipping anchors, adjustable feet, stable steel frame |
9. Warranty and Support
ODK offers a 30-day free return and exchange service for this product. Our professional 24-hour online customer service team is available to resolve any quality, installation, or other issues you may encounter as quickly as possible.
For support, please refer to the contact information provided with your purchase or visit the ODK brand store online.
Online Support: Visit ODK Store