1. Introduction
Thank you for choosing the Pisleto 5.0 Cuft Large Home Safe, Model KJA-2873. This safe is designed to provide secure storage for your valuables, important documents, and personal items. It features a robust steel construction, an electronic keypad for convenient access, and an alarm system for enhanced security. This manual will guide you through the setup, operation, and maintenance of your new safe. Please read these instructions carefully before using the product and retain them for future reference.
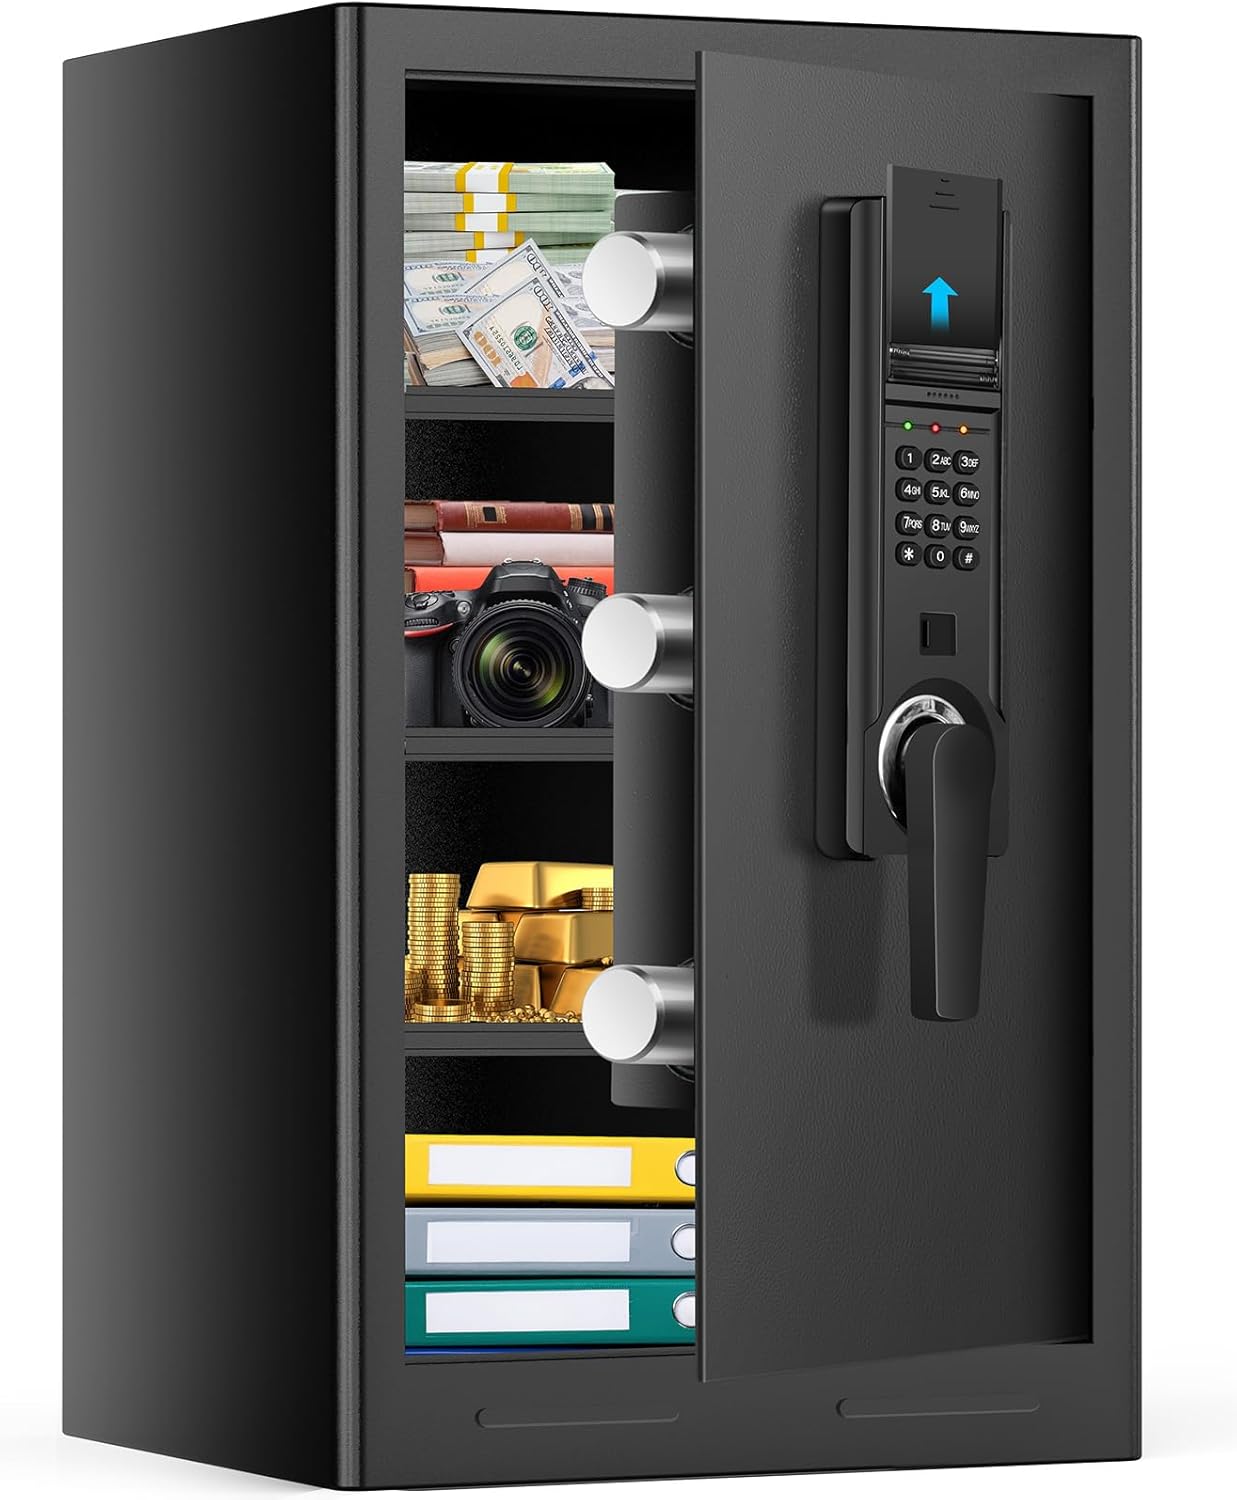
This image shows the Pisleto 5.0 Cuft Home Safe with its door open, revealing the spacious interior with adjustable shelves. Various items such as money, gold, a camera, and documents are neatly stored, highlighting the safe's capacity and organizational capabilities. The electronic keypad is visible on the door.
2. Safety Information
- Emergency Keys: Always keep the emergency keys in a secure location away from the safe. Do not store them inside the safe.
- Child Safety: To prevent unauthorized access and potential harm, ensure that firearms, medicines, and other dangerous items are stored securely within the safe and out of reach of children.
- Installation: For maximum security, anchor the safe to a wall or floor using the provided hardware. This prevents unauthorized removal of the safe.
- Water Resistance: Please note that this safe is not water resistant. While it offers fire resistance, it should not be exposed to water or placed in areas prone to flooding.
- Battery Safety: Use only the specified type and number of batteries. Do not mix old and new batteries or different types of batteries. Replace all batteries at the same time.

This image highlights the importance of using the safe to keep dangerous items like firearms and medicines out of reach of children. It shows a child looking at a gun on a table and another child attempting to open the safe, reinforcing the safe's role in household safety.
3. Package Contents
Verify that all components are present in the package:
- 1 x Pisleto 5.0 Cuft Home Safe
- 1 x Instruction Manual
- 2 x Emergency Keys
- 4 x Expansion Screws (for mounting)
- 1 x Floor Mat (optional installation)
Note: This safe does not come equipped with a fireproof bag.

This image displays the accessories included with the Pisleto Home Safe: two spare keys, four expansion screws for mounting, the user manual, and a floor mat.
4. Product Features
- Sturdy Steel Construction: Constructed from thickened alloy steel with a 1.7-inch (45mm) door and three solid deadbolts for enhanced security against forced entry. Features hidden anti-pry hinges and a recessed door.
- Electronic Keypad: Programmable digital lock for easy and secure access.
- Dual Unlocking Methods: Access via electronic keypad code or emergency backup keys.
- Smart Alarm System: Activates an alarm after three consecutive incorrect password attempts, temporarily disabling the keypad.
- Silent Mode: Option to mute keypad sounds for discreet operation.
- External Battery Pack: Convenient external battery access for easy replacement of 4 AA batteries (not included).
- Removable Shelves: Three adjustable shelves allow for flexible storage configurations to accommodate various item sizes.
- Internal LED Light: Automatically illuminates when the door is opened, improving visibility in dark environments.
- Anti-Theft Anchoring: Pre-drilled holes and included expansion screws for securing the safe to a floor or wall.

This image details the anti-theft mechanisms of the safe. It shows the anti-drilling protection around the keypad, the robust 45mm solid locking bolts, and the seamless, recessed door design engineered to resist prying attempts.

This image provides close-ups of key safe components. It highlights the 3x20mm solid steel locking bolts for enhanced security, the internal LED light for visibility in dark environments, and the reset button used for initial setup or password recovery.
5. Setup
5.1 Unpacking and Initial Access
- Carefully remove the safe from its packaging.
- Locate the emergency keys. These are typically found in a small bag attached to the safe or within the packaging. Do not store these keys inside the safe.
- Insert one of the emergency keys into the keyhole located behind the keypad cover (usually a small panel that slides or pops off). Turn the key clockwise while simultaneously turning the handle to open the safe door.
5.2 Battery Installation
The safe requires 4 AA batteries (not included) for the electronic keypad. The battery compartment is located externally for easy access.
- Locate the external battery compartment on the keypad unit.
- Open the battery compartment cover.
- Insert 4 new AA batteries, ensuring correct polarity (+/-).
- Close the battery compartment cover securely.
5.3 Setting Your User Code
It is recommended to set a personal user code immediately after battery installation.
- With the safe door open, locate the red reset button on the inside of the door, near the hinge.
- Press the reset button. You will hear a beep, and the indicator light on the keypad will flash.
- Within 5 seconds, enter your desired 3-8 digit code on the keypad, then press the '#' key.
- The indicator light will flash again, confirming your new code is set.
- Test the new code: With the door still open, enter your new code and press '#'. The safe should unlock. If it does not, repeat the steps to set the code.
5.4 Mounting the Safe (Optional but Recommended)
Anchoring the safe to a wall or floor significantly increases its security.
- Choose a suitable location for the safe.
- Mark the drilling points through the pre-drilled holes at the back or bottom of the safe.
- Drill pilot holes into the wall or floor using an appropriate drill bit for your surface type.
- Align the safe with the drilled holes and insert the expansion screws.
- Tighten the screws firmly to secure the safe in place.

This image provides a step-by-step diagram for anchoring the safe to a wall using expansion screws. It shows drilling holes, inserting screws, and securing the safe, with a picture frame covering the installed safe for a hidden appearance.
5.5 Adjusting Shelves
The safe includes three removable shelves for flexible storage.
- To remove a shelf, simply lift it slightly and pull it out.
- To install a shelf, align it with the desired support brackets and lower it into place.
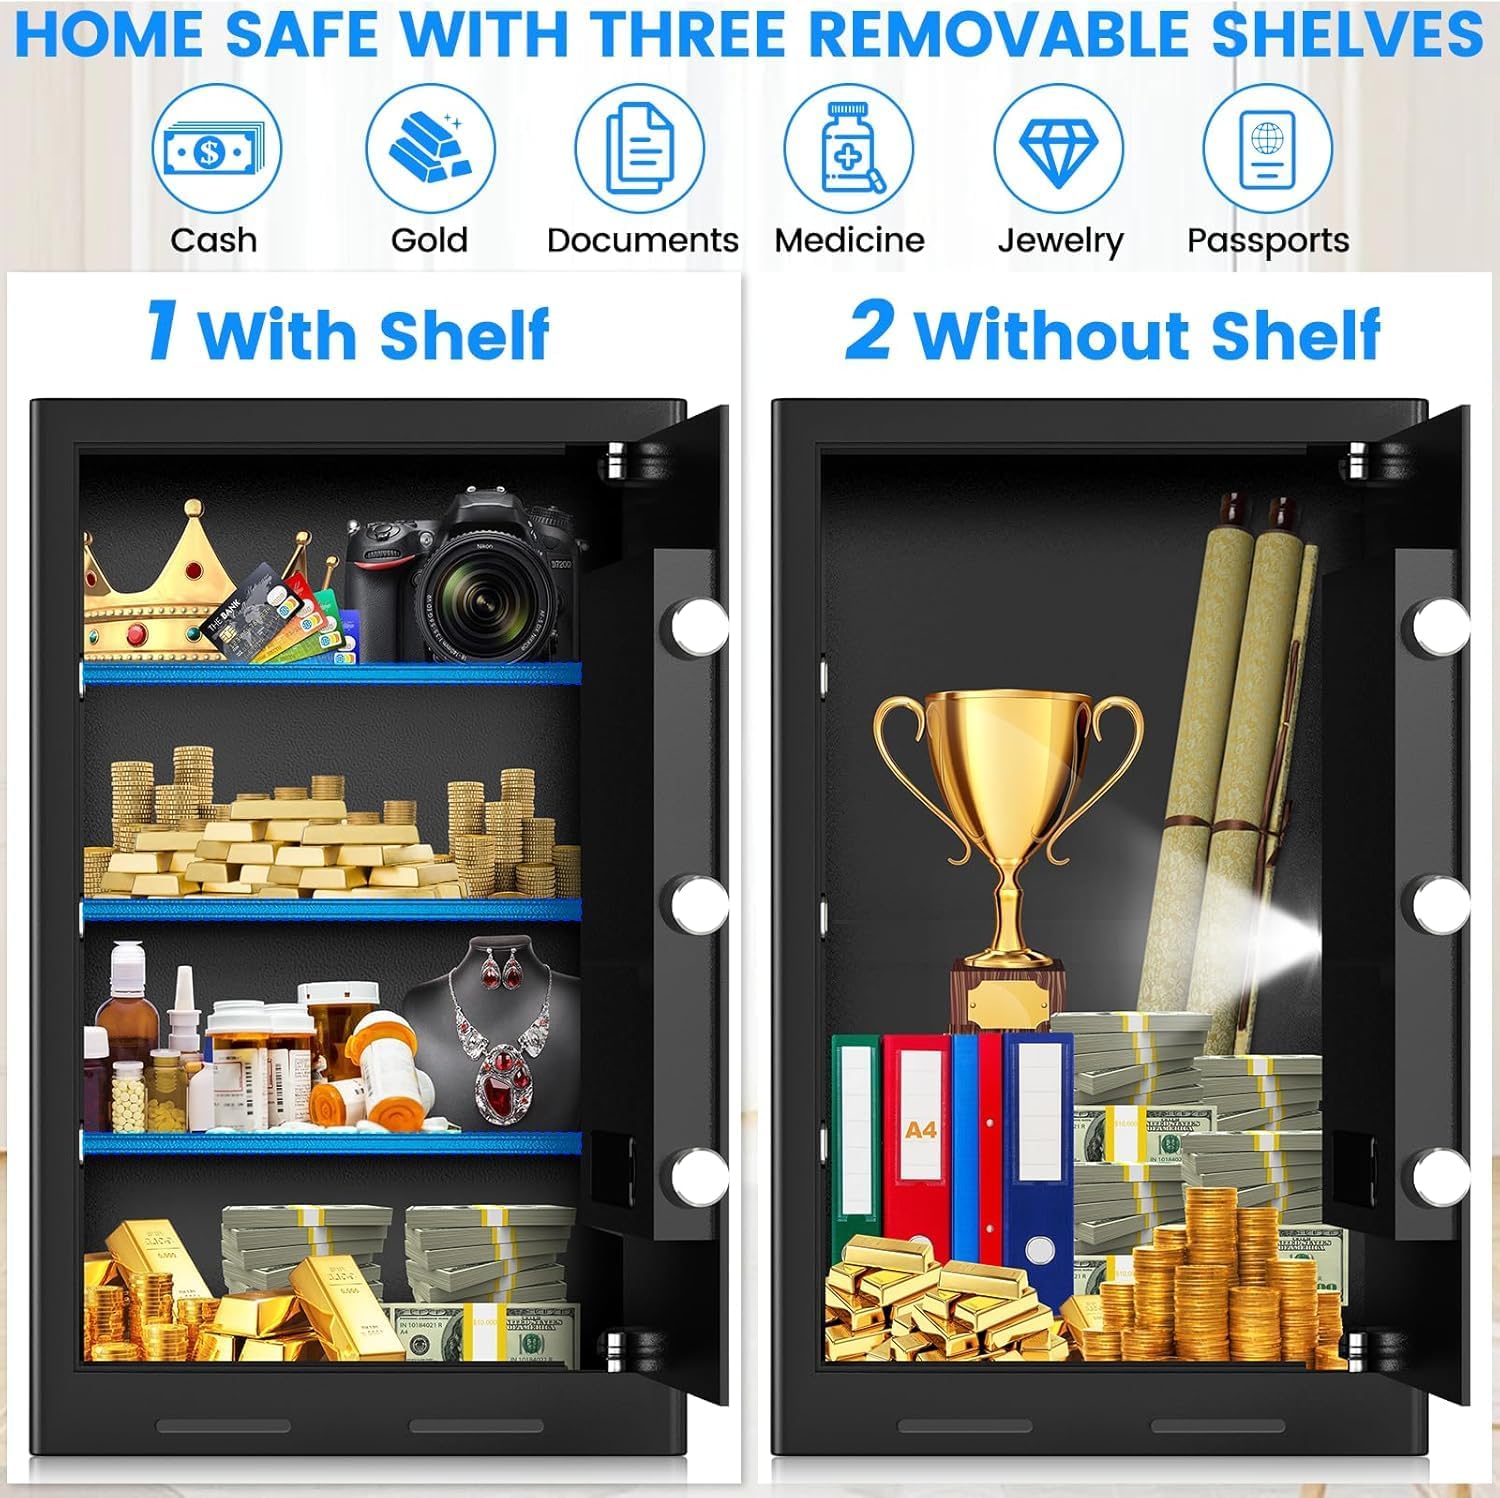
This image displays the interior of the safe, illustrating how the three removable shelves can be configured. One side shows the safe with shelves for organizing smaller items like cash, gold, documents, medicine, jewelry, and passports. The other side shows the safe without shelves, accommodating taller items like trophies or rolled documents.
6. Operating Instructions
6.1 Opening the Safe with Your User Code
- Enter your 3-8 digit user code on the keypad.
- Press the '#' key.
- The indicator light will turn green, and you will hear a beep.
- Within 5 seconds, turn the handle clockwise to open the safe door.
6.2 Opening the Safe with Emergency Key
Use the emergency key if you forget your code or if the batteries are depleted.
- Remove the keypad cover to expose the emergency keyhole.
- Insert the emergency key into the keyhole and turn it clockwise.
- While holding the key turned, rotate the handle clockwise to open the safe door.
- Once open, you can replace the batteries or reset your user code.

This image demonstrates the two primary methods for unlocking the safe. It shows the electronic keypad for password entry and the use of a backup key for emergency access, highlighting the external battery compartment.
6.3 Alarm System
The safe is equipped with an alarm system to deter unauthorized access.
- If an incorrect password is entered 3 times in a row, the alarm will activate, and the safe will lock for 20 seconds. During this time, the keypad will be temporarily disabled.
- If an incorrect password is entered 6 times in a row, the safe will lock for 5 minutes.
- To stop the alarm, enter the correct user code or use the emergency key.
6.4 Silent Mode
To operate the safe discreetly, you can activate silent mode.
- To turn on/off keypad sounds, press and hold the '1' key on the keypad.

This image illustrates the safe's security and convenience features. It shows a red alarm light indicating the continuous password error alarm system, which locks the safe for 20 seconds after 3 incorrect attempts. It also depicts a sleeping child, emphasizing the silent mode feature that can be activated by pressing and holding '1' on the keypad to turn off keyboard sounds.

This image shows the safe in an alarm state, with the keypad temporarily disabled. It also reminds users of the silent mode (press and hold '1' to mute) and the option to unlock using the backup key during emergencies.
7. Maintenance
7.1 Battery Replacement
When the batteries are low, the indicator light may flash red or the keypad may not respond. Replace all 4 AA batteries promptly.
- Open the external battery compartment.
- Remove the old batteries.
- Insert 4 new AA batteries, ensuring correct polarity.
- Close the battery compartment cover.
7.2 Cleaning
To clean the safe, use a soft, damp cloth. Avoid abrasive cleaners or solvents that could damage the finish or electronic components.
8. Troubleshooting
- Safe will not open with code:
- Ensure batteries are fresh and correctly installed.
- Verify you are entering the correct code followed by '#'.
- If the keypad is disabled due to multiple incorrect attempts, wait for the lockout period to expire or use the emergency key.
- Forgotten User Code:
- Use the emergency key to open the safe.
- Once the door is open, press the red reset button on the inside of the door and follow the steps in Section 5.3 to set a new user code.
- Alarm sounds unexpectedly:
- This indicates incorrect code entry. Ensure no one is attempting to open the safe with wrong codes.
- Enter the correct code or use the emergency key to silence the alarm.
- Keypad not responding:
- Check battery levels and replace if necessary.
- If the safe is in alarm lockout mode, wait for the timer to expire.
9. Specifications
| Brand | Pisleto |
| Model Number | KJA-2873 |
| Exterior Dimensions (D x W x H) | 12.2" x 14.96" x 23.62" (31cm x 38cm x 60cm) |
| Capacity | 5.0 Cuft (4.2 Cubic Feet listed in some specifications) |
| Item Weight | 41.9 pounds |
| Lock Type | Electronic Combination Lock |
| Material | Alloy Steel |
| Color | Black |
| Special Features | Anti-Theft, Alarm System, Combination Lock, 3 Removable Shelves, Sensor Light |
| Mounting Type | Wall/Floor Mount |
| Water Resistance Level | Not Water Resistant |
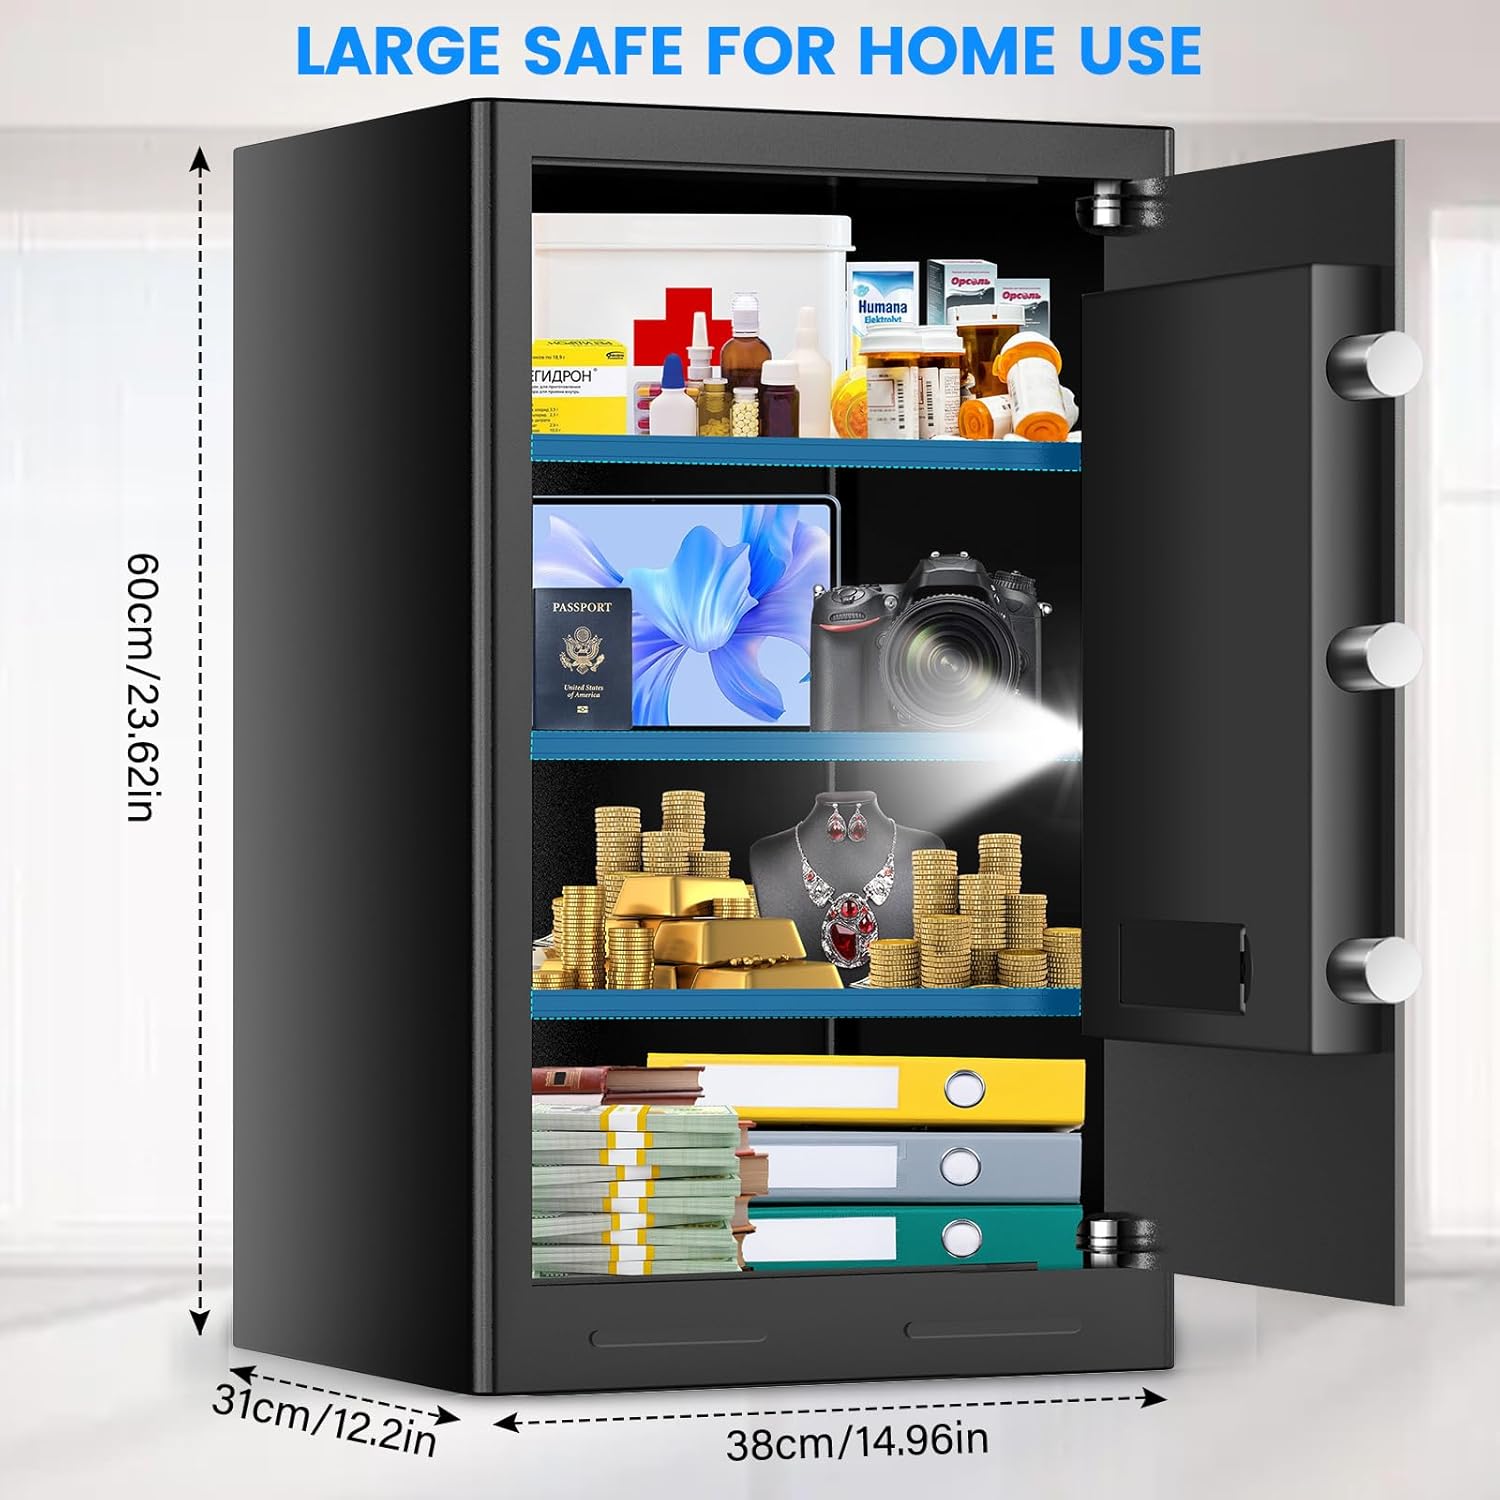
This image illustrates the external dimensions of the Pisleto 5.0 Cuft Home Safe, showing a height of 23.62 inches (60cm), a width of 14.96 inches (38cm), and a depth of 12.2 inches (31cm).
10. Warranty and Support
Pisleto is committed to providing quality products and customer satisfaction. For any questions, concerns, or support needs regarding your safe, please contact our customer service team.
- Response Time: Our team aims to respond to inquiries quickly.
- Return Policy: Please refer to your purchase platform's return policy for details on 30-day money-back and replacement options.
- Warranty Service: The product typically includes a warranty period. Please check your purchase documentation for specific warranty terms.
- After-Sales Service: We offer lifelong after-sales service for our products.
How to Contact Support:
Login to your Amazon account, navigate to 'Your orders', find the order ID for your safe, and click 'Contact seller'.

This image depicts customer service representatives, symbolizing the available support for the product, including 24-hour reply, 30-day free return, and lifetime customer service.