1. Introduction
The Segutage SVWL-8040 Digital Humidity Controller is designed for precise measurement and control of air humidity. It features a wide humidity measuring range, a 3-bit LED digital display, and robust construction suitable for various environments. This manual provides essential information for the safe and effective use of your humidity controller.
2. Product Overview
2.1 Components
- Digital Humidity Controller Unit
- External Humidity Probe/Sensor
2.2 Key Features
- Accurate Humidity Control: Provides stable performance and precise humidity management.
- Robust Shell Design: Waterproof and dustproof casing for durability in diverse conditions.
- Built-In Humidity Correction Function: Enhances measurement accuracy.
- 3-Bit LED Digital Display: Clear and easily readable display of humidity levels.
- Wide Humidity Measuring Range: Measures and controls humidity from 1%RH to 99%RH.
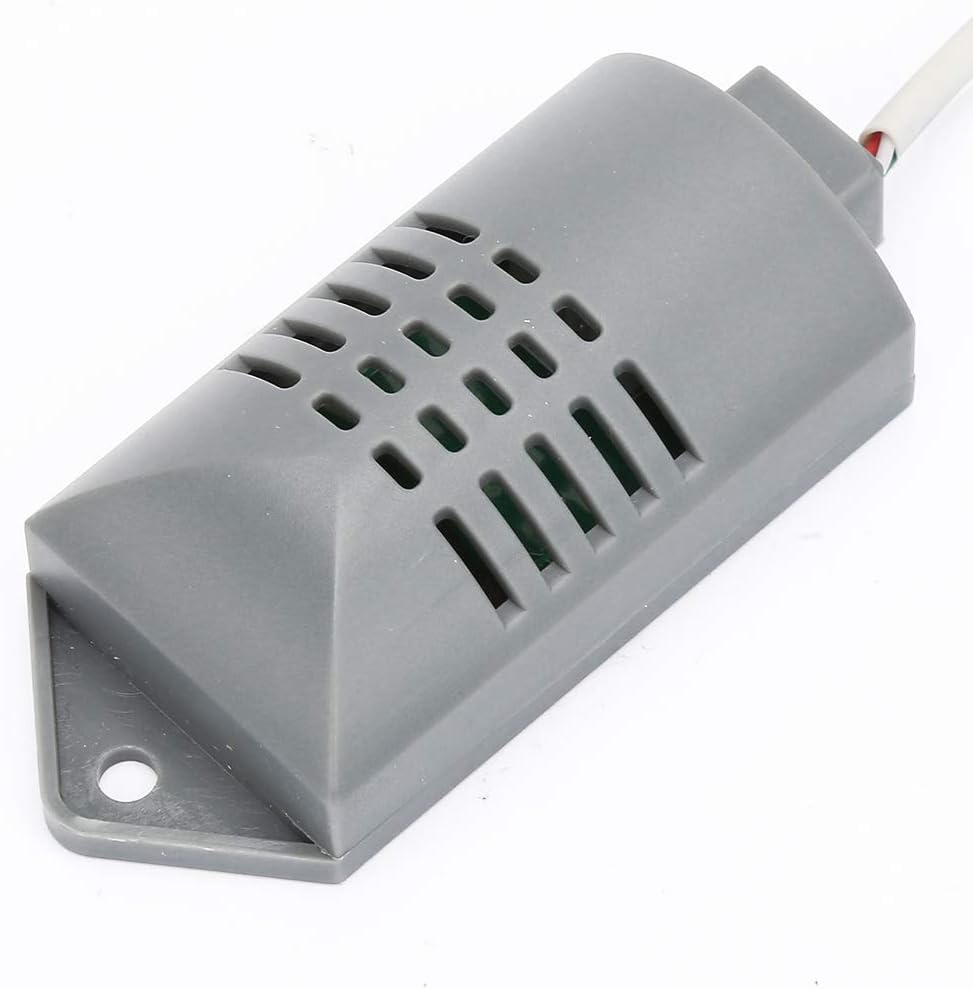
2.3 Product Visuals


3. Specifications
| Specification | Value |
|---|---|
| Model | SVWL-8040 |
| Humidity Measuring Range | 1%RH - 99%RH |
| Humidity Control Range | 1%RH - 99%RH |
| Measuring Error | 0.03 |
| Current (Maximum) | 200mA |
| Data Retention | Yes |
| Operating Temperature | 0~50℃ |
| Storage Temperature | -10~60℃ |
| Dimensions (L x W x H) | 84mm x 80mm x 38mm (3.3 x 3.1 x 1.5 inches) |
| Item Weight | 5.3 ounces |
| Material | Plastic |

4. Setup and Installation
4.1 Wiring Instructions
Proper wiring is crucial for the safe and correct operation of the humidity controller. Refer to the diagram below for connection details. Ensure all connections are secure before powering on the device.
- Power Input: Connect the main power supply to terminals 1 and 2 (AC220V, AC110V, DC12V, or DC24V as indicated on the unit).
- Load Output: Connect the device to be controlled (e.g., humidifier, dehumidifier) to terminals 3 and 4.
- Sensor Connection: Connect the external humidity sensor to the designated sensor terminals.
Caution: Incorrect wiring can damage the device or pose a safety hazard. If you are unsure about the wiring process, consult a qualified electrician.
5. Operating Instructions
5.1 Power On/Off
- To power on, ensure all wiring is correct and connect the controller to a power source. The LED display will illuminate.
- To power off, disconnect the controller from the power source.
5.2 Setting Humidity Levels
- Press the 'Set' button once. The display will flash, indicating it is in setting mode.
- Use the 'Up arrow' and 'Down arrow' buttons to adjust the desired humidity set point.
- Press the 'Set' button again to confirm the setting and exit setting mode. The display will return to showing the current humidity.
5.3 Reset Function
- Press the 'Rst' button to reset the controller to its factory default settings or to clear certain error states. Refer to the specific error codes if applicable.
6. Maintenance
- Cleaning: Regularly wipe the controller's surface with a soft, dry cloth. Do not use abrasive cleaners or solvents.
- Sensor Care: Keep the humidity sensor clean and free from dust or debris to ensure accurate readings. Avoid submerging the sensor in liquids.
- Inspection: Periodically check all wiring connections for tightness and signs of wear or damage.
7. Troubleshooting
- Display Not Lighting Up: Check power connections and ensure the power source is active. Verify correct voltage input.
- Inaccurate Readings: Ensure the humidity sensor is clean and properly connected. Avoid placing the sensor in direct airflow or near heat sources that could affect readings.
- Controller Not Activating Load: Verify the load device is correctly wired to terminals 3 and 4 and is functional. Check the set humidity point against the current humidity.
- Buttons Unresponsive: Disconnect power, wait a few seconds, and reconnect. If the issue persists, contact support.
8. Safety Information
Please read and understand all safety warnings before operating this device.

- This device is intended for use under the direct supervision of an adult.
- Do not attempt to modify or repair the device yourself. Refer all servicing to qualified personnel.
- Ensure the power supply matches the specifications indicated on the controller.
- Keep the device away from water and excessive moisture, unless specifically designed for such environments.
- Disconnect power before performing any maintenance or wiring changes.