MAX DISPOSER A400 (MD37G)
MAX DISPOSER A400 Garbage Disposal 1/2 HP Instruction Manual
Model: A400 (MD37G) | Brand: MAX DISPOSER
1. Introduction
This manual provides comprehensive instructions for the installation, operation, maintenance, and troubleshooting of your new MAX DISPOSER A400 1/2 HP Garbage Disposal. Please read this manual thoroughly before installation and use to ensure safe and efficient operation of the appliance.

Figure 1: MAX DISPOSER A400 1/2 HP Garbage Disposal unit.
2. Important Safety Information
Always follow basic safety precautions when using electrical appliances to reduce the risk of fire, electric shock, or injury to persons.
- Read all instructions before using the appliance.
- To reduce the risk of injury, close supervision is necessary when an appliance is used near children.
- Do not put fingers or other foreign objects into the garbage disposal opening.
- Do not attempt to repair or replace any part of the disposal unless specifically recommended in this manual. All other servicing should be referred to a qualified technician.
- Always turn off the power to the disposal before attempting to clear a jam or remove an object from the grinding chamber.
- Do not dispose of large whole bones, corn husks, artichokes, or other fibrous materials that can clog the drain.
- Do not dispose of glass, plastic, metal, or other non-food items.
- Do not pour grease or oil down the disposal.

Figure 2: Overview of key safety and design features including heavy-duty motor and stainless steel components.
3. Package Contents
Verify that all components listed below are included in your package:
- Garbage Disposal Unit (1/2 HP)
- Stopper
- Pre-installed Power Cord and Plug (3ft)
- L-tube
- Gasket
- Hex Wrench
- Installation Instructions (this manual)
- Screws

Figure 3: Visual representation of the product dimensions and included accessories.
4. Product Specifications
| Feature | Specification |
|---|---|
| Model Number | MD37G (A400) |
| Horsepower | 1/2 HP |
| Voltage | 120 Volts |
| Item Weight | 13.46 pounds |
| Product Dimensions (D x W x H) | 6.01 x 6.01 x 12.52 inches |
| Capacity | 800 Milliliters (27.1 oz) |
| Material | Stainless Steel (grinding components) |
| Color | BLACK |
| Power Source | Corded Electric |
| Dishwasher Port | Standard 0.9 inch |
| Noise Level | ≤ 65dB |

Figure 4: Key features and specifications of the MAX DISPOSER A400.
5. Installation (Setup)
The MAX DISPOSER A400 features a three-bolt installation system designed for ease of assembly. While professional installation is always recommended, this guide provides steps for DIY installation.
5.1 Before You Begin
- Ensure power to the sink area is turned off at the circuit breaker.
- Gather necessary tools: screwdriver, pliers, plumber's putty, safety glasses.
- If connecting to a dishwasher, ensure the dishwasher knockout plug on the disposal is removed. Use a screwdriver to push it out from the inside of the dishwasher inlet port.
5.2 Removing Old Disposal (if applicable)
- Disconnect power.
- Disconnect the drain trap from the disposal discharge tube.
- Disconnect the dishwasher drain hose (if connected).
- Support the disposal and loosen the mounting nuts on the mounting ring. Twist the disposal to detach it from the sink flange.
- Remove the old sink flange and putty from the sink opening.
5.3 Installing New Disposal
- Apply a bead of plumber's putty around the sink flange and insert it into the sink opening.
- From underneath the sink, place the fiber gasket, backup flange, and mounting ring onto the sink flange. Secure with the snap ring.
- Tighten the mounting screws evenly until the sink flange is secure and excess putty is squeezed out. Remove excess putty.
- Connect the disposal to the mounting ring by aligning the three mounting tabs on the disposal with the mounting ring slots. Twist the disposal clockwise until it locks into place.
- Connect the discharge tube (L-tube) to the disposal and the drain pipe. Ensure all connections are tight to prevent leaks.
- If connecting a dishwasher, secure the dishwasher drain hose to the disposal's dishwasher inlet port.
- Plug the pre-installed power cord into a grounded outlet.

Figure 5: Installation diagram illustrating typical setup and dimensions for the MAX DISPOSER A400.

Figure 6: Detail of the standard 0.9 inch dishwasher port for connection.
6. Operating Instructions
The MAX DISPOSER A400 is a continuous feed disposal, designed for efficient and quiet operation.
6.1 Basic Operation
- Turn on a medium flow of cold water.
- Turn on the disposal by flipping the wall switch.
- Scrape food waste into the disposal opening.
- Allow the disposal to run until all food waste is ground and only the sound of the motor and running water is heard.
- Turn off the disposal, then turn off the water.
6.2 What Can and Cannot Be Ground
The A400 is equipped with 2-stage grinding technology and stainless steel components for effective waste processing.
- Can Grind: Common food waste such as leftovers, fruit and vegetable peelings, small bones (fish, poultry), shrimp and crab shells.
- Cannot Grind: Metal, plastic, paper, glass, coarse fiber (e.g., corn husks, artichokes), animal hair, hot oil/grease, very large or hard bones, or other non-physical garbage.

Figure 7: Illustration of the self-cleaning turbosystem and powerful drainage for efficient grinding.
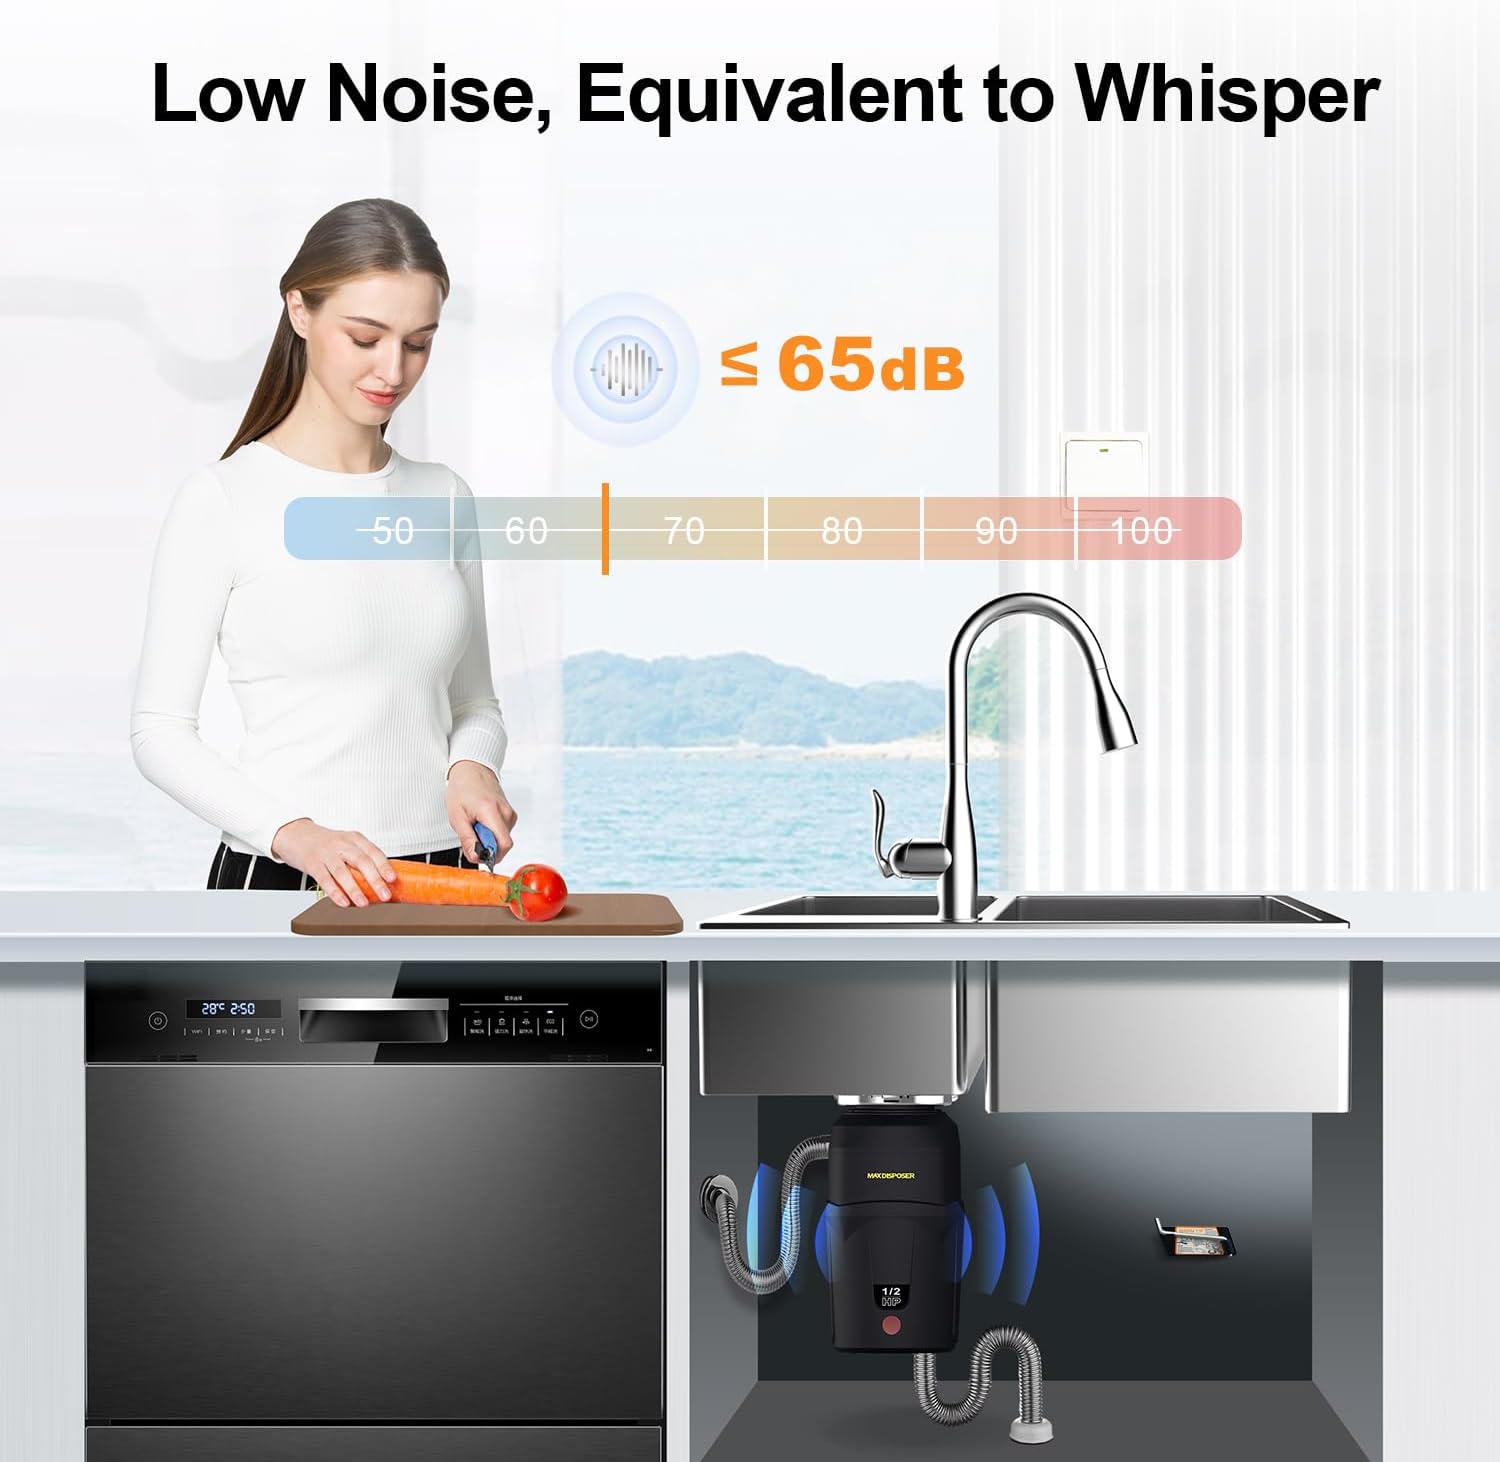
Figure 8: The A400 operates at a low noise level, equivalent to a whisper (≤ 65dB).
7. Maintenance
Regular maintenance ensures the longevity and optimal performance of your MAX DISPOSER A400.
- Cleaning: The disposal features a self-cleaning turbosystem. For additional cleaning, grind small bones or ice cubes to help scour the grinding chamber. Follow with a citrus peel (lemon, orange) for a fresh scent.
- Odor Control: Run cold water and grind a few lemon or orange peels to freshen the disposal and drain.
- Avoid Grease Buildup: Never pour grease or oil down the drain. Allow hot grease to cool and solidify, then dispose of it in the trash.
- Stainless Steel Components: The thickened stainless steel grinding parts are corrosion resistant, ensuring long service life.
8. Troubleshooting
This section addresses common issues you might encounter with your garbage disposal.
| Problem | Possible Cause | Solution |
|---|---|---|
| Disposal does not start / No power | No power to outlet, tripped circuit breaker, tripped disposal reset button. | Check circuit breaker. Press the red reset button on the bottom of the disposal. Ensure plug is securely in outlet. |
| Disposal hums but does not grind | Jam in grinding chamber. | Turn off power. Insert the hex wrench (provided) into the center hole on the bottom of the disposal and turn it back and forth to free the jam. Remove any foreign objects with pliers or tongs (never hands). Press reset button. |
| Leaking | Loose connections, cracked housing. | Check all plumbing connections (sink flange, discharge tube, dishwasher connection) and tighten as needed. If housing is cracked, replacement may be necessary. |
| Odors | Food particles trapped in grinding chamber or splash guard. | Grind ice cubes and citrus peels with cold water. Clean the splash guard. |

Figure 9: Location of the Reset Button and information on the built-in surge protector.
9. Warranty and Support
MAX DISPOSER products are manufactured to high quality standards. While specific warranty details are not provided in this manual, please refer to your purchase documentation or contact MAX DISPOSER customer support for warranty information and technical assistance.
For support, please visit the official MAX DISPOSER store or contact their customer service department. Keep your purchase receipt as proof of purchase.
MAX DISPOSER Official Store: Visit Store