Introduction
This manual provides detailed instructions for the assembly, operation, and maintenance of your HAPPYGRILL Outdoor Wicker Lounge Daybed, Model HG3079. Please read this manual thoroughly before assembly and use to ensure safe and correct operation and to maximize the lifespan of your product.
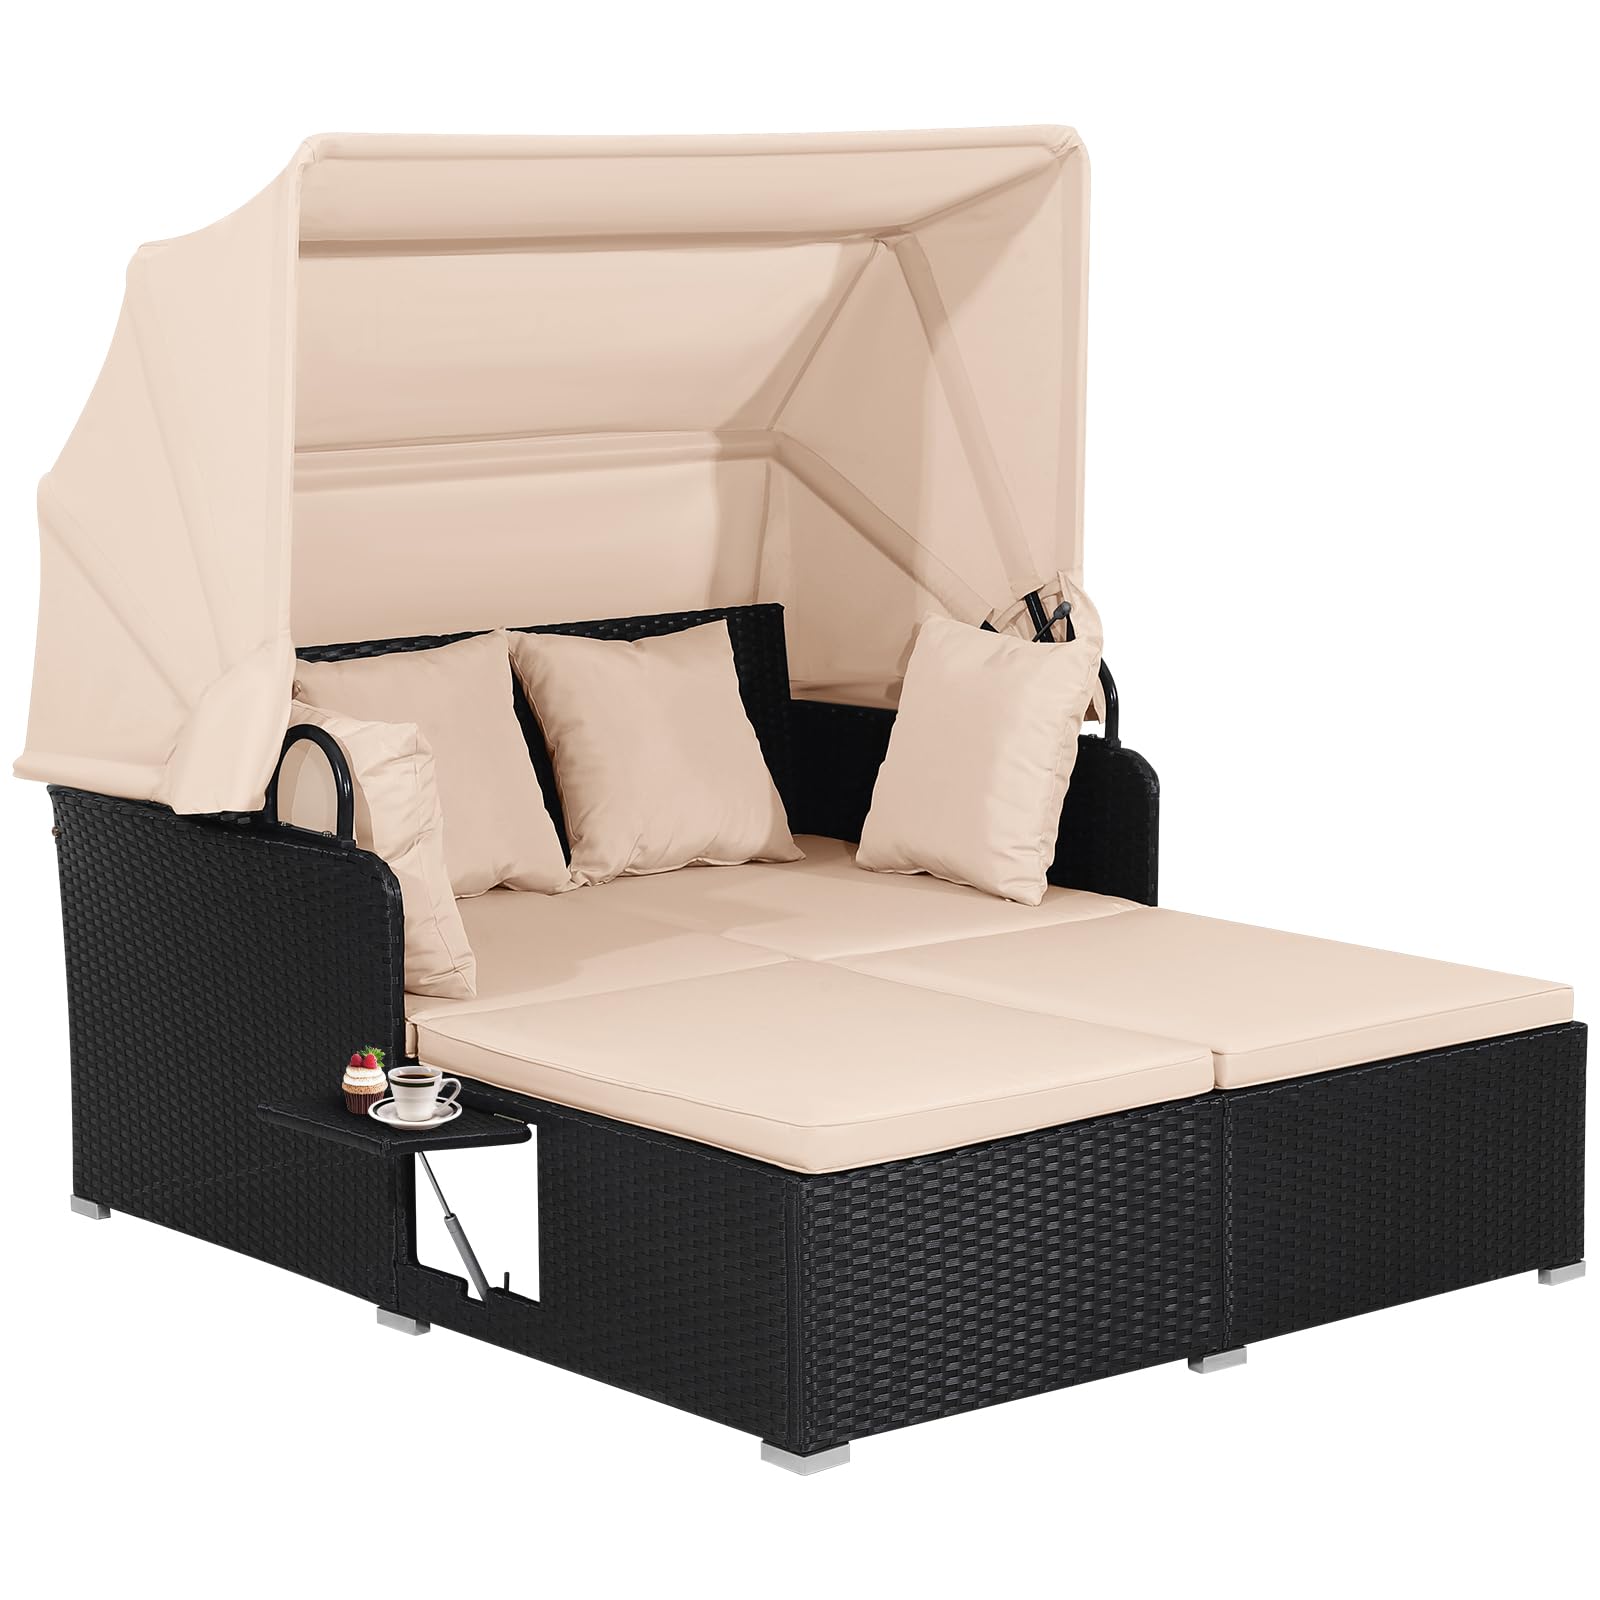
Image: The HAPPYGRILL Outdoor Wicker Lounge Daybed in beige, featuring a retractable canopy and side tables, set on an outdoor patio.
Safety Information
Please observe the following safety precautions to prevent injury or damage to the product:
- Keep the daybed away from open flames or high heat sources.
- Supervise children and pets to avoid entrapment risks, especially when operating the canopy or side tables.
- Always secure the canopy and side tables when not in use to prevent accidental movement or damage from wind.
- Ensure all screws are tightened securely after assembly and periodically check for tightness.
- Do not exceed the maximum weight capacity of 800 lbs.
Package Contents
Before beginning assembly, please verify that all parts listed below are present and undamaged. If any parts are missing or damaged, please contact customer support.
- 1 x Daybed Frame (multiple components)
- 2 x Seat Cushions
- 4 x Throw Pillows
- 1 x Instruction Manual (this document)
- Assembly Hardware (screws, bolts, Allen wrench, etc.)
Setup and Assembly
Assembly is required for this product. All necessary tools are included. Please follow the instructions carefully.
- Unpack all components: Carefully remove all parts from the packaging and lay them out on a clean, soft surface to prevent scratches.
- Identify parts: Refer to the included assembly diagram (not provided in this digital manual) to identify each component.
- Initial Fastening: When attaching components, insert all screws into their respective holes before fully tightening any of them. This ensures proper alignment.
- Final Tightening: Once all components are loosely assembled and aligned, gradually tighten all screws until secure. Do not overtighten.
- Canopy Assembly: Pay close attention to the canopy assembly, ensuring the pneumatic rods are correctly installed for safe and smooth operation.
- Cushion Placement: Place the seat cushions and throw pillows onto the daybed.
Important Assembly Note:
Do not tighten screws until all the holes are aligned. Otherwise, some screw holes may be misaligned, resulting in different lengths of furniture legs or an unstable structure.

Image: Assembly diagram illustrating key dimensions and the importance of aligning all screw holes before tightening.
Operating Instructions
Retractable Canopy
The daybed features a retractable canopy for adjustable sun protection. Use the pneumatic rod mechanism for smooth operation.
- To Extend the Canopy: Gently pull the canopy forward. The pneumatic rods will assist in extending it to the desired position.
- To Retract the Canopy: Gently push the canopy backward. The pneumatic rods will assist in retracting it.
- Securing the Canopy: When the canopy is fully retracted, use the integrated fixed ropes to secure it in place. This prevents it from unfolding unexpectedly or being affected by wind.

Image: Detail of the retractable canopy, highlighting the pneumatic rod for adjustment and the fixed ropes for securing.
Retractable Side Tables
The daybed includes two retractable side tables for convenient access to personal items.
- To Extend a Side Table: Gently pull the table outwards from the side of the daybed. It will slide out to provide a flat surface.
- To Retract a Side Table: Gently push the table back into the side of the daybed until it is flush with the frame.
- Weight Limit: Each side table has a weight capacity of 10 lbs. Do not place heavy items on them.

Image: A retractable side table extended, showing space for a phone, drink, or magazine.
Maintenance
Cushions and Pillows
- Cleaning: The cushion and pillow covers feature a zippered design, allowing for easy removal and cleaning. Follow the care instructions on the fabric label.
- Drying: To prolong the service life of the cushions and pillows, always ensure they are kept dry. Store them indoors during inclement weather or when not in use for extended periods.
- Color Variation: Please note that due to light exposure and avoidance, the color of the cushions may appear slightly different under various lighting conditions.

Image: Close-up of a cushion demonstrating its high-density sponge filling and the zippered cover for easy removal.
Wicker and Frame
- Cleaning: Wipe the PE wicker and steel frame with a damp cloth and mild soap. Rinse thoroughly and dry completely.
- Protection: The hand-woven PE wicker is fade-resistant and sun-protective. The steel frame is rustproof. However, regular cleaning and covering the daybed when not in use can further extend its lifespan.
- Stability Check: Periodically check all bolts and screws to ensure they remain tight. Tighten as necessary.

Image: Detailed views of the daybed's construction, including fade-resistant PE wicker, extra support legs, and non-slip foot pads.
Troubleshooting
If you encounter any issues with your daybed, please refer to the following common solutions:
- Unstable Structure: Ensure all assembly screws are fully tightened. Check that the daybed is placed on a flat, even surface. Adjust non-slip foot pads if necessary.
- Canopy Difficulty: If the canopy is stiff or difficult to move, check the pneumatic rods for proper installation and ensure no obstructions are present. Ensure fixed ropes are not interfering with movement.
- Side Table Issues: If a side table is not retracting or extending smoothly, check for obstructions in its track. Ensure no debris is preventing movement.
- Cushion Sliding: While cushions are designed for comfort, some movement may occur. Consider adding non-slip pads underneath the cushions if excessive sliding is experienced.
Specifications
| Feature | Detail |
|---|---|
| Overall Dimensions (L x W x H) | 65" x 60.5" x 58.5" (165.1 cm x 153.67 cm x 148.59 cm) |
| Lying Area Dimensions (L x W) | 58" x 48.5" (147.3 cm x 123.2 cm) |
| Seat Height from Ground | 12.5" (31.75 cm) |
| Side Table Dimensions (L x W x H) | 10" x 7.5" x 12" (25.4 cm x 19.05 cm x 30.48 cm) |
| Seat Cushion Dimensions (L x W x Thickness) | 58" x 23.5" x 2" (147.3 cm x 59.69 cm x 5.08 cm) |
| Throw Pillow Dimensions (L x W x Thickness) | 16" x 16" x 5" (40.64 cm x 40.64 cm x 12.7 cm) |
| Net Weight | 59.5 lbs (26.99 kg) |
| Weight Capacity (Daybed) | 800 lbs (362.87 kg) |
| Weight Capacity (Each Side Table) | 10 lbs (4.54 kg) |
| Seating Capacity | 2 people |
| Materials | PE Wicker, Steel, Polyester, Sponge |
| Wicker Color | Black |
| Cushion Color | Beige |
| Assembly Required | Yes |
Warranty Information
HAPPYGRILL products are manufactured to high-quality standards. For specific warranty details regarding your Outdoor Wicker Lounge Daybed, please refer to the warranty card included with your purchase or visit the official HAPPYGRILL website. Keep your proof of purchase for any warranty claims.
Customer Support
If you have any questions, require assistance with assembly, or need to report missing/damaged parts, please contact HAPPYGRILL customer support. Contact information can typically be found on the product packaging, the official HAPPYGRILL website, or through your retailer's support channels.
When contacting support, please have your model number (HG3079) and purchase date readily available.