Introduction
The edelkrone Tripod X PRO is a fully motorized camera tripod designed to simplify camera setup and operation. It features automatic self-leveling, allowing for quick deployment on uneven surfaces, and motorized height adjustment for precise framing. This manual provides detailed instructions for setting up, operating, and maintaining your Tripod X PRO to ensure optimal performance and longevity.
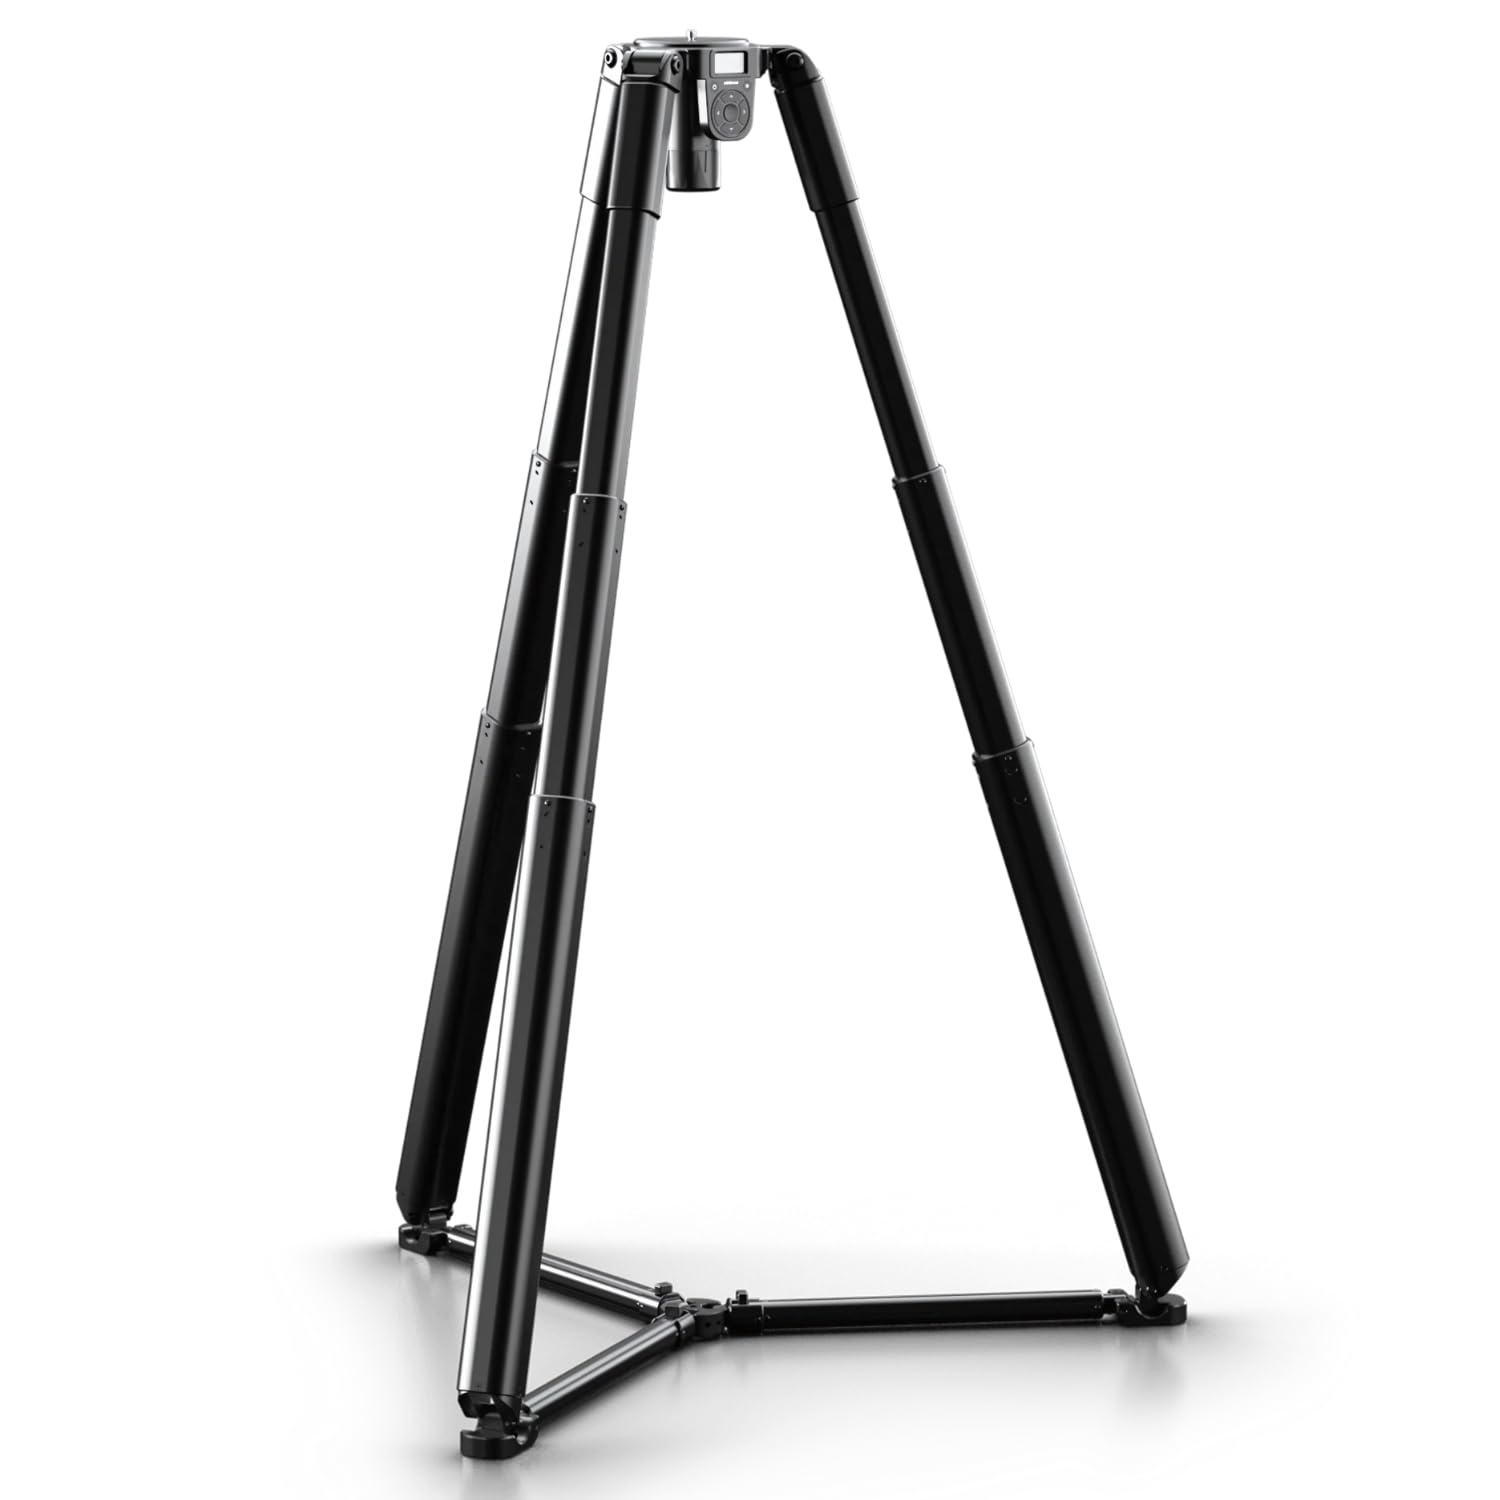
Figure 1: edelkrone Tripod X PRO with a camera mounted, showcasing its robust design.
Key Features
- Auto Self-Leveling: Deploy the Tripod X PRO on uneven ground, and it will automatically level itself with a single touch. Integrated smart sensors continuously monitor and adjust, ensuring a perfectly level setup without manual intervention or app pairing.
- Effortless Frame Searching: Change the tripod's height with a simple tap, followed by automatic self-leveling, to easily find and achieve the perfect camera frame.
- Motion Time-Lapses: Create smooth transitions between two different poses for dynamic motion time-lapses. Connect your camera to the trigger port (shutter trigger cable sold separately) to capture unique motion paths.
- Simple Interface: Control vertical movement using up/down buttons, adjust speed with left/right buttons, and trigger auto-leveling by pressing the center button. Access Motion Timelapse and other features via the menu button.
- Ultra High-Torque Motors: Equipped with robust motors, the Tripod X PRO supports a lifting capacity of up to 44 lbs (20 kg). Note that capacities may be slightly lower when spreaders are fully extended.
What's in the Box
Upon unboxing your edelkrone Tripod X PRO, you should find the following items:
- Tripod X PRO Unit
- Battery and Charger
- 4 sets of extra feet rubber
- Soft Case (as indicated in product title)

Figure 2: The Tripod X PRO being removed from its soft case, ready for setup.
Setup
- Unpack the Tripod: Carefully remove the Tripod X PRO from its soft case.
- Extend the Legs: Place the tripod on a stable surface. Gently pull the legs outwards until they are fully extended and locked into position.
- Install Battery: Insert the provided battery into the designated slot on the tripod's central column. Ensure it clicks securely into place.
- Mount Camera: Attach your camera to the tripod head's mounting plate. Ensure the camera is securely fastened.
- Power On: Press the power button on the control interface to turn on the Tripod X PRO.
- Initial Self-Leveling: After powering on, the tripod may perform an initial self-leveling sequence. If not, press the center button on the control interface to initiate auto self-leveling.
Figure 3: A user demonstrating the initial setup of the Tripod X PRO, extending its legs.
Video 1: This video demonstrates the quick and easy setup process of the edelkrone Tripod X PRO, including extending the legs and initial camera mounting.
Operating Instructions
Auto Self-Leveling
The Tripod X PRO is equipped with internal gyroscope and accelerometer sensors that ensure perfect leveling. To activate the auto self-leveling feature, simply press the center button on the control interface. The tripod will automatically adjust its legs to achieve a perfectly level camera position, even on uneven surfaces.

Figure 4: The Tripod X PRO demonstrating its auto self-leveling capability on a sloped surface.
Video 2: This video segment illustrates the auto self-leveling function of the Tripod X PRO, showing it adjust to an uneven floor.
Adjusting Height and Framing
The motorized design of the Tripod X PRO allows for precise and effortless height adjustments. Use the up and down arrow buttons on the control interface to raise or lower the camera. The left and right buttons control the speed of these adjustments, allowing for faster performance or quieter operation as needed. This feature enables you to adjust the camera's height while simultaneously viewing the exact frame on your camera's monitor, ensuring optimal composition.

Figure 5: Detailed view of the Tripod X PRO's simple control interface, highlighting the buttons for height and speed adjustment.
Video 3: This video demonstrates the motorized height adjustment feature, showing a user precisely adjusting the camera's position while monitoring the frame.
Motion Time-Lapses
The Tripod X PRO can be used to create captivating motion time-lapses. Access the Motion Timelapse feature through the menu button on the control interface. You can program the tripod to transition smoothly between two different camera poses, capturing dynamic movement over time. For camera triggering, connect your camera to the tripod's trigger port using a compatible shutter trigger cable (sold separately).

Figure 6: The Tripod X PRO configured with additional gear for a motion time-lapse shot.
Video 4: This video demonstrates the Tripod X PRO's capability to execute motion time-lapses, showcasing smooth transitions between programmed positions.
Maintenance
To ensure the longevity and optimal performance of your edelkrone Tripod X PRO, follow these maintenance guidelines:
- Cleaning: Regularly wipe down the aluminum body and legs with a soft, dry cloth. For stubborn dirt, use a slightly damp cloth and mild soap, then dry thoroughly. Avoid abrasive cleaners or solvents.
- Battery Care: Always use the provided charger for the battery. Store the battery in a cool, dry place when not in use. Do not expose the battery to extreme temperatures.
- Feet Rubber: Inspect the feet rubber periodically for wear and tear. Replace them with the provided extra sets if necessary to maintain stability and prevent slipping.
- Storage: When not in use, store the Tripod X PRO in its soft case to protect it from dust and physical damage.
Troubleshooting
If you encounter issues with your Tripod X PRO, refer to the following common troubleshooting steps:
- Tripod Not Leveling:
- Ensure the tripod is placed on a relatively stable surface.
- Press the center button on the control interface to re-initiate the auto self-leveling process.
- Check battery charge level.
- Motorized Movement Not Responding:
- Verify the battery is fully charged and correctly inserted.
- Ensure no obstructions are preventing leg movement.
- Check if the tripod is overloaded beyond its 44 lbs (20 kg) capacity.
- Camera Not Triggering for Time-Lapse:
- Confirm that the shutter trigger cable is correctly connected to both the camera and the tripod's trigger port.
- Ensure your camera settings are appropriate for external triggering.
For persistent issues, please contact edelkrone customer support.
Specifications
| Brand | edelkrone |
| Model Name | Pro |
| Model Number | PG060 |
| Color | Black |
| Material | CNC Machined Aluminum Body and Legs |
| Item Weight | 9 Kilograms |
| Weight Limit | 44 Pounds (20 kg) |
| Maximum Height | 148 Centimeters |
| Minimum Height | 34 Centimeters |
| Compatible Devices | Camera |
| Special Feature | Adjustable, Rotatable, Auto Self-Leveling |
| UPC | 810011812321 |
Warranty and Support
The edelkrone Tripod X PRO comes with a 2 Year Warranty from the date of purchase. This warranty covers manufacturing defects and ensures your product functions as intended under normal use.
For technical support, warranty claims, or any questions regarding your Tripod X PRO, please visit the official edelkrone website or contact their customer service department. Keep your proof of purchase for warranty validation.
Official edelkrone Website: www.edelkrone.com