
Alpha420 EdiOven (A420-EDVN-GMMY-GV)
Alpha420 EdiOven User Manual
Decarboxylator & Butter Maker Machine, Oil Infuser Machine, Gummy Maker
Model: EdiOven (A420-EDVN-GMMY-GV)
1. Introduction
Welcome to the Alpha420 EdiOven, your all-in-one solution for decarboxylating and infusing herbs into butter, oil, and tinctures. This versatile machine is designed for ease of use, mess-free operation, and precise temperature control, ensuring optimal activation and infusion of your materials. Please read this manual thoroughly before operating your EdiOven to ensure safe and efficient use.
2. Safety Instructions
- Always place the EdiOven on a stable, heat-resistant surface.
- Do not immerse the main unit in water or any other liquid.
- Ensure the unit is unplugged before cleaning or when not in use.
- Keep out of reach of children and pets.
- Do not operate the appliance if the power cord or plug is damaged.
- Allow the unit to cool completely before handling internal components after use.
- Use caution when handling hot liquids and components.
3. Product Components
The Alpha420 EdiOven package includes the following components:
- EdiOven Main Unit
- Decarb Cup
- Silicone Infusion Cup
- Decarb Lid
- Strainer & Plunger
- Spatula
- 2 Tincture Bottles
- Recipe EBook (digital)

Figure 3.1: Overview of the EdiOven and its included accessories, including the main unit, decarb cup, silicone infusion cup, lids, strainer, spatula, and tincture bottles.

Figure 3.2: Detailed view of the EdiOven's internal components, illustrating the locking lid, odor control lid, strainer, infusion cup, and decarb cup, along with the main unit's control panel for time and temperature settings.
4. Setup and First Use
- Unpack: Carefully remove all components from the packaging.
- Clean: Wash the Decarb Cup, Silicone Infusion Cup, Decarb Lid, Strainer & Plunger, and Spatula with warm, soapy water. Rinse thoroughly and dry completely before first use. The main unit should only be wiped clean with a damp cloth.
- Placement: Place the EdiOven main unit on a flat, stable, and heat-resistant surface.
- Power Connection: Plug the power cord into a standard electrical outlet. The display will illuminate.
5. Operating Instructions
5.1 Decarboxylation Process
Decarboxylation is a crucial step to activate your herbs for optimal infusion. The EdiOven provides precise temperature control for this process.
- Prepare Herbs: Grind your dry herbs to a medium-fine consistency. Do not over-grind into a powder.
- Load Decarb Cup: Place the ground herbs into the Decarb Cup. Ensure the herbs are evenly distributed.
- Secure Lid: Place the Decarb Lid onto the Decarb Cup.
- Insert into Unit: Carefully place the lidded Decarb Cup into the main EdiOven unit.
- Set Temperature: Press the TEMP button. Use the UP and DOWN arrows to set the desired decarboxylation temperature (e.g., 240°F for typical activation).
- Set Time: Press the TIME button. Use the UP and DOWN arrows to set the desired decarboxylation time (e.g., 60-90 minutes, depending on material).
- Start Process: Press the PLAY/PAUSE button to begin decarboxylation. The unit will heat up and maintain the set temperature for the duration.
- Cool Down: Once the cycle is complete, the unit will beep. Allow the Decarb Cup to cool completely before opening to preserve activated compounds.

Figure 5.1: Preparing herbs for decarboxylation by placing them into the decarb cup.
Video 5.1: An official product video demonstrating the decarboxylation and infusion process with the EdiOven, highlighting its ease of use and odor control features.
5.2 Infusion Process (Butter/Oil)
After decarboxylation, you can infuse your activated herbs into butter or oil.
- Prepare Infusion: Once the decarbed herbs are cool, transfer them from the Decarb Cup to the Silicone Infusion Cup.
- Add Liquid: Add your desired amount of butter (melted) or oil to the Silicone Infusion Cup with the herbs. The butter machine capacity is 1 ounce of dry herbs or 1 cup infusion.
- Insert into Unit: Place the Silicone Infusion Cup into the main EdiOven unit.
- Set Temperature: Press the TEMP button. Set the infusion temperature (e.g., 160°F for butter, 180°F for oil).
- Set Time: Press the TIME button. Set the infusion time (e.g., 1-2 hours for butter, 2-4 hours for oil).
- Start Process: Press the PLAY/PAUSE button to begin infusion.
- Strain: Once the cycle is complete, carefully remove the Silicone Infusion Cup. Use the provided Strainer & Plunger to separate the infused butter/oil from the spent herb material.
- Store: Pour the infused product into the provided Tincture Bottles or other suitable containers. Store in a cool, dark place.

Figure 5.2: Adding oil to the infusion cup with decarboxylated herbs for the infusion process.
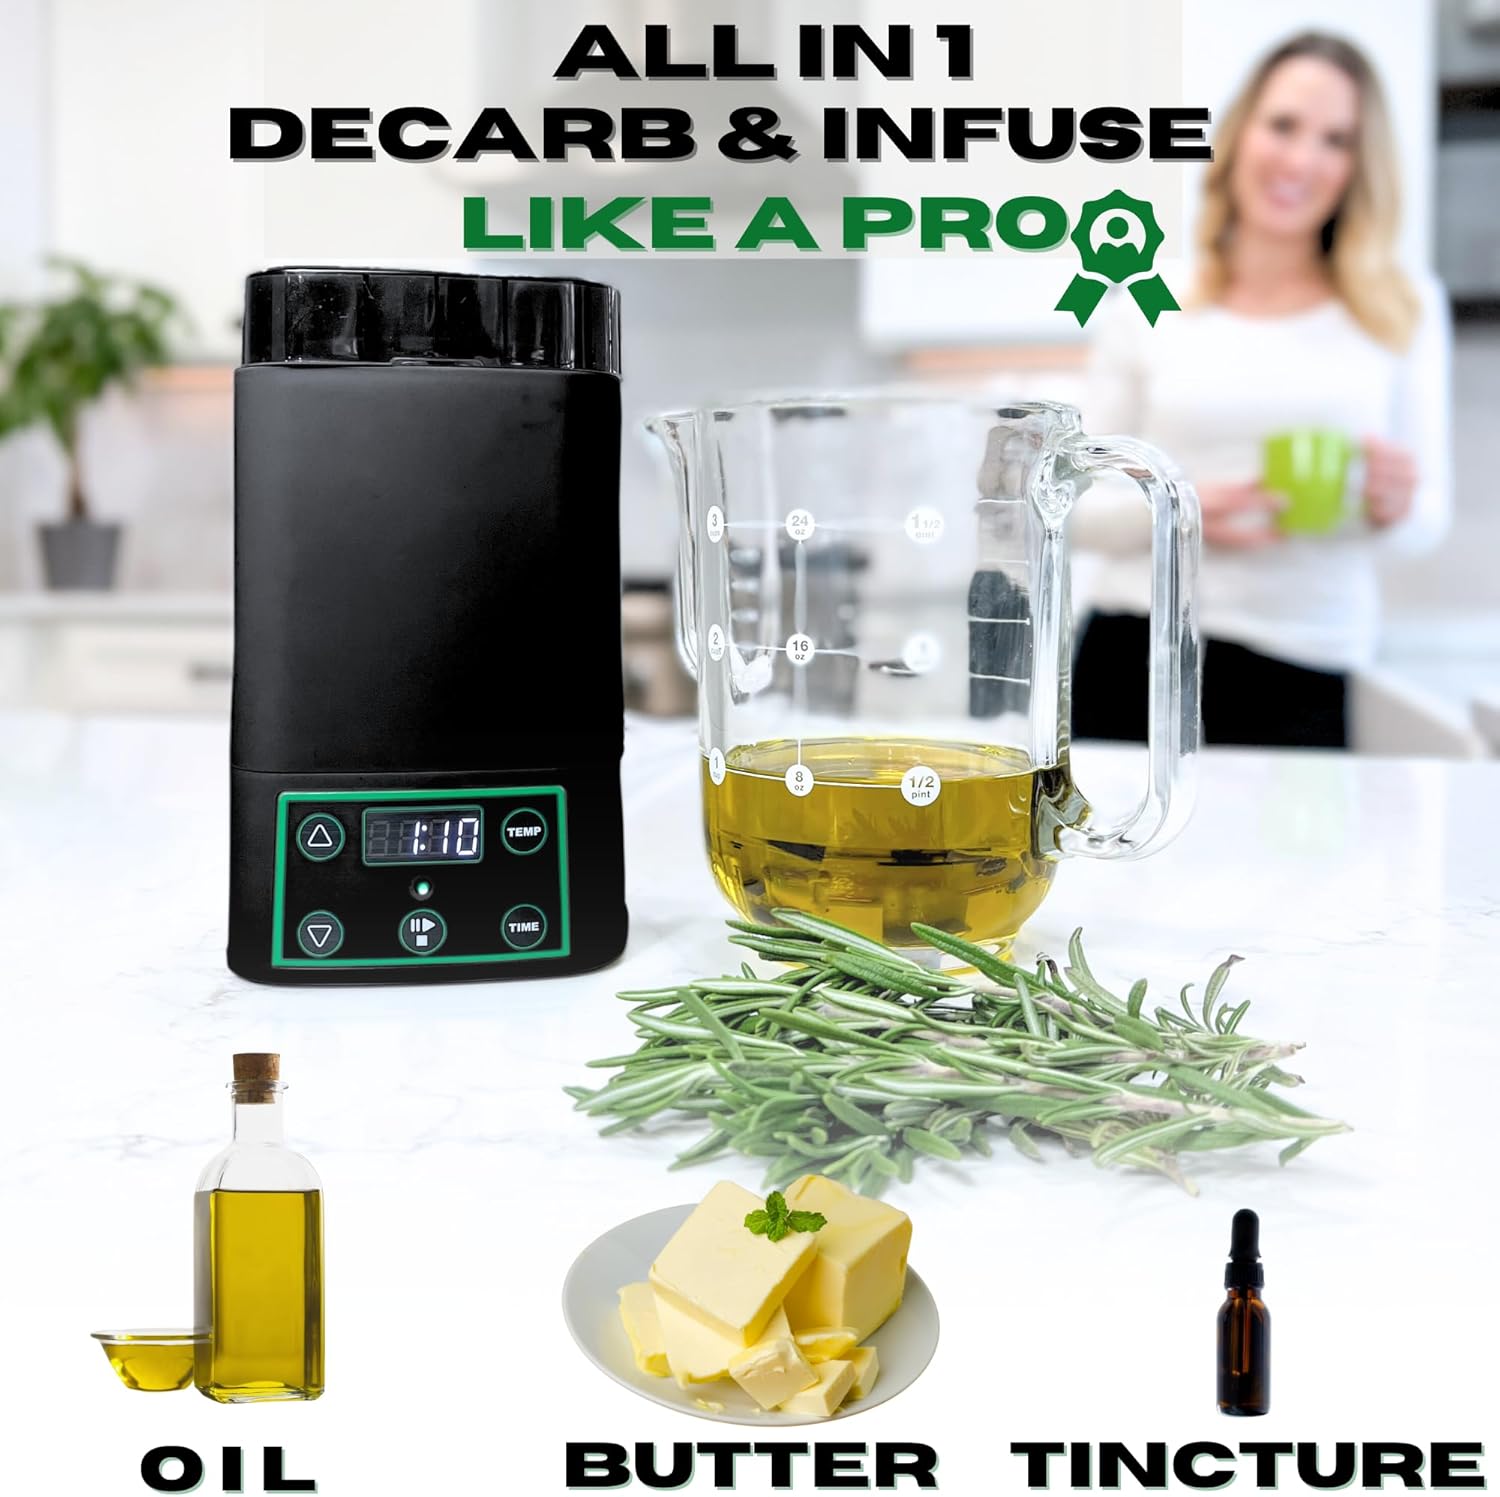
Figure 5.3: The EdiOven is capable of infusing into various mediums such as oil, butter, and tinctures, offering versatility for different culinary and topical applications.
5.3 Tincture Process
The EdiOven can also be used to create tinctures.
- Decarb Herbs: Follow the decarboxylation process (Section 5.1) for your herbs.
- Prepare Tincture: After decarbing and cooling, place the activated herbs into the Silicone Infusion Cup. Add high-proof alcohol (e.g., grain alcohol) to cover the herbs.
- Insert into Unit: Place the Silicone Infusion Cup into the main EdiOven unit.
- Set Temperature: Set the temperature to a low setting (e.g., 130-150°F) to avoid evaporating the alcohol too quickly.
- Set Time: Set the infusion time (e.g., 2-4 hours).
- Start Process: Press the PLAY/PAUSE button to begin infusion.
- Strain and Store: Once complete, strain the tincture using the provided strainer. Store in the included Tincture Bottles in a cool, dark place.
6. Maintenance and Cleaning
Proper maintenance ensures the longevity and performance of your EdiOven.
- Main Unit: Wipe the exterior of the main unit with a damp cloth. Do not use abrasive cleaners or immerse in water.
- Removable Components: The Decarb Cup, Silicone Infusion Cup, Decarb Lid, Strainer & Plunger, and Spatula are hand wash only. Wash with warm, soapy water after each use. Rinse thoroughly and dry completely.
- Storage: Store the EdiOven and its components in a clean, dry place when not in use.
7. Troubleshooting
| Problem | Possible Cause | Solution |
|---|---|---|
| Unit does not power on. | Not plugged in; power outlet issue. | Ensure power cord is securely plugged into a working outlet. |
| Temperature not reaching set point. | Lid not properly sealed; insufficient preheating time. | Ensure lid is securely placed. Allow unit to preheat fully before adding ingredients. |
| Strong odor during operation. | Lid not sealed correctly; excessive material. | Ensure the odor control lid is properly seated. Do not exceed recommended material capacity. |
| Infusion not potent enough. | Insufficient decarboxylation; incorrect herb-to-liquid ratio; too short infusion time. | Ensure proper decarboxylation. Adjust herb-to-liquid ratio and infusion time as per recipe or desired potency. |
8. Specifications
- Brand: Alpha420
- Model Name: EdiOven
- Model Number: A420-EDVN-GMMY-GV
- Product Dimensions: 4"D x 3.99"W x 6.99"H
- Item Weight: 3.2 pounds
- Color: Black
- Special Features: Odor Control, Precision Heat
- Butter Machine Capacity: 1 ounce of dry herbs or 1 cup infusion
- Product Care Instructions: Hand Wash (removable components)
- Manufacturer: Alpha420
- UPC: 896750002551
- Country of Origin: China
9. Warranty and Support
Alpha420 stands behind the quality of its products. For warranty information, technical support, or any inquiries regarding your EdiOven, please refer to the contact information provided in your product packaging or visit the official Alpha420 website. Please retain your proof of purchase for warranty claims.
For additional recipes and tips, refer to the included Recipe EBook.
Related documentsEdiOven (A420-EDVN-GMMY-GV)

Ask a question about this manual
Ask about setup, troubleshooting, compatibility, parts, safety, or missing instructions. Manuals+ will review the question and use this page’s manual context to help answer it.