
1. Introduction
This manual provides detailed instructions for the installation, operation, and maintenance of your Philips 44W 3500LM LED Security Flood Light. This outdoor lighting fixture features a dusk-to-dawn sensor, dual adjustable heads, and is designed for durability in various weather conditions. Please read this manual thoroughly before installation and use to ensure proper function and safety.

Figure 1: Philips 44W 3500LM LED Security Flood Light (Model 7601906053)
2. Safety Information
WARNING: Risk of electric shock. Disconnect power at the fuse or circuit breaker before installation or servicing.
- Ensure the power supply is turned off before beginning installation.
- All wiring connections must be made in accordance with local electrical codes and ordinances.
- If you are unfamiliar with electrical wiring, consult a qualified electrician.
- Do not install on surfaces that are unstable or cannot support the weight of the fixture.
- This fixture is designed for outdoor use in wet locations. Ensure all seals and gaskets are properly seated during installation to maintain water resistance.
3. Package Contents
Verify that all components are present before beginning installation:
- LED Security Flood Light Fixture (1)
- Mounting Screws (2)
- Wire Nuts (3)
- Mounting Plate (1)
- Rubber Plug (1)
- Gasket (1)

Figure 2: Included Accessories and Product Dimensions
4. Specifications
| Feature | Specification |
|---|---|
| Brand | Philips |
| Model Number | 7601906053 |
| Power Source | Corded Electric |
| Wattage | 44 Watts |
| Brightness | 3500 Lumens |
| Color Temperature | 5000 Kelvin (Daylight) |
| Voltage | 120 Volts |
| Light Source Type | Integrated LED |
| Material | Aluminum, Plastic |
| Finish Type | Powder Coated |
| Special Features | Anti-Rust, Energy Efficient, Waterproof, Dusk-to-Dawn Sensor, Adjustable Heads |
| Installation Type | Wall Mount |
| Product Dimensions | 6.3"L x 4.72"W x 9.45"H |
| Item Weight | 1.81 pounds |
| Water Resistance Level | Waterproof |
5. Installation Instructions
This flood light is designed for wall-mounted or eave-mounted installation. Hardwiring is required; a junction box is not included.
5.1 Preparation
- Turn off Power: Locate the circuit breaker or fuse box and turn off the power to the area where you will be installing the light.
- Identify Mounting Location: Choose a suitable location on a wall or under an eave, ensuring it is a stable surface and can support the fixture. The recommended installation height is approximately 8.2 feet.
- Gather Tools: You will need a screwdriver, wire strippers, and potentially a drill.
5.2 Mounting the Fixture
- Attach Mounting Plate: Secure the mounting plate to the junction box using the provided mounting screws. Ensure the plate is flush and stable.
- Connect Wiring: Connect the household electrical wires to the fixture's wires using the provided wire nuts. Typically, connect black to black (live), white to white (neutral), and green/bare copper to green (ground). Ensure all connections are secure.
- Secure Fixture: Carefully align the fixture with the mounting plate and secure it with the remaining mounting screws. Ensure the gasket is properly seated between the fixture and the mounting surface to enhance water resistance.
- Seal Gaps: Use the rubber plug to seal any unused openings on the fixture base.

Figure 3: Installation Steps Overview
5.3 Mounting Options
The fixture supports two primary mounting configurations:
- Wall Mounted: The fixture is installed directly onto a vertical wall surface.
- Eave Mounted: The fixture is installed underneath an eave or overhang.

Figure 4: Wall Mounted and Eave Mounted Installation Examples
6. Operating Instructions
The Philips LED Security Flood Light is designed for automatic operation with its integrated dusk-to-dawn sensor and adjustable light heads.
6.1 Dusk-to-Dawn Functionality
The integrated dusk-to-dawn sensor automatically detects ambient light levels. The light will:
- Turn ON at Dusk: When natural light diminishes at sunset, the sensor will activate the flood light.
- Turn OFF at Dawn: When sufficient natural light returns at sunrise, the sensor will deactivate the flood light.

Figure 5: Dusk-to-Dawn Automatic Operation
6.2 Adjusting Light Heads
The dual light heads are independently adjustable, allowing you to direct the light precisely where needed. Each head can be rotated 180 degrees horizontally and the entire assembly can be rotated 360 degrees from the base.
- Gently grasp each light head.
- Pivot and rotate the heads to achieve the desired illumination angle and coverage area.

Figure 6: Adjustable Head Design
7. Maintenance
The Philips LED Security Flood Light is designed for minimal maintenance due to its integrated LED technology and durable construction.
- Cleaning: Periodically clean the fixture with a soft, damp cloth to remove dirt and debris. Do not use abrasive cleaners or solvents.
- No Bulb Replacement: The LEDs are integrated and not user-replaceable. The fixture is designed for a long operational lifespan.
- Weather Resistance: The fixture is constructed from aluminum and plastic, designed to be anti-rust and waterproof, performing in various weather conditions including heavy rain, high humidity, and UV exposure.
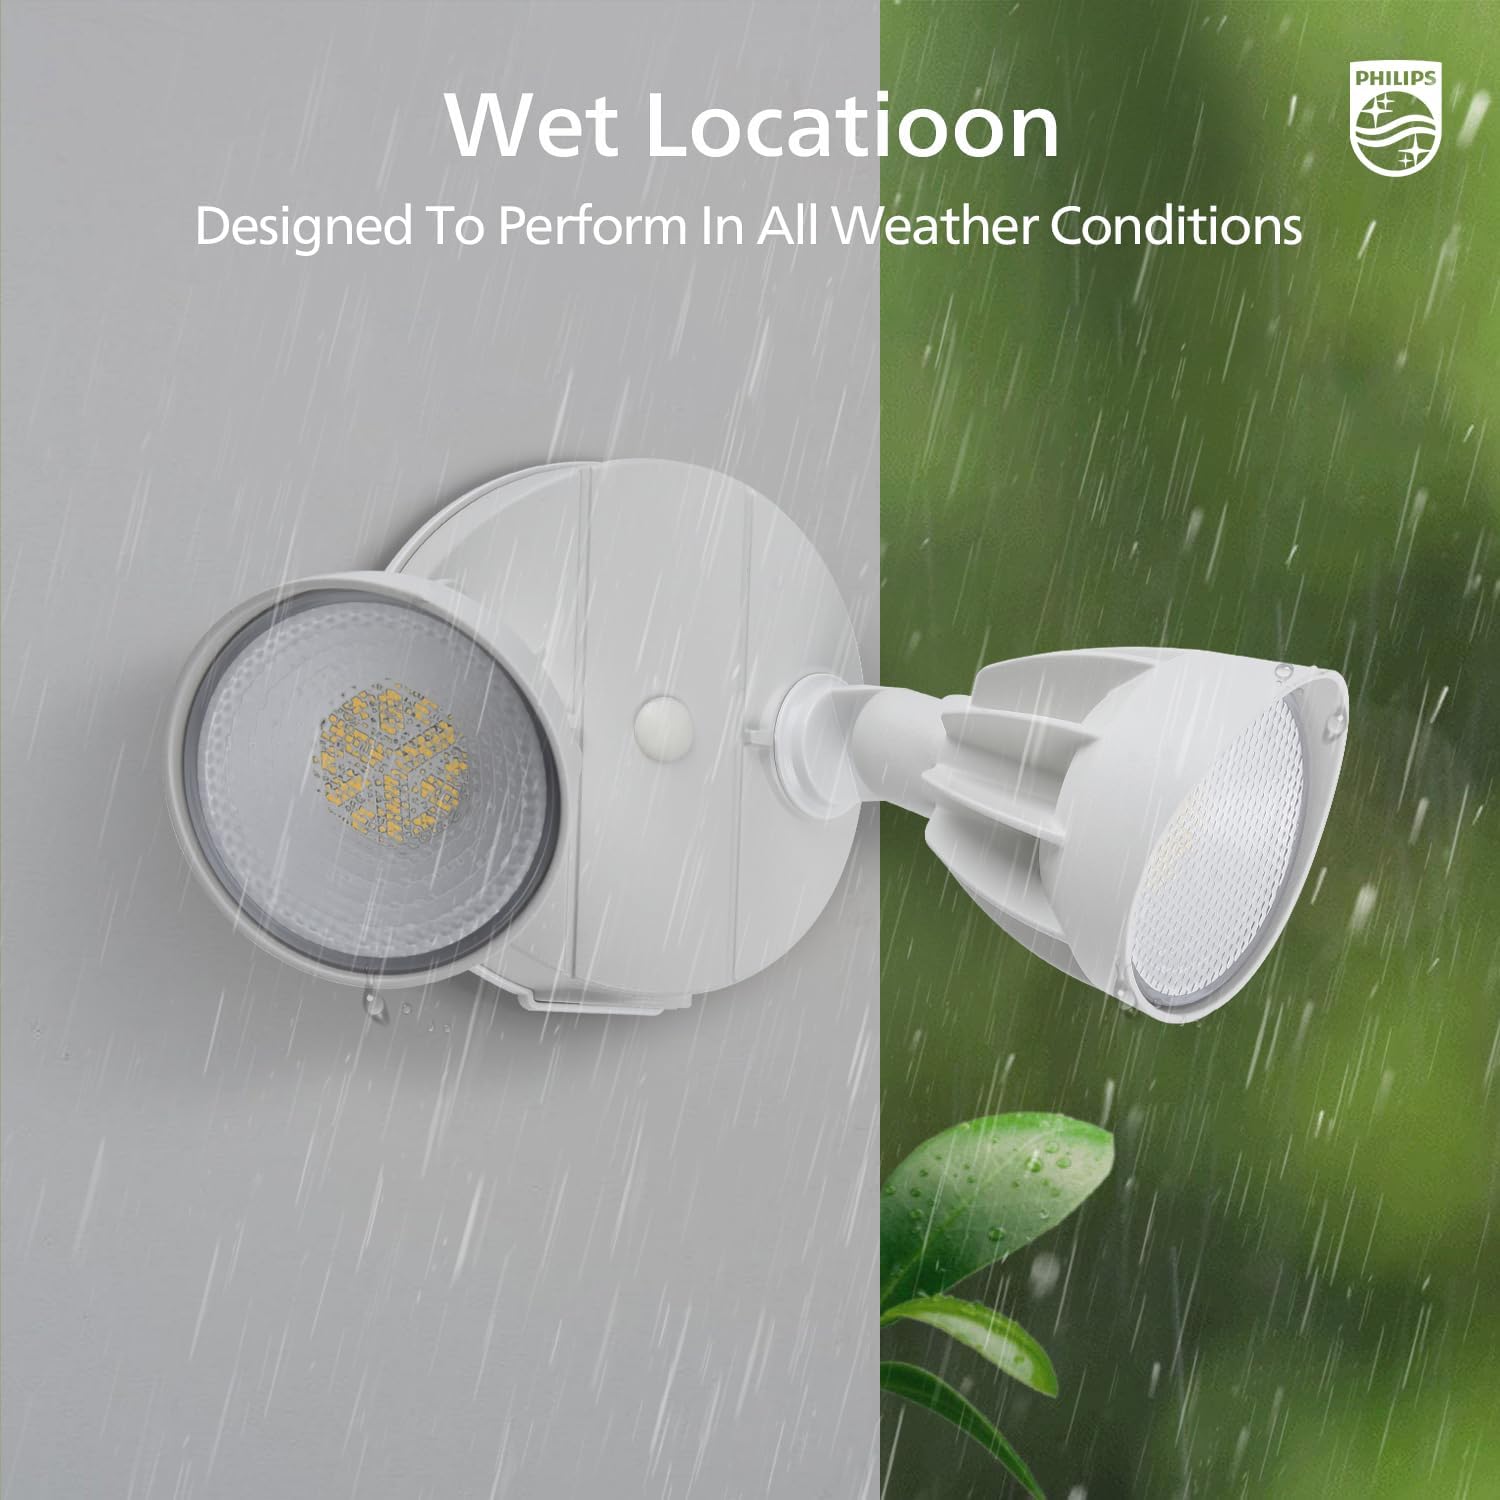
Figure 7: Designed for Wet Locations and All Weather Conditions
8. Troubleshooting
If you encounter issues with your flood light, refer to the following common problems and solutions:
| Problem | Possible Cause | Solution |
|---|---|---|
| Light does not turn on at night. | 1. Power is off. 2. Dusk-to-dawn sensor is obstructed or receiving too much light. 3. Faulty wiring connection. | 1. Check circuit breaker/fuse. 2. Ensure sensor is clear of obstructions and not exposed to other light sources (e.g., streetlights). 3. Verify all wiring connections are secure (power off before checking). |
| Light stays on during the day. | 1. Dusk-to-dawn sensor is obstructed or in a dark location. 2. Sensor malfunction. | 1. Ensure sensor is not obstructed and is exposed to sufficient daylight. 2. Contact customer support if the issue persists. |
| Light flickers. | 1. Loose wiring connection. 2. Power fluctuations. 3. Fixture defect. | 1. Check and secure all wiring connections (power off before checking). 2. Consult an electrician to check household power. 3. Contact customer support. |
9. Warranty and Support
Philips products are manufactured to high-quality standards. This product is covered by a standard manufacturer's warranty. For specific warranty details, please refer to the documentation included with your purchase or visit the official Philips lighting website.
For technical support, troubleshooting assistance, or warranty claims, please contact Philips customer service through their official channels. Keep your purchase receipt as proof of purchase.