1. Introduction
The Franklin Sensors ProSensor Sapphire 7500 Stud Finder, Model M70, is an advanced wall scanner designed for accurate detection of wood and metal studs. Featuring 7 precision sensors, this device provides a comprehensive view of stud locations, including both edges and center, simultaneously. Its intuitive design and ease of use make it suitable for both DIY enthusiasts and professionals.
This manual provides essential information for the safe and effective operation of your ProSensor Sapphire 7500 Stud Finder. Please read it thoroughly before first use and retain it for future reference.
2. Safety Information
- Always read and understand all instructions before using the device.
- This device is designed to detect studs behind drywall/sheetrock and similar materials. It is not designed to detect electrical wires, plumbing, or other utilities. Exercise caution when drilling or cutting into walls.
- Do not use rechargeable batteries with this device. Use only common AAA alkaline batteries.
- Keep the device away from water and extreme temperatures.
- Do not attempt to open or modify the device, as this will void the warranty and may cause damage or injury.
3. Product Overview
The ProSensor Sapphire 7500 (M70) utilizes multiple sensors to provide a wide scanning area and enhanced accuracy. Its LED display visually indicates the presence and width of studs.
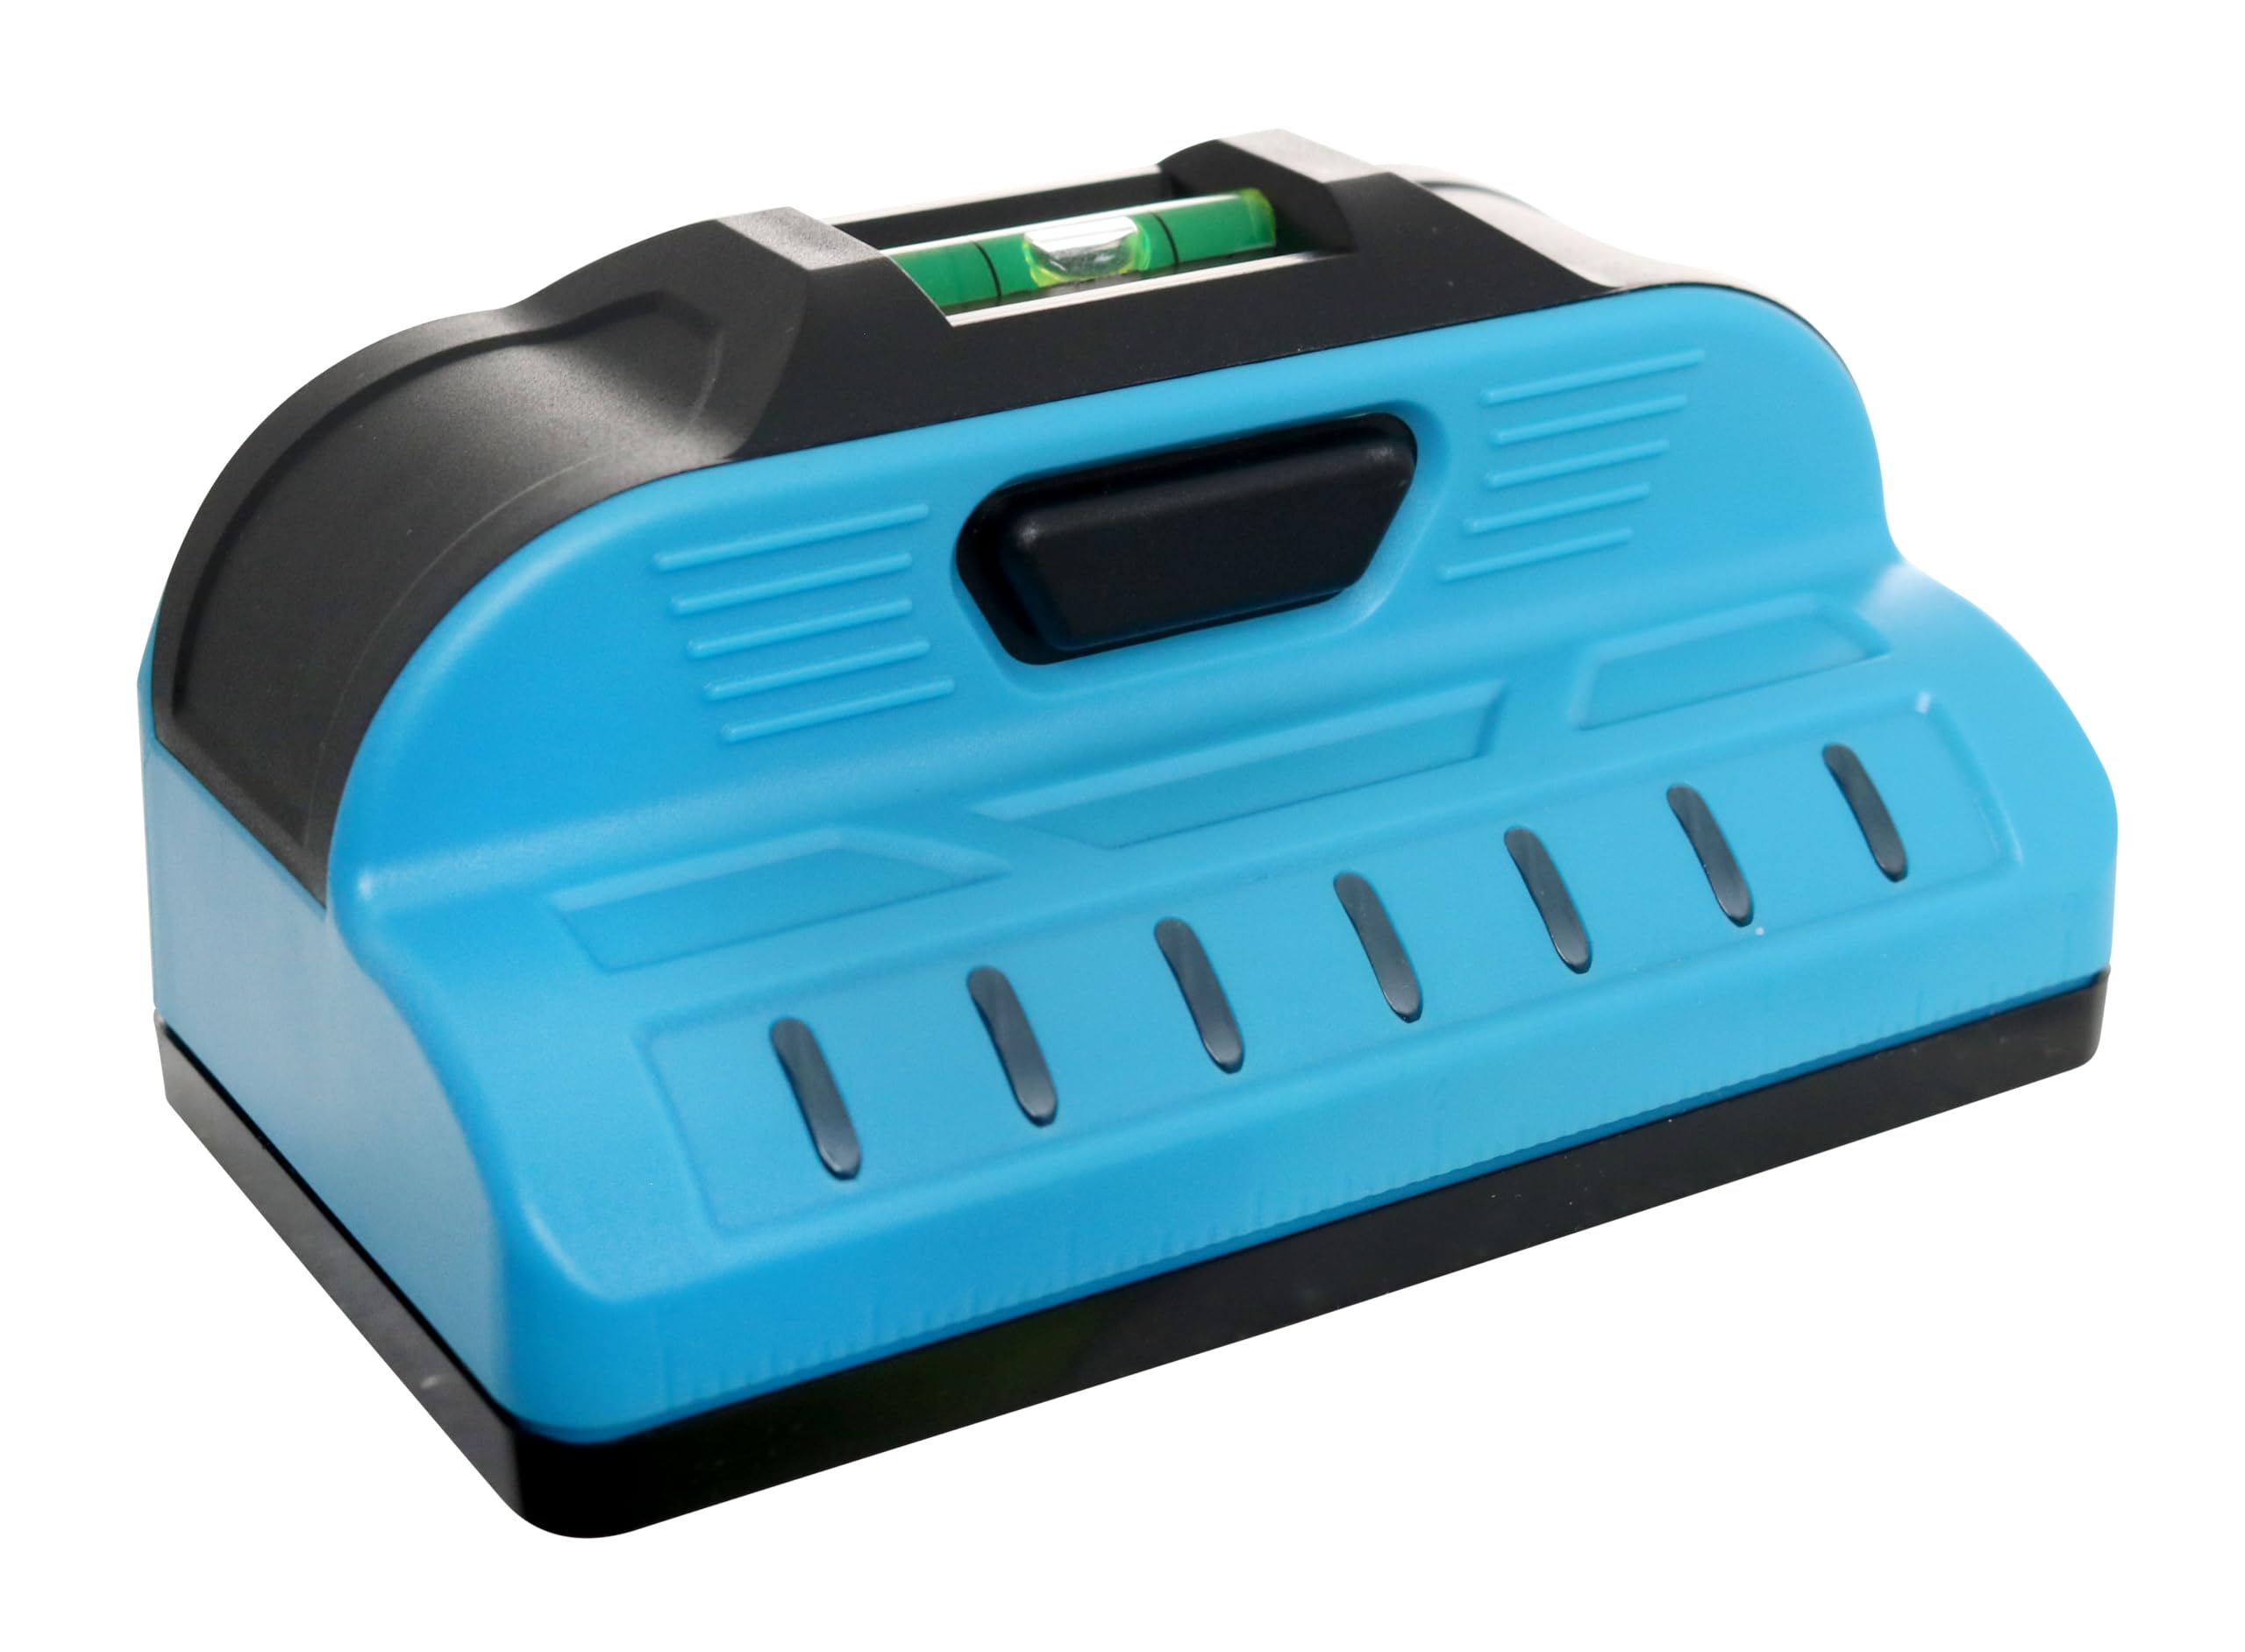
Figure 1: Front view of the Franklin Sensors ProSensor Sapphire 7500 (M70) Stud Finder, showing the LED display and integrated bubble level.
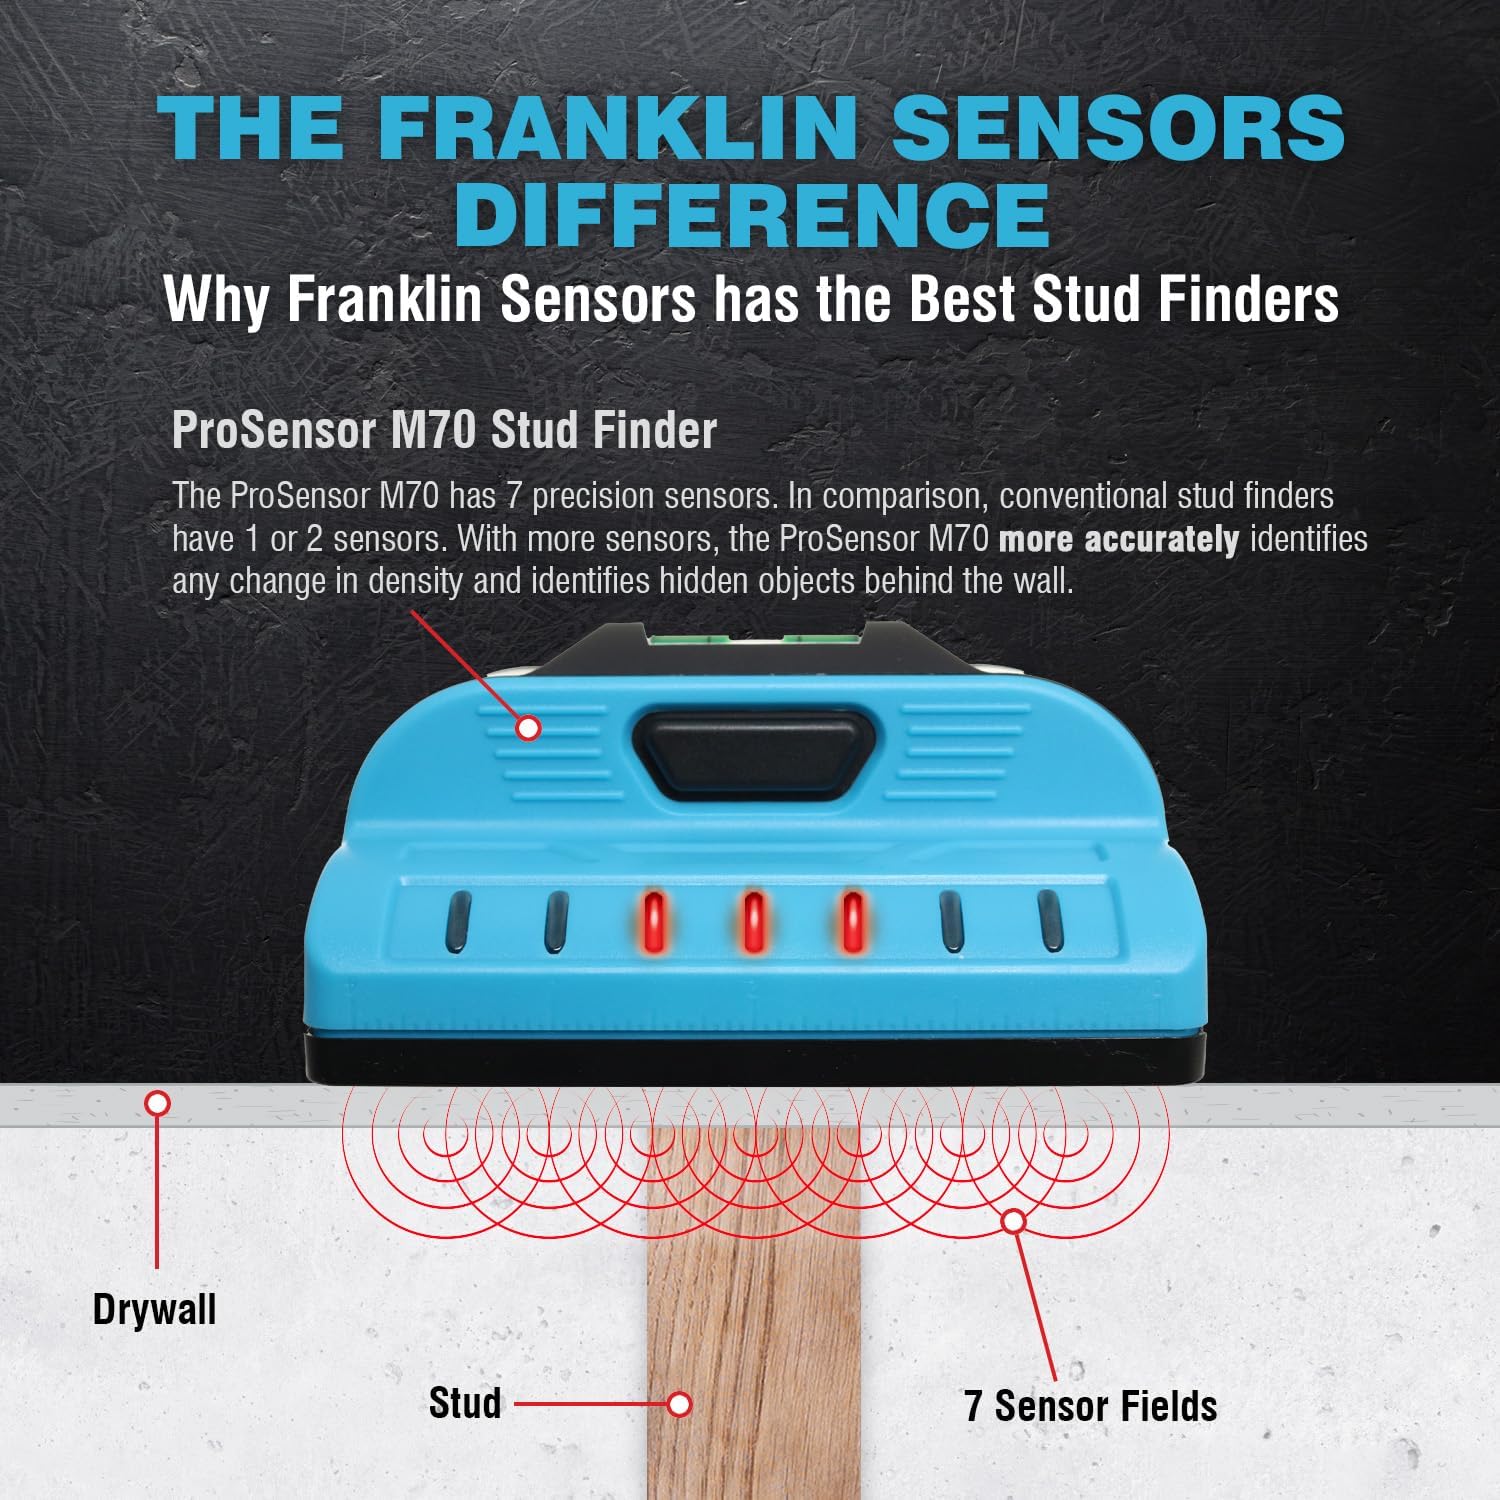
Figure 2: The Franklin Sensors Difference: This diagram highlights the 7-sensor technology of the ProSensor M70, showing how it accurately identifies changes in density and hidden objects behind the wall, unlike conventional stud finders.

Figure 3: Key features of the ProSensor M70, detailing the 7 LEDs for visibility, simple one-button operation, and the use of 2 AAA batteries.
4. Setup
4.1 Battery Installation
The ProSensor Sapphire 7500 (M70) requires two (2) AAA alkaline batteries (not included). Do NOT use rechargeable batteries.
- Locate the raised trapezoid on the battery cover.
- Push on the trapezoid and slide the cover to the right to open.
- Insert two AAA alkaline batteries, ensuring correct polarity (+/-).
- Replace the battery cover by sliding it to the left until it snaps into place. Ensure the Franklin Sensors logo on the cover faces up.
Video 1: This official Franklin Sensors video demonstrates how to install batteries and perform a quick test on the M70, X700, M90, and M92 stud finders. It also shows proper hand placement during use.
5. Operating Instructions
The ProSensor Sapphire 7500 (M70) is designed for simple, one-mode operation without the need for calibration.
5.1 Basic Operation
- Place your fingers on the handle of the device. Avoid placing fingers on the scanning surface.
- Press and hold the button located on the handle to turn the device on. The LEDs will illuminate briefly.
- Place the device flat against the wall surface where you wish to scan. You can start scanning anywhere, even directly over a stud.
- Slowly slide the stud finder horizontally across the wall.
- As the device detects a stud, the LEDs will light up, indicating the full width of the stud. The center LED will turn green when the exact center of the stud is found.
- Mark the location of the stud as indicated by the LEDs.
- Release the button to turn the device off.

Figure 4: The ProSensor M70 in action, showing how it helps locate studs by simultaneously displaying the center and edges.

Figure 5: Detailed view of the ProSensor M70's LED display indicating the center and edges of a detected stud with precision.
5.2 Important Tips for Accurate Scanning
- Hand Placement: Always keep your fingers on the designated handle area. Placing fingers on the scanning surface can interfere with sensor readings.
- Scanning Direction: Scan horizontally across the wall. For best results, start from a point where you are certain there is no stud and move towards the area of interest.
- Deep Scan: The ProSensor M70 features a 1.5-inch deep scan capability that is always active, allowing it to detect studs through various wall thicknesses.
- Material Compatibility: The device works effectively through drywall/sheetrock. Refer to the specifications table for detailed material compatibility.

Figure 6: Illustration showing the ProSensor M70's capability to detect both wood and metal studs. Note: It does not detect pipes or identify material type.

Figure 7: Visual guide demonstrating how the ProSensor M70's LED array indicates the full width of studs and highlights the center with a green LED.

Figure 8: The ProSensor M70 features no calibration requirement and an always-on 1.5-inch deep scan function for convenience and accuracy.
Video 2: This official Franklin Sensors video provides a general overview of how to use Franklin Sensors Professional Stud Finder Wall Scanners, demonstrating their ease of use and accuracy.
6. Maintenance
- Cleaning: Wipe the device with a soft, dry cloth. Do not use abrasive cleaners or solvents.
- Storage: Store the stud finder in a cool, dry place away from direct sunlight and extreme temperatures. Remove batteries if the device will not be used for an extended period.
- Battery Replacement: Replace batteries when the low battery indicator (second LED from the right flashes) appears.

Figure 9: The low battery indicator on the ProSensor M70, where the second LED from the right flashes to signal that batteries need replacement.
7. Troubleshooting
- Inaccurate Readings: Ensure proper hand placement (fingers on the handle only). Avoid scanning over wet paint, wallpaper with metallic content, or highly textured surfaces.
- No Detection: Check if batteries are correctly installed and have sufficient charge. Ensure the device is held flat against the wall.
- Device Not Turning On: Verify battery installation and charge. Ensure the power button is pressed and held firmly.
8. Specifications
| Feature | Detail |
|---|---|
| Brand | Franklin Sensors |
| Model Number | M70 |
| Color | Blue |
| Power Source | Battery Powered (2x AAA) |
| Batteries Required | Yes (AAA, not rechargeable) |
| Material | Plastic |
| Item Weight | 0.31 Pounds (5 ounces) |
| Product Dimensions | 4.6"L x 2.65"W x 2"H |
| Max Detection Depth | 1.5 inches |
| Number of Sensors | 7 |

Figure 10: Material compatibility chart for the ProSensor M70, indicating its performance across various wall materials compared to conventional stud finders.
9. Warranty and Support
Franklin Sensors products are known for their durability and performance. For specific warranty information and customer support, please visit the official Franklin Sensors website or refer to the product packaging.
You can also visit the Franklin Sensors Store on Amazon for more information and product offerings.

Figure 11: Franklin Sensors proudly states that their products are Made in the USA from global components, emphasizing quality and craftsmanship.