1. Introduction
Thank you for choosing the Smart FENDEE Shoe Cabinet. This manual provides detailed instructions for the assembly, operation, and maintenance of your new shoe cabinet. Please read this manual thoroughly before beginning assembly and retain it for future reference.
This shoe cabinet features a modern farmhouse design with unique grille-striped doors and a walnut finish. It offers ample storage with two flip-down drawers and an open lower shelf, designed to keep your footwear organized and out of sight while ensuring good airflow.
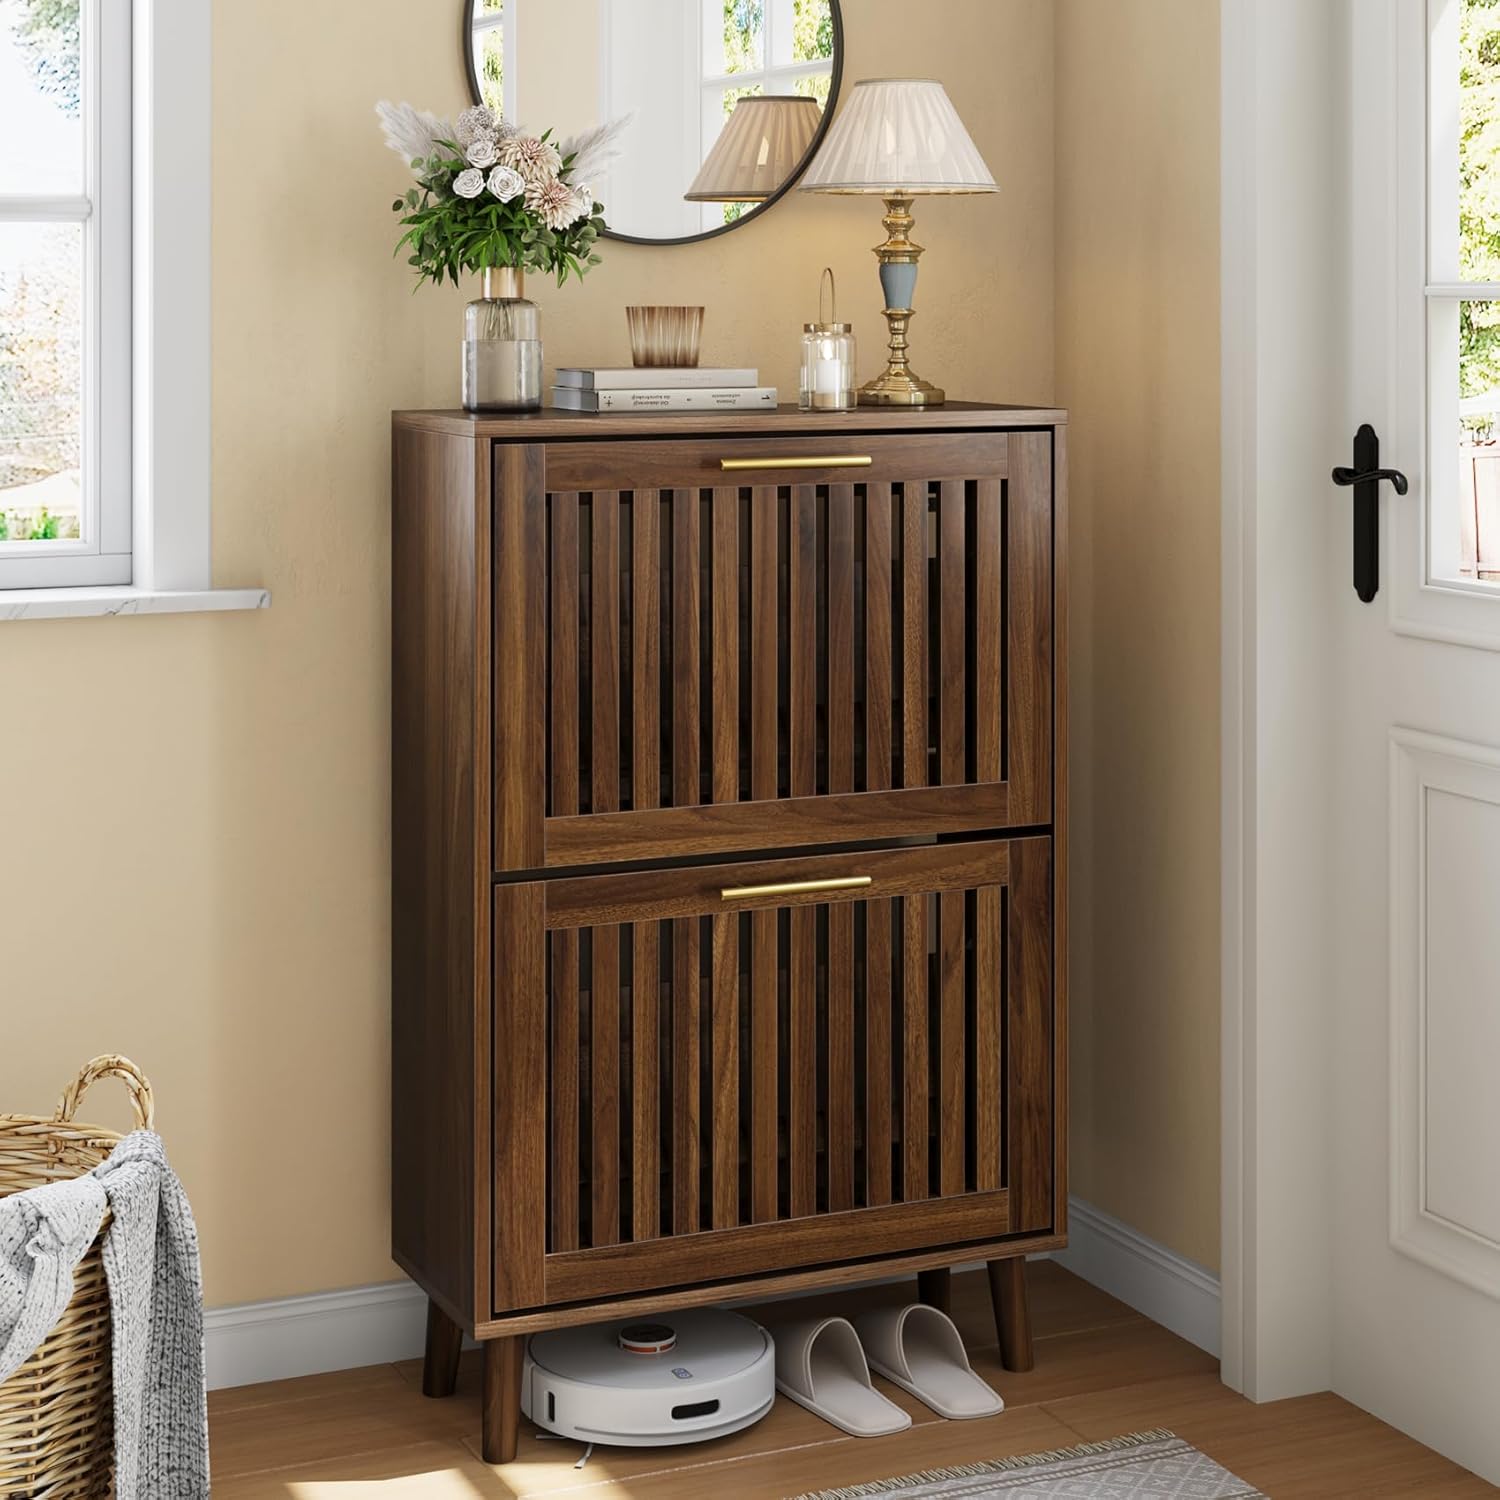
Image 1.1: The Smart FENDEE Shoe Cabinet in a home entryway, showcasing its design and functionality.
2. Important Safety Information
- Anti-Tip Device: Always secure the cabinet to the wall using the provided anti-tip device. This prevents tipping and ensures safety, especially in households with children or pets.
- Weight Limit: Do not overload the cabinet. Ensure that the weight is evenly distributed to maintain stability.
- Assembly: Follow all assembly instructions carefully. Incorrect assembly can lead to instability and potential injury.
- Placement: Place the cabinet on a flat, stable surface. Avoid placing it in areas with high humidity or direct sunlight to prevent damage to the wood.

Image 2.1: Illustration of the anti-tip device, demonstrating how it secures the cabinet to the wall for enhanced safety.
3. Package Contents
Before beginning assembly, ensure all parts are present and undamaged. Refer to the parts list in the included paper manual for a complete overview. Common components include:
- Wooden panels (top, bottom, side, back, drawer fronts)
- Golden handles
- Wooden legs
- Flip-down drawer mechanisms
- Various screws, dowels, and connectors
- Anti-tip device
If any parts are missing or damaged, please contact customer support for assistance.
4. Assembly Instructions
Assembly is straightforward with clear instructions. It is recommended to have a second person for assistance during certain steps. A rubber mallet may be useful in addition to the provided tools.
Video 4.1: Official Smart FENDEE Slatted Shoe Cabinet installation guide. This video provides a visual walkthrough of the entire assembly process.
Step-by-Step Guide:
- Prepare Base Panel (Video 0:07-0:14): Attach the necessary connectors and anti-tip bracket to the bottom panel (part 2).
- Assemble Side Panels (Video 0:15-0:28): Connect the internal vertical support panels (parts 4, 5, 6) to the base panel (part 3) using the specified hardware.
- Attach Top Panel (Video 0:29-0:37): Secure the top panel (part 2) to the assembled side and support panels.
- Install Legs (Video 0:44-0:51): Attach the four wooden legs (part 8) to the underside of the base panel.
- Prepare Top Panel (Video 0:52-0:58): Install connectors to the top panel (part 1).
- Complete Frame Assembly (Video 0:59-1:04): Attach the prepared top panel (part 1) to the main frame.
- Install Anti-Tip Device (Video 1:05-1:10): Secure the anti-tip device to the back of the cabinet and to your wall as per instructions.
- Assemble Drawer Components (Video 1:11-1:20): Attach the plastic flip mechanisms (parts L, R) to the inner wooden support (part 10) for each drawer.
- Attach Drawer Fronts (Video 1:21-1:30): Secure the assembled inner drawer components to the slatted drawer fronts (part 9). Install the golden handles (part N) to the drawer fronts.
- Insert Drawers (Video 1:31-1:40): Carefully insert the completed flip-down drawers into the cabinet frame.
5. Operating Instructions
5.1 Opening and Closing Drawers
To open a drawer, gently pull the golden handle outwards. The drawer will flip down, revealing the shoe compartments. To close, push the drawer upwards until it is flush with the cabinet frame.
Video 5.1: A demonstration of the flip-down drawers, showing how they open and close to reveal shoe storage.
5.2 Adjusting Shelves
Each flip-down drawer features adjustable shelves to accommodate various shoe heights. You can reposition the shelves to fit different types of footwear, including flip-flops, dress shoes, high heels, casual shoes, sneakers, and boots.

Image 5.2: An illustration detailing the two adjustable shelf positions within the flip-down drawers, suitable for various shoe sizes and styles.
5.3 Ventilation
The grille-striped doors are designed to promote airflow, helping to keep your shoes fresh and prevent odors. The open lower shelf also provides additional ventilation and space for frequently used shoes or a robot vacuum cleaner.

Image 5.3: Visual representation of air circulation through the slatted doors, highlighting the cabinet's ventilation feature.
6. Maintenance
- Cleaning: Wipe the cabinet surfaces with a soft, damp cloth. Avoid using harsh chemicals or abrasive cleaners, as these can damage the finish.
- Dusting: Regularly dust the cabinet to prevent buildup, especially on the slatted doors.
- Spills: Clean up any spills immediately to prevent staining or damage to the wood.
- Inspection: Periodically check all screws and connections to ensure they are tight. Retighten if necessary.
7. Troubleshooting
| Problem | Possible Cause | Solution |
|---|---|---|
| Drawers do not close properly. | Shoes are too large or improperly placed; mechanism is misaligned. | Ensure shoes are placed correctly and not obstructing the closing mechanism. Check if the flip mechanism is installed correctly and screws are tight. |
| Cabinet feels unstable. | Not secured to the wall; uneven floor; loose connections. | Install the anti-tip device. Place the cabinet on a level surface. Check and tighten all assembly screws. |
| Odor inside the cabinet. | Lack of ventilation; damp shoes. | Ensure proper air circulation by not overfilling. Allow damp shoes to dry before storing. Consider using shoe deodorizers. |
8. Specifications
| Feature | Detail |
|---|---|
| Brand | Smart FENDEE |
| Model Number | ZLXG-HTS-60CM |
| Color | Walnut |
| Product Dimensions | 9.45"D x 23.62"W x 36.53"H |
| Item Weight | 34.8 pounds (15.83 Kilograms) |
| Material | Engineered Wood, Metal, Wood |
| Mounting Type | Freestanding (with anti-tip device) |
| Number of Drawers | 2 (Flip-down) |
| Special Feature | Grille-striped doors for ventilation, adjustable shelves |
| Assembly Required | Yes |
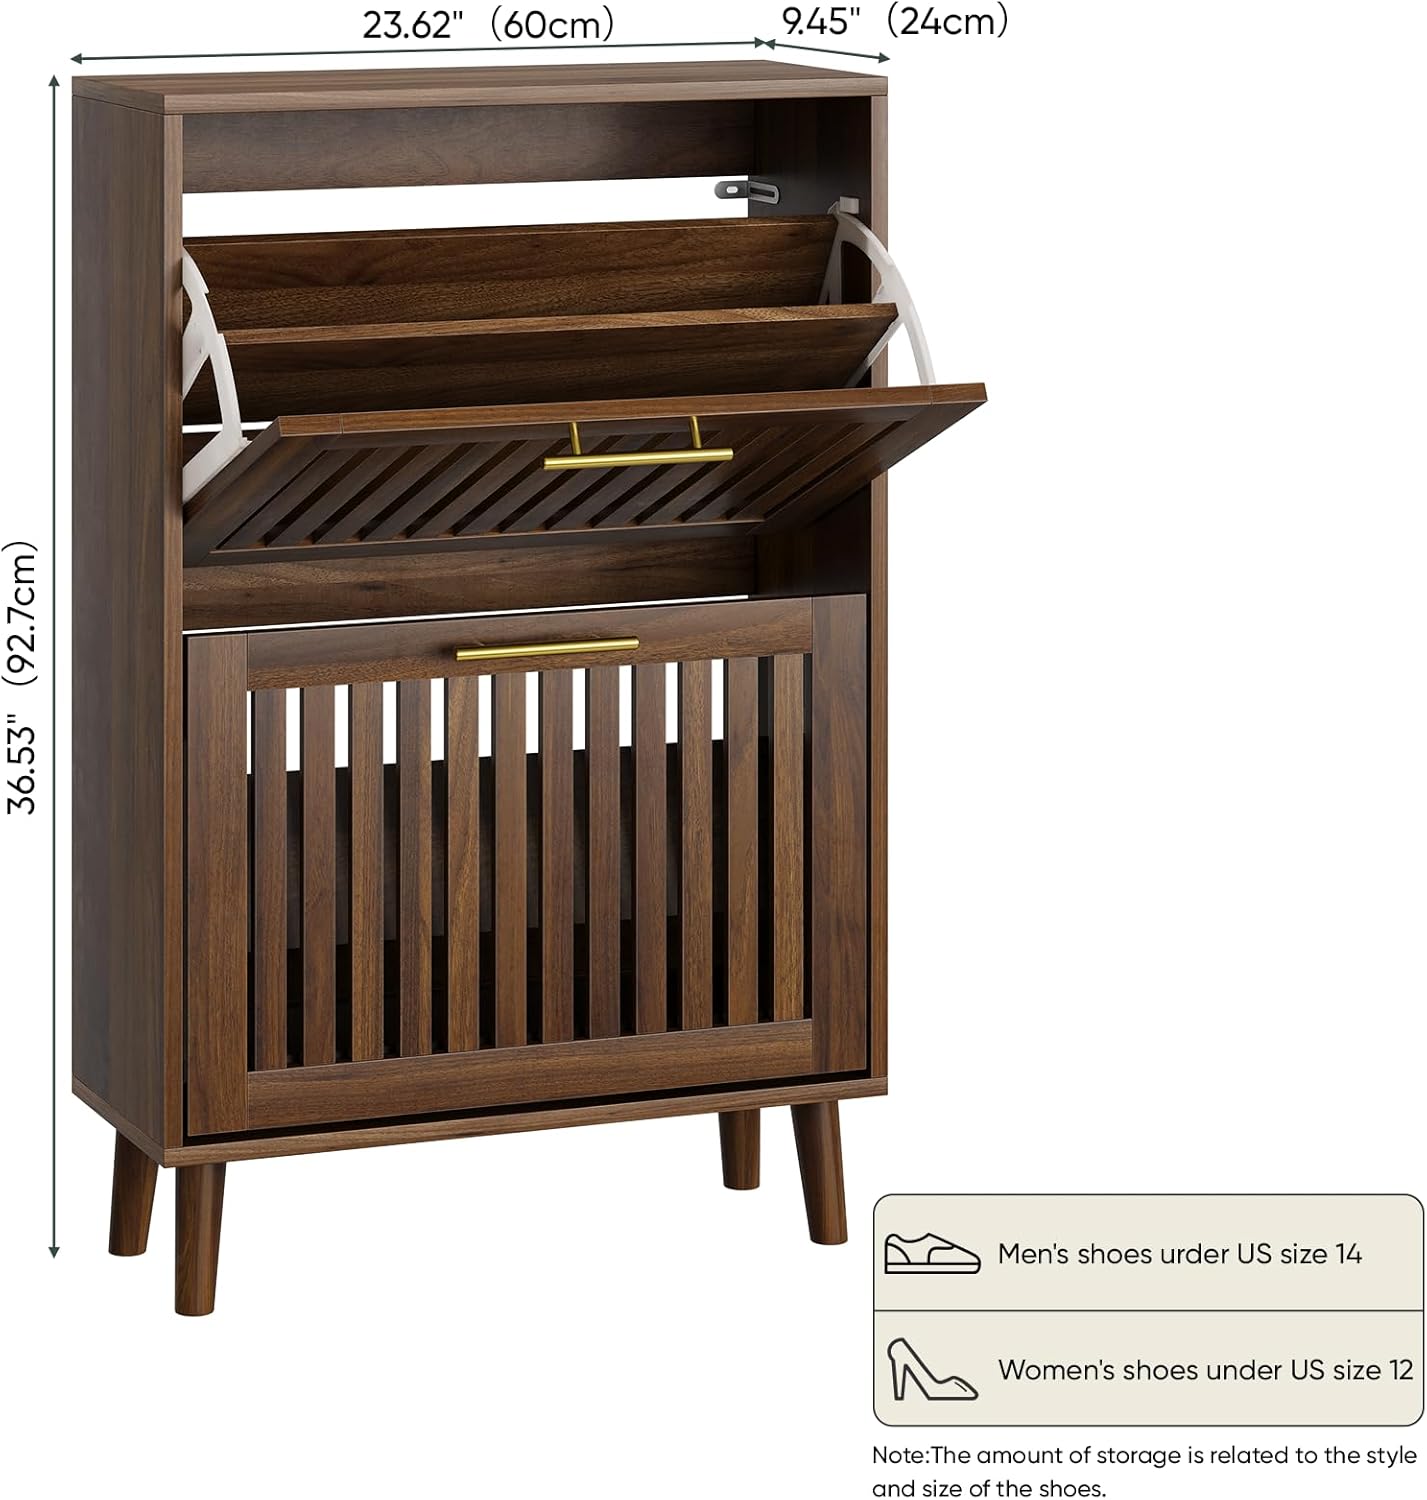
Image 8.1: Detailed dimensions of the shoe cabinet, including width, depth, and height.
9. Warranty and Support
For warranty information or customer support, please refer to the contact details provided in your product packaging or visit the official Smart FENDEE website. Please have your model number (ZLXG-HTS-60CM) and purchase date available when contacting support.