WEIZE WZ9-12000lbs
Weize WZ9-12000lbs 2 Post Automotive Car Lift Instruction Manual
Model: WZ9-12000lbs | Brand: WEIZE
1. Safety Information
Always prioritize safety when operating the Weize 2 Post Automotive Car Lift. Failure to follow safety instructions can result in serious injury or death.
- Read and understand the entire manual before installation and operation.
- Ensure the lift is installed on a level, solid concrete foundation capable of supporting the lift's weight and maximum load.
- Only trained and authorized personnel should operate the lift.
- Never exceed the maximum lifting capacity of 12,000 lbs.
- Ensure the vehicle is properly centered and balanced on the lifting arms before raising.
- Always engage the safety locks before working under the vehicle.
- Keep hands and feet clear of moving parts during operation.
- Regularly inspect the lift for wear, damage, or loose components.
2. Product Overview
The Weize WZ9-12000lbs 2 Post Automotive Car Lift is designed for professional and home garage use, offering a robust solution for vehicle maintenance and repair. It features a heavy-duty steel frame, a powerful 220V 4HP hydraulic motor, and a single-point lock release for enhanced safety and ease of use.
Key Features:
- Heavy-Duty Construction: Sturdy steel frame and columns provide robust support for lifting vehicles up to 12,000 lbs.
- Dimensions: Drive Through Width 101 inch. Max Lifting Height 71.65 inch. Overall Dimensions 137"(L) x 20"(W) x 112"(H).
- Safety Features: Equipped with single point safety lock release for easy and safe operation.
- Powerful Hydraulic Unit: Pioneering 220V 60Hz 1 Phase 4 HP Hydraulic Power Unit for enhanced safety and efficiency.
Product Components:

This image shows the overall dimensions of the Weize 2 Post Car Lift, including a drive-through width of 101.3 inches, a lifting height range of 3.9 to 71.7 inches, and an overall height of 112.6 inches.
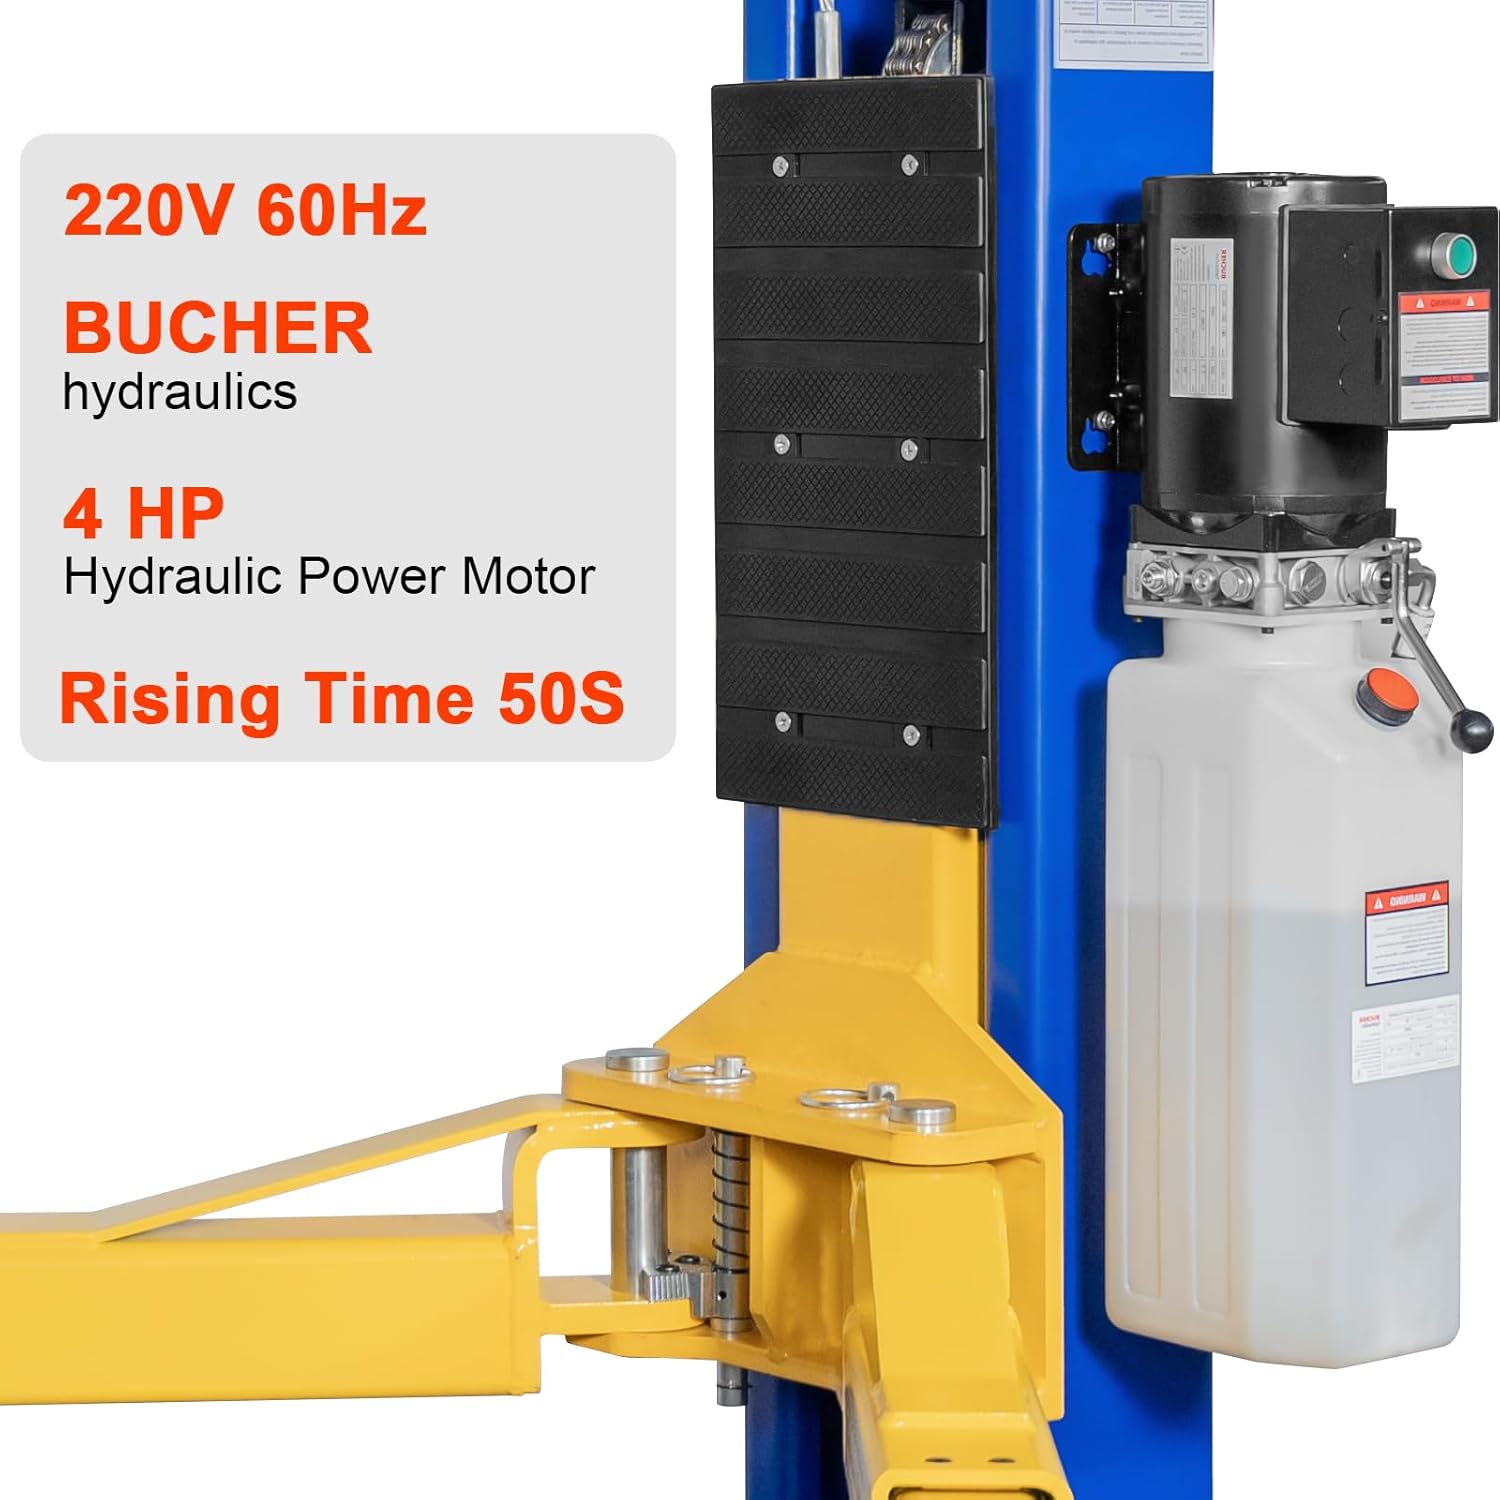
A close-up of the hydraulic power unit, highlighting its 220V 60Hz, 4 HP motor, and a rising time of 50 seconds.

Detail of the adjustable lifting pad, designed to securely support vehicles.

View of the robust chain drive system within the lift column, ensuring smooth and reliable operation.

The adjustable lifting arms, featuring both two-stage and three-stage designs for versatile vehicle accommodation.
3. Setup and Installation
Proper installation is critical for the safe and efficient operation of your Weize 2 Post Automotive Car Lift. Refer to the detailed installation video for visual guidance.
Installation Video:
This official Weize installation video provides a step-by-step guide for setting up your 12000lbs 2 Post Car Lift, covering unpacking, assembly, and initial checks.
Key Installation Steps:
- Unpacking and Inspection: Check the packaging for damage. Carefully open the package and remove all accessories. Be cautious of protrusions on the side brackets.
- Accessory Check: Move all components to the installation area and verify all accessories are present against the packing list.
- Steel Wire Removal: Remove the steel wire from the column and organize it. Remove side guards of the pulleys.
- Column Placement: Use lifting equipment to stand the columns up. Precisely position the main column and secure it with one screw to prevent tilting.
- Floor Plate Installation: Remove screws from the bottom of the floor plate and separate the cover. Install the bottom floor plate, ensuring a 3-6mm gap with the column for oil pipe installation.
- Anchor Bolt Installation: Drill holes for anchor bolts. Remove expansion bolt pins, assemble screws, insert pins, drive them in until bottomed out, then tighten with a wrench.
- Steel Wire Threading: Thread the steel wire downward from the yellow hole inward, ensuring it's on the same side as the front end. Turn the pulley notch towards the bottom, insert the steel wire into the pulley groove, and install the guard. Guide the steel wire along both sides of the floor plate to the other side.
- Power Unit Installation: Adjust the screw depth on the main frame, then hang the power unit on the bracket and tighten the screws.
- Hydraulic Connections: Swap interfaces and plugs on both sides of the power unit, keeping the washers. Remove the oil pipe plug from the main column, remove the dust cap from the oil pipe, and connect the oil outlet of the power unit to the oil pipe connector of the main frame. Adjust the oil hose direction and tighten with a wrench.
- Hydraulic Oil Filling: Add hydraulic oil, ensuring it does not exceed the maximum level mark.
- Safety Tripwire Installation: Install the contact safety tripwire, passing it through the hole above the main frame. Reserve 20cm of steel wire, pass it through the block, then through the unlocking mechanism, and tighten with a hex wrench. Thread the steel wire completely into the channel on the other side.
- Platform Adjustment: When raising the platform, pay attention to the steel wire tripwire at the bottom and withdraw it in time to avoid scraping. Once the equipment has risen enough to engage the safety lock, remove the tripwire from the bottom.
- Lifting Arm Installation: Install the lifting arms, paying attention to the direction: the rear side has two-section lifting arms, and the front side has three-section lifting arms, consistent with the direction of the power unit and the front of the vehicle. Insert the pin, and if the pin gets stuck, wiggle the gear lock and slightly wiggle the lifting arm. After inserting the pin, install the spring retainer (kapring).
- Height Adjustment Pads: Remove the spring retainer from the bottom of the tray and install it in the front hole of the bracket, ensuring the notch fits with the block. Use the height adjustment pads depending on the height of the car's chassis.
- Final Adjustments: Adjust the tension of the reinforcement bars on both sides: loosen the screws at the top, use a pry bar to lift them, and tighten the screws at the bottom until both sides are balanced. Then, lock both screws.
4. Operating Instructions
Lifting a Vehicle:
- Position the vehicle centrally between the lift columns.
- Adjust the lifting arms to ensure they are securely placed under the vehicle's designated lifting points. Use appropriate truck adapters if necessary.
- Press the 'Up' button on the power unit to slowly raise the vehicle.
- As the lift moves upward, listen for a "click" sound, indicating that the safety device is locked into place. Ensure both sides engage simultaneously, indicating even force distribution.
- Raise the vehicle to the desired working height and ensure all safety locks are fully engaged before beginning work.
Lowering a Vehicle:
- First, slightly raise the platform by 5 cm to disengage the safety locks.
- Press the safety release handle and simultaneously press the pressure relief handle to complete the descent.
- Ensure the area around the lift is clear of obstructions and personnel before lowering.
- Once the vehicle is fully lowered, carefully remove the lifting arms and drive the vehicle off the lift.

A vehicle safely lifted by the Weize 2 Post Car Lift, demonstrating its operational capability.
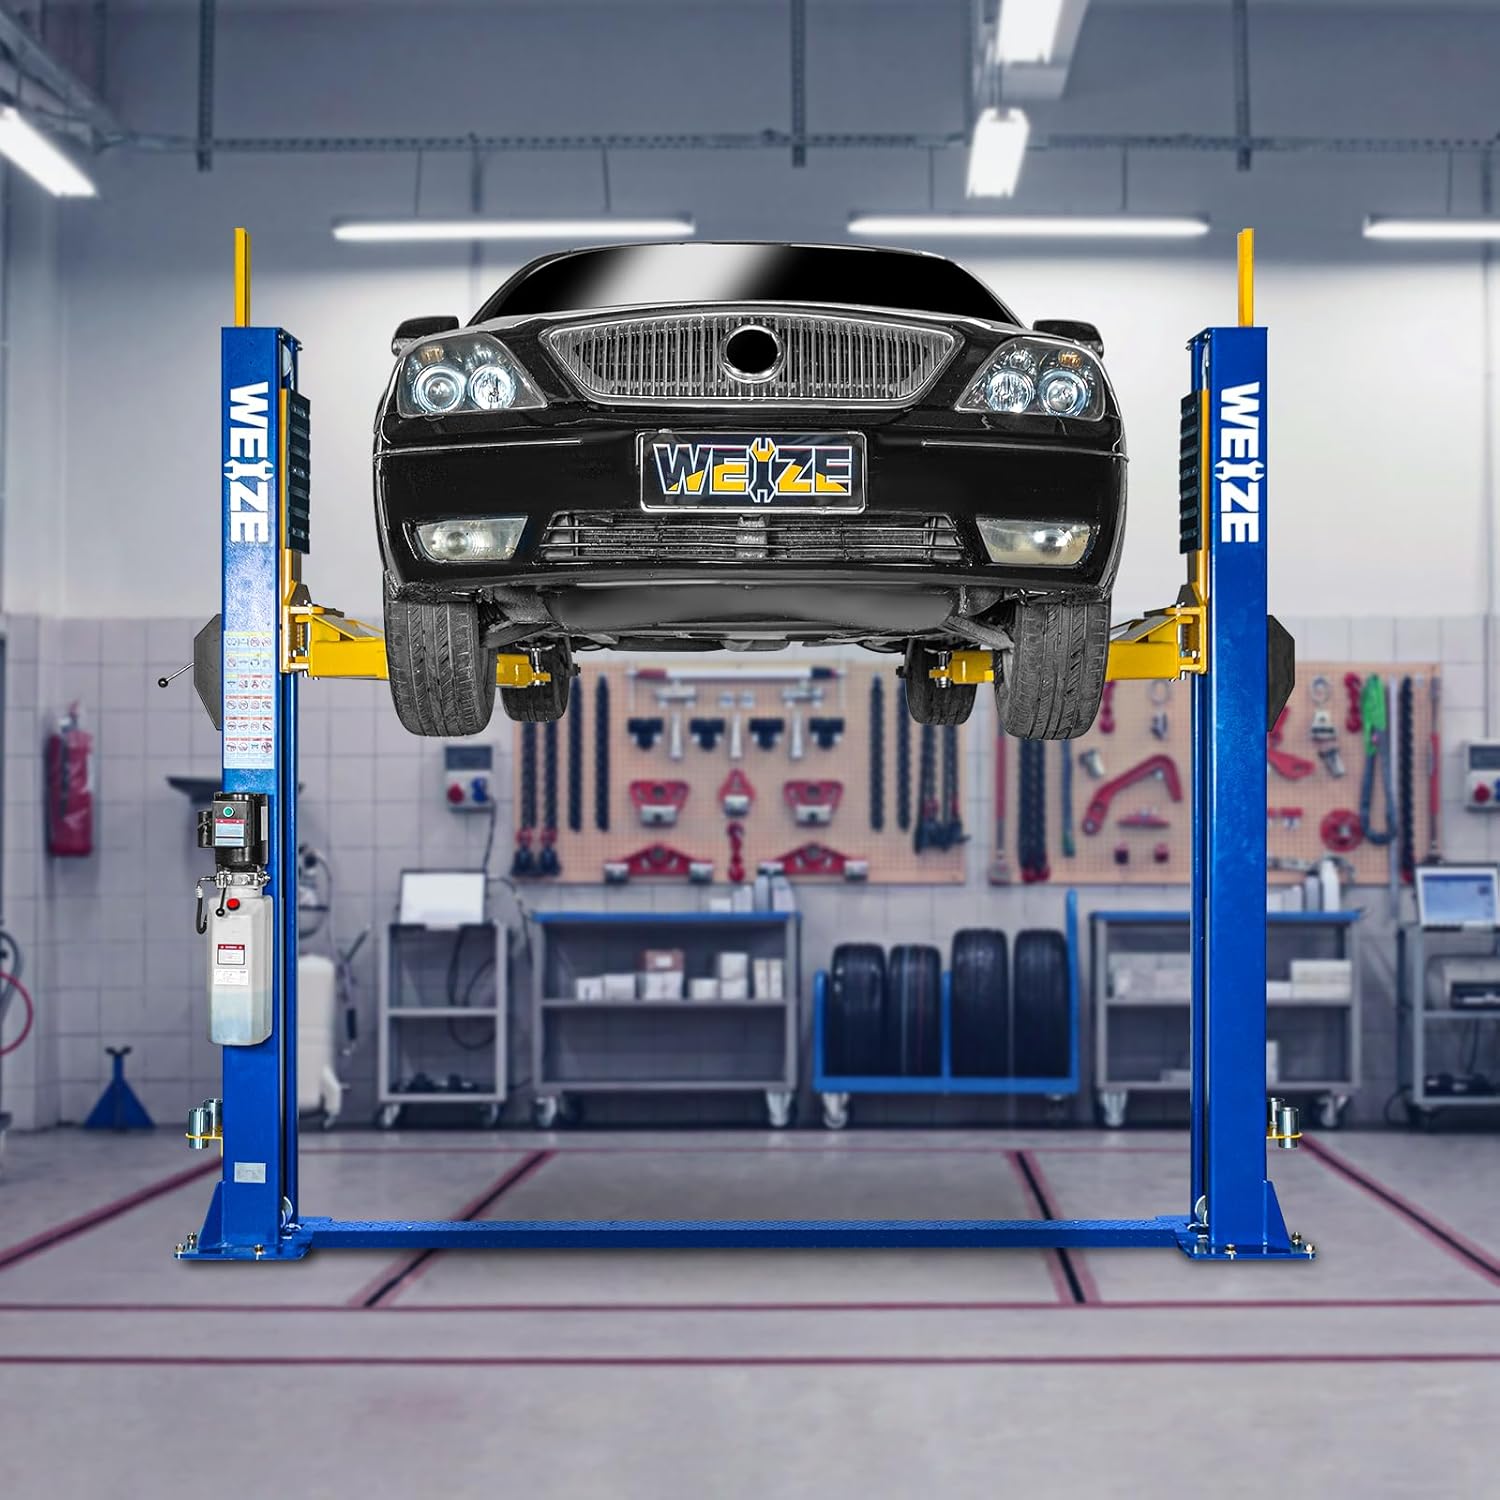
The car lift in a typical garage environment, with a vehicle raised for maintenance.

A close-up view of the lifting pad securely positioned under the vehicle's chassis, ready for repair and maintenance.
5. Maintenance and Care Instructions
- Daily Use: Check daily if the safety device can lock into place and if the linkage is functioning properly. If there are any potential hazards, repair or replace them promptly.
- Weekly Inspection: Inspect the steel wire for looseness or broken strands. Observe the sliding blocks on the internal platform of the columns and apply grease as needed. If wear on one side exceeds 20%, it will no longer be securely gripped by the columns and should be replaced in a timely manner.
- Bi-Weekly Check: Inspect all hydraulic hose connections for leaks or ruptures, and repair or replace them as necessary.
- Monthly Maintenance: Check if all screws and nuts are tightened properly. After a test run, retighten all screws and nuts.
6. Troubleshooting
This section provides general troubleshooting tips. For complex issues, contact customer support.
- Lift not raising: Check power supply, hydraulic fluid level, and ensure no obstructions.
- Uneven lifting: Verify proper load distribution and inspect cables/chains for even tension.
- Hydraulic leaks: Inspect all connections and hoses for visible leaks. Tighten loose fittings or replace damaged components.
- Safety locks not engaging: Check for obstructions in the locking mechanism and ensure proper cable tension.
7. Specifications
| Specification | Value |
|---|---|
| Brand | WEIZE |
| Model | WZ9-12000lbs (PLA-1029) |
| Material | Alloy Steel |
| Maximum Lifting Height | 71.65 Inches |
| Item Weight | 1574 pounds |
| Product Dimensions | 137.24 x 101.3 x 112.6 inches |
| Automotive Fit Type | Universal Fit |
8. Warranty and Support
For warranty information, technical support, or replacement parts, please contact Weize customer service. Keep your purchase receipt and product model number handy for faster service.
Customer Support: Refer to your product packaging or the official Weize website for the most up-to-date contact information.
Ask a question about this manual
Ask about setup, troubleshooting, compatibility, parts, safety, or missing instructions. Manuals+ will review the question and use this page’s manual context to help answer it.