Introduction
Thank you for choosing the Ykioea Hidden Bottle Water Dispenser. This manual provides essential information for the safe and efficient operation of your new appliance. Please read it thoroughly before use and retain it for future reference.
Important Safety Instructions
- Always place the dispenser on a flat, stable surface to prevent tipping.
- Ensure the power cord is not damaged and is properly grounded.
- Do not operate the dispenser if it has been damaged in any way.
- Keep children away from the hot water dispenser tap, which includes a safety lock.
- Unplug the dispenser before cleaning or performing any maintenance.
- Do not immerse the dispenser, cord, or plug in water or other liquids.
- This appliance is designed for indoor use only.
Setup
1. Unpacking
Carefully remove the dispenser from its packaging. Inspect for any damage during transit. Remove all packing materials, including any protective films.
2. Placement
Place the dispenser in a cool, dry location away from direct sunlight and heat sources. Ensure there is adequate ventilation around the unit. The dimensions are approximately 31 cm (depth) x 29 cm (width) x 97 cm (height).

Image: Ykioea water dispenser suitable for various environments.
3. Bottle Installation (Bottom-Loading)
This dispenser features a convenient bottom-loading design, eliminating the need to lift heavy water bottles. It accommodates standard 5-gallon (18.9 liter) water bottles.
- Open the lower cabinet door.
- Place the water bottle into the cabinet.
- Insert the water probe into the bottle opening, ensuring a secure fit.
- Close the cabinet door.

Image: Demonstrating the easy bottom-loading water bottle installation.

Image: Benefits of bottom-loading: effortless water change, dustproof, hygienic, no heavy lifting, no overturning, no spills.
4. Initial Flushing and Power Connection
- Once the water bottle is installed, allow a few minutes for the water tanks to fill.
- Dispense a few cups of water from both the cold and hot taps to flush out any air and ensure water flow. Discard this initial water.
- Plug the dispenser into a grounded 120V electrical outlet.
Operating Instructions
Your Ykioea water dispenser offers three temperature options: cold, room temperature, and hot water.

Image: Control panel with indicator lights for power, heating, cooling, and water shortage, along with hot, room, and cold water spouts.
1. Dispensing Water
- Cold Water: Press the blue lever to dispense cold water.
- Room Temperature Water: Press the middle lever to dispense room temperature water.
- Hot Water: This tap is equipped with a safety lock. To dispense hot water, simultaneously press the safety lock button and the red lever. Release the lever to stop the flow.

Image: Hot and cold water buttons with usage suggestions for beverages and instant meals.
2. Indicator Lights
The control panel features indicator lights that provide status information:
- Power Indicator: Illuminates when the unit is powered on.
- Heating Indicator: Illuminates when the hot water function is active.
- Cooling Indicator: Illuminates when the cold water function is active.
- Water Shortage Indicator: Flashes to indicate that the water bottle is empty or needs replacement.
Maintenance
1. Cleaning
Regular cleaning ensures hygienic water dispensing. The dispenser uses a food-grade contact lining for safe drinking.
- Unplug the dispenser from the power outlet.
- Remove the water bottle.
- The large water box is designed for easy disassembly and cleaning. Follow the instructions in the diagram for removing and cleaning the internal components.
- Clean the exterior with a soft, damp cloth. Do not use abrasive cleaners or solvents.
- For thorough internal cleaning, consider using a food-grade descaling solution periodically, especially in areas with hard water.

Image: Internal structure featuring 304 food-grade stainless steel for rapid heating, high temperature resistance, corrosion resistance, and no peculiar odor.
2. Replacing the Water Bottle
When the water shortage indicator flashes, it's time to replace the water bottle. Follow the bottle installation steps in the Setup section.
Troubleshooting
If you encounter any issues, please refer to the following common problems and solutions before contacting support.
| Problem | Possible Cause | Solution |
|---|---|---|
| No cold water | Cooling function off; insufficient time to cool; water bottle empty. | Ensure cooling switch is on; allow 15-30 minutes for cooling; replace water bottle. |
| No hot water | Heating function off; insufficient time to heat; water bottle empty. | Ensure heating switch is on; allow 5-10 minutes for heating; replace water bottle. |
| Water leakage | Water bottle not seated correctly; drain plug loose; internal component issue. | Re-seat water bottle; check drain plug; contact support if problem persists. |
| Unusual noise | Normal compressor operation; unit not level; air in water lines. | Ensure unit is level; dispense water to remove air. Note: The dispenser operates at approximately 33 dB, comparable to a quiet conversation. |
| Dry burn prevention activated | Water level in hot tank is too low. | The system automatically cuts power to heating. Replace the water bottle and allow the tank to refill before reactivating heating. |

Image: Noise level comparison, showing the dispenser operating at a quiet 33 dB.
Specifications
- Model: 1
- Brand: Ykioea
- Dimensions (L x W x H): 31 cm x 29 cm x 97 cm (12.2 x 11.4 x 38.2 inches)
- Weight: 7.48 kg (16.5 lbs)
- Material: Plastic exterior, 304 Stainless Steel internal lining
- Voltage: 120V
- Maximum Bottled Water Capacity: 20 Liters (5 Gallons)
- Heating Power: 425W
- Heating Temperature Range: ≥90°C (194°F)
- Heating Capacity: 5 liters/hour
- Cooling Power: 75W
- Cooling Temperature Range: ≤10°C (50°F)
- Cooling Capacity: 1.5 liters/hour
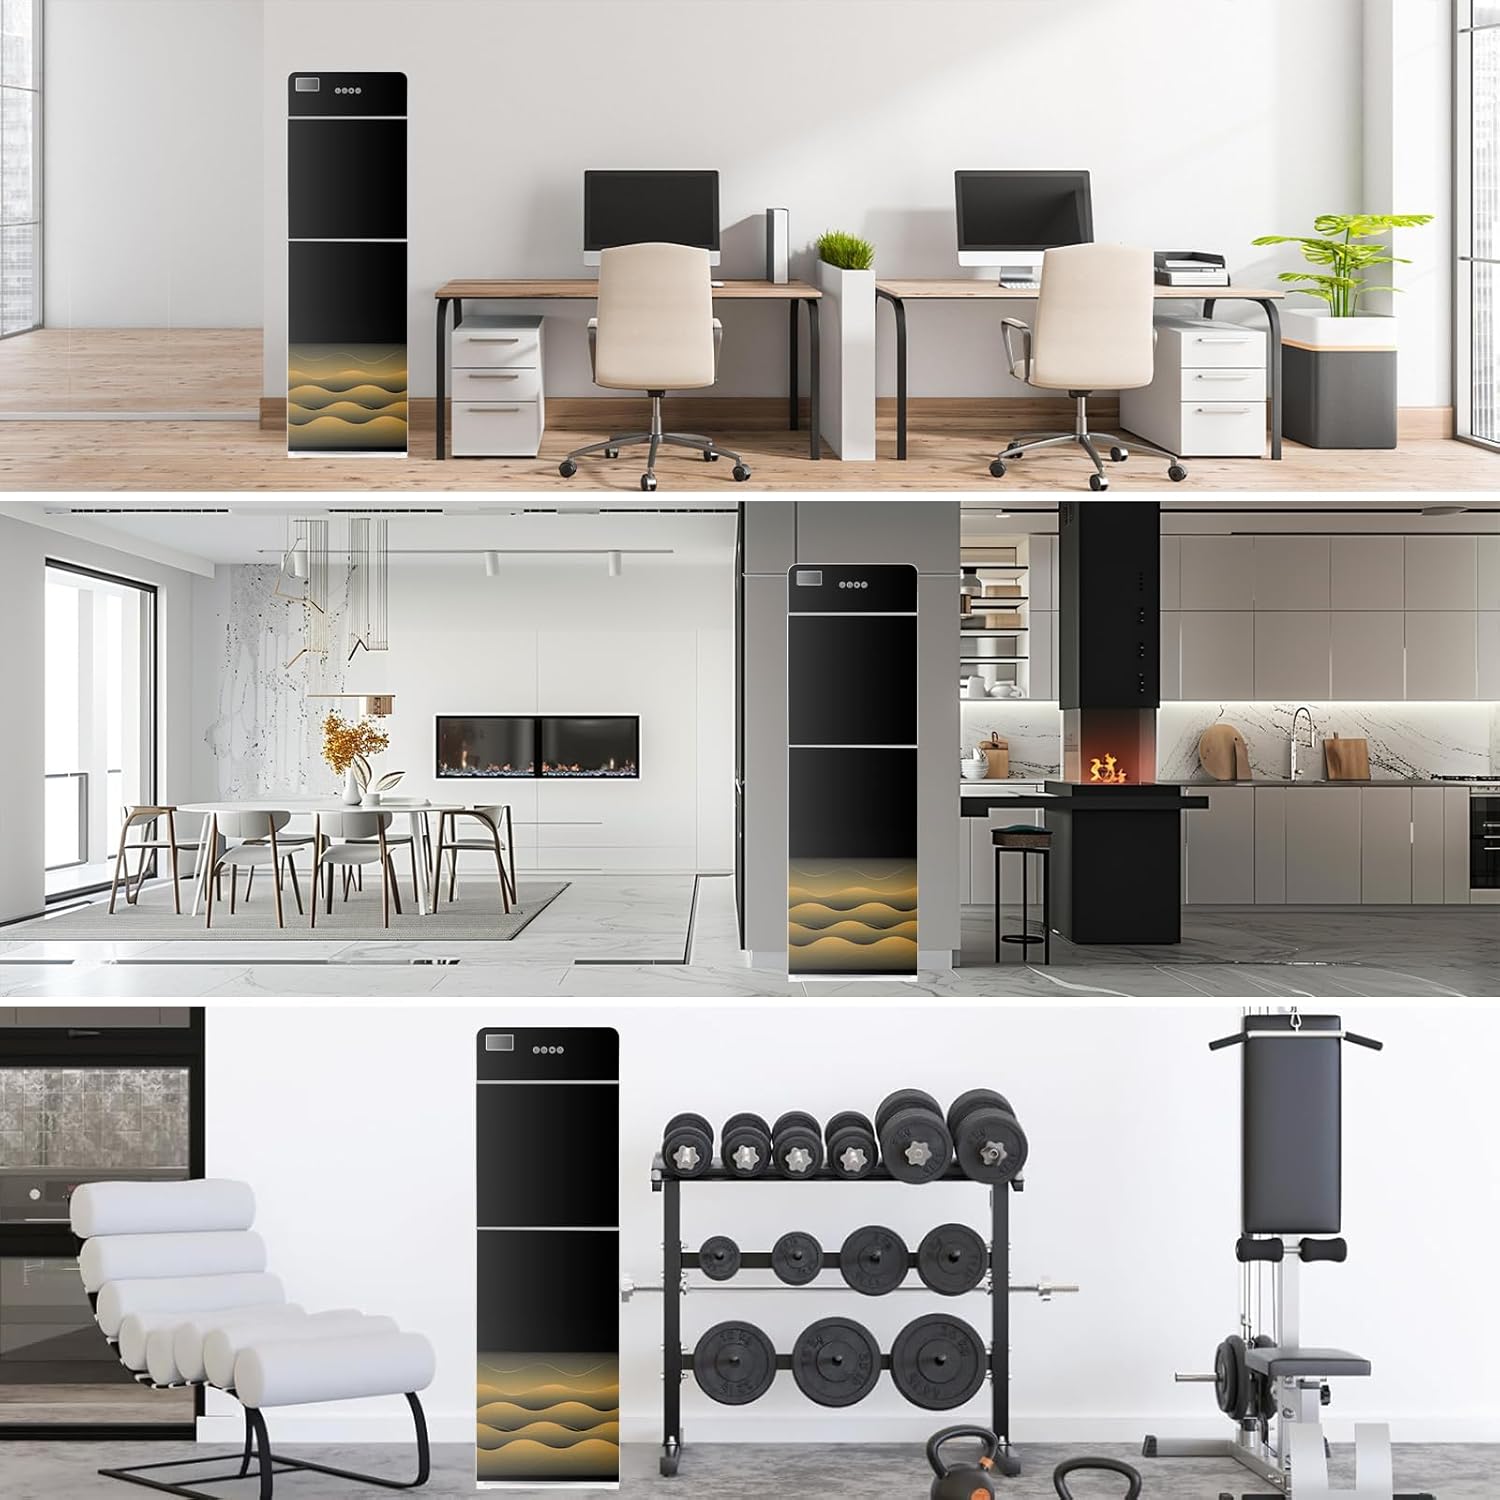
Image: Detailed product parameters and dimensions.
Warranty and Support
For warranty information and customer support, please refer to the documentation provided with your purchase or contact the retailer where the product was acquired. Keep your proof of purchase for any warranty claims.