Introduction
This manual provides essential information for the proper installation, operation, and maintenance of your BXParts Carburetor Kit. This kit is designed for 5.5HP Ariens 5520 Snowblowers equipped with Tecumseh engines, specifically compatible with models 932140, 932038, and 932311. Please read these instructions thoroughly before beginning any work to ensure safe and effective use.
Safety Information
Always prioritize safety when working with fuel systems and internal combustion engines. Failure to follow safety precautions can result in serious injury or property damage.
- Ensure the engine is off and cool before starting any maintenance or installation.
- Disconnect the spark plug wire to prevent accidental starting.
- Work in a well-ventilated area to avoid inhaling fuel fumes.
- Wear appropriate personal protective equipment, including safety glasses and gloves.
- Handle fuel with extreme care. Store it in approved containers away from ignition sources.
- Refer to your snowblower's original owner's manual for specific safety guidelines related to your equipment.
Package Contents
Verify that all components listed below are present in your BXParts Carburetor Kit:
- 1 x Carburetor
- 2 x Gaskets
- 1 x Fuel Filter
- 1 x Fuel Line
- 1 x Primer Bulb
- 1 x Fuel Shut-Off Valve
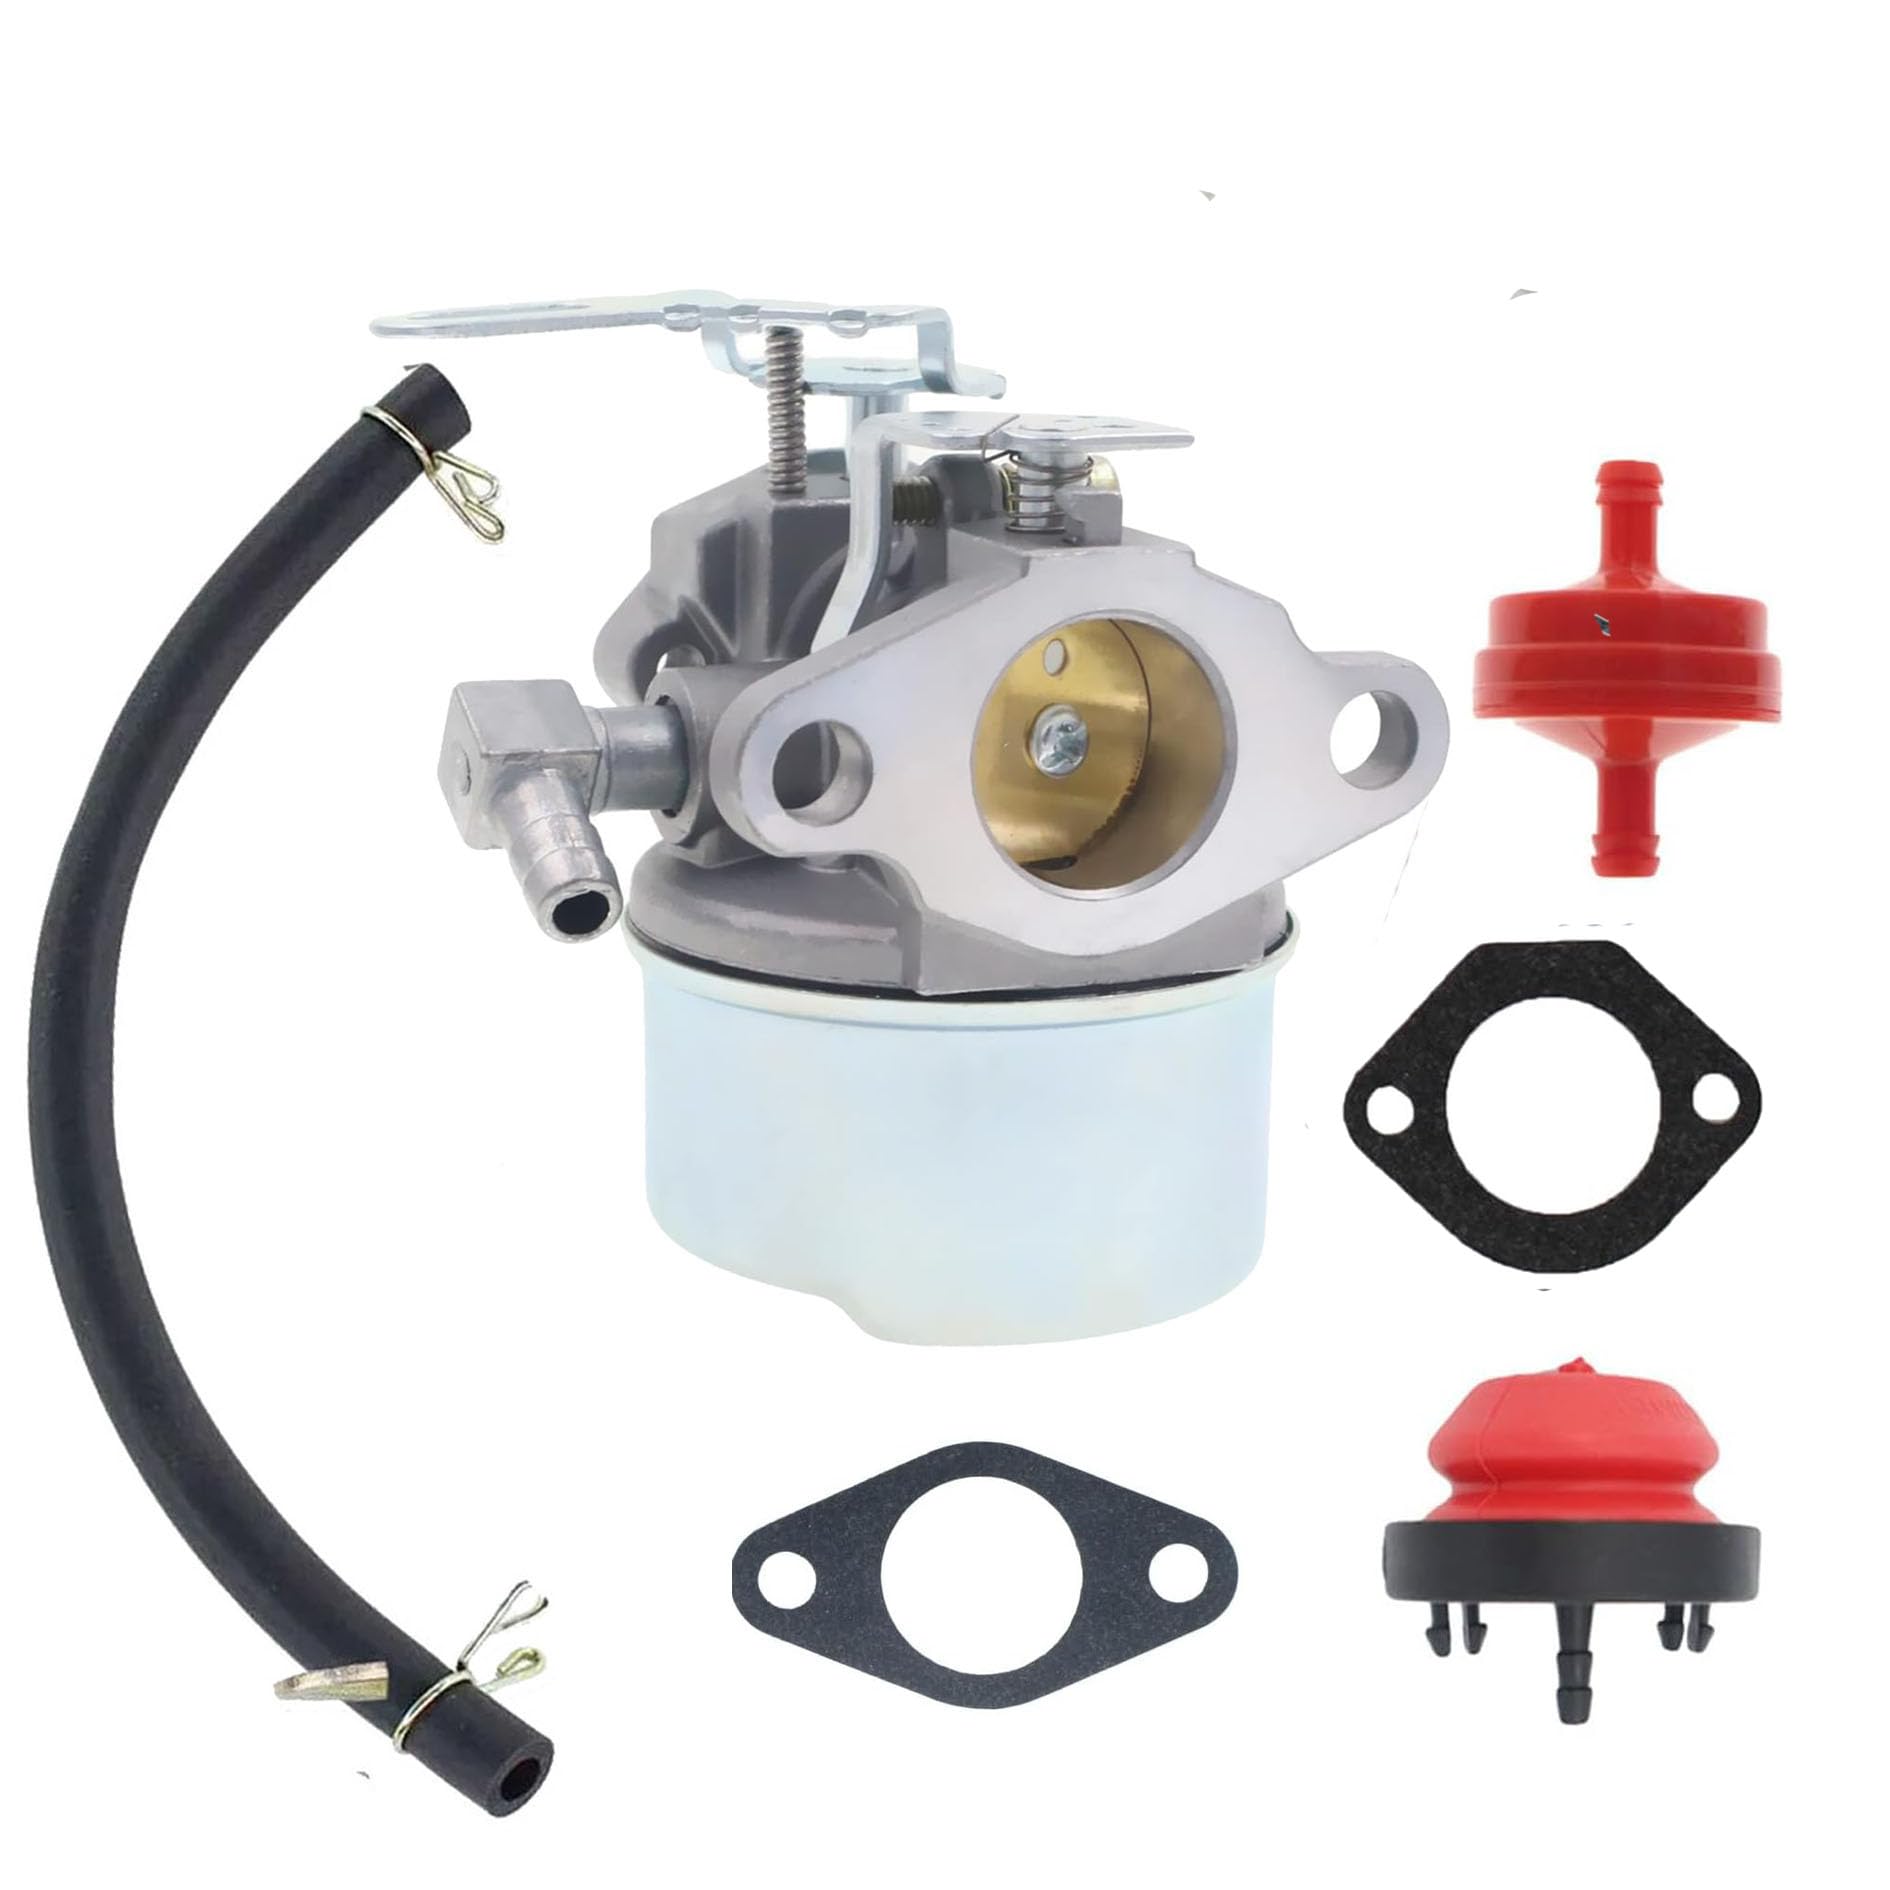
Image: Overview of the BXParts Carburetor Kit components.
Specifications
| Feature | Detail |
|---|---|
| Brand | BXParts (Generic) |
| Model Compatibility | 5.5HP Ariens 5520 Snowblower with Tecumseh Engine |
| Part Numbers | 932140, 932038, 932311 (Tecumseh Engine Carb) |
| Material | Aluminum (Carburetor body) |
| Item Weight | 8 ounces |
| Package Dimensions | 6 x 4 x 4 inches |
Setup and Installation
Proper installation is critical for optimal performance. If you are unsure about any step, consult a qualified technician.
1. Preparation
- Park the snowblower on a level surface and engage the parking brake.
- Turn off the engine and allow it to cool completely.
- Disconnect the spark plug wire to prevent accidental starting.
- Locate the fuel shut-off valve (if present) and turn it to the OFF position.
- Drain the fuel tank into an approved container.
2. Removing the Old Carburetor
- Carefully disconnect the fuel line from the old carburetor.
- Remove any air filter housing or covers that obstruct access to the carburetor.
- Disconnect the throttle linkage and choke linkage from the carburetor. Note their positions for reassembly.
- Unbolt the old carburetor from the engine. Be mindful of any gaskets between the carburetor and the engine/intake manifold.
- Remove and discard the old carburetor and gaskets.
3. Installing the New Carburetor
- Ensure the mounting surfaces are clean and free of debris.
- Place new gaskets in their correct positions.
- Mount the new BXParts carburetor onto the engine, securing it with the appropriate bolts. Do not overtighten.
- Reconnect the throttle linkage and choke linkage to the new carburetor. Ensure they operate smoothly.
- Install the new fuel shut-off valve and fuel filter into the fuel line.
- Connect the new fuel line to the carburetor and the fuel tank. Secure with clamps.
- Install the new primer bulb.
- Reinstall any air filter housing or covers removed earlier.

Image: Front view of the carburetor, highlighting key connection points.

Image: Side view of the carburetor, illustrating the fuel inlet and linkage attachment points.
Installation Video Resources
Video: Overview of a Snowblower Carburetor Kit, demonstrating components and general appearance.
Video: General Snowblower Carburetor Tune Up Kit presentation, showing various parts.
Video: Detailed look at a Tecumseh 640084B Carburetor, useful for visual comparison.
Operating Instructions (Post-Installation)
After successful installation, follow these steps to start and operate your snowblower:
- Refill the fuel tank with fresh, appropriate fuel for your snowblower.
- Turn the fuel shut-off valve to the ON position.
- Prime the carburetor by pressing the primer bulb several times until fuel is visible in the bulb or the fuel system is pressurized (refer to your snowblower's manual for specific priming instructions).
- Set the choke to the appropriate starting position (usually FULL CHOKE).
- Set the throttle to the FAST position.
- Reconnect the spark plug wire.
- Start the engine using the recoil starter or electric starter.
- Once the engine starts, gradually move the choke to the OFF position as the engine warms up.
- Allow the engine to warm up for a few minutes before operating the snowblower under load.
Maintenance
Regular maintenance ensures the longevity and performance of your carburetor and snowblower.
- Fuel System: Always use fresh, clean fuel. Stale fuel can cause carburetor issues. Consider using a fuel stabilizer, especially during storage.
- Fuel Filter: Inspect and replace the fuel filter annually or more frequently if operating in dusty conditions or if fuel flow is restricted.
- Air Filter: Ensure the air filter is clean and free of debris. A clogged air filter can affect carburetor performance.
- Storage: Before long-term storage, drain the fuel system or run the engine until it runs out of fuel to prevent gumming and varnish buildup in the carburetor.
Troubleshooting
If you encounter issues after installing the carburetor kit, refer to the following common problems and solutions:
| Problem | Possible Cause | Solution |
|---|---|---|
| Engine won't start | No fuel, clogged fuel filter, incorrect choke setting, spark plug issue. | Check fuel level, replace fuel filter, adjust choke, check spark plug. |
| Engine runs rough or stalls | Dirty carburetor, improper fuel mixture, air leak, old fuel. | Clean carburetor, ensure proper fuel/air mixture, check for air leaks around gaskets, use fresh fuel. |
| Fuel leaks | Loose connections, damaged fuel line, faulty gasket. | Tighten connections, replace damaged fuel line, replace gaskets. |
If troubleshooting steps do not resolve the issue, it is recommended to consult a professional small engine mechanic.
Warranty and Support
This BXParts Carburetor Kit comes with a product warranty. Please refer to the warranty information provided with your purchase for specific terms and conditions. Typically, a 30-day return/replacement policy is offered, and some sellers may provide a 90-day money-back guarantee.
For technical support or warranty claims, please contact your seller directly through the platform where the purchase was made. Provide your order number and a detailed description of the issue for prompt assistance.