1. Introduction
This manual provides detailed instructions for the setup, operation, and maintenance of your MZHWDYDAN DMX192 Console Mini DJ Light Controller. This versatile 192-channel DMX controller is designed for managing stage lighting fixtures, offering control over 12 fixtures, each with up to 16 channels. It features 23 programmable banks, each holding 8 scenes, which can be programmed into 6 chase sequences. These sequences can be triggered by sound, manually, or automatically with adjustable time faders. Please read this manual thoroughly before use to ensure proper and safe operation.
2. Package Contents
Upon opening the carton, verify that all components are present and in good condition:
- 1x MZHWDYDAN DMX192 Controller
- 1x Power Adapter (UK Type Plug)
- 1x English User Manual (this document)

Figure 2.1: MZHWDYDAN DMX192 Controller and included power adapter.
3. Setup
3.1 Power Connection
Connect the provided power adapter to the DMX192 controller's power input port. Ensure the power adapter is securely connected to a suitable power outlet (9-12V DC universal power supply).
3.2 DMX Fixture Connection
Connect your DMX-compatible lighting fixtures to the DMX192 controller using 3-pin XLR DMX cables. For multiple fixtures, connect them in a daisy-chain configuration: DMX Out from the controller to DMX In of the first fixture, then DMX Out of the first fixture to DMX In of the second, and so on. Ensure the male end of the DMX cable connects to the controller's DMX output, and the female end connects to the fixture's DMX input.
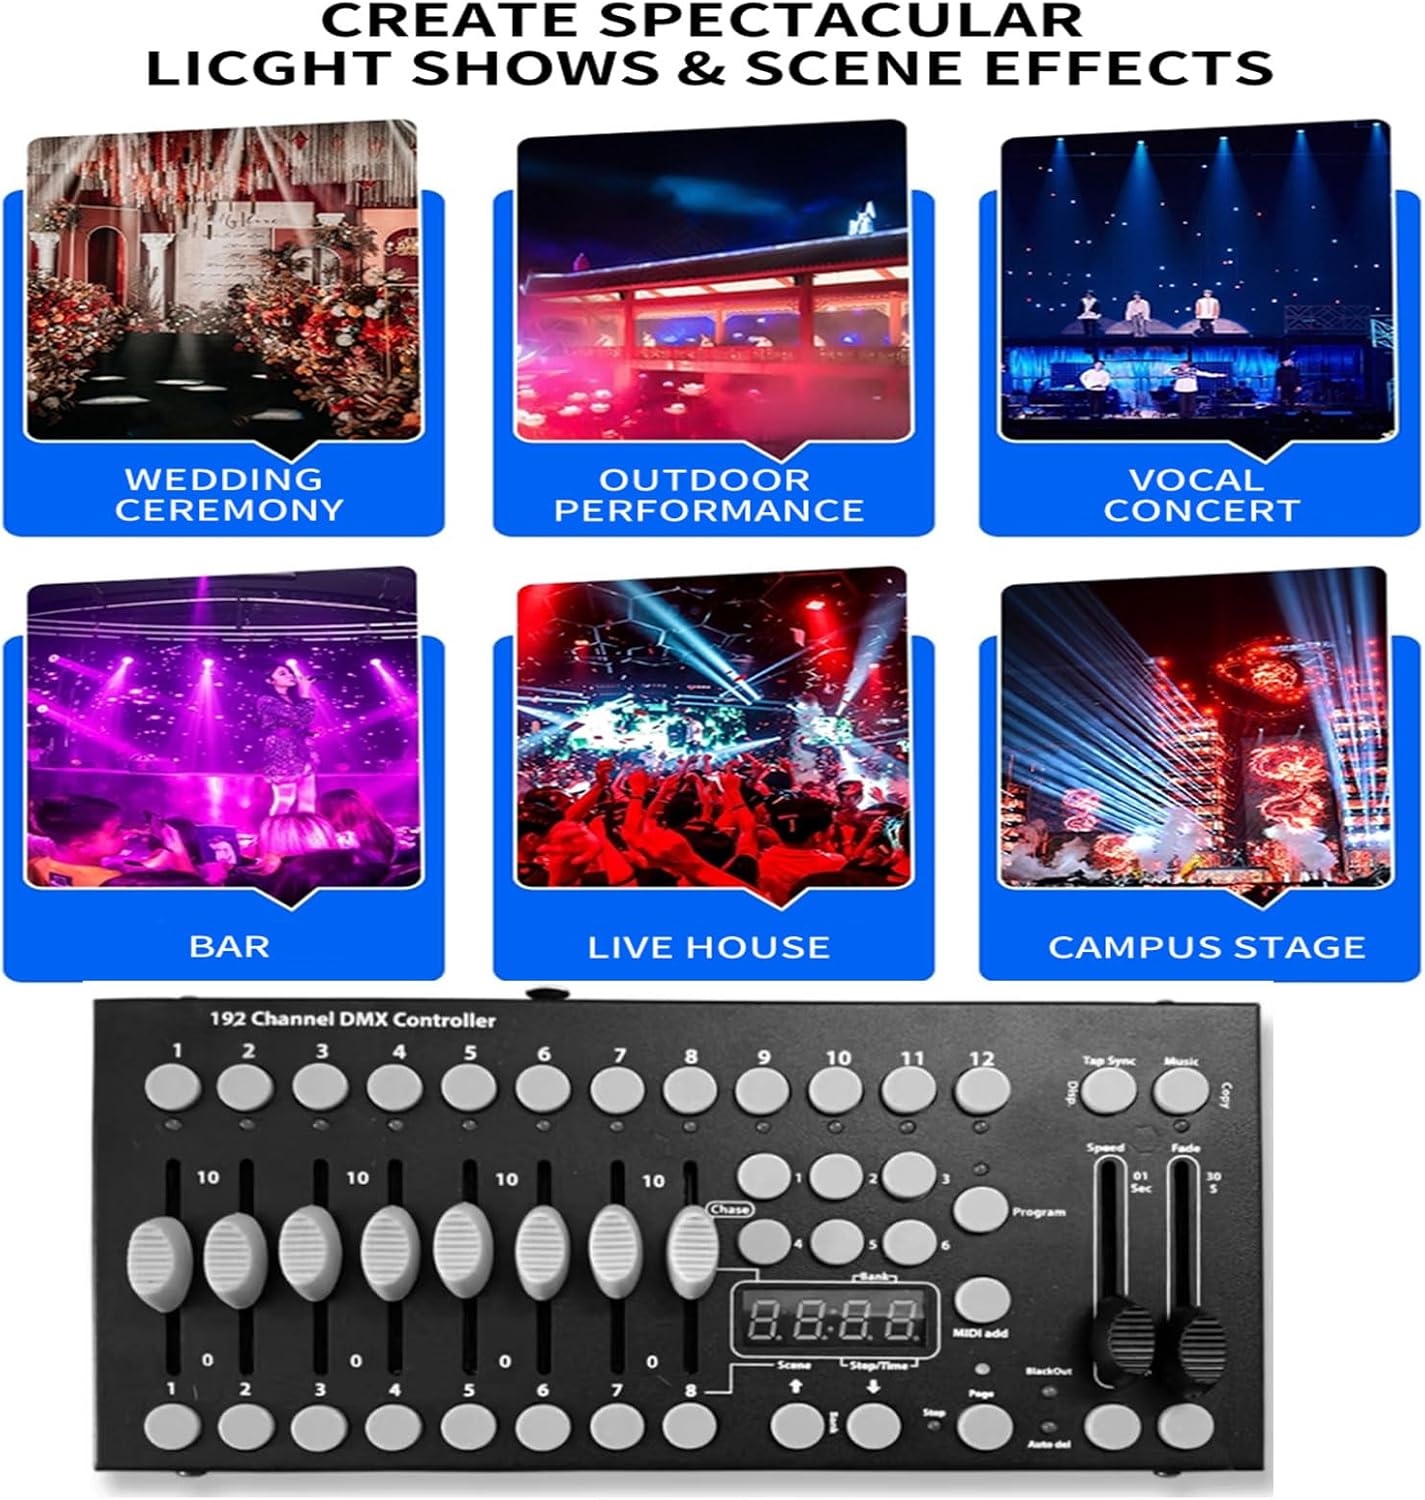
Figure 3.1: Example of DMX controller connected to lighting fixtures.
3.3 DMX Addressing
Each DMX fixture must be assigned a unique starting DMX address. The DMX192 controller supports 12 fixtures, each controlling up to 16 channels. Consult your fixture's manual for specific DMX channel assignments and addressing procedures. For example, if Fixture 1 starts at DMX address 001, Fixture 2 would start at 017 (001 + 16 channels), Fixture 3 at 033, and so on.
Video 3.1: This video demonstrates how to connect DMX 512 stage lights and set their addresses for control with a DMX controller.
Video 3.2: This video illustrates the process of setting up a single light mode on a DMX controller, including DMX addressing and basic control.
4. Operating Instructions
4.1 Control Panel Overview
The DMX192 console features a user-friendly layout with faders, buttons, and an LED display for easy control. Familiarize yourself with the main sections:
- Channel Selection Sticks: Control individual DMX channels for selected fixtures.
- Scene Switcher: Buttons to select and activate programmed scenes.
- Function Selection Area: Buttons for various modes like Program, Midi/Add, Auto/Del, Blackout.
- Tap Sync / Music: For sound-activated or tempo-synced operations.
- Speed/Time Selection: Faders to adjust chase speed and fade time.
- LED Display: Shows current bank, scene, or program status.

Figure 4.1: Key areas of the DMX192 control panel.

Figure 4.2: Detailed view of the channel faders and scene buttons.
4.2 Programming Scenes
The DMX192 allows you to program up to 23 banks of 8 scenes each. Follow these general steps to program a scene:
- Ensure the controller is in Program mode (refer to the LED display).
- Select the desired fixture(s) using the SCANNERS buttons.
- Adjust the channel faders to achieve the desired lighting effect (color, intensity, strobe, etc.).
- Press the Midi/Add button.
- Press one of the SCENES buttons (1-8) to save the current lighting state as a scene.
- Repeat for additional scenes within the same bank or switch banks using the BANK UP/DOWN buttons.
Video 4.1: This video demonstrates how to operate the control panel to set and save lighting scenes.
4.3 Running Scenes and Chases
After programming your scenes, you can run them individually or combine them into chases.
- Running a Scene: Simply press the corresponding SCENES button (1-8) to activate a saved scene.
- Running a Chase: Program a sequence of scenes into one of the 6 CHASE buttons. Adjust the Speed and Fade Time faders to control the transition between scenes.
- Sound Activation: The controller supports sound-activated mode. Use the Music button to enable this feature, allowing the lighting to react to audio input.
- Blackout: The Blackout button instantly turns off all DMX output. Press it again to restore the previous state.
Video 4.2: This video provides an overview of DMX controller functions, including basic light control and scene activation.
Video 4.3: This video demonstrates the DMX192 controller in action, showcasing various lighting effects and control capabilities.
Video 4.4: This video explains how the DMX controller runs programmed scenes and chases.
5. Maintenance
To ensure the longevity and optimal performance of your DMX192 controller, follow these maintenance guidelines:
- Cleaning: Regularly wipe the surface of the controller with a soft, dry cloth. Avoid using abrasive cleaners or solvents that could damage the finish or internal components.
- Storage: When not in use, store the controller in a cool, dry place away from direct sunlight, excessive heat, and moisture.
- Cable Management: Ensure DMX and power cables are not kinked, pinched, or under excessive strain. Proper cable management prevents damage and ensures reliable connections.
6. Troubleshooting
If you encounter issues with your DMX192 controller, refer to the following common troubleshooting steps:
- No Power: Check the power adapter connection to both the controller and the power outlet. Ensure the power switch on the controller is in the 'ON' position.
- Lights Not Responding:
- Verify all DMX cables are securely connected and not damaged.
- Confirm that each fixture has a unique and correct DMX starting address.
- Check that the controller is not in Blackout mode.
- Ensure the correct fixture (scanner) is selected on the controller when attempting to control lights.
- Incorrect Light Behavior: This often indicates incorrect DMX addressing or channel assignments. Double-check your fixture's manual and the controller's settings.
- Intermittent Control: Loose DMX connections or interference can cause this. Ensure all connections are tight and consider using a DMX terminator at the end of your DMX chain if you have long cable runs or many fixtures.
7. Specifications
| Feature | Detail |
|---|---|
| Channels | 192 DMX Channels |
| Fixtures Controlled | 12 fixtures (up to 16 channels each) |
| Programmable Scenes | 23 Banks of 8 scenes (total 240 scenes) |
| Chase Sequences | 6 chases (up to 240 scenes each) |
| Trigger Modes | Sound, Manual Tap, Automatic (Speed/Fade Time) |
| Speed Control | 0.1 seconds to 10 minutes |
| Output Connectors | 3-pin Female & Male XLR |
| Power Supply | 9-12V DC universal power supply |
| Dimensions | 30.3 x 21.6 x 8.1 cm (approx. 11.9 x 8.5 x 3.2 inches) |
| Item Weight | 1.19 kg (approx. 2.62 lbs) |
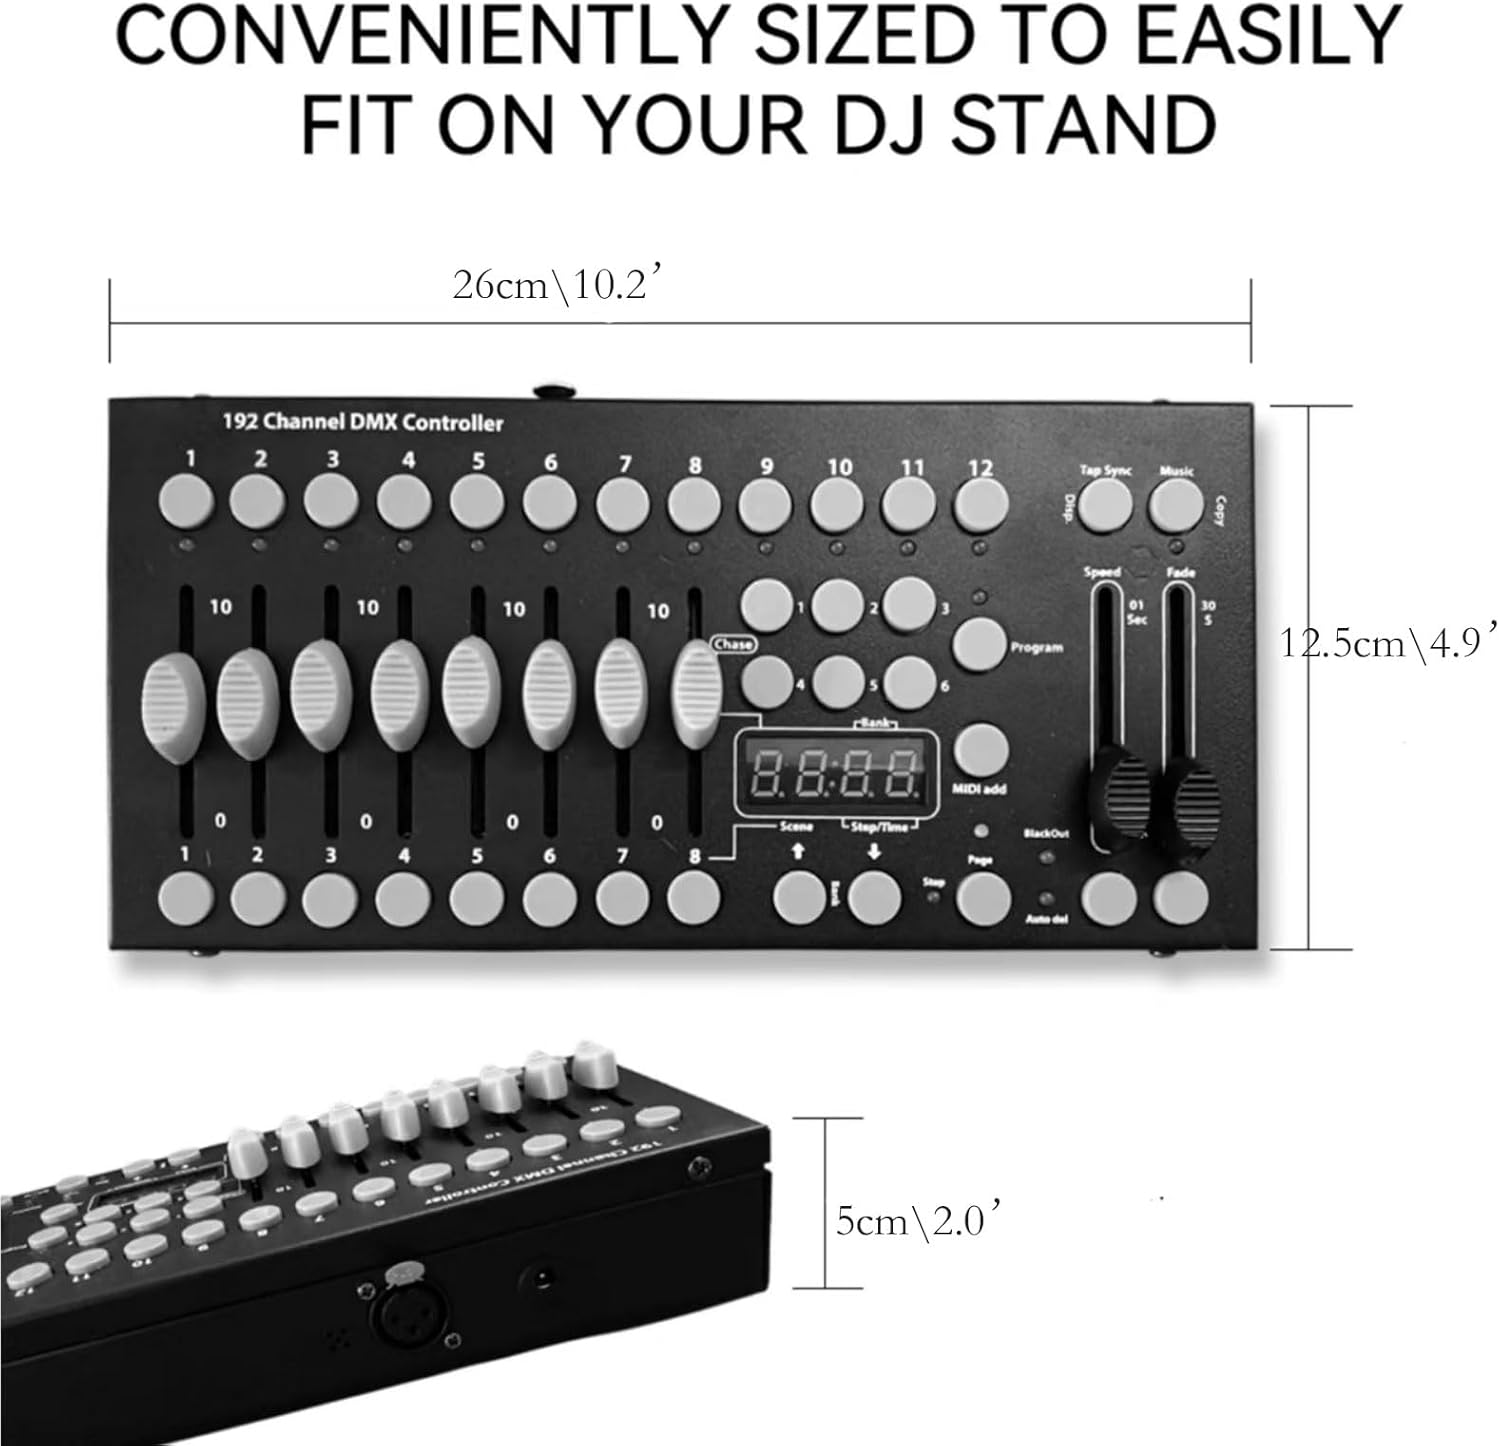
Figure 7.1: Dimensions of the DMX192 Controller.
8. Warranty and Support
For any operational questions or technical assistance, please contact our customer service. We can provide reference tutorial videos and further support to ensure you get the most out of your DMX192 controller. Specific warranty details are typically provided at the point of purchase or within separate warranty documentation.


