1. Introduction
The RQG QJ-PS30SWI is a regulated switching DC power supply designed to convert AC 110V input to a stable DC 13.8V output. It provides a maximum current of 30A and a continuous output of 20A, making it suitable for various applications, including CB, VHF, UHF, and amateur ham radio equipment. This manual provides essential information for the safe and efficient operation of your power supply.
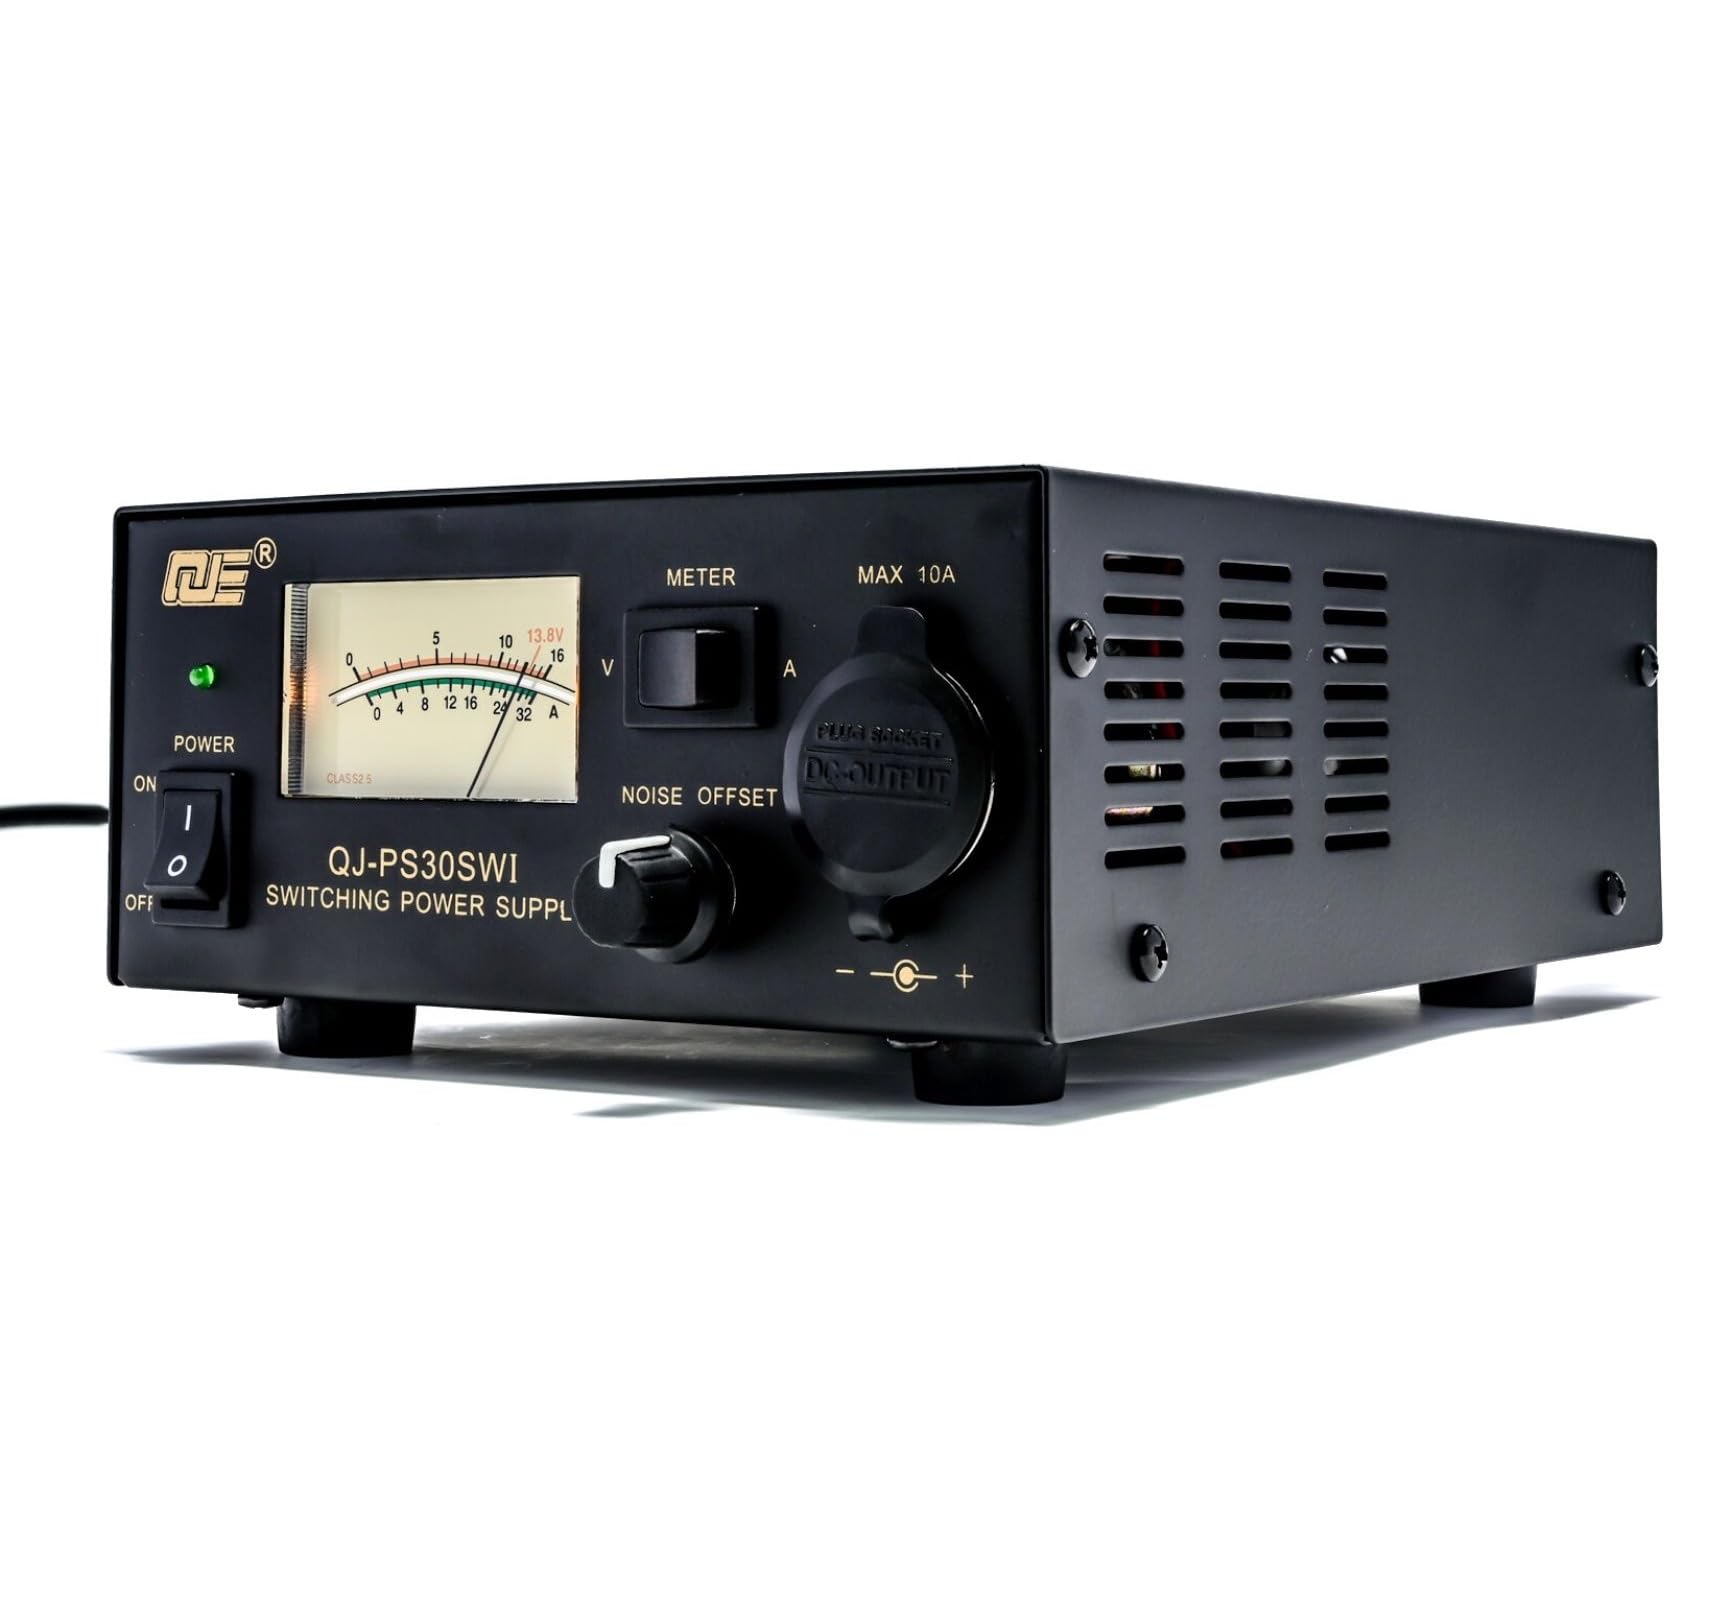
Image 1: The RQG QJ-PS30SWI 13.8V 30A Bench Power Supply, showcasing its compact design and front panel.
2. Safety Instructions
- Always connect the power supply to a grounded AC outlet.
- Do not expose the unit to rain or moisture.
- Ensure proper ventilation; do not block the cooling fan or vents.
- Do not open the casing; there are no user-serviceable parts inside except for the fuse.
- Disconnect power before making any connections or performing maintenance.
- Avoid short-circuiting the output terminals.
3. Package Contents
Please verify that all items are present in the package:
- 1 x RQG QJ-PS30SWI 13.8V 30A Bench Power Supply
- 1 x Power Cord (US Plug)
- 1 x User Manual
4. Product Features and Components
Familiarize yourself with the various parts of your power supply:
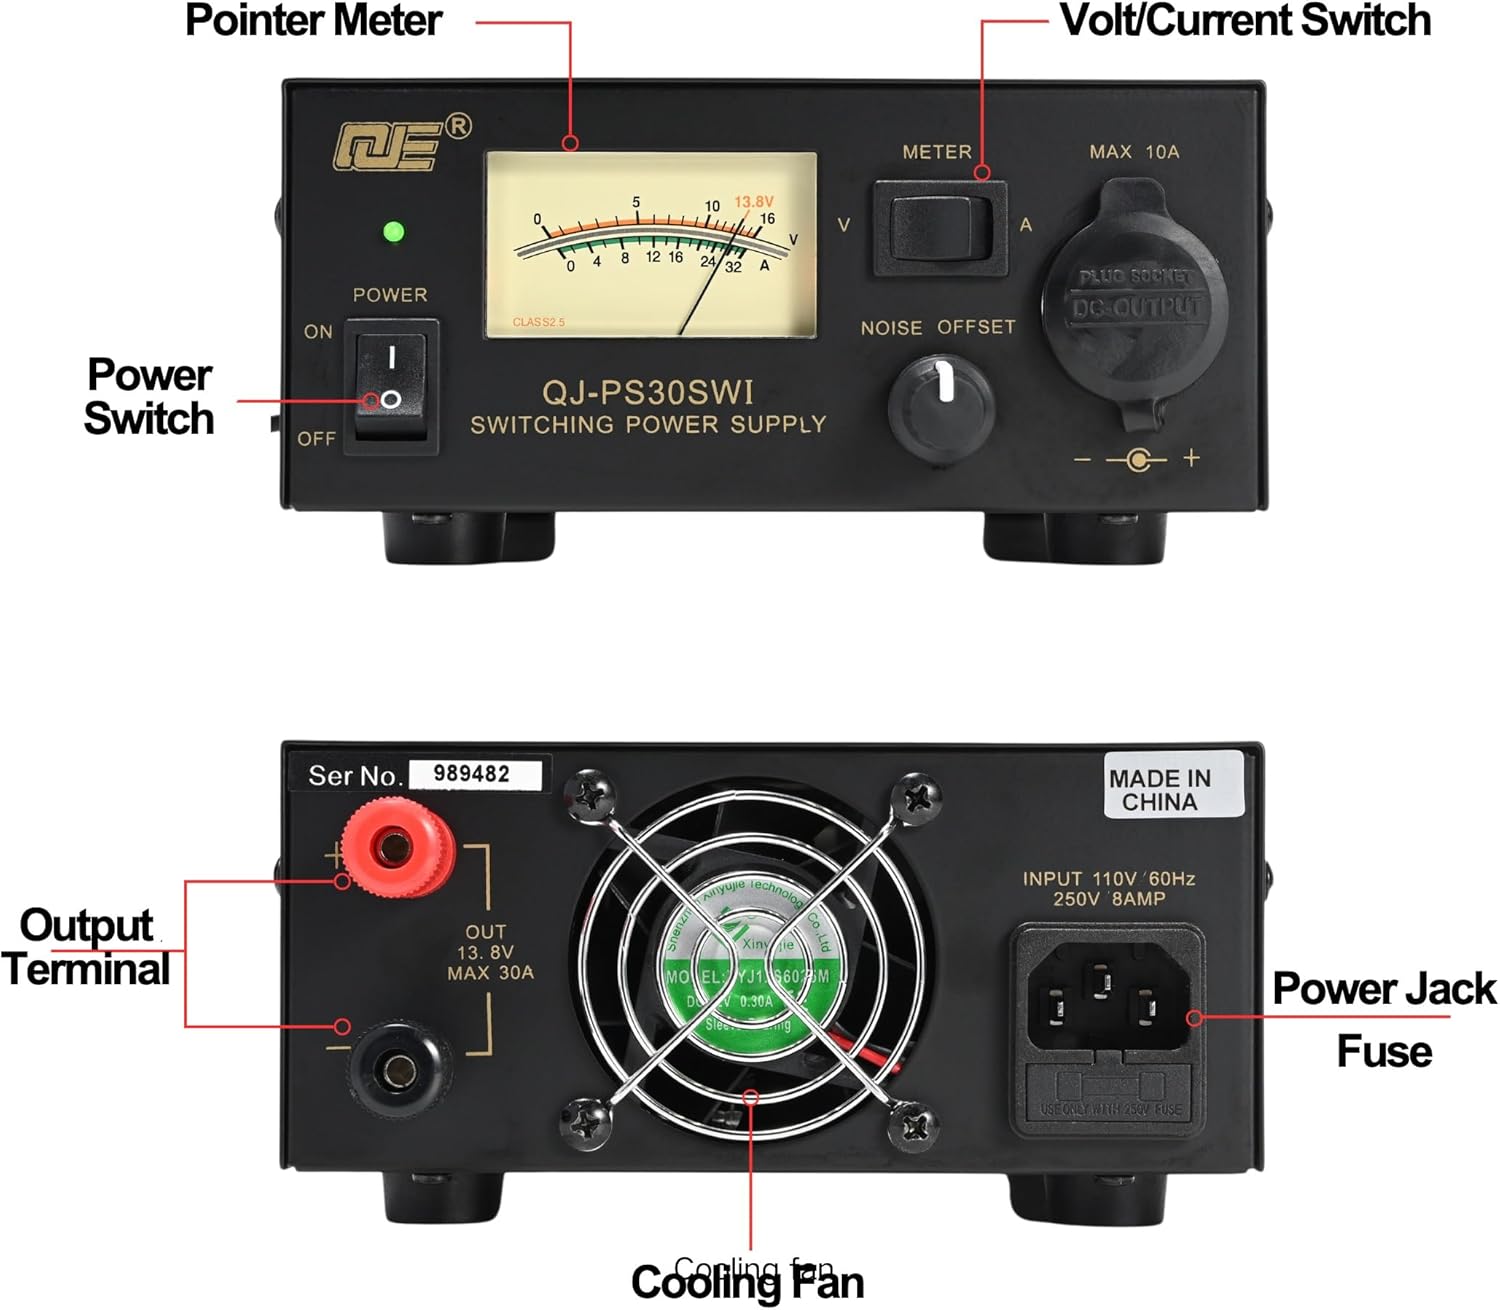
Image 2: Detailed diagram labeling the front and rear components of the RQG QJ-PS30SWI power supply.
- Power Switch: Toggles the unit ON/OFF.
- Power Indicator LED: Illuminates when the unit is powered ON.
- Pointer Meter: Displays either output voltage (V) or current (A).
- Volt/Current Switch: Selects between voltage and current display on the meter.
- Noise Offset Control: Adjusts to minimize pulse noise from the switching power supply.
- 10A Cigarette Plug Socket: Front-panel output for devices requiring up to 10A.
- Output Terminals: Rear-panel screw terminals for main DC output (Max 30A).
- Cooling Fan: Provides active cooling for internal components.
- Power Jack: AC input connection for the power cord.
- Fuse Holder: Contains the replaceable safety fuse.

Image 3: The Noise Offset Control and backlit meter, showing voltage and current readings.
5. Setup
- Place the power supply on a stable, well-ventilated surface, ensuring adequate airflow around the unit.
- Ensure the power switch on the front panel is in the OFF position.
- Connect the included power cord to the power jack on the rear of the unit. Then, plug the other end of the power cord into a standard AC 110V 60Hz grounded electrical outlet.
- Connect your DC-powered device to the output terminals on the rear panel. Ensure correct polarity: connect the positive (+) lead of your device to the red terminal and the negative (-) lead to the black terminal. For devices requiring up to 10A, the front cigarette plug socket can be used.
- Verify all connections are secure before proceeding to operation.

Image 4: Rear panel connections including the power jack, fuse, and output terminals.
6. Operating Instructions
- After completing the setup, switch the power supply ON using the front panel power switch. The power indicator LED will illuminate.
- The backlit meter will display either voltage or current. Use the Volt/Current switch to toggle between voltage (V) and current (A) readings.
- For ham radio applications, adjust the Noise Offset Control knob to minimize pulse noise from the switching power supply. This control helps tailor noise reduction to specific frequency and mode variations.
- The front 10A Cigarette Plug Socket provides DC 13.8V output for portable devices up to 10A. Ensure the device's current draw does not exceed 10A when using this socket.
- When finished, switch the power supply OFF and disconnect your devices.

Image 5: The power supply in use with various amateur radio devices.
7. Maintenance
- Keep the unit clean and free from dust. Use a soft, dry cloth for cleaning.
- Ensure the cooling fan and ventilation openings are not obstructed to prevent overheating.
- Fuse Replacement: If the unit fails to power on, the fuse may need replacement. Disconnect the power cord from the AC outlet, locate the fuse holder on the rear panel, and replace the 8A fuse with one of the same rating (8A, 250V).
8. Troubleshooting
- No Power: Check the AC power cord connection. Verify the wall outlet has power. Check and replace the fuse if blown.
- No Output Voltage: Ensure the power supply is switched ON. Check output connections for proper polarity and secure contact. The unit has short circuit protection; disconnect all loads and restart.
- Excessive Noise: Adjust the Noise Offset Control knob. Ensure proper grounding of the power supply and connected equipment.
- Overheating: Ensure adequate ventilation around the unit. Clear any obstructions from the cooling fan or vents. Reduce the load if operating near maximum continuous current for extended periods.
9. Specifications
| Model | QJ-PS30SWI |
| Input Voltage | AC 110V 60Hz |
| Output Voltage | DC 13.8V stabilized |
| Output Regulation | <2% |
| Output Current | 20A continuously, 30A max |
| Ripple | <80mVp-p at rated load |
| Fuse | 8A |
| Dimensions | 8.66 x 5.91 x 2.76 inches (220 x 150 x 70 mm) |
| Weight | 3.31 lb (1.5 kg) |
10. Warranty and Support
This product comes with a standard manufacturer's warranty. For warranty claims, technical support, or service inquiries, please contact your retailer or the manufacturer directly. Please have your model number (QJ-PS30SWI) and purchase date available when contacting support.