1. Introduction
This manual provides comprehensive instructions for the installation, operation, maintenance, and troubleshooting of your ASUS Prime LC 360 ARGB All-in-one (AIO) CPU Liquid Cooler. Please read this manual thoroughly before installation and use to ensure optimal performance and longevity of your product.
The ASUS Prime LC 360 ARGB is designed to provide efficient cooling for your CPU, featuring a specially designed CPU contact area for powerful heat dissipation. It includes high-performance pre-installed ARGB fans and a customizable infinity mirror on the water block for enhanced aesthetics. The reinforced, sleeved tubing ensures increased durability.
2. Package Contents
Before proceeding with installation, please verify that all components are present in the package:
- ASUS Prime LC 360 ARGB AIO Cooler Unit (Radiator, Pump, and Tubing)
- 3 x 120mm ARGB Fans (pre-installed)
- Mounting Hardware Kit for Intel Sockets (LGA 115x, 1200, 1700, 1851)
- Mounting Hardware Kit for AMD Sockets (AM4, AM5)
- Fan Screws
- Thermal Paste (pre-applied on cold plate)
- User Manual (this document)

Figure 2.1: ASUS Prime LC 360 ARGB AIO Liquid Cooler. This image shows the complete cooler unit, including the radiator with three pre-installed ARGB fans and the pump/cold plate assembly with braided tubing.
3. Setup and Installation
This section guides you through the installation process of the ASUS Prime LC 360 ARGB AIO cooler. Ensure your system is powered off and unplugged before beginning installation.
3.1. Prepare Your Motherboard
Identify your CPU socket type (Intel LGA 115x/1200/1700/1851 or AMD AM4/AM5) and select the appropriate mounting hardware from the kit.

Figure 3.1: Supported CPU Sockets. This image illustrates the compatibility of the cooler with various Intel and AMD CPU sockets, including LGA 115x, 1200, 1700, and AM4, AM5.
3.2. Install the Radiator and Fans
The three 120mm ARGB fans are pre-installed on the radiator. Mount the radiator to an available 360mm fan mount location in your PC case (typically top or front). Use the provided fan screws to secure the radiator firmly.

Figure 3.2: Pre-installed ARGB Fans. This image highlights the three ARGB fans already mounted on the radiator, simplifying the installation process.
3.3. Install the Pump/Cold Plate
The cold plate has pre-applied thermal paste. Carefully align the pump block with the CPU socket and secure it using the appropriate mounting brackets and screws for your CPU type. Ensure even pressure for optimal thermal contact.

Figure 3.3: CPU Contact Area. This image displays the specially designed copper cold plate, which ensures efficient heat transfer from the CPU.
3.4. Cable Management
Connect the pump's power cable to the CPU_FAN or AIO_PUMP header on your motherboard. Connect the ARGB fan cables to an available 3-pin 5V ARGB header on your motherboard or a compatible ARGB controller. A single cable connects the lighting and fans for simplified management.
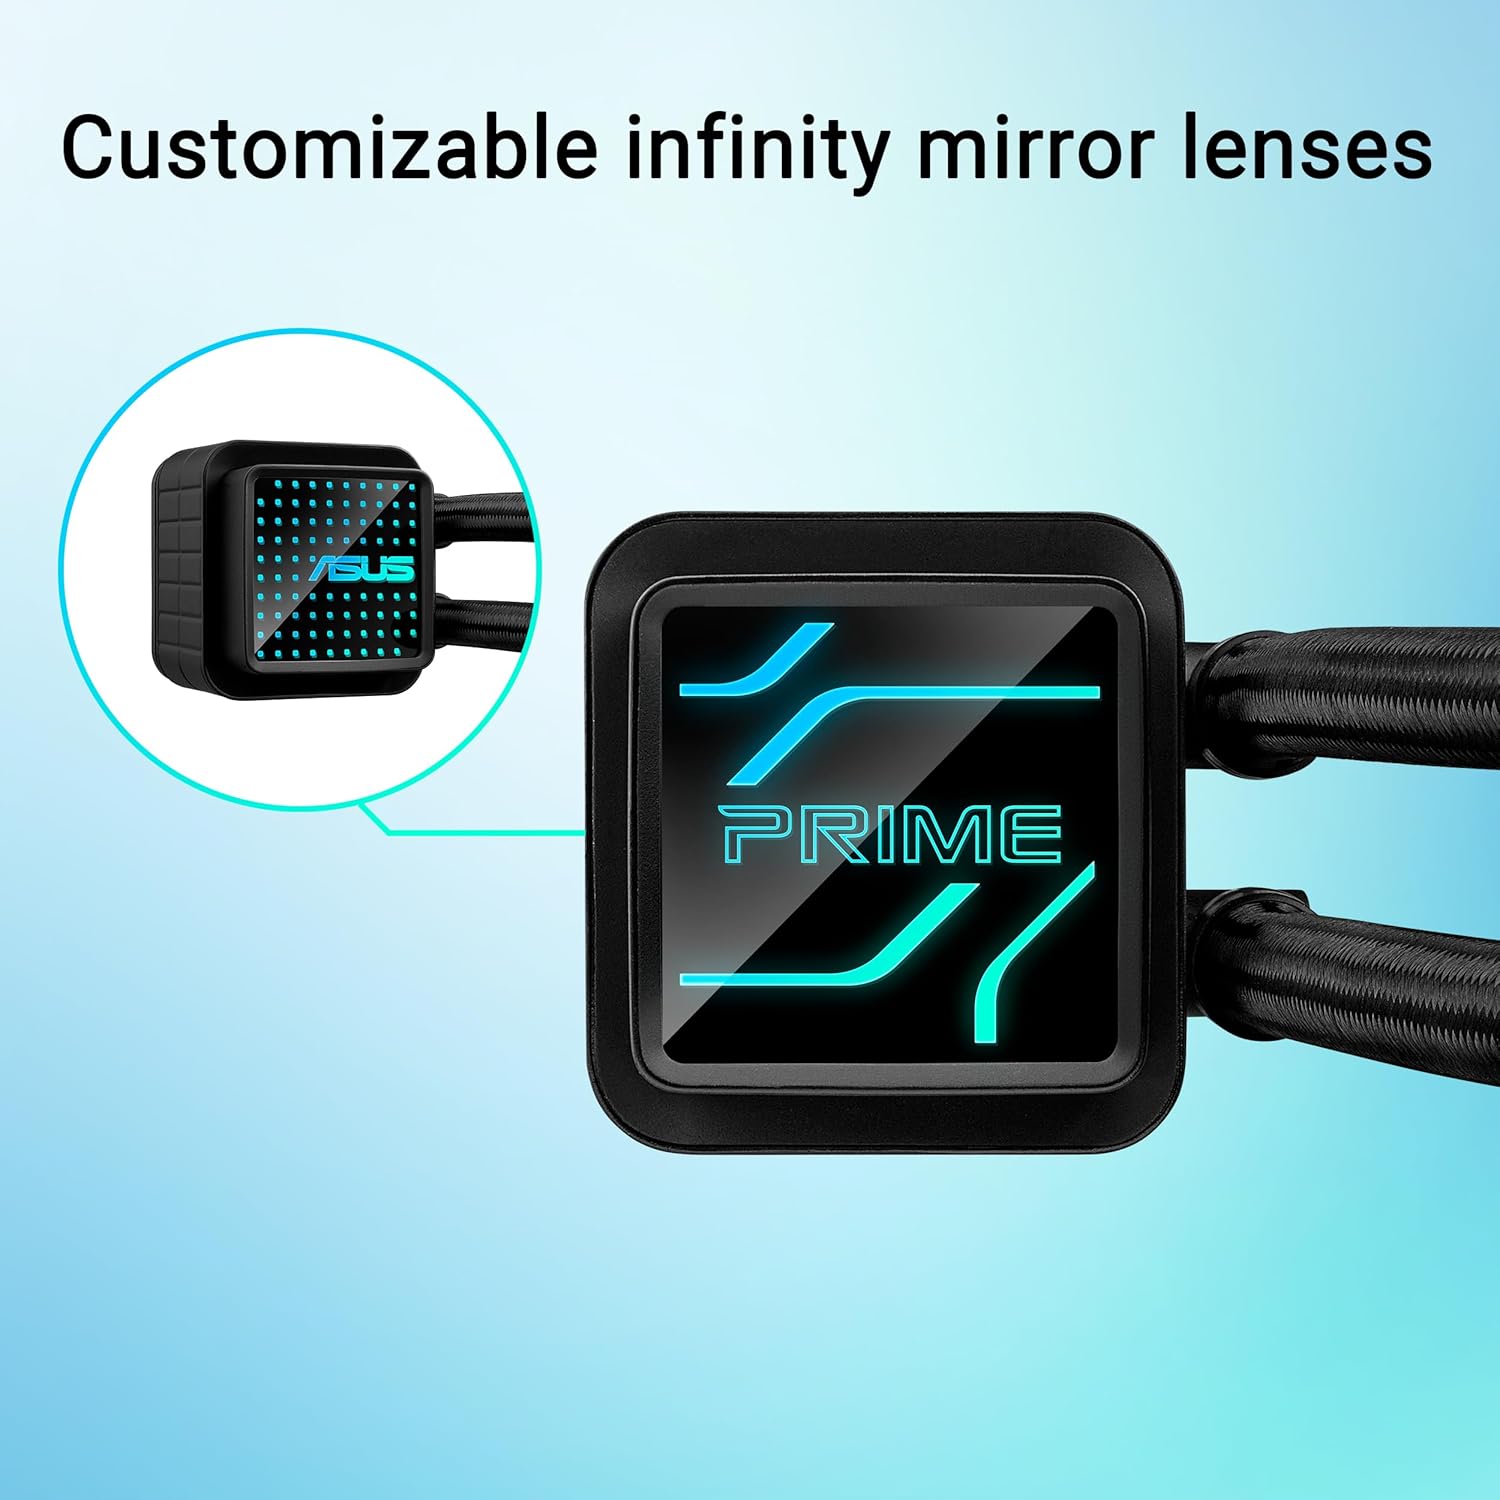
Figure 3.4: Customizable Infinity Mirror. This image shows the pump block with its customizable infinity mirror, which adds a unique aesthetic to your PC build.
4. Operating Instructions
Once installed, the ASUS Prime LC 360 ARGB AIO cooler operates automatically, regulating fan speeds and pump performance based on CPU temperature. For advanced control and customization, refer to your motherboard's software utilities.
4.1. Monitoring Temperatures
Utilize your motherboard's BIOS/UEFI or operating system monitoring software (e.g., ASUS Armoury Crate, HWMonitor) to observe CPU temperatures and cooler performance. Optimal CPU temperatures typically range from 30-50°C at idle and up to 80-90°C under heavy load, depending on the CPU model and ambient conditions.
4.2. ARGB Lighting Control
The ARGB lighting on the fans and pump block can be synchronized and customized using compatible motherboard software (e.g., ASUS Aura Sync) or a dedicated ARGB controller. Explore various lighting effects and colors to match your system's aesthetic.
5. Maintenance
Regular maintenance ensures the longevity and optimal performance of your liquid cooler.
- Dust Removal: Periodically clean the radiator fins and fan blades to prevent dust buildup, which can impede airflow and cooling efficiency. Use compressed air or a soft brush.
- Tubing Inspection: Inspect the reinforced, sleeved tubing for any signs of kinks, leaks, or damage. While designed for durability, regular checks are recommended.
- Coolant: The AIO cooler is a closed-loop system and does not require coolant refills or maintenance. Do not attempt to open the unit.
6. Troubleshooting
If you encounter issues with your ASUS Prime LC 360 ARGB AIO cooler, refer to the following common troubleshooting steps:
| Problem | Possible Cause | Solution |
|---|---|---|
| High CPU Temperatures |
|
|
| ARGB Lighting Not Working |
|
|
| Unusual Noise from Cooler |
|
|
If the problem persists after attempting these solutions, please contact ASUS customer support.
7. Specifications
| Feature | Detail |
|---|---|
| Model Name | ASUS Prime LC 360 ARGB |
| Cooling Type | All-in-one Liquid Cooler |
| Radiator Size | 360mm |
| Fan Size | 3 x 120mm ARGB Fans (pre-installed) |
| CPU Socket Support |
|
| Pump Features | Specially designed CPU contact area, Customizable infinity mirror |
| Tubing | Reinforced, sleeved |
| Dimensions (LxWxH) | 15.6 x 4.7 x 1.1 inches (Radiator) |
| Item Weight | 5.2 pounds |
| Color | BLACK |
8. Warranty and Support
8.1. Product Warranty
The ASUS Prime LC 360 ARGB AIO CPU Liquid Cooler comes with a 6-year limited warranty from the date of purchase. This warranty covers defects in materials and workmanship under normal use. Please retain your proof of purchase for warranty claims.
Figure 8.1: 6-Year Warranty. This image visually confirms the extensive 6-year warranty period for the product, providing long-term assurance to users.
8.2. Customer Support
For technical support, warranty inquiries, or further assistance, please visit the official ASUS support website or contact their customer service department. You can find contact information and support resources at: www.asus.com/support/


