1. Introduction
This manual provides essential information for the safe and effective use of your Technical Precision Replacement For DIE HARD 50765 BATTERY. This product is designed as a direct replacement for the specified battery model, ensuring compatibility and reliable performance. Please read this manual thoroughly before installation and retain it for future reference.
2. Safety Information
Batteries contain corrosive sulfuric acid and produce explosive hydrogen gas. Improper handling can lead to severe injury or death. Always follow these safety guidelines:
- Wear Eye Protection: Always wear safety glasses or goggles when working with batteries.
- Wear Protective Clothing: Use gloves and protective clothing to prevent contact with battery acid.
- Avoid Sparks and Flames: Keep all sparks, open flames, and smoking materials away from the battery.
- Ensure Ventilation: Work in a well-ventilated area to disperse hydrogen gas.
- Proper Tools: Use insulated tools to prevent short circuits.
- First Aid: In case of contact with acid, flush immediately with water and seek medical attention.
- Proper Disposal: Dispose of old batteries responsibly at an authorized recycling center.
3. Setup and Installation
Before beginning, ensure your vehicle's ignition is off and the parking brake is engaged. It is recommended to consult your vehicle's owner's manual for specific battery replacement procedures.
- Locate Battery: Identify the location of the battery in your vehicle.
- Disconnect Negative Terminal: Using an appropriate wrench, loosen and remove the negative (-) cable (usually black) first. Move it away from the battery terminal.
- Disconnect Positive Terminal: Next, loosen and remove the positive (+) cable (usually red). Move it away from the battery terminal.
- Remove Hold-Down Clamp: Loosen and remove any battery hold-down clamps or straps.
- Remove Old Battery: Carefully lift the old battery out of the battery tray. Batteries are heavy; use proper lifting techniques or seek assistance.
- Clean Battery Tray and Terminals: Inspect the battery tray for corrosion and clean it thoroughly. Clean the battery cable clamps with a wire brush if necessary.
- Place New Battery: Carefully place the new Technical Precision Replacement Battery into the battery tray, ensuring it is seated securely.
- Secure Hold-Down Clamp: Reinstall and tighten the battery hold-down clamp to secure the battery in place.
- Connect Positive Terminal: Connect the positive (+) cable to the positive (+) terminal of the new battery and tighten securely.
- Connect Negative Terminal: Connect the negative (-) cable to the negative (-) terminal of the new battery and tighten securely.
- Final Check: Ensure all connections are tight and the battery is stable.
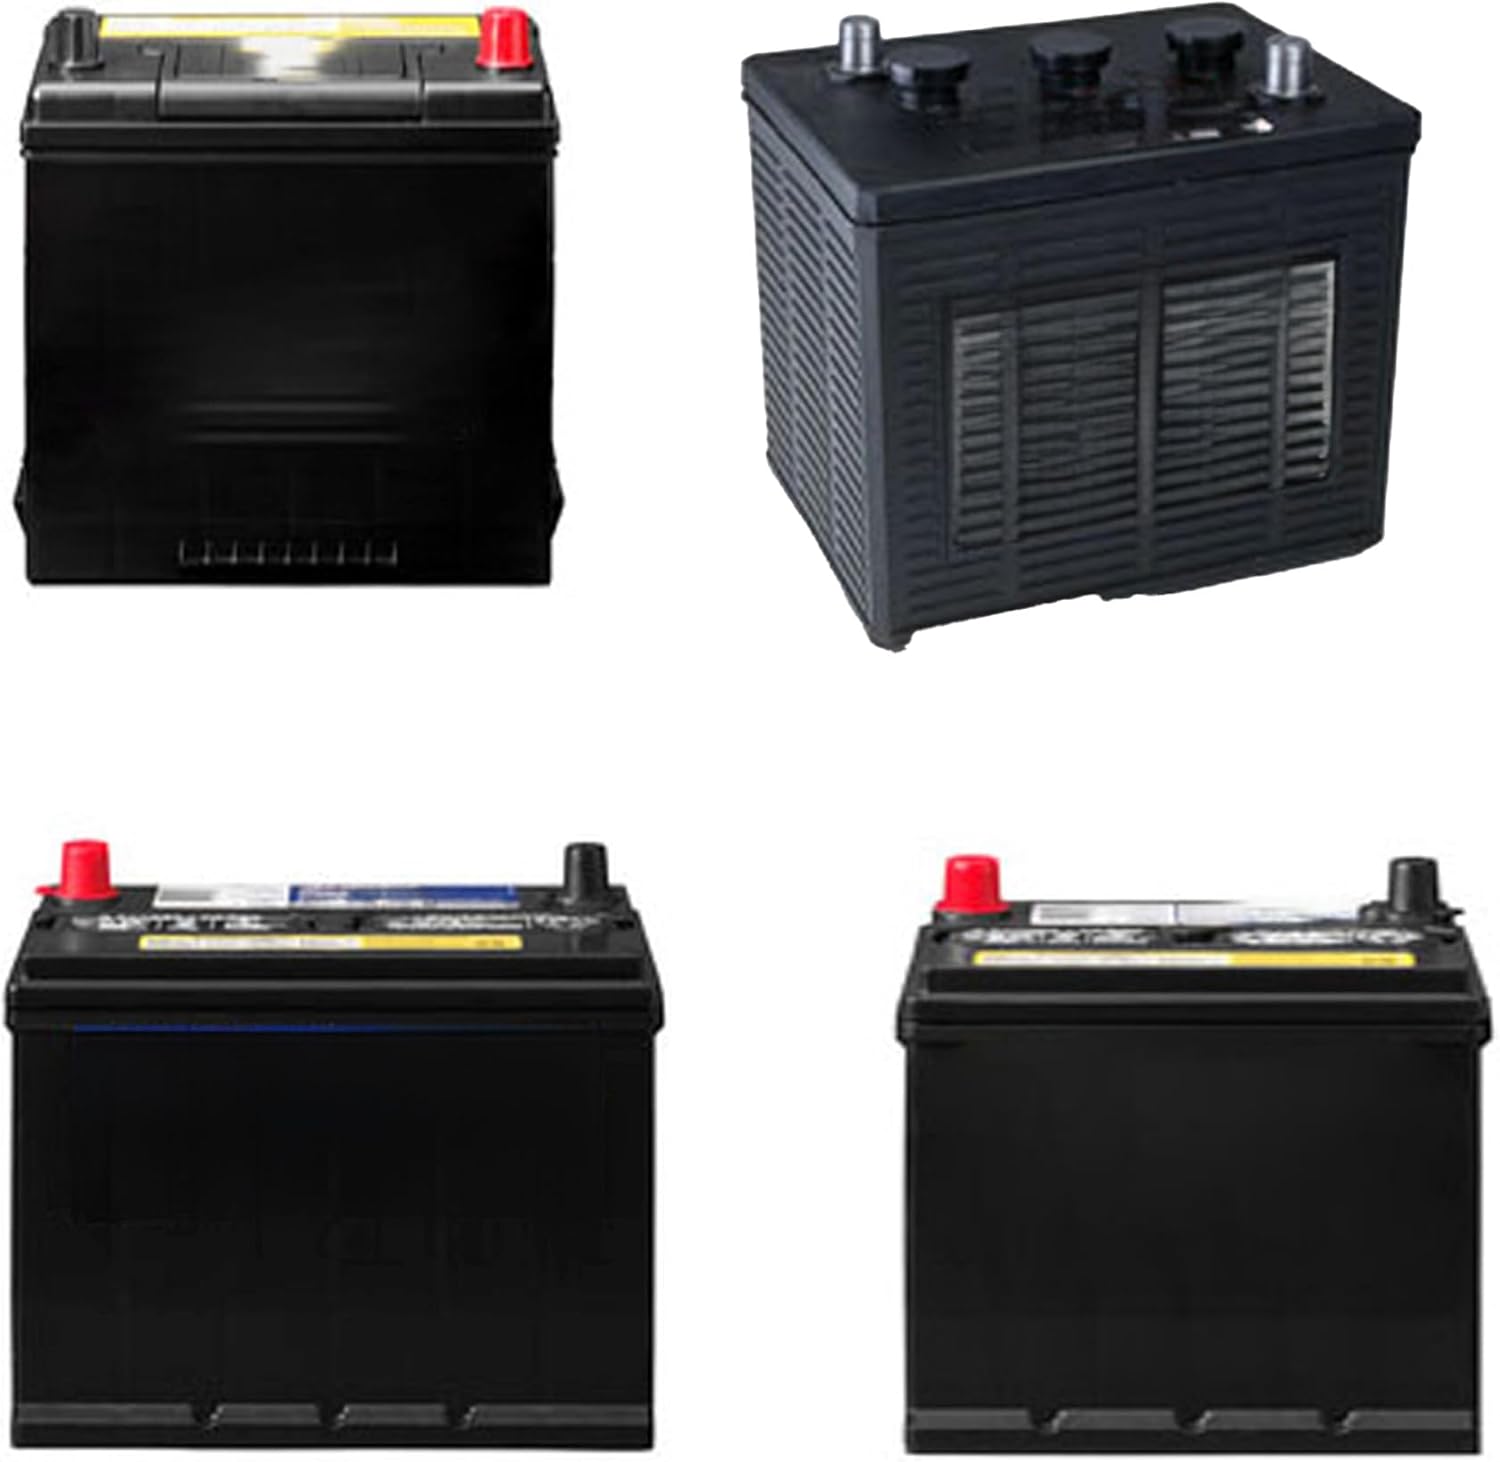
Image: Various perspectives of the replacement battery, showing its standard automotive design with positive (red) and negative (black) terminals, and a ribbed casing.
4. Operation
After successful installation, your vehicle should be ready to start. Turn the ignition key to the 'ON' position and observe the dashboard lights. Then, attempt to start the engine. If the engine cranks normally and starts, the installation was successful. Allow the vehicle to run for a few minutes to ensure the alternator begins charging the new battery.
5. Maintenance
Regular maintenance can extend the life of your battery and ensure reliable performance:
- Keep Terminals Clean: Periodically inspect battery terminals for corrosion. If corrosion is present, clean it with a wire brush and a mixture of baking soda and water. Rinse with clean water and dry thoroughly.
- Check Connections: Ensure battery cable connections remain tight. Loose connections can lead to poor performance and potential damage.
- Keep Battery Top Clean: Wipe down the top of the battery to remove dirt and grime, which can create conductive paths and lead to self-discharge.
- Monitor Charge: If the vehicle is not used for extended periods, consider using a trickle charger to maintain the battery's charge.
- Avoid Deep Discharge: Do not allow the battery to fully discharge, as this can significantly reduce its lifespan.
6. Troubleshooting
If you encounter issues after installing the battery, refer to the table below for common problems and solutions:
| Problem | Possible Cause | Solution |
|---|---|---|
| Engine won't crank or cranks slowly | Low battery charge; Loose or corroded terminals | Check battery voltage; Clean and tighten battery terminals; Recharge or replace battery if necessary. |
| Headlights are dim | Low battery charge; Faulty alternator | Check battery voltage; Have alternator tested by a professional. |
| Battery light on dashboard | Charging system issue (alternator, voltage regulator) | Have charging system inspected by a qualified mechanic. |
| Corrosion on terminals | Normal chemical reaction; Loose connections | Clean terminals thoroughly; Apply anti-corrosion grease; Ensure connections are tight. |
7. Specifications
The following are the technical specifications for the Replacement For DIE HARD 50765 BATTERY:
| Feature | Detail |
|---|---|
| Brand | Technical Precision |
| Model | 50765 BATTERY-AX-BRV2-4 |
| Item Model Number | 50765 BATTERY-AX-BRV2-4 |
| Manufacturer Part Number | 50765 BATTERY-AX-BRV2-4 |
| Automotive Fit Type | Vehicle Specific Fit |
| ASIN | B0DNNFWCDD |
| Date First Available | October 12, 2022 |
8. Warranty and Support
For any questions, technical assistance, or warranty inquiries regarding your Technical Precision Replacement For DIE HARD 50765 BATTERY, please contact Technical Precision customer support. Refer to your purchase documentation for specific warranty terms and contact information.