Introduction
This manual provides detailed instructions for the installation, maintenance, and replacement of ROBAUN spare parts for Serie 95, RR7975WH, and RR7987WH robotic vacuum cleaners. Proper care and timely replacement of these accessories ensure optimal performance and extend the lifespan of your vacuum.
Compatibility
These replacement parts are specifically designed for use with the following robotic vacuum cleaner models:
- ROBAUN Serie 95
- ROBAUN RR7975WH
- ROBAUN RR7987WH
Package Contents
The ROBAUN Replacement Kit typically includes the following components:
- 1 x Main Roller Brush
- 4 x Side Brushes (2 pairs)
- 2 x HEPA Filters with foam pre-filters
- 2 x Mop Pads
- 1 x Cleaning Tool

Image: Overview of the complete ROBAUN replacement kit, showing the main roller brush, side brushes, filters, mop pads, and a small cleaning tool.
Setup: Installation Instructions
1. Main Roller Brush Installation
- Turn your robotic vacuum cleaner upside down on a flat, stable surface.
- Locate the main brush cover, usually secured by clips or latches. Open or unlatch the cover.
- Remove the old main roller brush from its compartment.
- Insert the new ROBAUN main roller brush, ensuring that its ends align correctly with the designated slots or bearings.
- Close the main brush cover securely until it clicks into place.

Image: A detailed view of the main roller brush, highlighting its 195mm length, ready for installation.
2. Side Brush Installation
- With the vacuum still upside down, locate the side brushes.
- Depending on your model, the side brushes may be secured by a single screw. Use a screwdriver to remove the screw and detach the old side brush.
- Align the new ROBAUN side brush with the post and press it down firmly.
- Re-insert and tighten the screw to secure the new side brush.

Image: A pair of white three-arm side brushes, designed to sweep debris into the vacuum's path.
3. Filter Installation
- Open the dustbin compartment on your vacuum cleaner and remove the dustbin.
- Locate the filter assembly within the dustbin. Remove the old HEPA filter and any accompanying foam pre-filter.
- Insert the new ROBAUN foam pre-filter first, followed by the new HEPA filter, ensuring it is seated correctly and snugly.
- Reinsert the dustbin into the vacuum cleaner and close the compartment securely.

Image: A white pleated HEPA filter positioned on top of a black foam pre-filter, designed to capture fine dust particles.
4. Mop Pad Installation
- Locate the mop pad attachment area on the underside of your vacuum cleaner, typically a water tank or a dedicated mopping module.
- Align the new ROBAUN mop pad with the attachment area.
- Secure the mop pad using the hook-and-loop fasteners or clips provided on the vacuum. Ensure it is flat and fully attached.
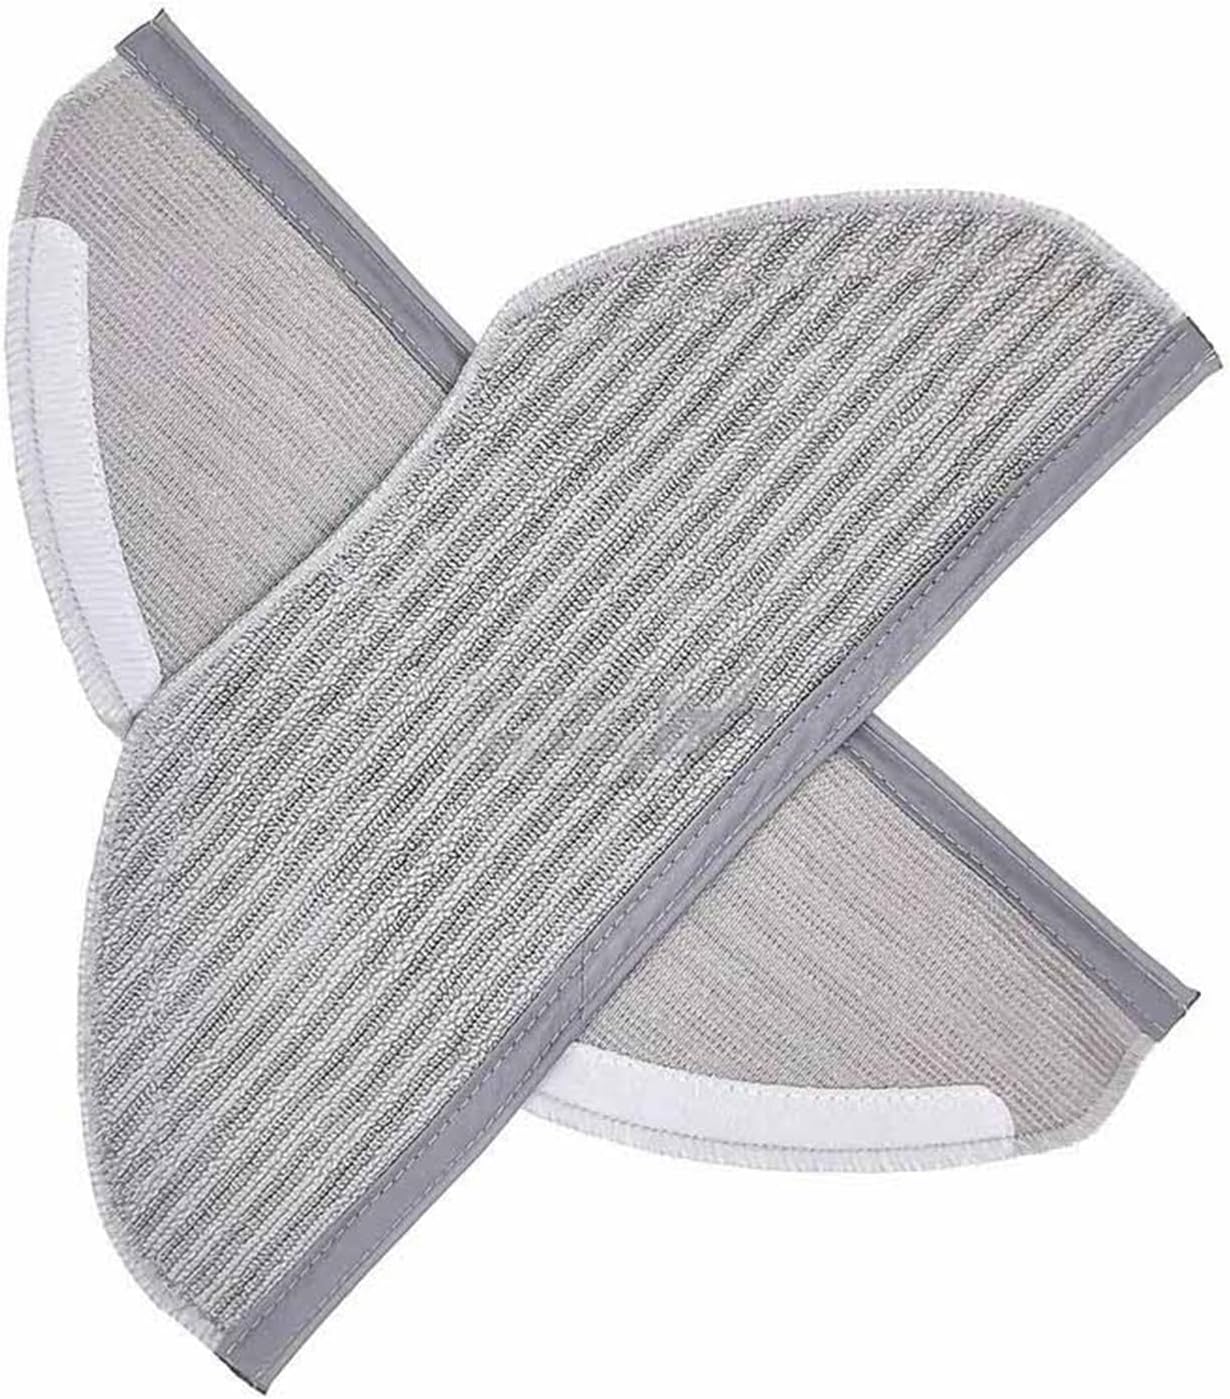
Image: Two grey striped mop pads, designed for wet cleaning, shown with their hook-and-loop fastening strips.
Operating
Once all replacement parts are correctly installed, your robotic vacuum cleaner is ready for operation. These accessories function automatically with the vacuum's cleaning cycles. Ensure all components are securely in place before starting a cleaning task to maintain optimal performance and prevent damage.
Maintenance
Regular maintenance of your ROBAUN replacement parts is crucial for extending their lifespan and ensuring your robotic vacuum operates efficiently. The accessories should generally be replaced every 2 to 3 months, but specific component replacement schedules are detailed below.
1. Cleaning the Main Roller Brush
- Regularly remove hair, threads, and other debris tangled around the main roller brush. Use the provided cleaning tool or a pair of scissors for this task.
- Check the brush for any obstructions that might hinder its rotation.
- Replacement Schedule: Replace every 6-12 months, depending on usage and wear.
2. Cleaning the Filters
- After removing the dustbin, gently tap the HEPA filter over a trash can to dislodge accumulated dust and debris.
- Do not wash the HEPA filter with water, as this can damage its filtration capabilities.
- The foam pre-filter, if heavily soiled, may be rinsed with water. Ensure it is completely dry before reinstallation to prevent mold growth and damage to the vacuum.
- Replacement Schedule: Replace every 2-3 months, depending on usage and household dust levels.
3. Cleaning the Side Brushes
- Remove any tangled hair or debris from the side brushes.
- If the bristles become bent or deformed, they can sometimes be reshaped by soaking them in warm water for a few minutes, then allowing them to air dry.
- Replacement Schedule: Replace every 3-6 months, depending on usage and wear.
4. Mop Pad Care
- After each mopping session, remove the mop pad from the vacuum.
- Wash the mop pad by hand or machine wash with similar colors.
- Allow the mop pad to air dry completely before reattaching it to the vacuum for the next use.
- Replacement Schedule: Replace every 3-6 months, depending on usage and wear.
Troubleshooting
- Reduced Suction: Check if the filter is clogged or incorrectly installed. Clean or replace the filter as necessary. Ensure the dustbin is empty.
- Poor Cleaning Performance: Inspect the main roller brush and side brushes for tangles, wear, or damage. Clean or replace them as needed.
- Unusual Noise: Ensure the main roller brush and side brushes are free of obstructions and correctly installed. Check for any foreign objects caught in the brush mechanisms.
- Parts Not Fitting: Double-check the compatibility of the replacement parts with your specific vacuum model (RR7975WH or RR7987WH). Refer to the 'Compatibility' section.
Specifications
- Compatibility: ROBAUN Serie 95, RR7975WH, RR7987WH Robotic Vacuums
- Material: High-strength, environmentally friendly materials
- Package Dimensions: 1.18 x 0.79 x 0.39 inches
- Item Weight: 1.76 ounces (for the 'Qh' variant of the kit)
Warranty and Support
For warranty information or technical support regarding your ROBAUN replacement parts, please refer to the original product documentation of your robotic vacuum cleaner or contact ROBAUN customer service directly. Contact details are typically available on the manufacturer's official website or through your purchase platform.