1. Introduction
Thank you for choosing the VENTECHLATION Bathroom Exhaust Fan. This manual provides essential information for the safe installation, operation, and maintenance of your new ventilation fan. Please read these instructions thoroughly before beginning installation or use, and retain them for future reference.
This 70 CFM (Cubic Feet per Minute) exhaust fan is designed for effective ventilation in bathrooms up to 75 sq. ft., helping to reduce humidity and odors. Its quiet operation at 1.5 Sones ensures a comfortable environment.
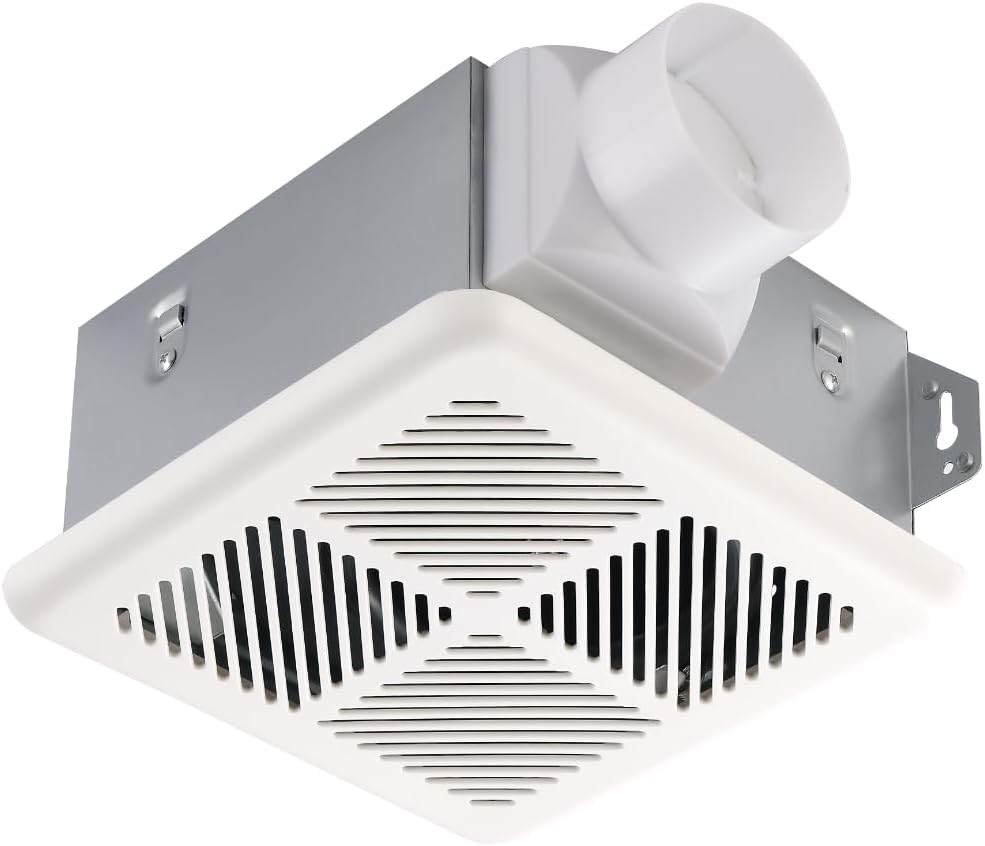
Image 1.1: VENTECHLATION 70CFM Bathroom Exhaust Fan with white plastic grille and metal housing.
2. Important Safety Information
WARNING: To reduce the risk of fire, electric shock, or injury to persons, observe the following:
- Read all instructions before installing or servicing this fan.
- Use this unit only in the manner intended by the manufacturer. If you have questions, contact the manufacturer.
- Before servicing or cleaning, switch power off at the service panel and lock the service disconnecting means to prevent power from being switched on accidentally. When the service disconnecting means cannot be locked, securely fasten a prominent warning device, such as a tag, to the service panel.
- Installation work and electrical wiring must be done by qualified person(s) in accordance with all applicable codes and standards, including fire-rated construction codes and standards.
- Sufficient air is needed for proper combustion and exhausting of gases through the flue (chimney) of fuel burning equipment to prevent back-drafting. Follow the heating equipment manufacturer's guideline and safety standards such as those published by the National Fire Protection Association (NFPA), and the American Society for Heating, Refrigeration and Air Conditioning Engineers (ASHRAE), and the local code authorities.
- When cutting or drilling into wall or ceiling, do not damage electrical wiring and other hidden utilities.
- Ducted fans must always be vented to the outdoors.
- If this unit is to be installed over a tub or shower, it must be marked as appropriate for the application and connected to a GFCI (Ground Fault Circuit Interrupter) protected branch circuit.
- This unit is not intended for use in kitchens.
- Do not use this fan with any solid-state speed control device.
- This product is designed for general ventilating use only. Do not use to exhaust hazardous or explosive materials and vapors.
3. Package Contents
Verify that all components listed below are included in your package:
- Fan Housing Assembly
- Installation Manual
- Mounting Screws (4 pcs)
- White Plastic Grille

Image 3.1: Illustration of package contents: Fan Housing, Installation Manual, Screws, and Grille.
4. Product Specifications
| Feature | Specification |
|---|---|
| Brand | VENTECHLATION |
| Model Name | BPT13-13EN-T |
| Air Flow Capacity | 70 CFM (Cubic Feet Per Minute) |
| Noise Level | 1.5 Sones |
| Duct Size | 3 inches |
| Power Source | AC (Alternating Current) |
| Voltage | 120 Volts |
| Wattage | 23 Watts |
| Product Dimensions | 7.5"D x 7.25"W x 4"H (Housing) |
| Ceiling Mounting Opening | 7.6" x 7.3" |
| Finish Type | Plastic (Grille) |
| Certifications | Energy Star, UL, HVI Certified |
| Recommended Room Size | Up to 75 sq. ft. |

Image 4.1: Product dimensions and certifications (Energy Star, HVI, UL).
5. Installation Instructions
This fan is designed for easy installation without attic access, allowing the process to be completed entirely from the room-ceiling side. Ensure power is OFF at the circuit breaker before starting.
Tools and Materials Required:
- Screwdriver (Phillips head)
- Drill
- Measuring Tape
- Utility Knife or Saw (for ceiling opening, if needed)
- Wire Strippers
- Duct Tape or Clamps (for securing ductwork)
- Safety Glasses and Gloves
Installation Steps (No Attic Access):
- Prepare the Opening: If replacing an existing fan, remove the old unit. If installing in a new location, cut an opening in the ceiling measuring approximately 7.6 inches by 7.3 inches. Ensure there are no electrical wires or pipes in the cutting area.
- Remove the Blower: Carefully remove the blower assembly from the fan housing. This allows easier manipulation of the housing during installation.
- Insert the Housing: Insert the fan housing into the ceiling opening. The housing is designed to fit through the opening.
- Secure the Housing: Once the housing is positioned correctly, use the provided mounting screws to secure it to the ceiling joists or framing. Ensure the housing is flush with the ceiling surface.
- Connect Ductwork: Attach the 3-inch ductwork to the fan's exhaust collar. Secure the connection with duct tape or a clamp to ensure an airtight seal. Route the ductwork to vent outdoors.
- Electrical Wiring: Connect the electrical wiring according to local codes. Ensure the power is OFF. Connect the house wiring to the fan's wiring using appropriate wire connectors. This fan requires a 120V AC power supply.
- Install the Blower: Reinstall the blower assembly into the fan housing. Ensure it is seated correctly and securely.
- Attach the Grille: Align the white plastic grille with the fan housing and secure it into place. The grille typically uses spring clips or similar mechanisms to attach.

Image 5.1: Step-by-step visual guide for installation without attic access.
6. Operation
The VENTECHLATION Bathroom Exhaust Fan operates with a simple on/off switch, typically connected to your bathroom light switch or a dedicated fan switch.
- Turning On: Flip the connected wall switch to the "ON" position. The fan will begin to operate, drawing air from the bathroom and expelling it outdoors.
- Turning Off: Flip the connected wall switch to the "OFF" position. The fan will cease operation.
For optimal performance, it is recommended to operate the fan during and after showers or baths for at least 15-20 minutes to effectively remove moisture and prevent mold and mildew growth.

Image 6.1: The fan's quiet operation (1.5 Sones) and effective airflow (70 CFM) in a room setting.
7. Maintenance
Regular cleaning and maintenance will ensure optimal performance and extend the lifespan of your exhaust fan. Always disconnect power at the circuit breaker before performing any maintenance.
Cleaning the Grille:
- Turn off power to the fan at the service panel.
- Gently pull down the grille to release its spring clips.
- Wash the grille with mild soap and water.
- Rinse thoroughly and dry completely before reattaching.
- Reattach the grille by squeezing the spring clips and inserting them into the slots in the fan housing.
Cleaning the Fan Blower and Housing:
- Turn off power to the fan at the service panel.
- Remove the grille as described above.
- Carefully remove the blower assembly from the housing (refer to installation steps in Section 5 if needed).
- Use a soft cloth or a vacuum cleaner with a brush attachment to remove dust and debris from the fan blades and interior of the housing. Do not immerse electrical parts in water.
- Wipe surfaces with a damp cloth and mild detergent if necessary, then dry thoroughly.
- Reinstall the blower assembly and grille.
Note: The motor is permanently lubricated and requires no additional oiling.
8. Troubleshooting
If you experience issues with your VENTECHLATION Bathroom Exhaust Fan, refer to the following table for common problems and solutions:
| Problem | Possible Cause | Solution |
|---|---|---|
| Fan does not operate | No power to the fan | Check circuit breaker or fuse. Ensure wall switch is ON. Verify electrical connections. |
| Fan is noisy | Loose mounting screws or grille | Tighten mounting screws. Ensure grille is securely attached. |
| Debris in blower wheel | Disconnect power and clean blower wheel (refer to Maintenance section). | |
| Ductwork obstruction or damage | Inspect ductwork for kinks, blockages, or leaks. Ensure proper routing. | |
| Poor ventilation/Air movement | Dirty grille or blower wheel | Clean grille and blower wheel (refer to Maintenance section). |
| Ductwork obstruction or improper size | Ensure 3-inch ducting is used and free of obstructions. Verify duct run is as straight and short as possible. | |
| Fan stops unexpectedly | Overheating (thermal protection activated) | Turn off power, allow fan to cool. Check for obstructions or excessive dust. If problem persists, contact support. |
9. Warranty and Customer Support
For warranty information or technical assistance, please contact VENTECHLATION customer support. Keep your purchase receipt as proof of purchase.
Contact Information: Please refer to the contact details provided on the product packaging or the official VENTECHLATION website for the most up-to-date support information.
This product is designed for a long operational life, with the motor rated for at least 25,000 hours. It includes built-in thermal protections to prevent damage from overheating.