1. Product Overview
The SOZT 12L Commercial Slushy Machine is designed for efficient preparation of frozen beverages. Featuring a durable stainless steel body and food-grade components, it is suitable for both commercial and home use.

Image 1: SOZT 12L Commercial Slushy Machine with orange beverage.
Key Features:
- 12L Large Capacity Tank: Produces up to 48 cups (250ml each) of slushies per batch.
- No Ice Required: Cools drinks directly without the need for pre-made ice.
- Durable Construction: Features a premium stainless steel body, food-grade PC tank, and ABS lid.
- 360° Mixing Blade: Ensures thorough mixing and reduces sediment for perfectly blended drinks.
- Intuitive Control Panel: Easy mode switching between Slushy Mode and Cold Drink Mode, with adjustable settings.
- Built-in Lighting: Enhances visibility of the beverage.
2. Setup and Installation
2.1 Unboxing and Initial Placement
Carefully remove the slushy machine from its packaging. Due to the internal refrigerant system, it is crucial to place the unit upright on a stable, level surface for at least 24 hours before plugging it in. This allows the refrigerant to settle properly, preventing potential damage to the compressor.
Video 1: Slushie Machine Installation Guide by BOSBAK. This video demonstrates the unboxing and initial setup process.
2.2 Component Assembly
- Drip Tray Installation: Locate the drip tray and align its tabs with the corresponding slots on the machine's base. Gently push down until it clicks into place.
- Tank and Auger Assembly: Ensure the auger (mixing rod) is correctly seated within the cooling cylinder inside the tank. The flat end of the auger should align with the flat cut on the shaft.
- Seal Lubrication: Apply a small amount of food-grade lubricant (provided) to the rubber seals on the auger and the dispensing nozzle. This ensures smooth operation and prevents leaks.
- Tank Placement: Carefully place the assembled tank onto the machine base, ensuring it is securely seated.
- Lid Attachment: Place the lid on top of the tank. It hooks on the front and snaps into place at the back. The lid contains built-in LED lights that illuminate the beverage.
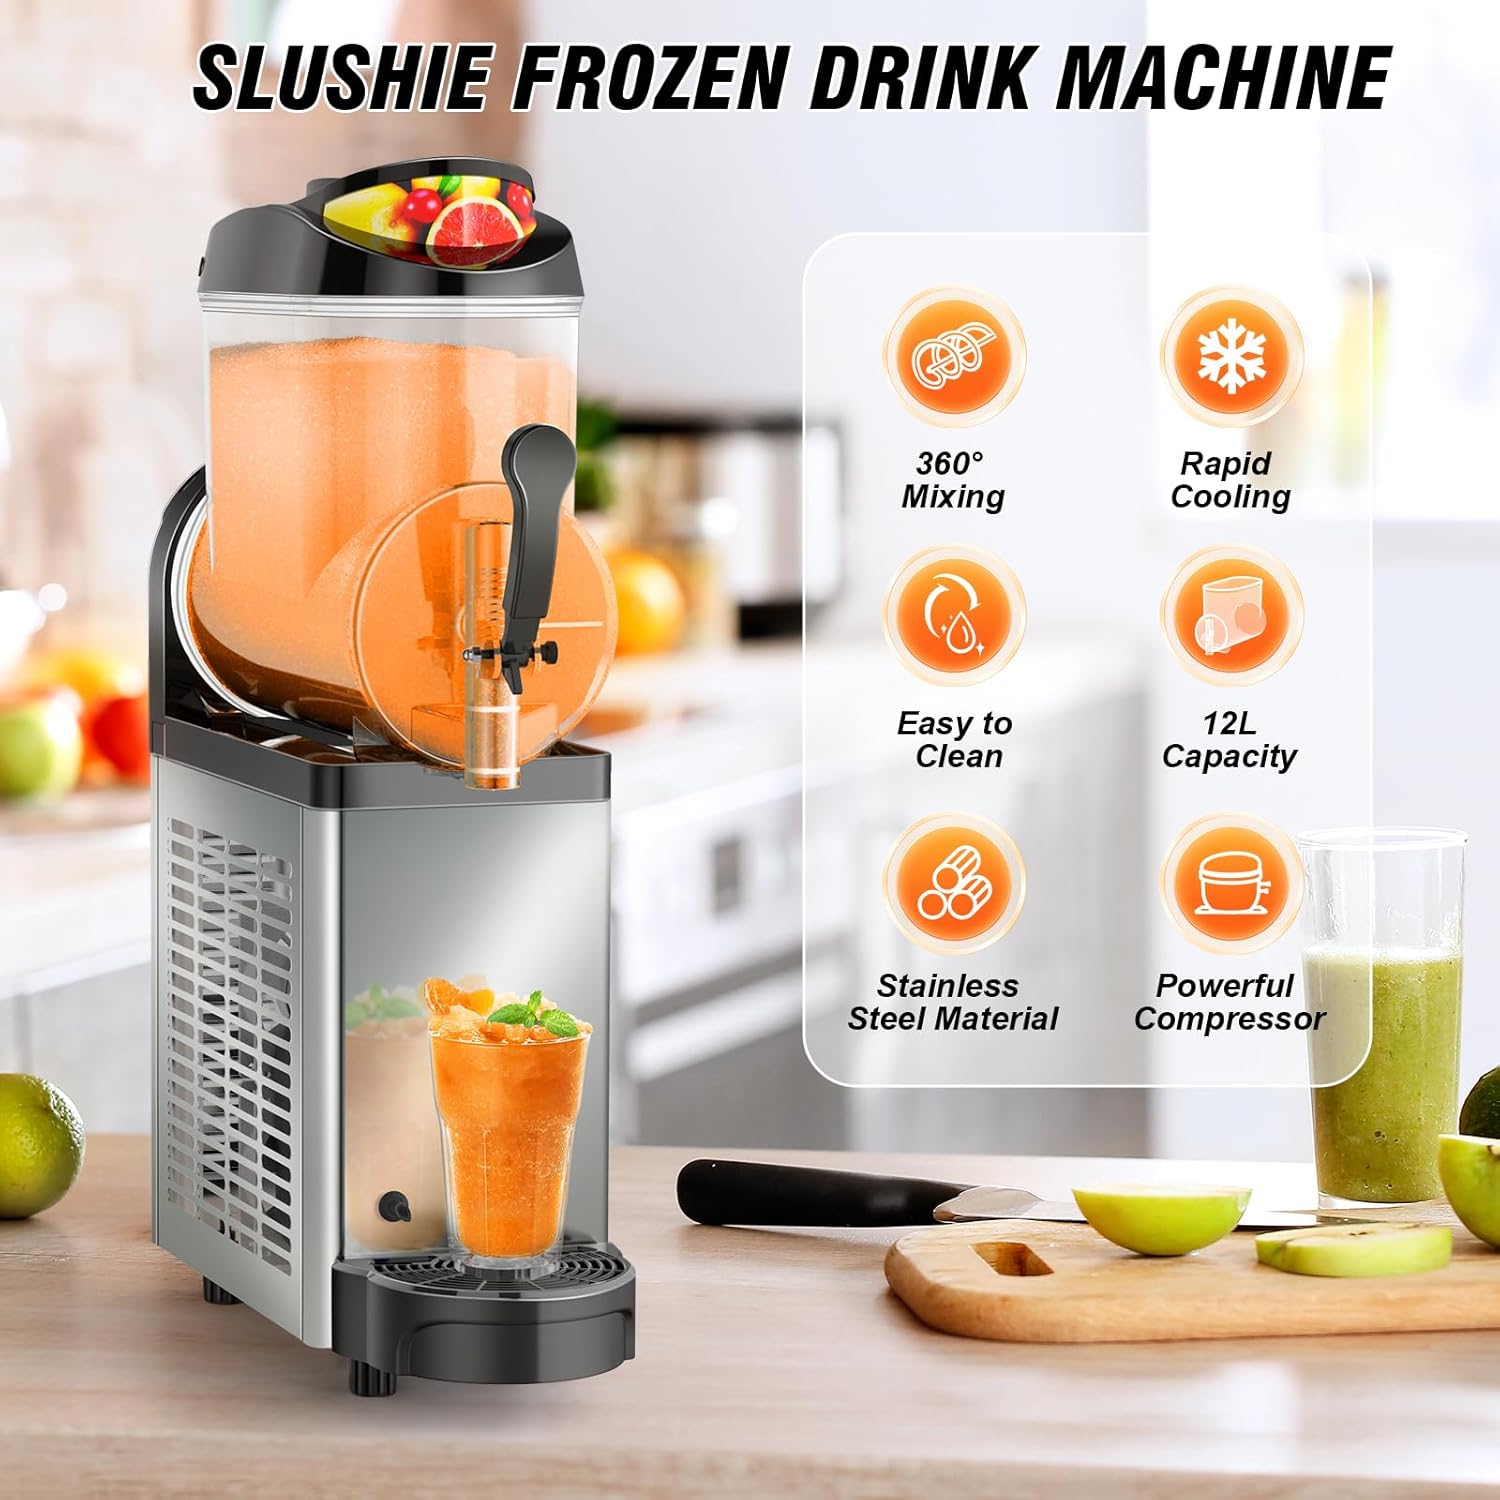
Image 2: Exploded view of the slushy machine components, highlighting the tank, auger, and seals.
3. Operating Instructions
3.1 Preparing the Beverage Mix
- Sugar Content: For optimal slushy consistency, the sugar content of your beverage mix must be between 13% and 25%. Insufficient sugar can lead to the mix freezing into a solid ice block.
- Minimum Fill Level: Ensure the liquid level in the tank is above the minimum water level indicated to prevent damage to the mixing rod.
3.2 Control Panel Functions
The intuitive control panel allows for easy operation:

Image 3: Close-up of the control panel with various buttons and display.
- Power Switch: Located on the side of the machine, a membrane-covered switch to turn the unit on/off.
- Mixing Button: Activates the auger for continuous stirring.
- Cold Drink Mode: Sets the machine to cool beverages without freezing them (factory setting: 5.0°C).
- Slushy Mode: Activates the freezing and mixing functions to create slushies (factory setting: -2.0°C).
- Set/Subtract/Add Buttons: Used to adjust temperature settings for Slushy and Cold Drink modes.
- Lighting Button: Controls the built-in LED lights in the lid.
3.3 Making a Slushy
- Pour your pre-mixed liquid (milk, yogurt, cocktail, or juice) into the tank.
- Turn on the machine using the side power switch.
- Select 'Slushy Mode' on the control panel.
- The machine will begin freezing and mixing. It typically takes about 30-40 minutes to reach optimal slushy consistency.
Video 2: Slushy Machine Operation Demonstration by MirfeeDirect. This video shows the process of making a slushy.
3.4 Dispensing
To dispense, pull the handle on the front of the tank downwards. Release the handle to stop dispensing.
4. Maintenance and Cleaning
Regular cleaning and maintenance are essential for the longevity and hygiene of your slushy machine.
4.1 Daily Cleaning
- Empty any remaining beverage from the tank.
- Pour warm water into the tank and run the mixing function for a few minutes to rinse.
- Dispense the rinse water.
4.2 Deep Cleaning and Disassembly
For thorough cleaning, it is recommended to disassemble all removable parts:
- Remove the lid.
- Remove the dispensing nozzle by pushing out the pin and detaching the handle and spring.
- Lift the tank slightly and gently shake it left and right to detach it from the base.
- Remove the auger, sealing rings, and any other detachable components.
- Wash all disassembled parts with warm water and mild soap. Rinse thoroughly and allow to air dry completely.
- Re-lubricate the seals with food-grade lubricant before reassembling.
Video 3: Commercial Slushy Machine by Mojgar Direct. This video demonstrates the disassembly and cleaning process.
5. Troubleshooting
- Error Code "LLL": Indicates a low voltage alert. Check the operating voltage. If the voltage is regular, contact customer support.
- Slush Not Forming/Too Thin: Ensure the sugar content is within the recommended 13-25% range. If the liquid is too thin, the stirrer may make a rubbing noise. Add 1-2 tablespoons of sugar, syrup, or honey per cup to thicken it.
- Ice Block Formation: If the sugar content is too low, the mix may freeze into a solid block. Adjust sugar content or temperature.
- Minimum Water Level: Always ensure the liquid level is above the minimum mark to prevent damage.
6. Specifications
- Model Number: XR12L1T
- Package Dimensions: 30 x 18 x 11 inches
- Item Weight: 61 pounds
- Manufacturer: SOZT
- ASIN: B0DNK2G3XD
7. Warranty and Support
For technical support, warranty information, or to address any issues not covered in this manual, please refer to the official SOZT support channels or contact the seller directly. The product is returnable until January 31, 2026.