Introduction
This user manual provides detailed instructions for the safe and effective operation of your NASTIMA 6V LiFePO4 Battery Charger. Please read this manual thoroughly before using the charger to ensure proper function and to prevent damage to the device or battery.
Product Overview
The NASTIMA 7.3V 1A Smart Charger is specifically designed for charging 6V Lithium Iron Phosphate (LiFePO4) batteries. It features a compact design with red and black alligator clips for easy connection and an LED indicator for charging status.

Image: The NASTIMA 6V LiFePO4 Battery Charger, showing the main unit with a standard US plug and attached red and black alligator clips. The charger is black with product details printed on its side.
Specifications
| Input Voltage | AC 100V-240V, 50/60Hz |
| Input Current | 0.5A MAX |
| Output Voltage | 7.3V |
| Output Current | 1A |
| Dimensions (L x W x H) | 70 x 38 x 32 mm (2.76 x 1.5 x 1.26 inches) |
| Net Weight | 70g (2.47 ounces) |
| Cable Length | 1 meter (0.3 feet) |
| Compatibility | Designed for 6V LiFePO4 batteries only. Not compatible with 6V lead-acid batteries. |

Image: A visual representation of the charger's specifications, including input/output voltage and current, size, and weight.
Safety Information
Your NASTIMA charger is equipped with multiple safety features to ensure reliable and secure operation. Adhere to the following guidelines:
- Compatibility: Only use this charger with 6V Lithium Iron Phosphate (LiFePO4) batteries. Do not attempt to charge other battery types, especially 6V lead-acid batteries.
- Protection Features: The charger includes built-in protections against:
- Short-circuit
- Over-voltage
- Over-current
- Over-temperature
- Certifications: The charger has passed multiple certifications, including TEL, TUV, CE, PSE, and SAA, ensuring its safety and reliability.
- Environment: Use the charger in a dry, well-ventilated area. Avoid exposure to water, moisture, or extreme temperatures.
- Handling: Do not disassemble, modify, or attempt to repair the charger. Refer all servicing to qualified personnel.
- Connection: Ensure correct polarity when connecting the clips to the battery terminals (Red to positive, Black to negative).

Image: Icons representing the safety protections of the charger: Short-circuit protection, Over-voltage protection, and Over-current protection.
Setup
- Inspect the Charger: Before each use, visually inspect the charger, cable, and clips for any signs of damage. Do not use if damaged.
- Prepare the Battery: Ensure the 6V LiFePO4 battery is clean and its terminals are free from corrosion.
- Connect to Battery:
- Connect the red alligator clip to the positive (+) terminal of the 6V LiFePO4 battery.
- Connect the black alligator clip to the negative (-) terminal of the 6V LiFePO4 battery.
- Ensure a secure connection to prevent sparks or poor charging.
- Plug into Power Outlet: Insert the charger's AC plug into a standard AC 100V-240V wall outlet.
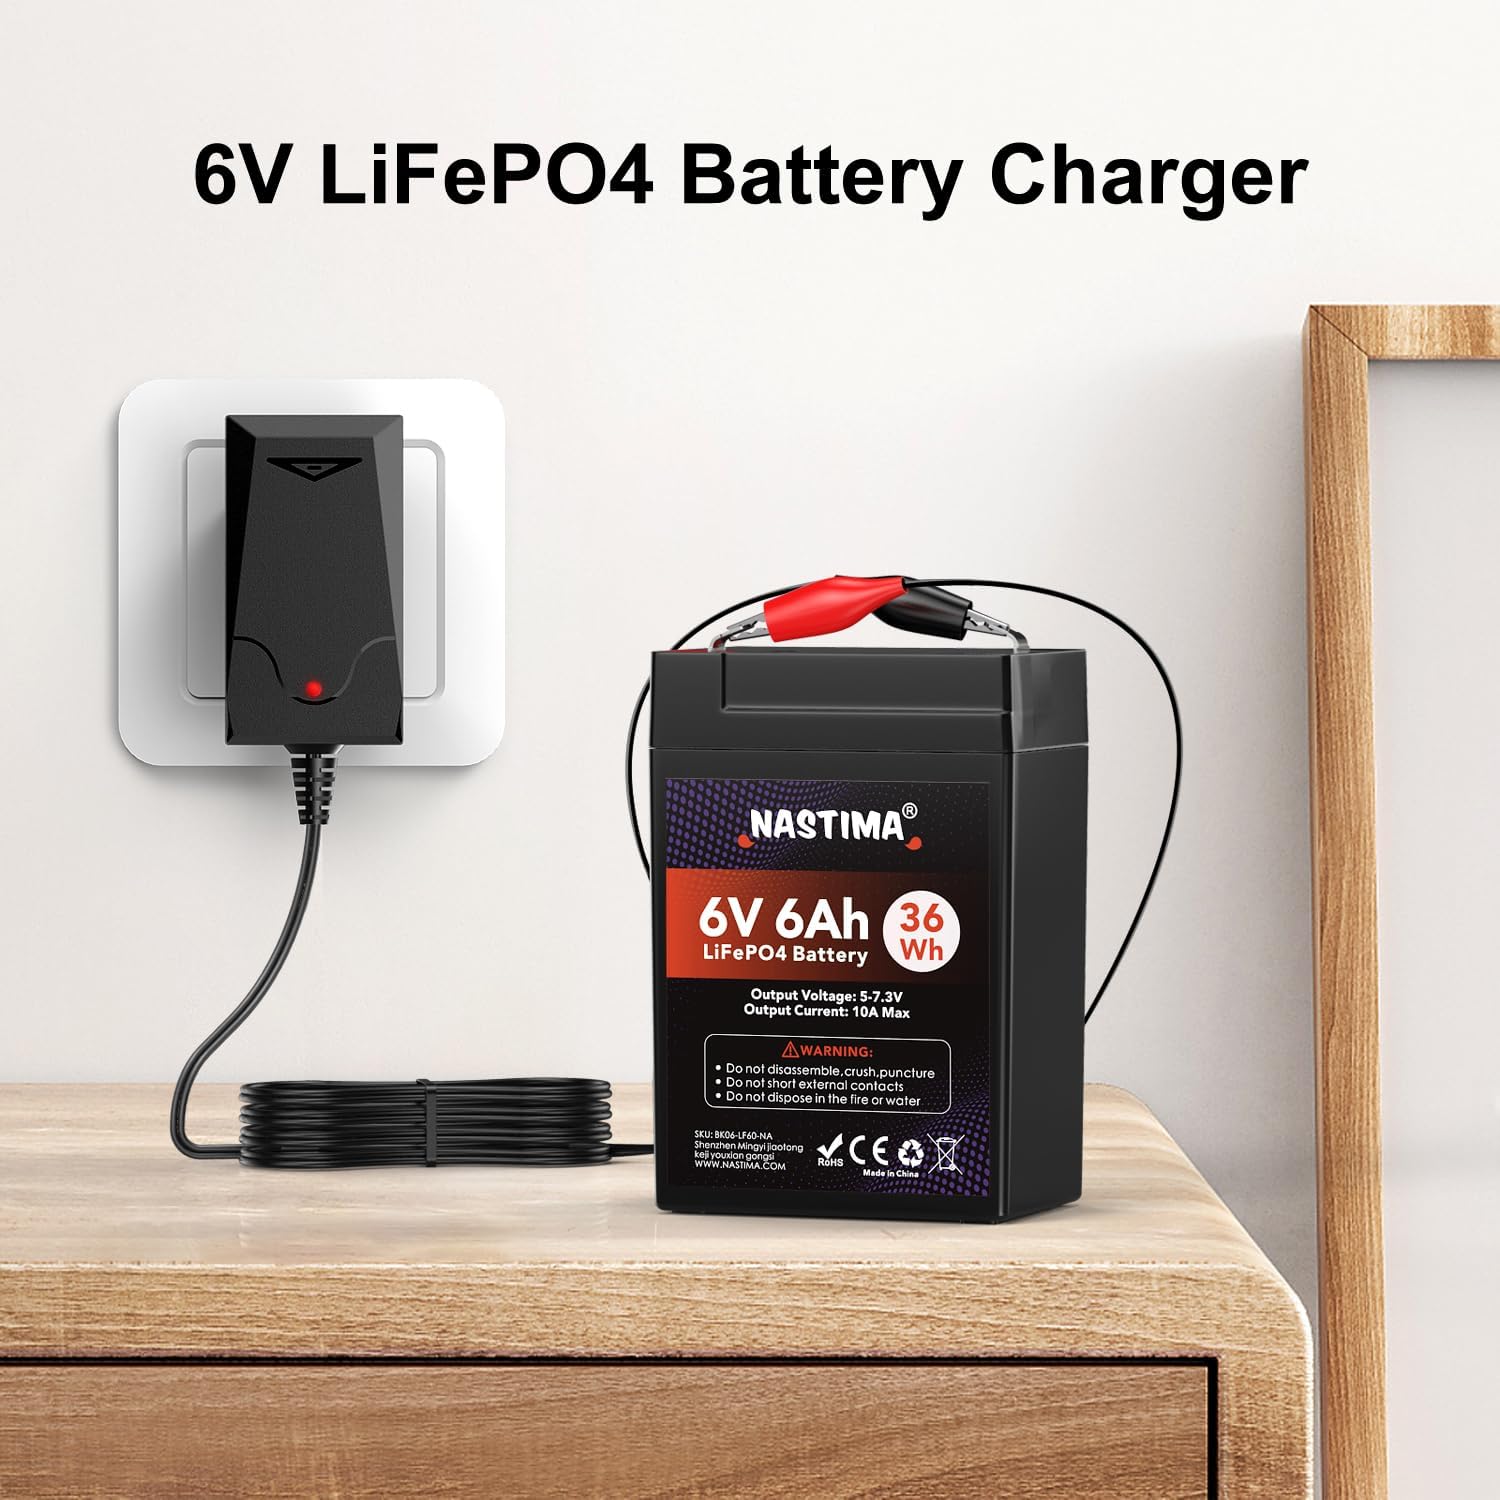
Image: The NASTIMA charger plugged into a wall outlet, with its alligator clips connected to a 6V LiFePO4 battery, demonstrating a typical setup.
Operating Instructions
Once the charger is properly connected to the battery and plugged into a power outlet, it will automatically begin the charging process.
Charging Indicator LED
The charger features a dual-color LED indicator that provides real-time status of the charging process:
- Solid Red Light: Indicates that the battery is currently charging.
- Solid Green Light: Indicates that the battery is fully charged or that no battery is connected to the charger.

Image: Two views of the NASTIMA charger showing the LED indicator. One view shows a red light, indicating charging, and the other shows a green light, indicating a full charge or no battery connected.
Disconnecting the Charger
- Unplug the charger from the AC wall outlet.
- Disconnect the black alligator clip from the battery's negative (-) terminal.
- Disconnect the red alligator clip from the battery's positive (+) terminal.
Maintenance
Proper maintenance ensures the longevity and optimal performance of your charger:
- Cleaning: Clean the charger's exterior with a soft, dry cloth. Do not use abrasive cleaners or solvents.
- Storage: Store the charger in a cool, dry place away from direct sunlight and moisture when not in use.
- Cable Care: Avoid bending or kinking the power cord excessively. Do not pull the cord to disconnect from the outlet.
- Inspection: Periodically check the charger, cable, and clips for any signs of wear, cuts, or damage.
Troubleshooting
| Problem | Possible Cause | Solution |
|---|---|---|
| Charger LED is off. | No power to the charger. | Ensure the charger is securely plugged into a live AC outlet. Check the outlet with another device. |
| LED is green, but battery is not fully charged. |
|
|
| LED is red, but charging seems slow or never finishes. |
|
|
If you encounter issues not listed here or if the problem persists, please contact NASTIMA customer support.
Warranty and Support
NASTIMA is committed to providing high-quality products and customer satisfaction.
- Money Back Guarantee: You are eligible for a 35-day money-back guarantee.
- Warranty: The product comes with a 1-year warranty from the date of purchase.
- Customer Support: If you have any problems or questions, please contact NASTIMA through Amazon. Our support team is available 24 hours to assist you.
For further assistance, please visit the official NASTIMA store on Amazon: NASTIMA Amazon Store