1. Introduction
Thank you for choosing the Furniouse Farmhouse Coffee Table. This manual provides essential information for the safe assembly, operation, and maintenance of your new coffee table. This rustic rectangle coffee table features a convenient lifting top and functional sliding barn doors, offering versatile storage and usage options for your living space.
2. Safety Information
- Always assemble the coffee table according to the instructions provided in the included assembly guide.
- Do not place heavy objects on the table that could cause it to tip over or collapse.
- Ensure all screws and fasteners are securely tightened before use. Periodically check and re-tighten as necessary.
- Keep small parts and packaging materials away from children to prevent choking hazards.
- Avoid standing or sitting on the coffee table, especially on the lifting top when extended.
- Use caution when operating the lifting top mechanism to prevent pinching fingers or hands.
3. Package Contents
Before beginning assembly, please verify that all components listed in your separate assembly instruction booklet are present and undamaged. If any parts are missing or damaged, do not proceed with assembly. Contact customer support for assistance.
Typical package contents include:
- Table panels (top, sides, bottom, shelves, barn doors)
- Lifting mechanism hardware
- Sliding door tracks and rollers
- Assembly hardware (screws, dowels, cam locks, etc.)
- Assembly instruction booklet
4. Assembly Instructions
Refer to the detailed assembly instruction booklet included in your package for step-by-step guidance. Assembly typically requires two people for certain steps, especially when attaching the lifting top mechanism.
- Tools Recommended: A screwdriver is the primary tool required for assembly.
- Important Note: Avoid using power drills for tightening screws, as this can overtighten and damage the engineered wood material. Hand-tighten all fasteners.
- Lifting Top Assembly: When attaching the lifting top, it is highly recommended to have a partner assist you. This part can be awkward to hold and align by yourself.
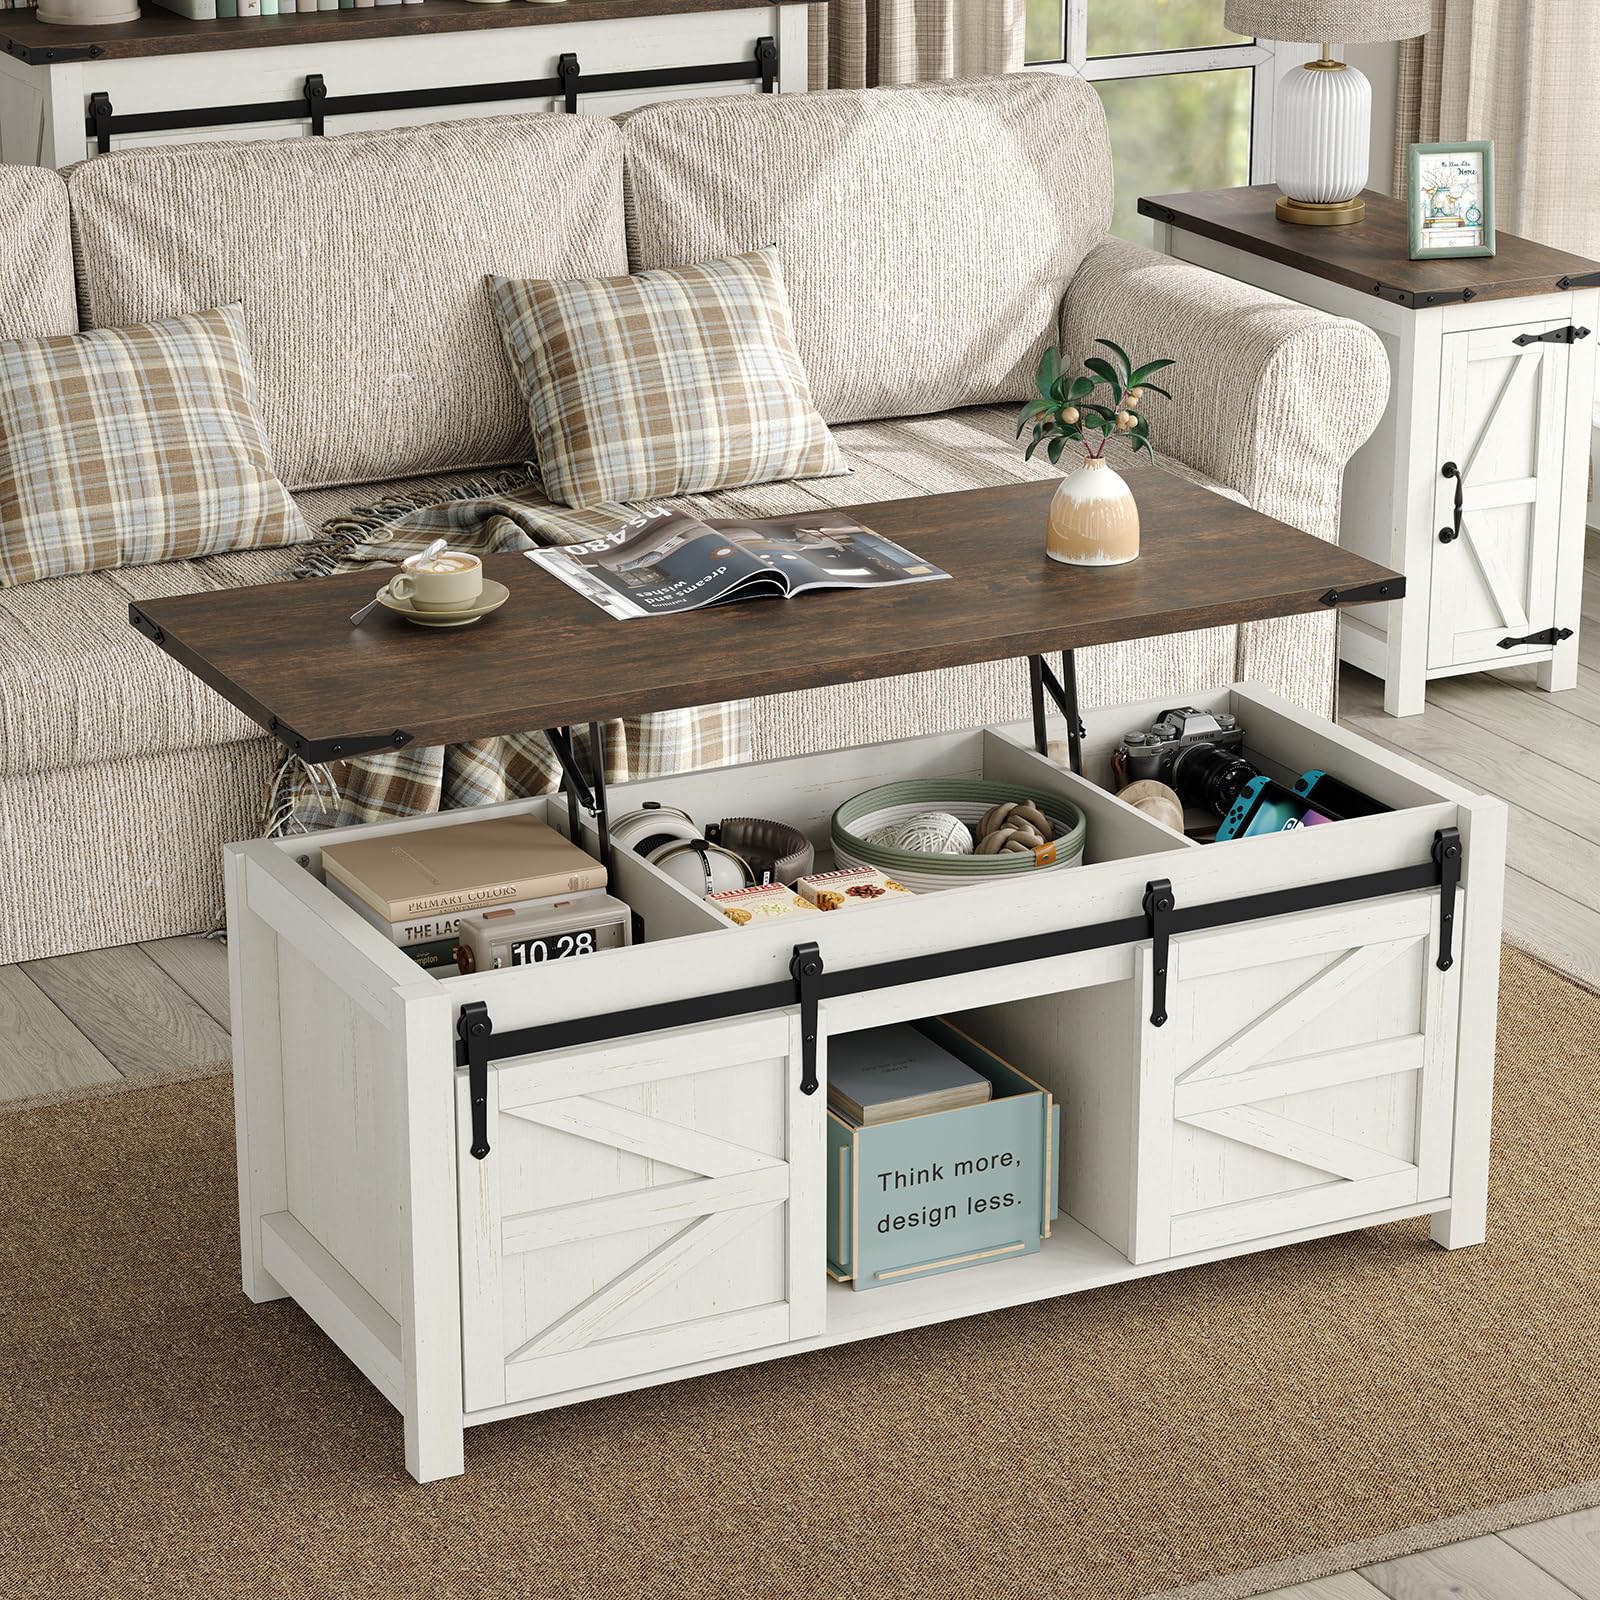
Image 1: Dimensional diagram of the coffee table, illustrating overall size and internal storage.
5. Setup
Once assembled, place your coffee table in its desired indoor location. Ensure the surface is level to prevent wobbling. The table is designed for indoor use only.
6. Operating Instructions
6.1. Lifting Top Mechanism
The coffee table features a hydraulic lift mechanism that allows the tabletop to be raised to a comfortable height for working or dining. To operate:
- To Lift: Gently pull the front edge of the tabletop upwards. The hydraulic mechanism will assist in smoothly raising the top to its extended position.
- To Lower: Apply gentle downward pressure on the tabletop. The mechanism will slowly and smoothly lower the top back into its closed position. Ensure no objects or body parts are in the path of the lowering top.

Image 2: The coffee table with its lift-top extended, providing an elevated surface for various activities.

Image 3: Detailed view of the hydraulic lift mechanism, highlighting its smooth operation.
6.2. Sliding Barn Doors and Storage
The coffee table features two sliding barn doors that allow access to the side storage compartments and the middle open storage space. To operate:
- Gently slide the barn doors along their track to reveal or conceal the storage areas. The doors can be positioned to cover either the side cabinets or the central open shelf, allowing for customizable storage access.
- The hidden space underneath the lifting top provides additional storage for items you wish to keep out of sight.
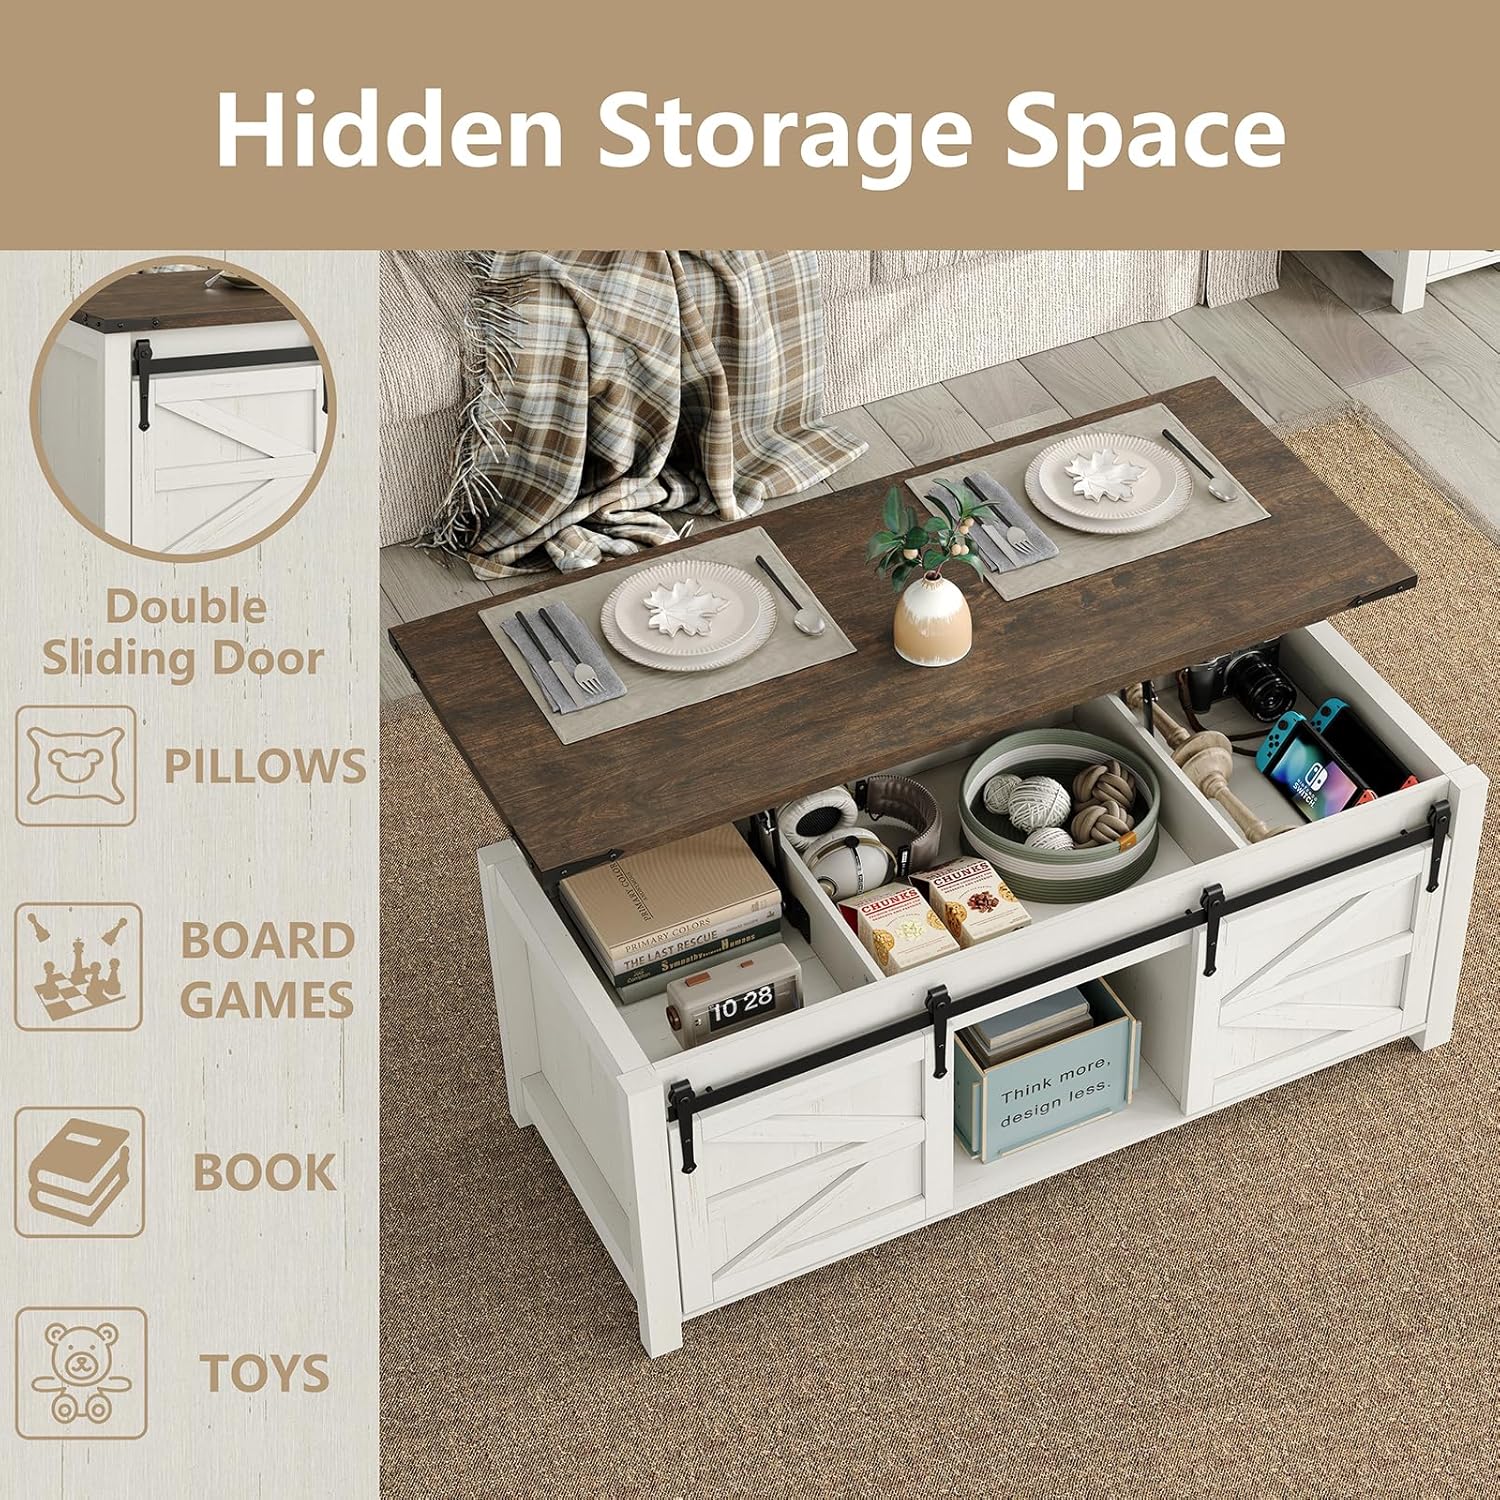
Image 4: The coffee table's hidden storage space, accessible when the lift-top is raised.

Image 5: The double sliding barn doors provide flexible access to storage compartments.
7. Maintenance
- Cleaning: Wipe the table surfaces with a soft, damp cloth. Avoid using harsh chemicals or abrasive cleaners, which can damage the finish.
- Spills: Clean up spills immediately to prevent staining, especially on the wooden surfaces.
- Hardware Check: Periodically check all screws and fasteners to ensure they remain tight. Re-tighten as needed to maintain stability.
- Lift Mechanism: The hydraulic lift mechanism is designed for durability. Avoid forcing it or placing excessive weight on the lifting top.
8. Troubleshooting
- Lift Mechanism Not Smooth: If the lifting top does not operate smoothly, ensure no obstructions are present in the mechanism's path. Verify that all assembly screws related to the lift mechanism are properly tightened.
- Parts Not Lining Up During Assembly: Carefully review the assembly instructions. Sometimes, parts may appear misaligned if not oriented correctly or if screws are tightened prematurely. Loosen relevant screws, adjust the parts, and then re-tighten.
- Table Wobbles: Check that the table is placed on a level surface. Ensure all leg and frame connections are securely tightened.
- Color Discrepancy: Product colors may vary slightly due to lighting, screen settings, and natural variations in wood grain. If the color significantly differs from your expectation, refer to product images and descriptions for clarification.
9. Specifications
| Feature | Specification |
|---|---|
| Brand | Furniouse |
| Model Name | CT009-BR |
| Model Number | CA-CT009-BR |
| Product Dimensions (D x W x H) | 18.6" x 47.3" x 18.9" (47.2cm x 120.1cm x 48cm) |
| Item Weight | 40 Pounds (18.1 kg) |
| Frame Material | Metal |
| Top Material Type | Engineered Wood |
| Base Material | Engineered Wood |
| Color | Brown |
| Furniture Finish | Wooden, Matte |
| Style Name | Country Rustic |
| Number of Doors | 2 (Sliding Barn Doors) |
| Number of Shelves | 2 (Internal) |
| Recommended Number of People for Assembly | 2 |
| Indoor/Outdoor Usage | Indoor |
10. Warranty and Support
For warranty information or if you encounter any issues not covered in this manual, please refer to the warranty details provided with your purchase or contact Furniouse customer support. Our team is available to assist you with product inquiries, missing parts, or assembly guidance.
Contact Information: Please refer to your purchase documentation or the seller's contact details for the most current customer support information.