Lovskoo M200
Lovskoo Mini Projector M200 User Manual
Model: M200
1. Introduction
Thank you for purchasing the Lovskoo Mini Projector M200. This portable projector is designed for home entertainment and educational purposes, offering a clear viewing experience with versatile connectivity options. This manual provides essential information for setting up, operating, and maintaining your projector.
The M200 features LED diffuse reflection imaging, supporting 1080p HD decoding and on-screen connection. It is compatible with various devices and offers a long service life.

Image 1.1: Front view of the Lovskoo Mini Projector M200, showcasing its compact design and lens.
2. Package Contents
Please verify that all items are present in the package:
- 1 x Lovskoo Mini Projector M200
- 1 x USB Power Cable
- 1 x Remote Control
- 1 x Instruction Manual (this document)
3. Product Overview
3.1. Dimensions
The projector features a compact design for portability.

Image 3.1: Diagram illustrating the dimensions of the Lovskoo Mini Projector M200 (approximately 4.96 x 3.35 x 1.85 inches).
3.2. Interfaces
The projector is equipped with multiple input interfaces for broad compatibility.
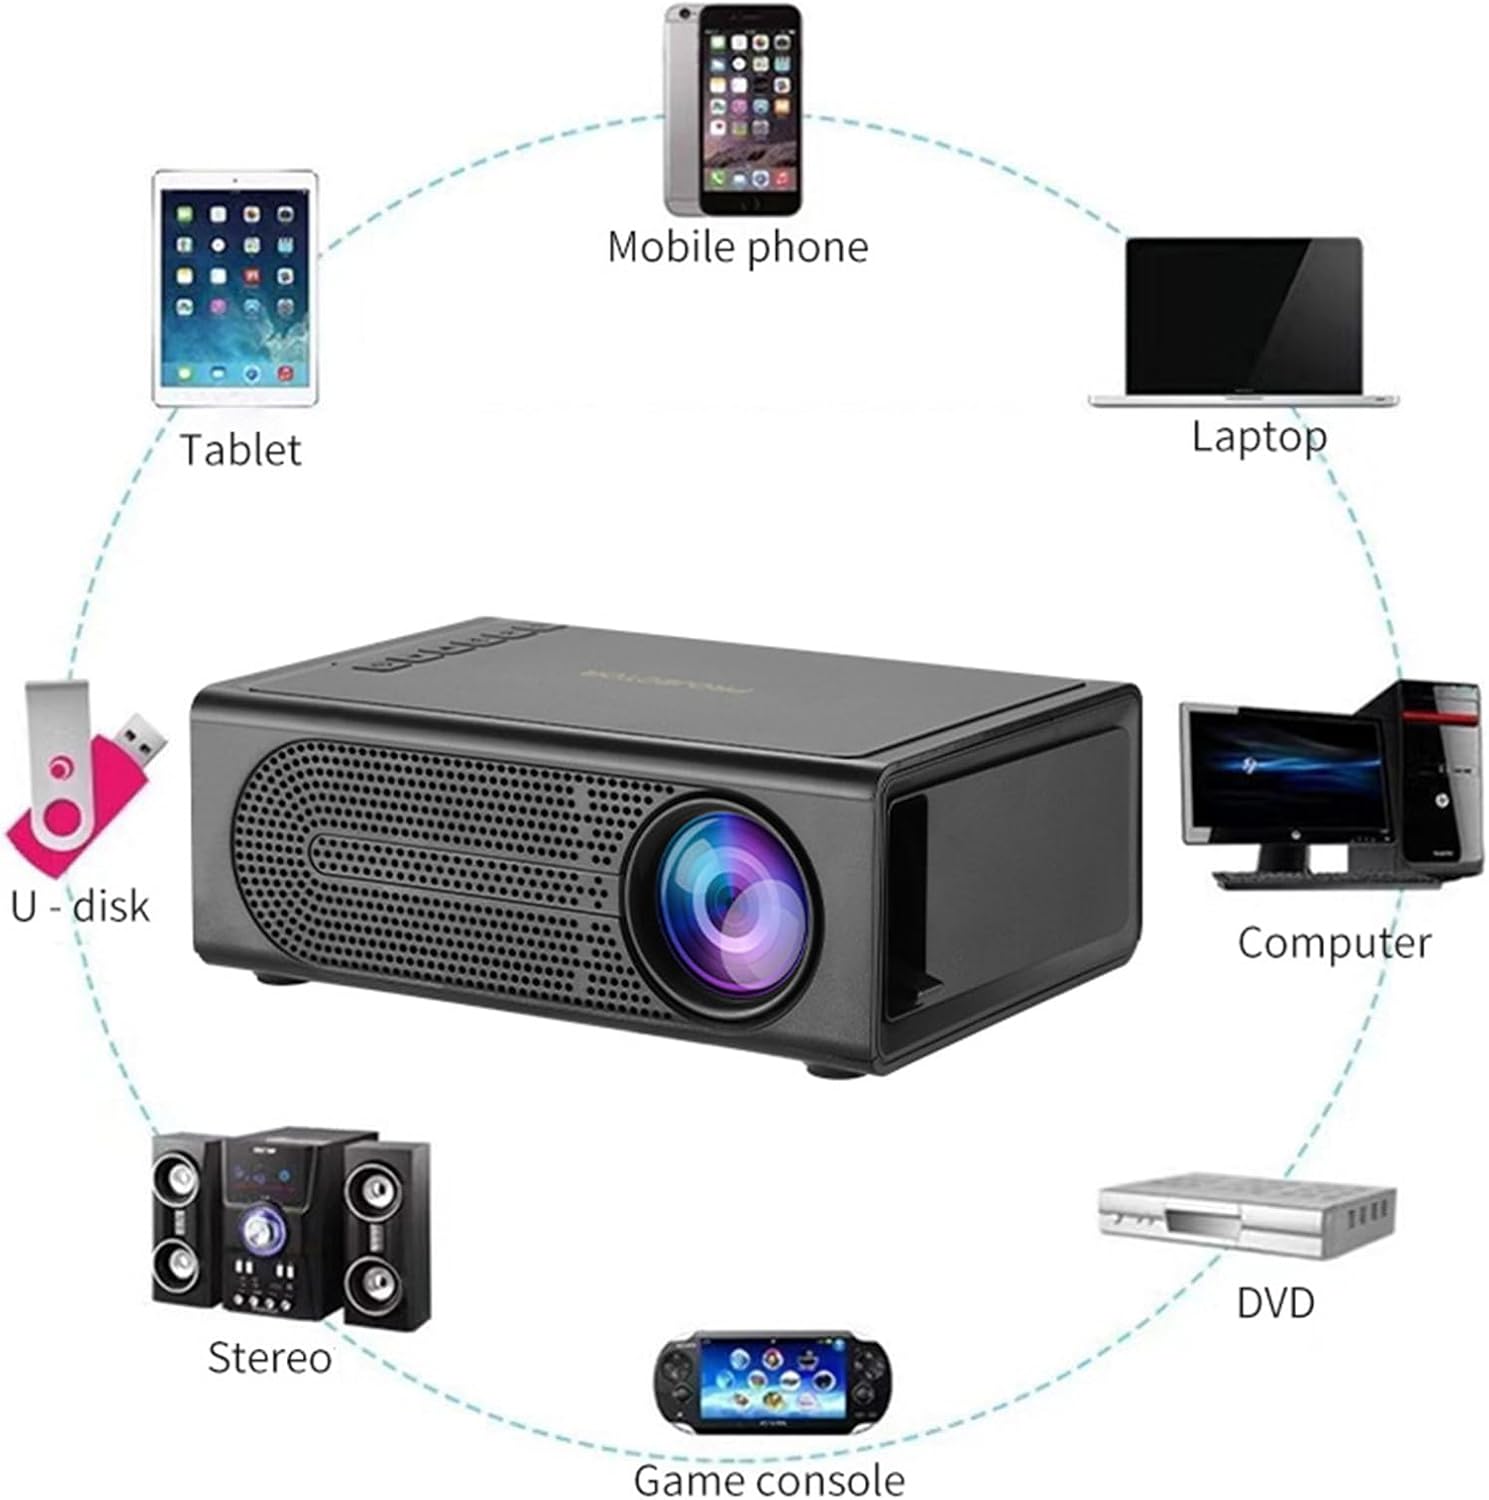
Image 3.2: Diagram showing various devices that can connect to the projector, including mobile phones, tablets, laptops, computers, DVDs, game consoles, U-disks, and stereo systems. The projector features HDMI, USB, AV, and memory card input ports.
4. Setup
4.1. Power Connection
- Connect the provided USB power cable to the projector's 5V-2A USB power input port.
- Plug the other end of the USB power cable into a compatible 5V-2A USB power adapter (not included) or a power bank.
- Ensure the power source provides sufficient current (5V-2A) for optimal performance.
4.2. Placement
Place the projector on a stable, flat surface. For best results, position the projector directly in front of the projection screen or wall. The optimal projection distance ranges from 39 to 79 inches, yielding a viewing size of approximately 60 inches.
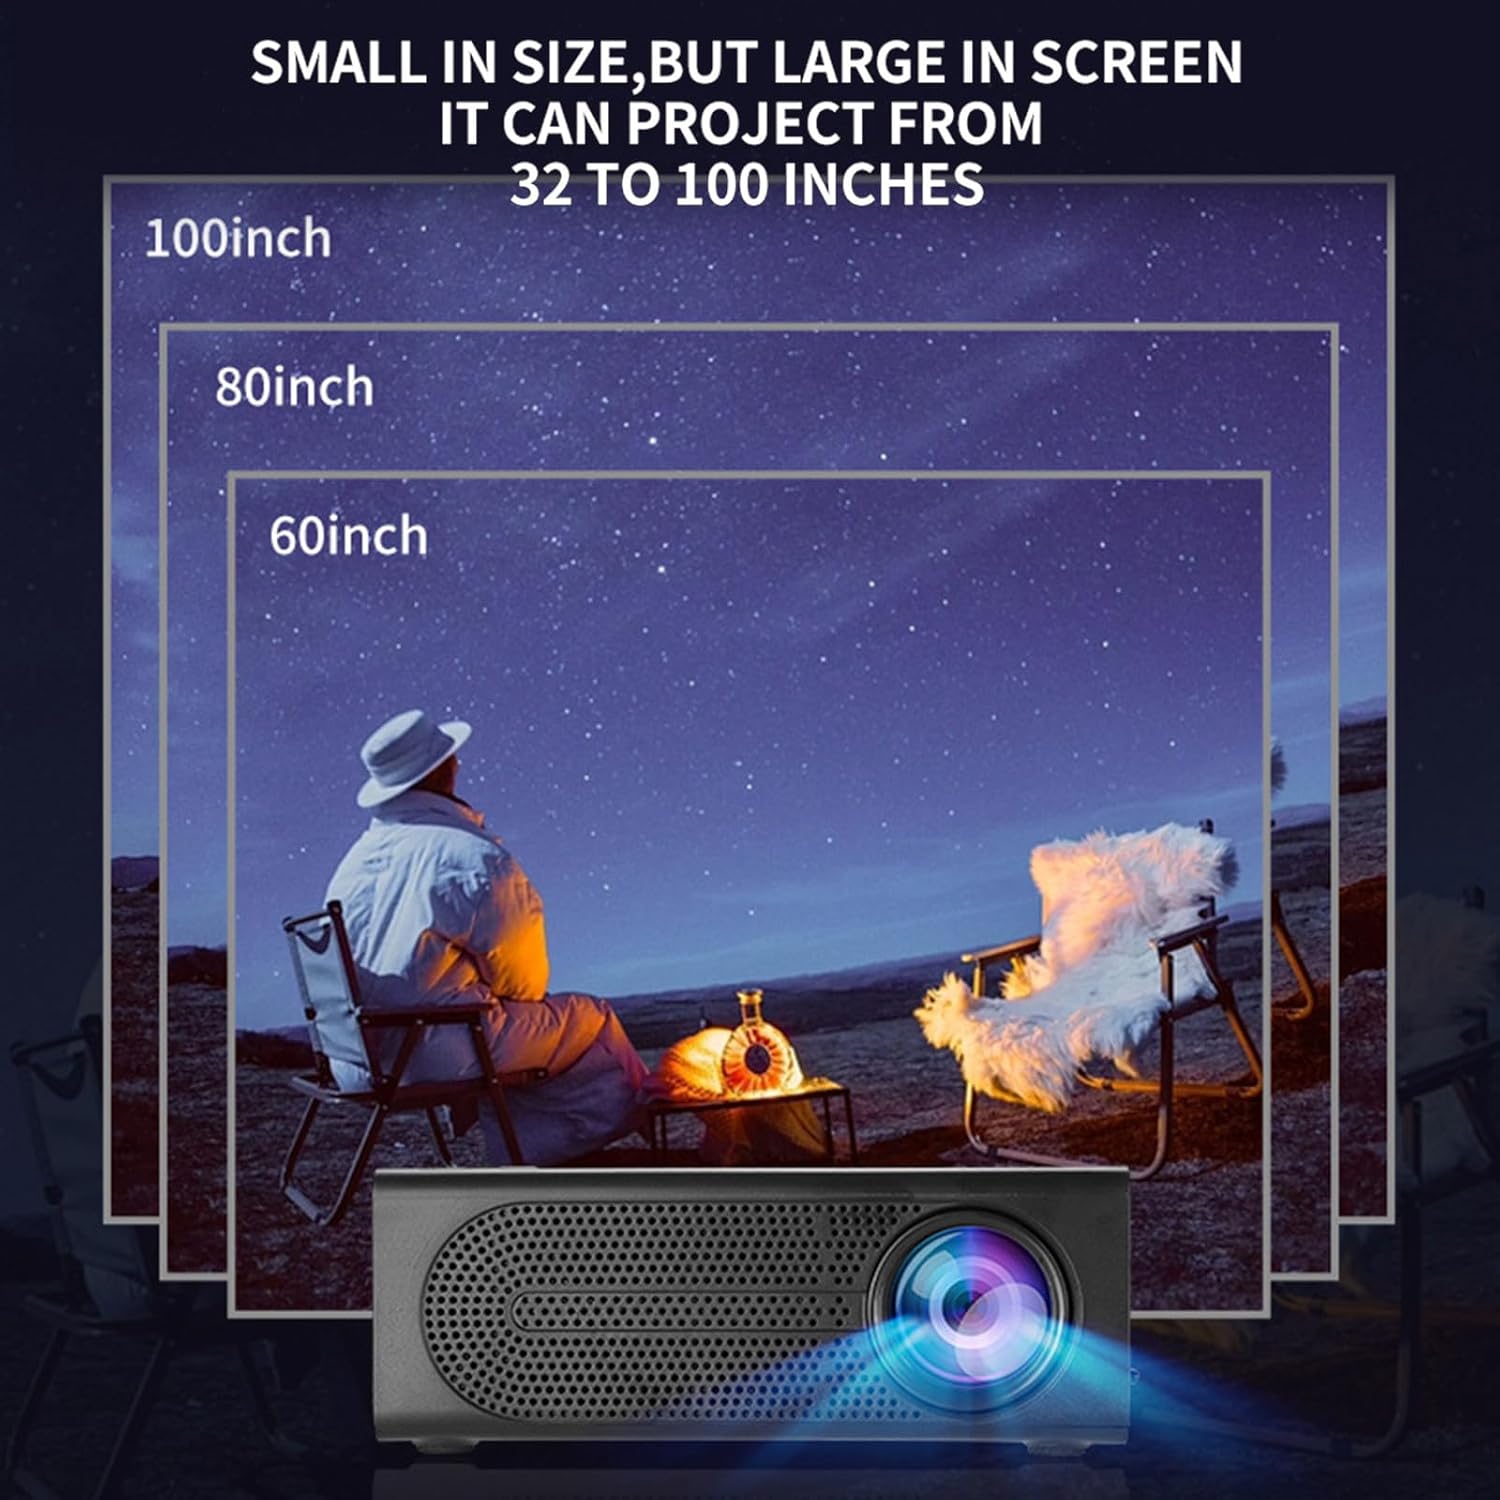
Image 4.1: Illustration demonstrating various projection sizes (60, 80, 100 inches) achievable with the Lovskoo Mini Projector M200 at different distances.
5. Operating Instructions
5.1. Power On/Off
- To power on, press the power button on the projector or the remote control.
- To power off, press the power button again.
5.2. Connecting Devices
The projector supports various input sources:
- HDMI: Connect a laptop, DVD player, game console, or set-top box using an HDMI cable.
- USB: Insert a USB flash drive for direct media playback.
- AV: Use an AV cable to connect older devices.
- Memory Card: Insert a TransFlash (TF) card for media playback.
- On-Screen Connection: Supports wired phone same-screen playback. Refer to your phone's specific instructions for wired screen mirroring.
5.3. Focus Adjustment
To achieve a clear image, adjust the focus ring located on the projector lens.
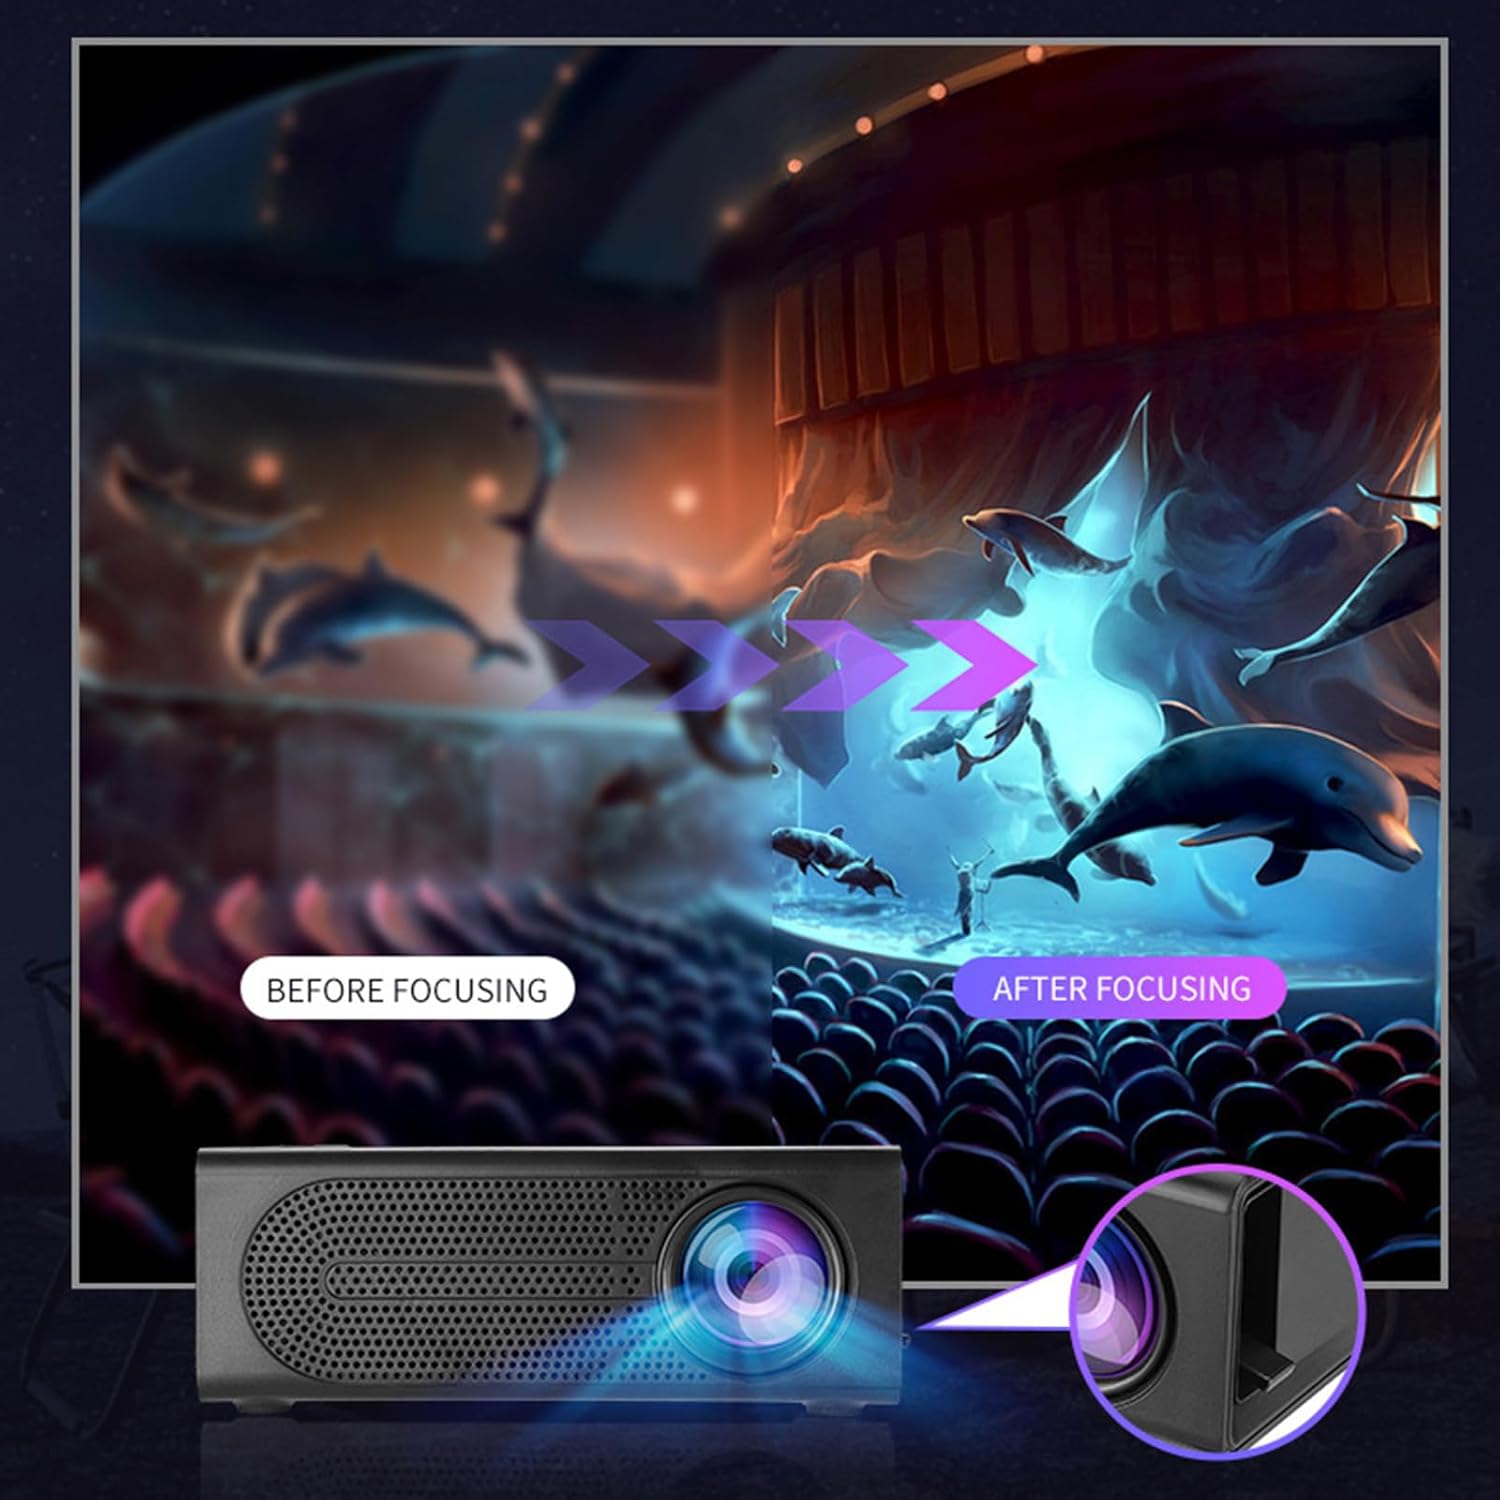
Image 5.1: Depiction of the focus adjustment process on the Lovskoo Mini Projector M200, showing a blurry image becoming sharp after adjustment.
5.4. Source Selection
After connecting a device, use the remote control or the projector's buttons to select the correct input source (HDMI, USB, AV, Memory Card) from the on-screen menu.
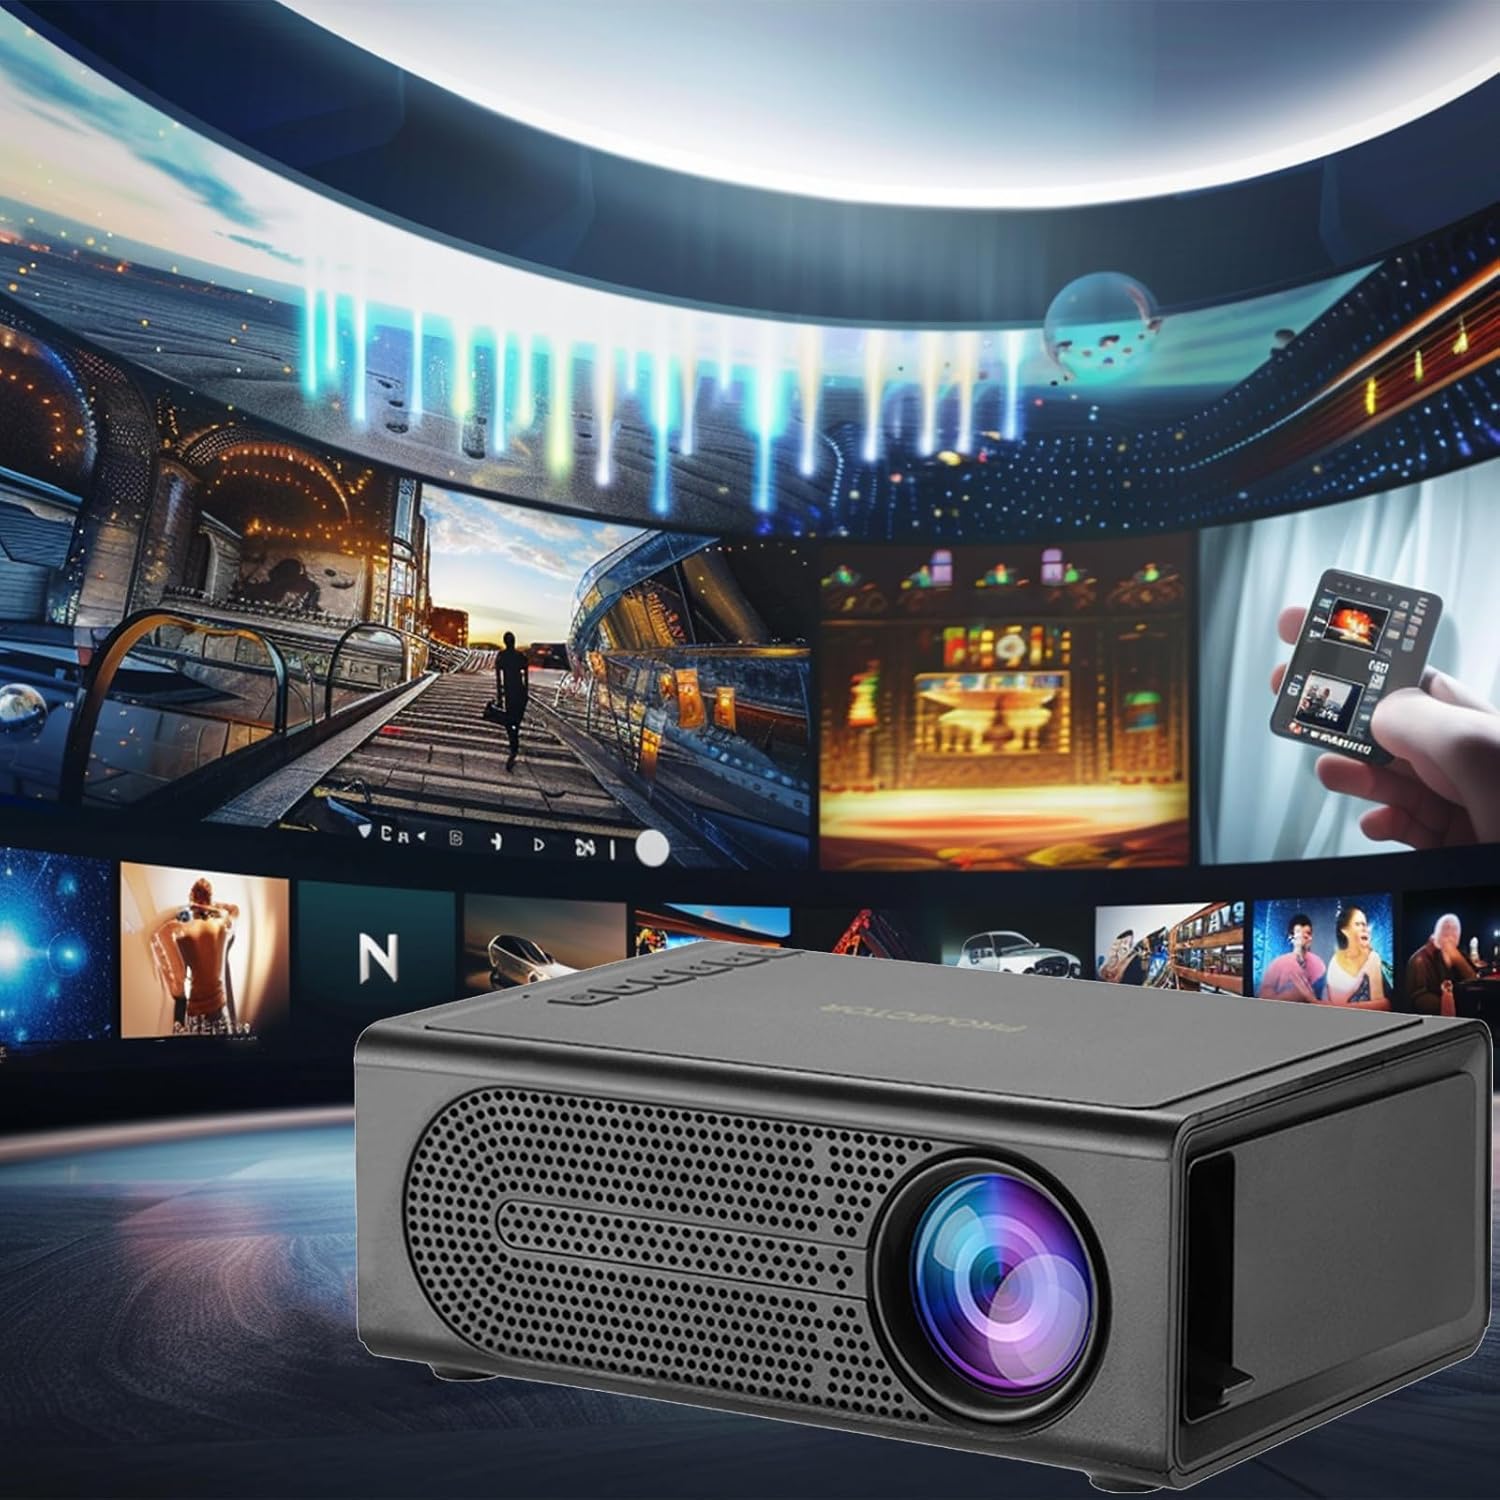
Image 5.2: The Lovskoo Mini Projector M200 displaying various media content, indicating its multi-source playback capability.
6. Maintenance
6.1. Cleaning the Lens
Use a soft, lint-free cloth or lens cleaning paper to gently wipe the projector lens. Avoid using abrasive materials or harsh chemicals.
6.2. Cleaning the Projector Body
Wipe the exterior of the projector with a soft, dry cloth. Do not use liquid cleaners directly on the device.
6.3. Ventilation
Ensure the projector's ventilation openings are not blocked to prevent overheating. The built-in constant temperature fan is designed to maintain stable system operation and keep noise levels below 30 dB.
6.4. Storage
When not in use, store the projector in a cool, dry place, away from direct sunlight and excessive dust.
7. Troubleshooting
| Problem | Possible Cause | Solution |
|---|---|---|
| No image on screen |
|
|
| Image is blurry |
|
|
| No sound |
|
|
| Remote control not working |
|
|
8. Specifications
| Feature | Detail |
|---|---|
| Model | M200 |
| Resolution | 600*480P / 320*240p (Supports 1920*1080p decoding) |
| Voltage | USB interface 5V2A |
| Projection Size | 20-80 inches (Optimal viewing size: 60 inches) |
| Input Interface | USB / U disk / HDMI / AV / Memory Card (TF Card) |
| Projection Distance | 39-79 inches |
| Service Life | 30,000+ hours |
| Power | 24W |
| Product Dimensions | 12.6 x 8.5 x 4.7 cm (4.96 x 3.35 x 1.85 inches) |
| Item Weight | 425g (15 ounces) |
| Noise Level | Less than 30 dB |
| Special Features | Portable, HDR high trends display technology, Built-in speaker, Multi-language support |
9. Warranty and Support
For warranty information or technical support, please refer to the contact details provided at the point of purchase or visit the official Lovskoo website. Keep your purchase receipt as proof of purchase for warranty claims.
Related Documents - M200
 |
M200 Electric Toothbrush Operating Instructions Comprehensive operating instructions and safety guidelines for the M200 Electric Toothbrush. Learn about charging, brushing modes, and maintenance for this USB rechargeable oral care device. |
 |
M200 Portable Label Printer User Manual & Setup Guide Comprehensive user manual for the M200 portable label printer, covering setup, specifications, app connectivity, printing instructions, troubleshooting, and warranty information. |
 |
XTNTQDW M200 Mini Intelligent Projector User Guide User guide for the XTNTQDW M200 Mini Intelligent Projector, detailing settings for picture, sound, and time management for an immersive home cinema experience. |
 |
HOBUT M200 Series Monitoring Relays - Technical Specifications and Applications Comprehensive technical specifications, selection guides, typical applications, and connection diagrams for the HOBUT M200 series of monitoring relays, including AC Current, AC Voltage, Frequency, Reverse Power, Synchronizing Check, Phase Sequence, Phase Balance, Speed Sensing, DC Transducer Trip, Thermocouple, Thermistor, Millivolt, DC Voltage, and Temperature relays. |
 |
Miracle m M200 Wireless Karaoke Speaker User Manual | The Sing M200 Guide Comprehensive user manual for the Miracle m M200 Wireless portable karaoke speaker, also known as The Sing M200. Learn how to set up, charge, use the microphone, connect via Bluetooth, and explore all features. |
 |
bamix® Quick Reference Guide: Your Swiss Quality Kitchen Appliance Discover the bamix® Universal Kitchen Appliance with this quick reference guide. Learn about its Swiss quality, versatile attachments, and easy operation for all your culinary needs. |
Ask a question about this manual
Ask about setup, troubleshooting, compatibility, parts, safety, or missing instructions. Manuals+ will review the question and use this page’s manual context to help answer it.