Introduction
This manual provides comprehensive instructions for the proper installation, operation, and maintenance of the EDRIWYIM LQ-103-h SS-23L11 Slide Switch. Please read this manual thoroughly before use to ensure safe and efficient operation of the product.
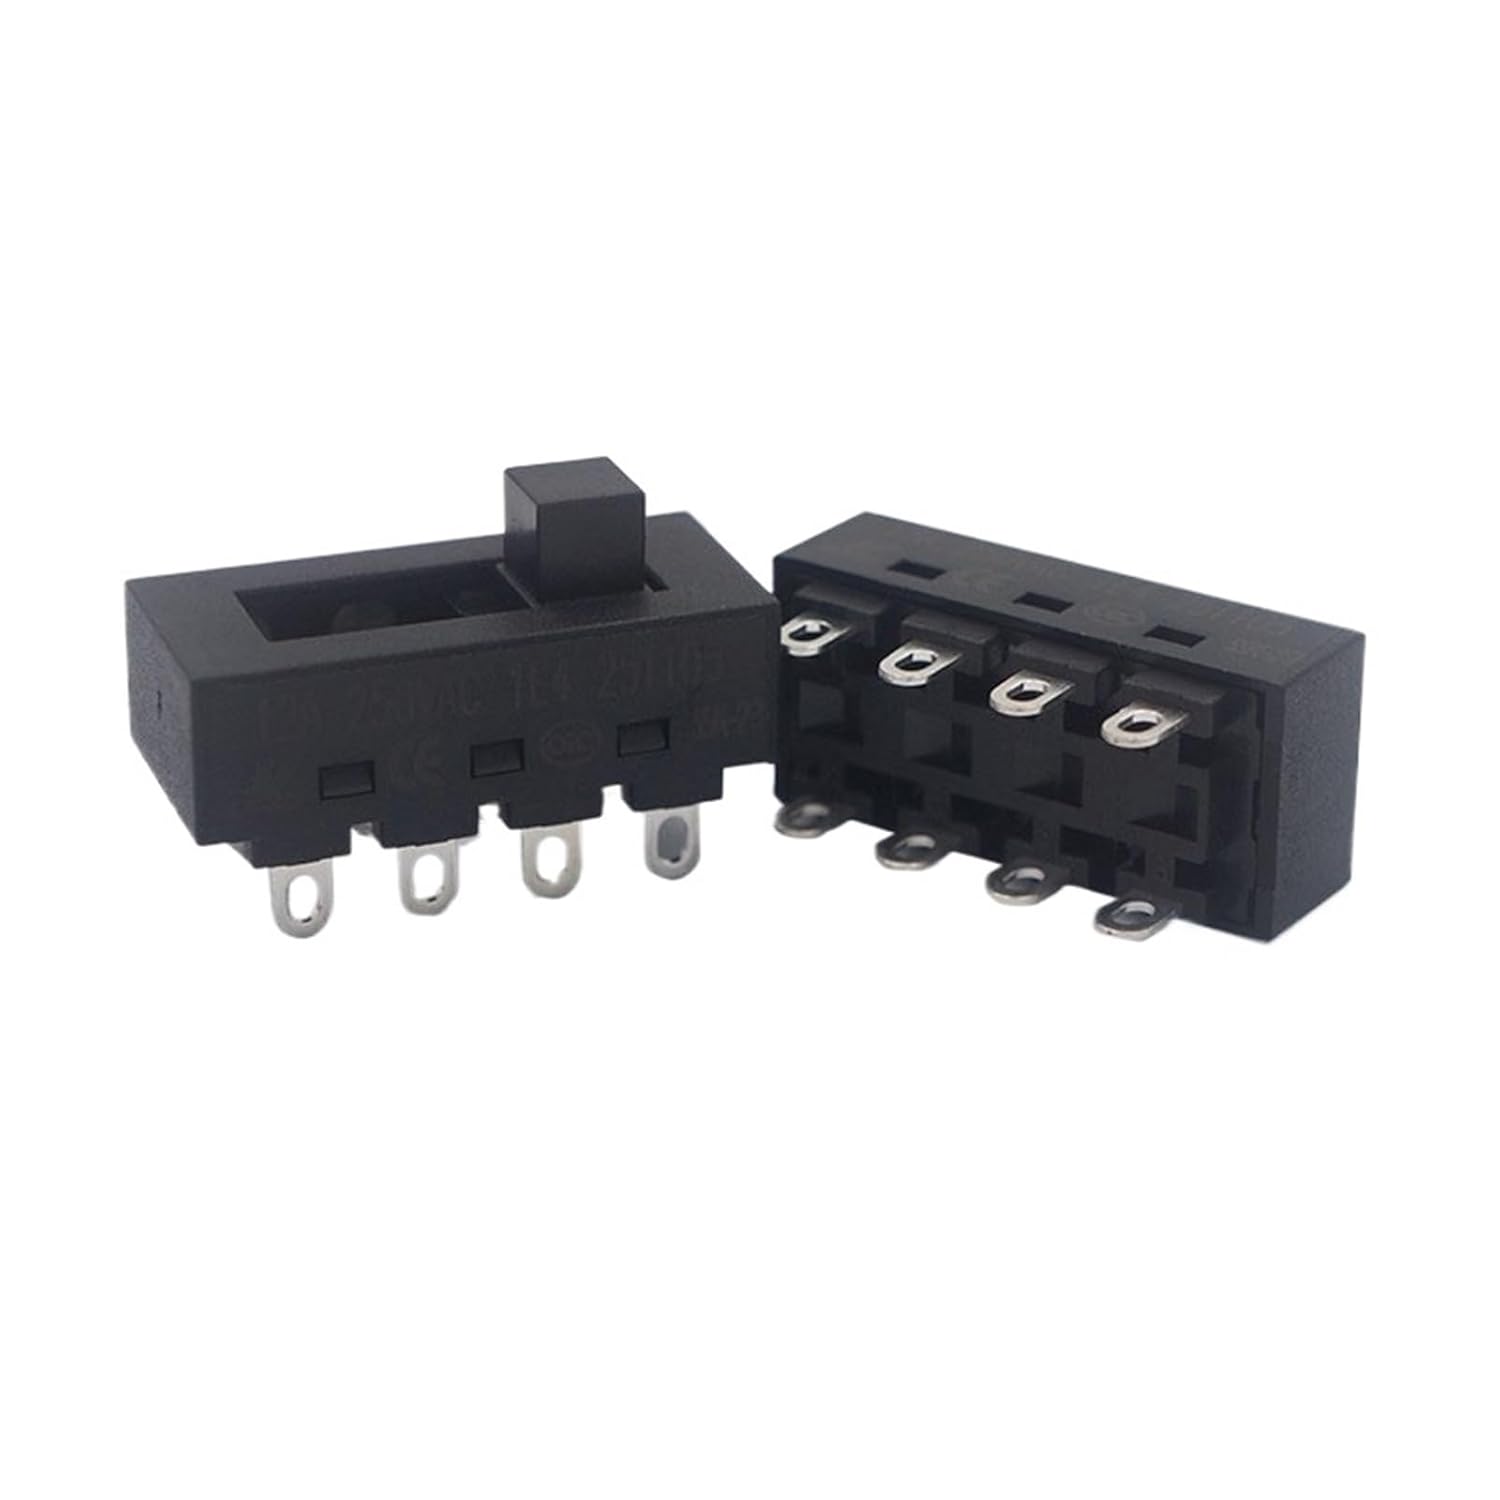
Figure 1: Two EDRIWYIM LQ-103-h SS-23L11 slide switches. One switch is shown from the top with the slider, and the other is shown from the bottom revealing the eight metal pins for electrical connection.
Safety Information
Always observe the following safety precautions when handling and installing electrical components:
- Ensure power is disconnected before installation or maintenance to prevent electrical shock.
- Only qualified personnel should perform electrical installations.
- Verify that the switch's electrical ratings match the application's requirements.
- Avoid exposing the switch to excessive moisture, dust, or extreme temperatures beyond its specified operating range.
- Do not modify the switch. Unauthorized modifications can lead to malfunction or safety hazards.
Setup and Installation
The LQ-103-h SS-23L11 is an 8-pin slide switch designed for various electrical applications, such as hair dryers or other appliances requiring power control. Proper installation is crucial for functionality and safety.
- Preparation: Ensure the device or circuit where the switch will be installed is de-energized. Gather necessary tools, such as soldering iron, solder, wire strippers, and appropriate wiring.
- Mounting: The switch is designed for panel mounting. Ensure the cutout dimensions in your application match the switch's physical dimensions for a secure fit. Refer to the technical drawing for precise measurements.
- Wiring: Connect the electrical wires to the switch's 8 pins according to your circuit diagram. The switch typically functions as a Double Pole Double Throw (DPDT) switch, allowing control over two separate circuits or providing ON-OFF-ON functionality depending on the internal configuration and external wiring. Refer to the provided schematic for pin identification and typical wiring configurations.
- Secure Connections: Ensure all solder joints are clean, strong, and free from shorts. If using crimp connectors, ensure they are properly secured.
- Final Check: Before restoring power, visually inspect all connections for correctness and ensure no loose wires or debris are present.

Figure 2: Technical drawing showing dimensions (in millimeters) and a basic electrical schematic of the LQ-103-h SS-23L11 slide switch. The schematic illustrates the internal connections and pin layout.

Figure 3: Detailed view of the underside of the slide switch, highlighting the eight solderable pins for electrical connections.
Operating Instructions
The EDRIWYIM LQ-103-h SS-23L11 slide switch is designed for straightforward operation:
- To activate the connected circuit(s), slide the actuator knob to the "ON" position.
- To deactivate the connected circuit(s), slide the actuator knob to the "OFF" position.
- If the switch is configured for multiple positions (e.g., ON-OFF-ON or multiple speed settings), slide the actuator to the desired position to select the corresponding function.

Figure 4: Top view of the slide switch, showing the black rectangular actuator that moves horizontally to change the switch state.
Maintenance
The LQ-103-h SS-23L11 slide switch is designed for durability and requires minimal maintenance. However, periodic inspection can help ensure its longevity and reliable performance.
- Cleaning: If the switch accumulates dust or debris, gently clean the exterior with a dry, soft cloth. Avoid using liquid cleaners or solvents, as they may damage the internal components.
- Inspection: Periodically check the switch for any signs of physical damage, such as cracks in the housing or bent pins. Ensure the slide mechanism operates smoothly without excessive force or sticking.
- Connection Integrity: If accessible, verify that all electrical connections remain secure and free from corrosion.
Troubleshooting
If you encounter issues with your LQ-103-h SS-23L11 slide switch, consider the following troubleshooting steps:
- Switch Not Activating:
- Check if the power supply to the circuit is active.
- Inspect all wiring connections for looseness or incorrect wiring according to the schematic.
- Verify that the switch actuator is fully engaged in the desired position.
- Intermittent Operation:
- Loose connections can cause intermittent contact. Re-check all solder joints or crimped connections.
- Internal wear or contamination might be affecting contact. If the switch is old or has been exposed to harsh conditions, replacement may be necessary.
- Physical Damage: If the switch housing is cracked, the actuator is broken, or pins are bent, the switch should be replaced immediately to prevent electrical hazards.
Specifications
| Feature | Specification |
|---|---|
| Model Number | LQ-103-h SS-23L11 |
| Brand | EDRIWYIM |
| Type | Slide Switch (DPDT configuration) |
| Number of Pins | 8 |
| Handle Size | 4.8mm |
| Rated Load | 8A 250VAC |
| Operating Temperature | -25°C to 105°C |
| Contact Resistance | <30mΩ |
| Insulation Resistance | >100MΩ (at 500VDC) |
| Withstand Voltage (Terminals) | 1500VAC/10mA/5S |
| Withstand Voltage (Terminals to Ground) | 3000VAC/10mA/5S |
| Electrical Life | 10,000 cycles |
| Operating Force | 4.0N - 9.0N |
| Dimensions (L x W x H) | Approximately 1.18 x 0.79 x 0.39 inches (30 x 20 x 10 mm) |
Warranty and Support
For specific warranty information regarding the EDRIWYIM LQ-103-h SS-23L11 Slide Switch, please refer to the purchase documentation or contact the seller directly. Support for this product is typically provided by the retailer or manufacturer.
For technical inquiries or assistance, please reach out to your point of purchase or the EDRIWYIM customer service channels if available.