Introduction
This manual provides detailed instructions for the installation, operation, and maintenance of your QDVOPHZA Smart Wireless WiFi Camera Kit. This advanced surveillance system features 8MP cameras with 10X optical zoom, Pan-Tilt-Zoom (PTZ) capabilities, and AI human detection for enhanced security. The kit includes a 10-channel Network Video Recorder (NVR) with a built-in screen for convenient monitoring.
Key features of your system include:
- 4K 8MP Dual Lens Cameras: Each camera provides a combined 8MP resolution for clear, detailed images.
- 10X Optical Zoom & Picture-in-Picture: View distant objects with clarity and switch between wide and zoomed views simultaneously.
- AI Humanoid Detection & Auto Tracking: Intelligently identifies human figures and tracks their movement, reducing false alarms.
- Three Preview Modes: Choose between standard, full-color, or double-light warning modes.
- H.265+ Storage: Efficient video compression for optimized storage on TF card or cloud.
- Multiple Connection Modes: Supports AP hotspot direct connection, wireless WiFi, and wired network port connections.
- Day & Night Vision: Up to 100 meters day vision and 10-50 meters colorful or black/white night vision.
- Enhanced Dual Antenna: Improves wireless signal penetration.
- PTZ Control: Pan 355 degrees and Tilt 90 degrees for comprehensive area coverage.
- Two-Way Audio: Communicate directly through the camera with a built-in microphone and speaker.
- Motion Detection & Alarm: Receive alerts and trigger alarms upon detecting movement.
- IP66 Waterproof: Designed for outdoor use in various weather conditions.
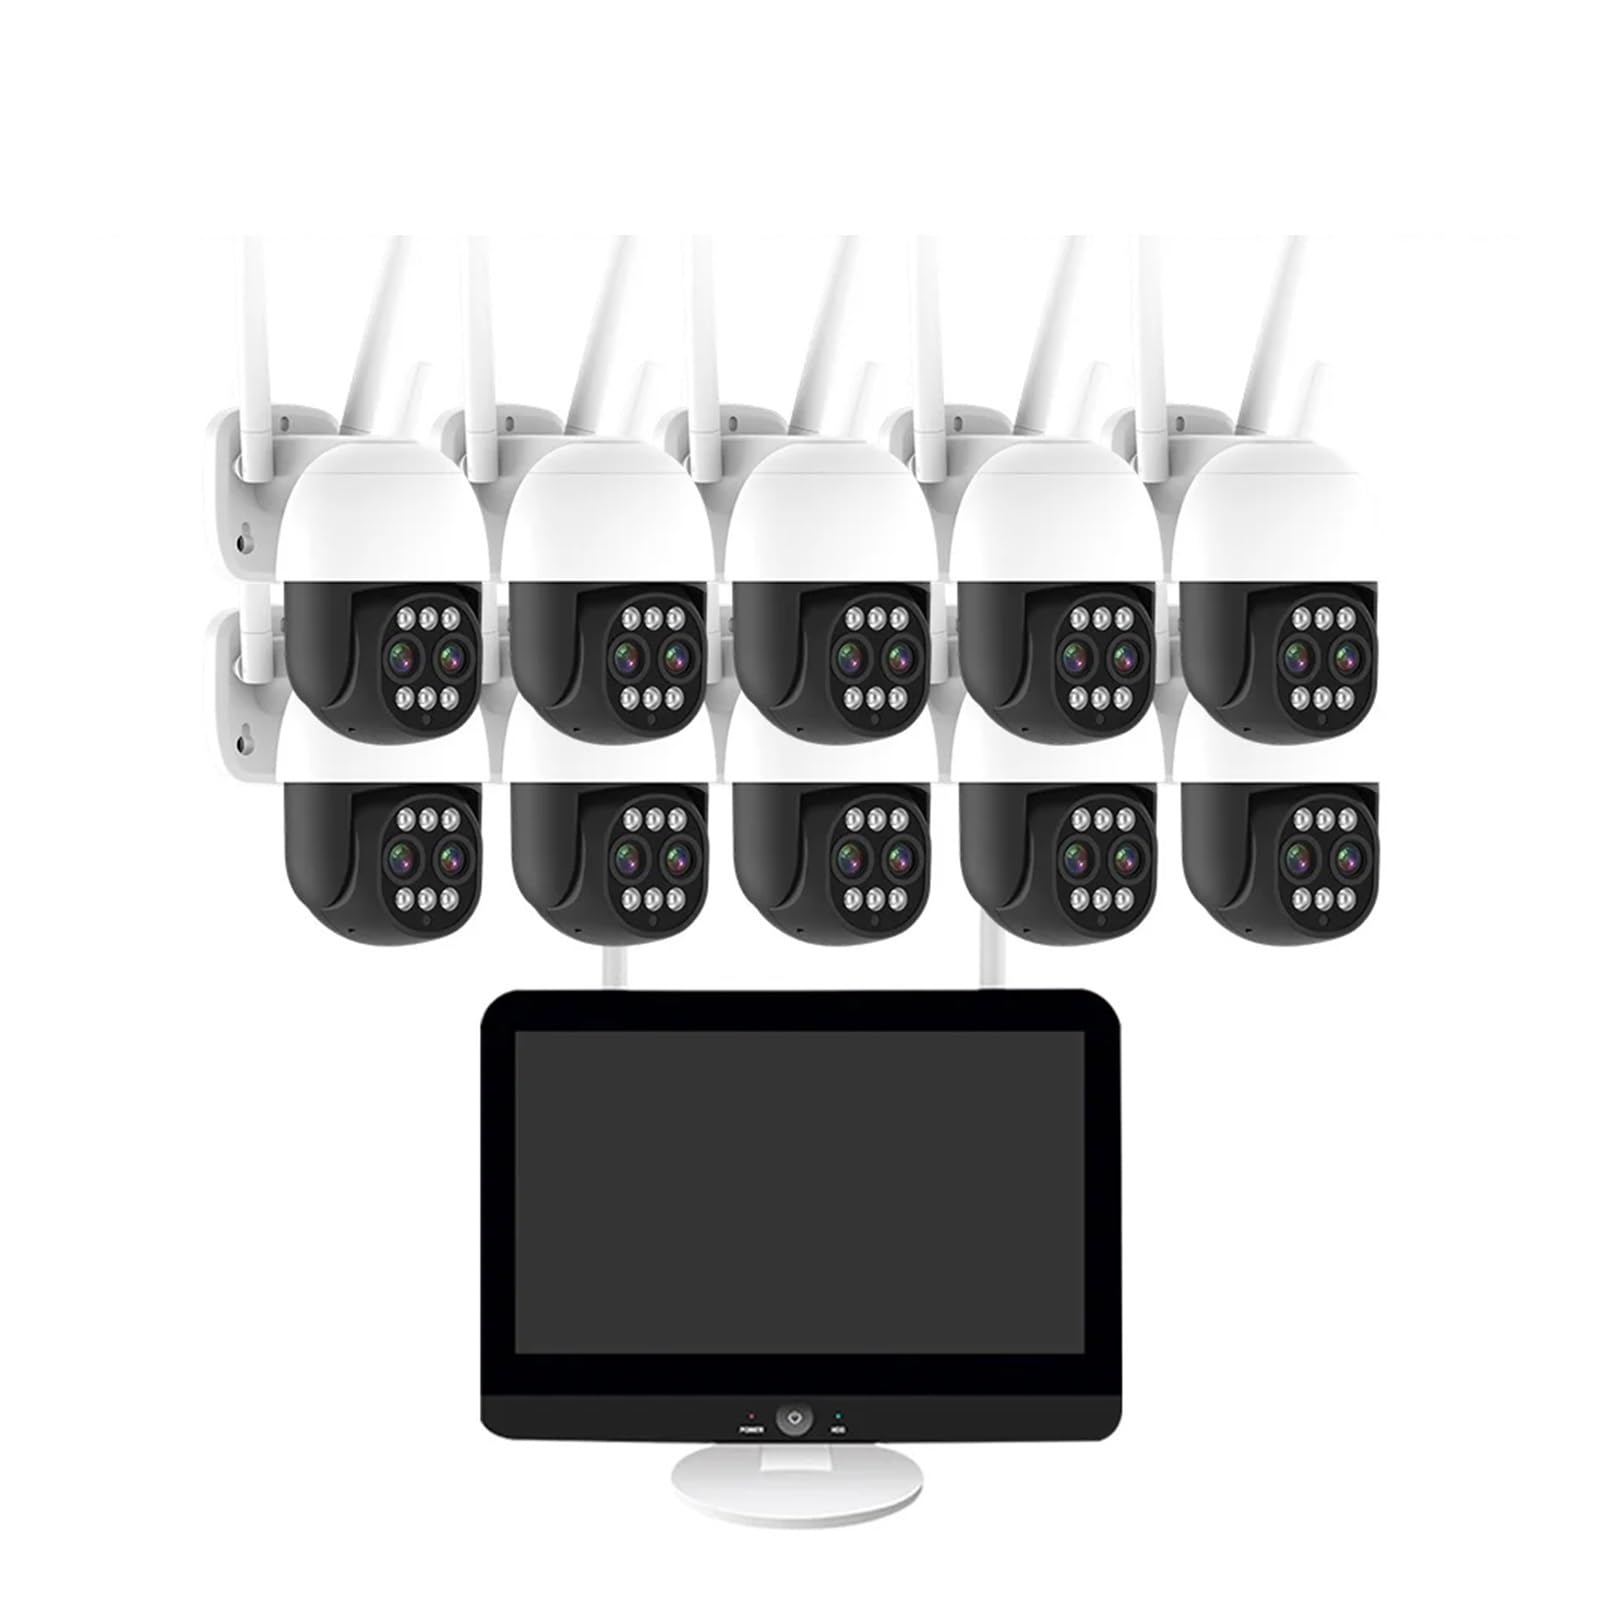
Image: Overview of the QDVOPHZA Smart Wireless WiFi Camera Kit, showing the NVR and multiple cameras.
Setup
1. Unboxing and Component Check
Carefully unpack all components and verify against the packing list:
- 1x 10CH WIFI NVR (with built-in screen)
- 1x USB mouse for NVR
- 1x User's Manual
- 2/4/6/8/10x 8MP WIFI Cameras (quantity varies by kit)
- 2/4/6/8/10x Camera Power Adapters
- 2/4/6/8/10x Screw kits
- Hard Disk (Optional, if purchased)
2. NVR Setup
- Connect the NVR to a power source using the provided adapter.
- If using a wired network connection, connect an Ethernet cable from your router to the NVR's network port. For wireless setup, ensure the NVR is within range of your WiFi network.
- Connect the USB mouse to the NVR.
- Power on the NVR. The built-in screen will display the boot-up sequence.

Image: The NVR unit featuring a built-in 12.5-inch LCD monitor, simplifying setup and viewing.
3. Camera Installation and Pairing
- Powering Cameras: Connect each camera to its respective power adapter and plug it into an electrical outlet.
- Wireless Pairing: The cameras are designed for automatic wireless pairing with the NVR. Once powered on, they should appear on the NVR screen. If not, refer to the NVR's on-screen menu for manual pairing options (e.g., 'Add Camera').
- Wired Connection (Optional): For a more stable connection or if wireless range is an issue, connect cameras directly to the NVR's PoE ports (if available) or to your network via Ethernet.
- Mounting: Choose strategic outdoor locations for your cameras, ensuring optimal coverage. Use the provided screw kits to securely mount the cameras. The IP66 rating ensures durability against weather elements.
4. Initial Configuration
Follow the on-screen prompts on the NVR to complete initial setup, including:
- Setting up a secure password for the NVR.
- Configuring network settings (WiFi password if using wireless).
- Formatting the hard disk (if installed) for recording.
- Downloading the mobile application (search for the app name provided in the NVR interface or manual) and scanning the QR code for remote access.
Operating
1. Live View and PTZ Control
Access live camera feeds directly from the NVR's built-in monitor or via the mobile application. Use the NVR mouse or the app's interface to control camera movement.
- Pan: Rotate the camera horizontally up to 355 degrees.
- Tilt: Adjust the camera vertically up to 90 degrees.
- Zoom: Utilize the 10X optical zoom to magnify distant areas without loss of image quality. The picture-in-picture function allows you to maintain a wide view while simultaneously viewing a zoomed-in section.

Image: Remote control of camera pan and tilt functions via a smartphone application.
2. Two-Way Audio
The cameras are equipped with a microphone and speaker, enabling two-way communication. From the NVR or mobile app, you can listen to audio from the camera's location and speak through the camera's speaker.
- In the live view interface, locate the microphone icon to enable speaking.
- Locate the speaker icon to enable listening.
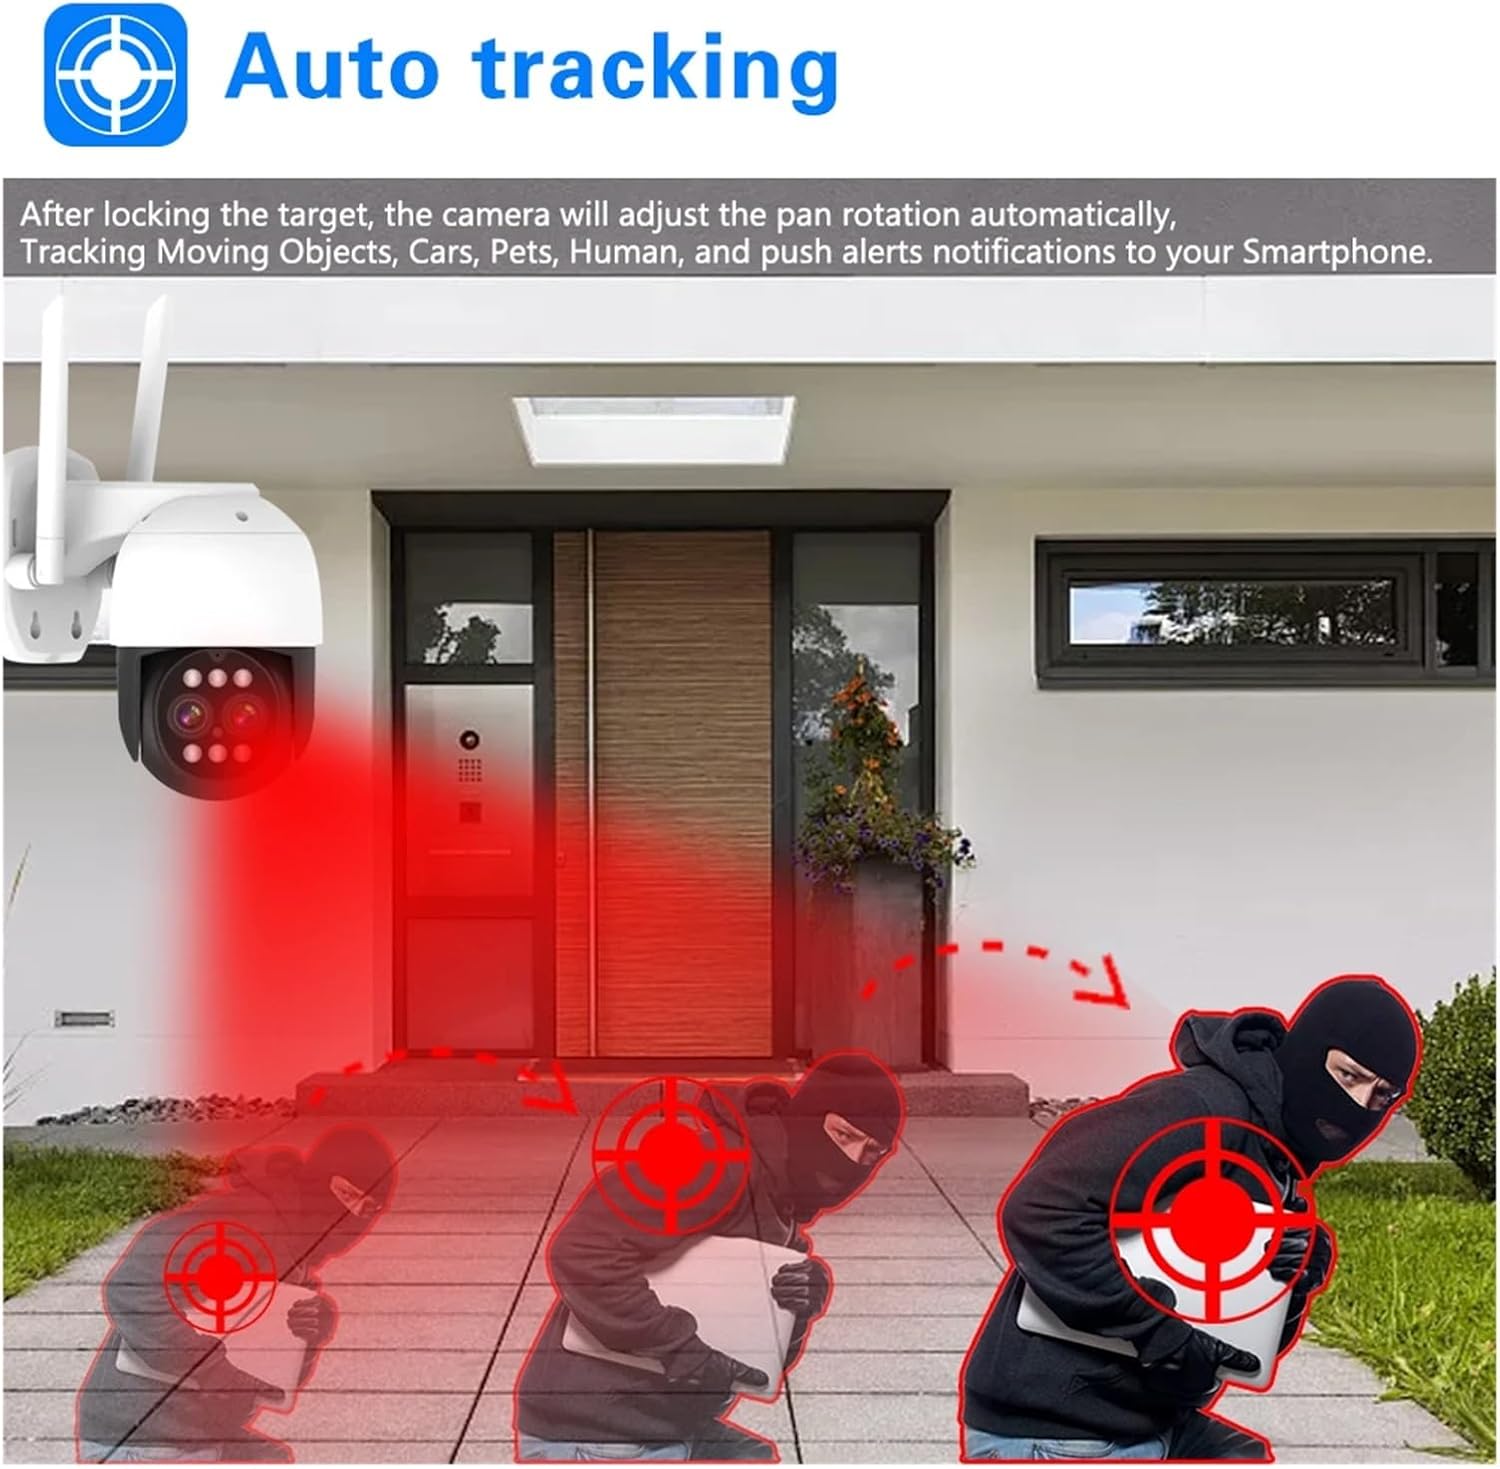
Image: Illustrates the two-way audio feature, allowing communication with individuals near the camera.
3. Motion Detection and AI Human Detection
Configure motion detection and AI human detection settings to receive alerts for relevant events.
- Motion Detection: Set detection zones and sensitivity levels in the NVR or app settings.
- AI Human Detection: This feature filters out non-human movements (e.g., animals, swaying trees) to reduce false alarms. Enable this in the camera settings for more precise alerts.
- Auto Tracking: When a human is detected, the camera can automatically pan and tilt to follow their movement.

Image: Demonstrates the auto-tracking feature, where the camera follows detected human movement.
4. Recording and Playback
The system supports continuous recording, scheduled recording, and event-triggered recording (motion/human detection).
- Recording: Ensure a hard disk is installed and formatted in the NVR. Configure recording schedules and modes via the NVR menu.
- Playback: Access recorded footage through the NVR's playback interface or the mobile application. You can search by date, time, or event.
5. Night Vision Modes
The cameras offer versatile night vision capabilities:
- Infrared (Black & White): Standard night vision for clear images in complete darkness.
- Full-Color Night Vision: Utilizes built-in spotlights to provide color images in low-light conditions.
- Double Light Warning: Activates spotlights and potentially an audible alarm upon detection for deterrence.
Maintenance
1. Cleaning
Regularly clean the camera lenses and housing to ensure optimal image clarity. Use a soft, damp cloth. Avoid harsh chemicals that could damage the lens or finish.
2. Connection Check
Periodically check all power and network connections for both the NVR and cameras to ensure they are secure and free from damage. For wireless cameras, ensure they have a strong signal to the NVR.
3. Firmware Updates
Check the manufacturer's website or the NVR's system settings for available firmware updates. Keeping your system updated ensures optimal performance, security, and access to new features.
4. Storage Management
If using a local hard disk, monitor its storage capacity. The system typically overwrites the oldest footage when full. For cloud storage, ensure your subscription is active and review storage limits.
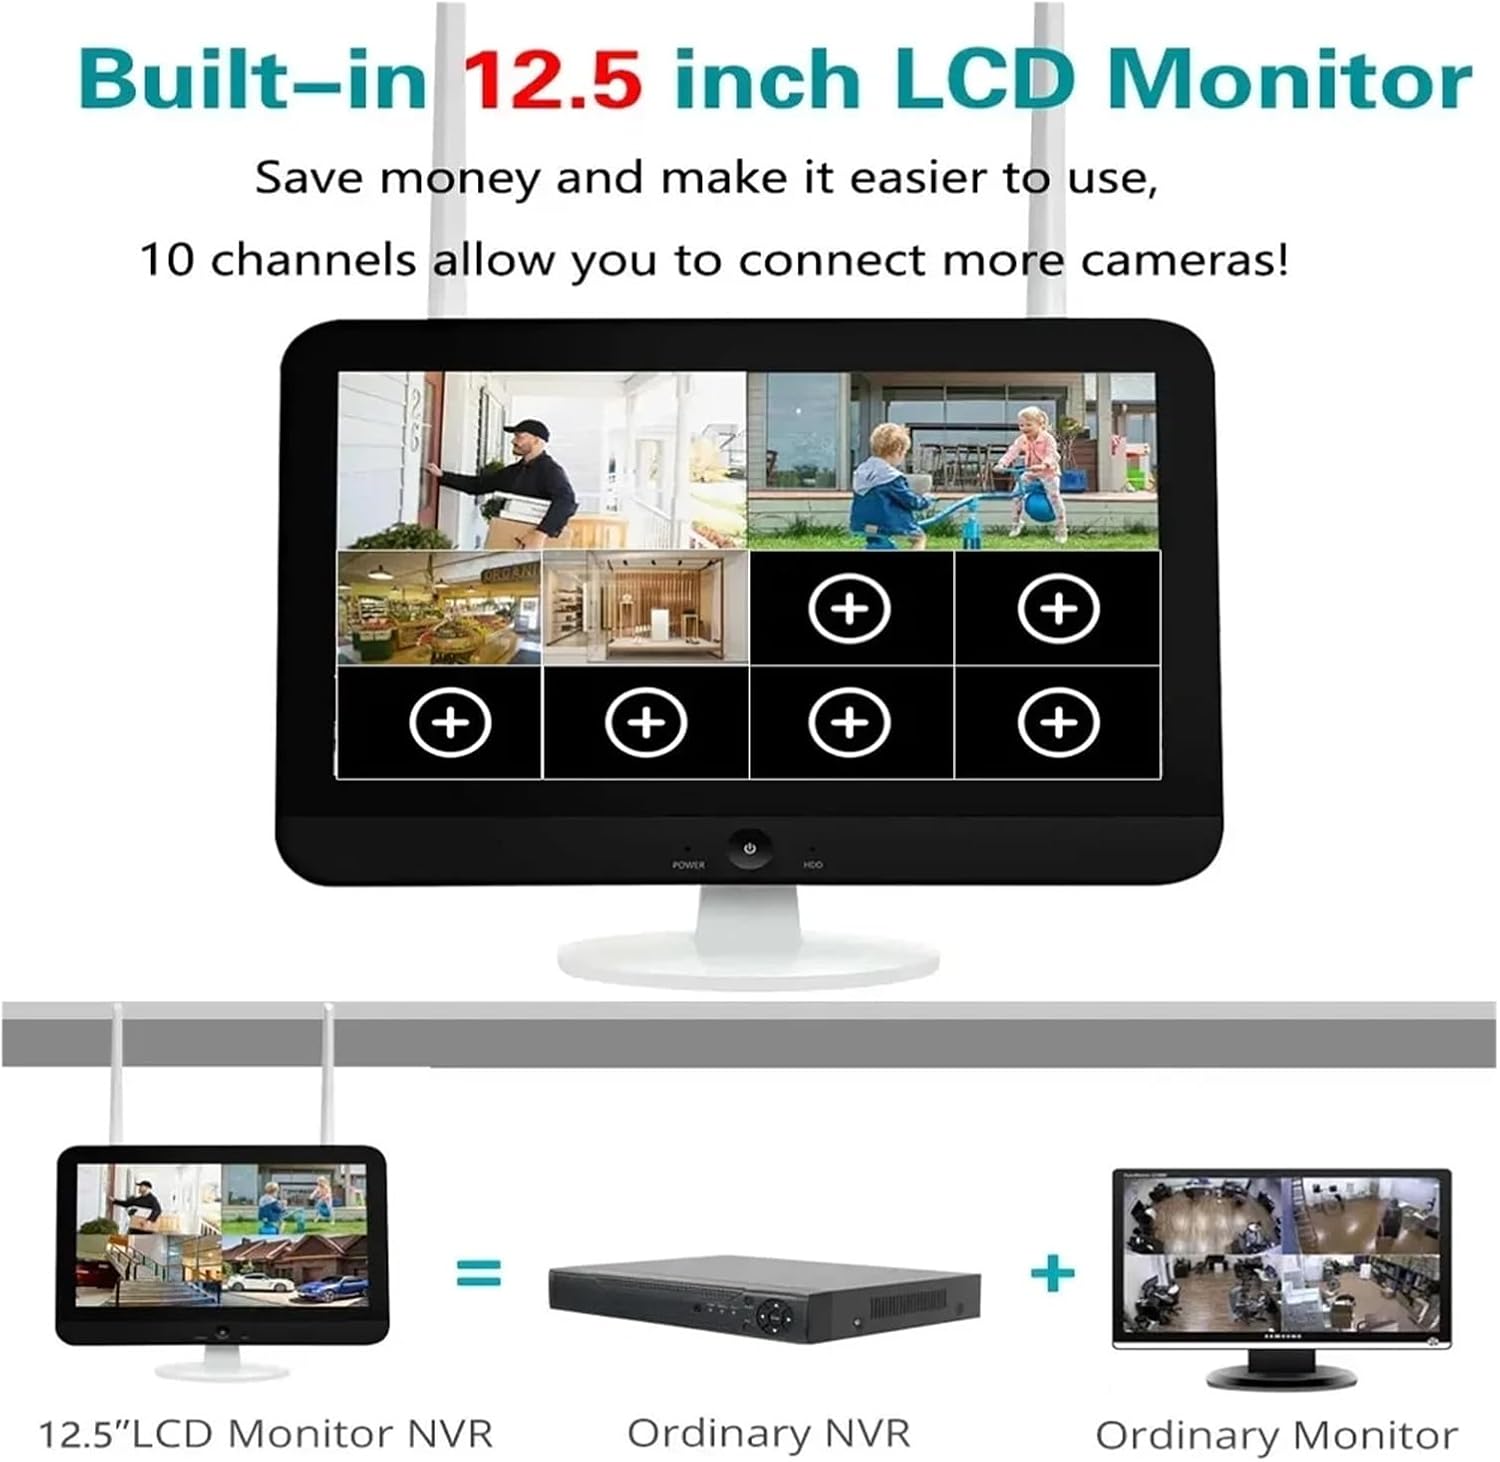
Image: The camera's IP66 waterproof design ensures reliable operation in various outdoor weather conditions.
Troubleshooting
No Video Feed from Camera
- Check if the camera is powered on.
- Verify the camera's network connection (WiFi signal strength or Ethernet cable).
- Ensure the camera is properly paired with the NVR. Re-pair if necessary.
Poor Image Quality
- Clean the camera lens.
- Check for obstructions in the camera's field of view.
- Ensure adequate lighting for night vision modes.
- Verify network bandwidth if streaming remotely.
Frequent False Alarms
- Adjust motion detection sensitivity in the settings.
- Enable or fine-tune AI Human Detection to filter out non-human movements.
- Review detection zones to exclude areas with constant, irrelevant movement (e.g., busy roads, trees).
Cannot Access System Remotely
- Ensure the NVR is connected to the internet.
- Verify your mobile device has an active internet connection.
- Check if the mobile application is updated to the latest version.
- Confirm correct login credentials for the app.
Two-Way Audio Not Working
- Check volume settings on both the NVR/app and your mobile device.
- Ensure the microphone and speaker functions are enabled in the camera settings.
- Verify network stability, as audio streaming requires a consistent connection.
Specifications
| Feature | Detail |
|---|---|
| Brand | QDVOPHZA |
| Model Number | w0u5903wei |
| Camera Resolution | 8MP (4K) |
| Zoom | 10X Optical Zoom |
| PTZ Capabilities | Pan 355 degrees, Tilt 90 degrees |
| Detection | AI Human Detection, Auto Tracking |
| Night Vision | 10-50 meters (Colorful/Black White) |
| Audio | Two-Way Audio Talk |
| Weather Resistance | IP66 Waterproof |
| Video Compression | H.265+ |
| Storage Options | TF Card (Max 128 GB), Cloud Storage |
| NVR Channels | 10 Channels |
| NVR Display | Built-in Screen |
| Connectivity | Wireless WiFi, AP Hotspot, Wired Network Port |
| Package Dimensions | 1.18 x 0.79 x 0.39 inches |
| Item Weight | 1.76 ounces |
Warranty
This product is covered by a standard manufacturer's warranty. Please refer to the product packaging or contact your retailer for specific warranty terms and conditions. Keep your proof of purchase for any warranty claims.
Support
For technical assistance, troubleshooting, or further inquiries, please contact QDVOPHZA customer support through the contact information provided on the product packaging or the official brand website. Ensure you have your model number and purchase details ready when contacting support.