Introduction
This manual provides detailed instructions for the assembly, operation, and maintenance of your Herture PG08XYB 40-120 Gallon Reptile Tank Stand. Please read these instructions carefully before assembly and use to ensure proper function and safety. Retain this manual for future reference.
Safety Information
- Ensure all components are present and undamaged before assembly. Do not proceed with assembly if any parts are missing or damaged.
- Assemble the stand on a soft, clean surface to prevent scratches.
- Always follow the assembly steps in the order provided.
- Do not overtighten screws during assembly, as this may damage the material.
- Ensure the stand is placed on a level, stable surface to prevent tipping.
- Do not exceed the maximum static load capacity of the top (1100 lbs) or bottom shelf (500 lbs).
- Keep children and pets away from the assembly area.
- The built-in power outlet is for indoor use only. Do not expose to moisture.
- Always unplug electrical devices from the power outlet before cleaning or maintenance.
Package Contents
Verify that all the following items are included in your package:
- 1 x Reptile Tank Stand (main components)
- 1 x Accessory Kit (hardware for assembly)
- 1 x Power Outlet (pre-installed or separate unit)
- 1 x Instructions Manual (this document)
Specifications
| Model Name | Reptile Tank Stand |
| Model Number | PG08XYB |
| Brand | Herture |
| Color | Black |
| Material | Particleboard and Metal (FSC-Certified wood for desktop and cabinet) |
| Product Dimensions (L x W x H) | 48" x 24" x 30.7" |
| Tabletop Size | 48" x 24" |
| Compatible Tank Size | 40-120 Gallon Reptile Tanks |
| Max. Static Load Capacity (Top) | 1100 lbs (499 kg) |
| Max. Static Load Capacity (Bottom Shelf) | 500 lbs (226 kg) |
| Right Side Space (for smaller tank) | 30" x 20" |
| Special Feature | Built-in Power Outlet, Adjustable Feet |
Note: Tank not included.
Setup and Assembly
Please follow these steps carefully for proper assembly. It is recommended to have two people for assembly.
- Unpack and Identify Parts: Carefully unpack all components and hardware. Refer to the included parts list (if provided separately) to ensure all pieces are present. Lay them out on a soft, clean surface to prevent damage.
- Assemble the Frame: Begin by connecting the main metal frame components using the provided screws and tools. Ensure all connections are secure but do not fully tighten until the frame is complete.
- Attach Side Panels and Shelves: Secure the side panels and internal shelves to the frame. Pay attention to the orientation of each piece as indicated in the assembly diagrams.
- Install Cabinet Door: Attach the hinges to the cabinet door and then to the main frame. Adjust the hinges as necessary to ensure the door opens and closes smoothly.
- Secure the Top Panel: Place the top panel onto the assembled frame and secure it with the designated screws. Ensure it is flush and stable.
- Install Power Outlet: The power outlet is typically pre-installed or requires simple attachment to the designated area on the stand. Ensure it is firmly in place.
- Attach Adjustable Feet: Screw the adjustable feet into the bottom of the stand legs. Adjust them to level the stand on your desired surface.
- Final Tightening: Once all components are in place and the stand is stable, go back and fully tighten all screws. Do not overtighten.

Operating Instructions
Placement and Leveling
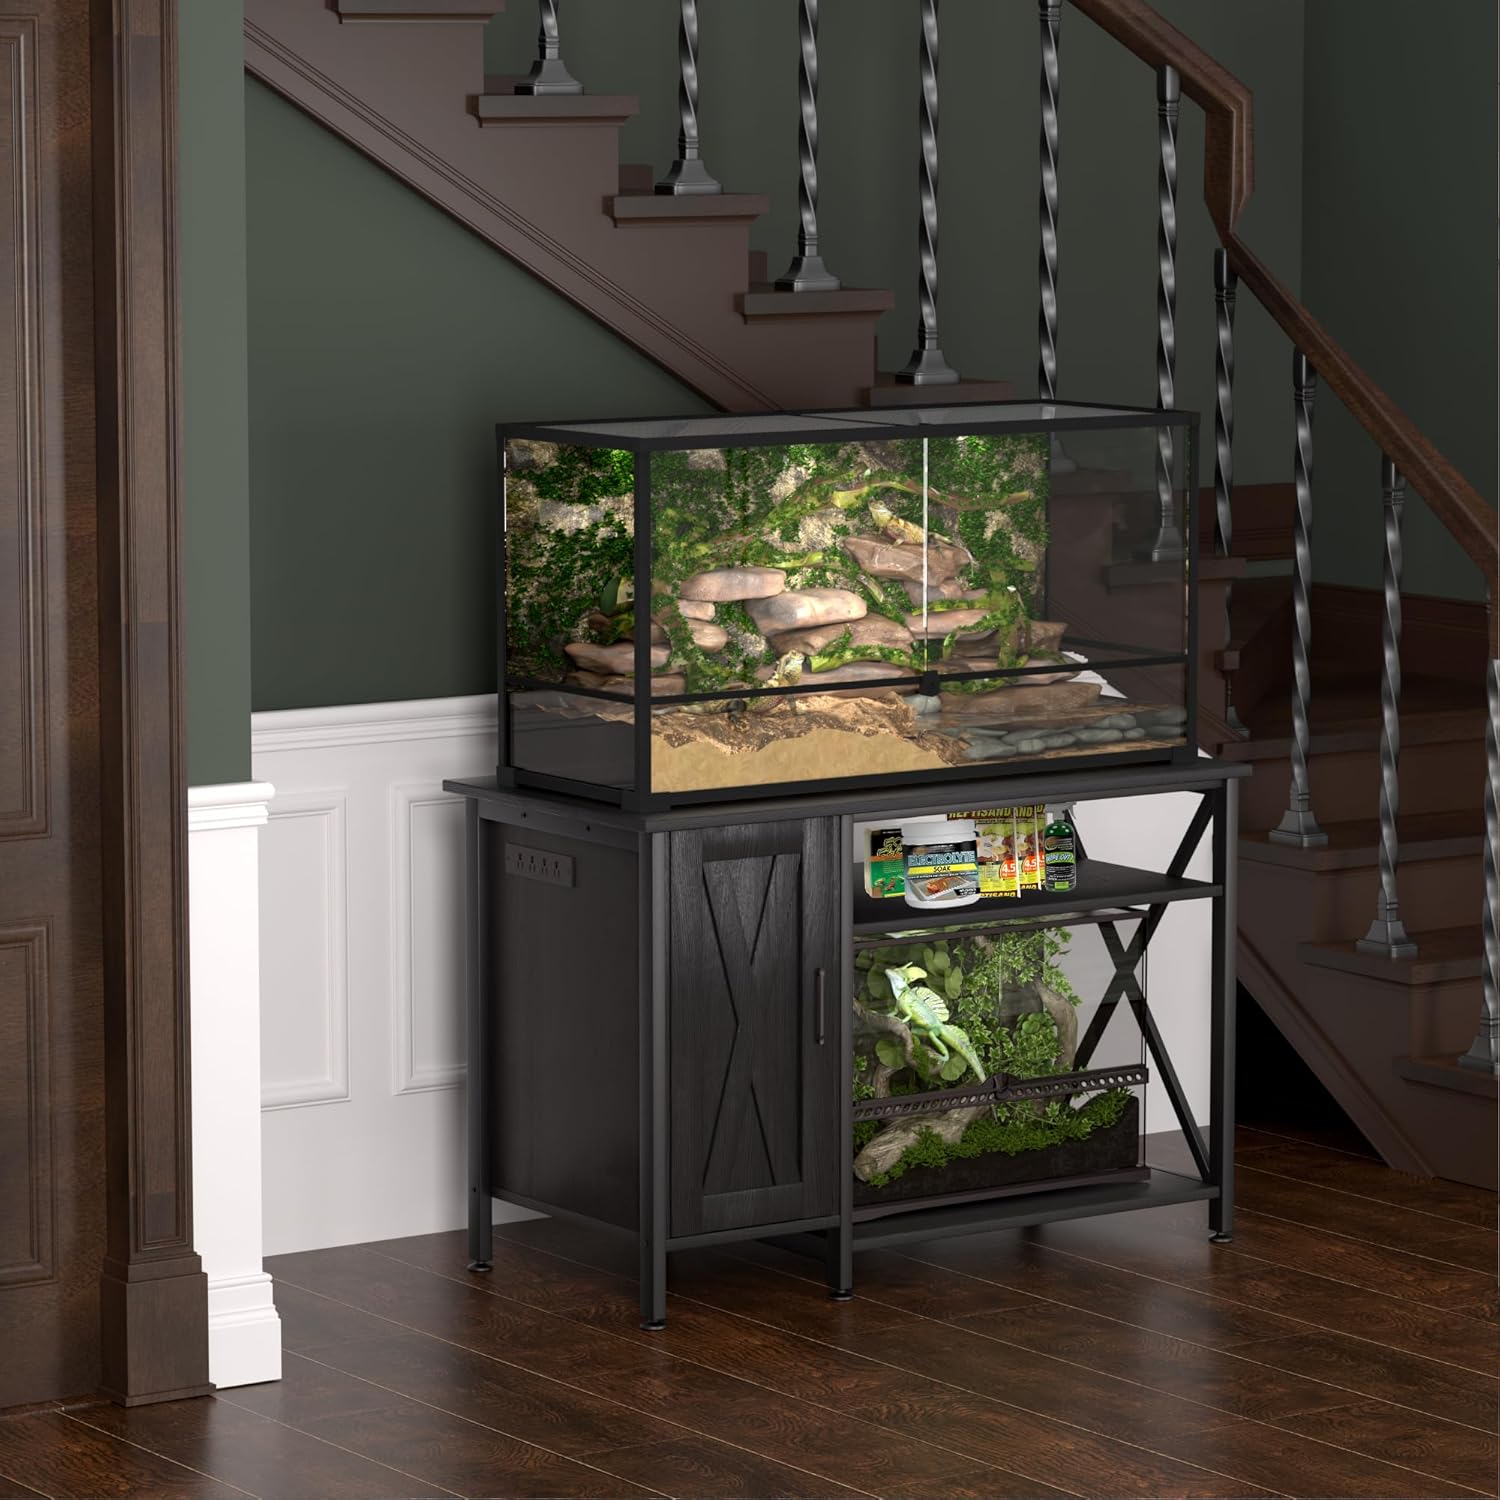
Place the assembled stand on a flat, stable surface. Use the adjustable feet at the bottom of the legs to ensure the stand is perfectly level. This is crucial for the stability of your reptile tank and to prevent stress on the stand's structure.
Using the Power Outlet
The stand features a built-in power outlet for convenience. Plug the stand's power cord into a grounded wall outlet. You can then connect essential habitat equipment such as lighting, heating pads, and filters to the outlets on the stand. Ensure that the total wattage of connected devices does not exceed the outlet's maximum capacity.

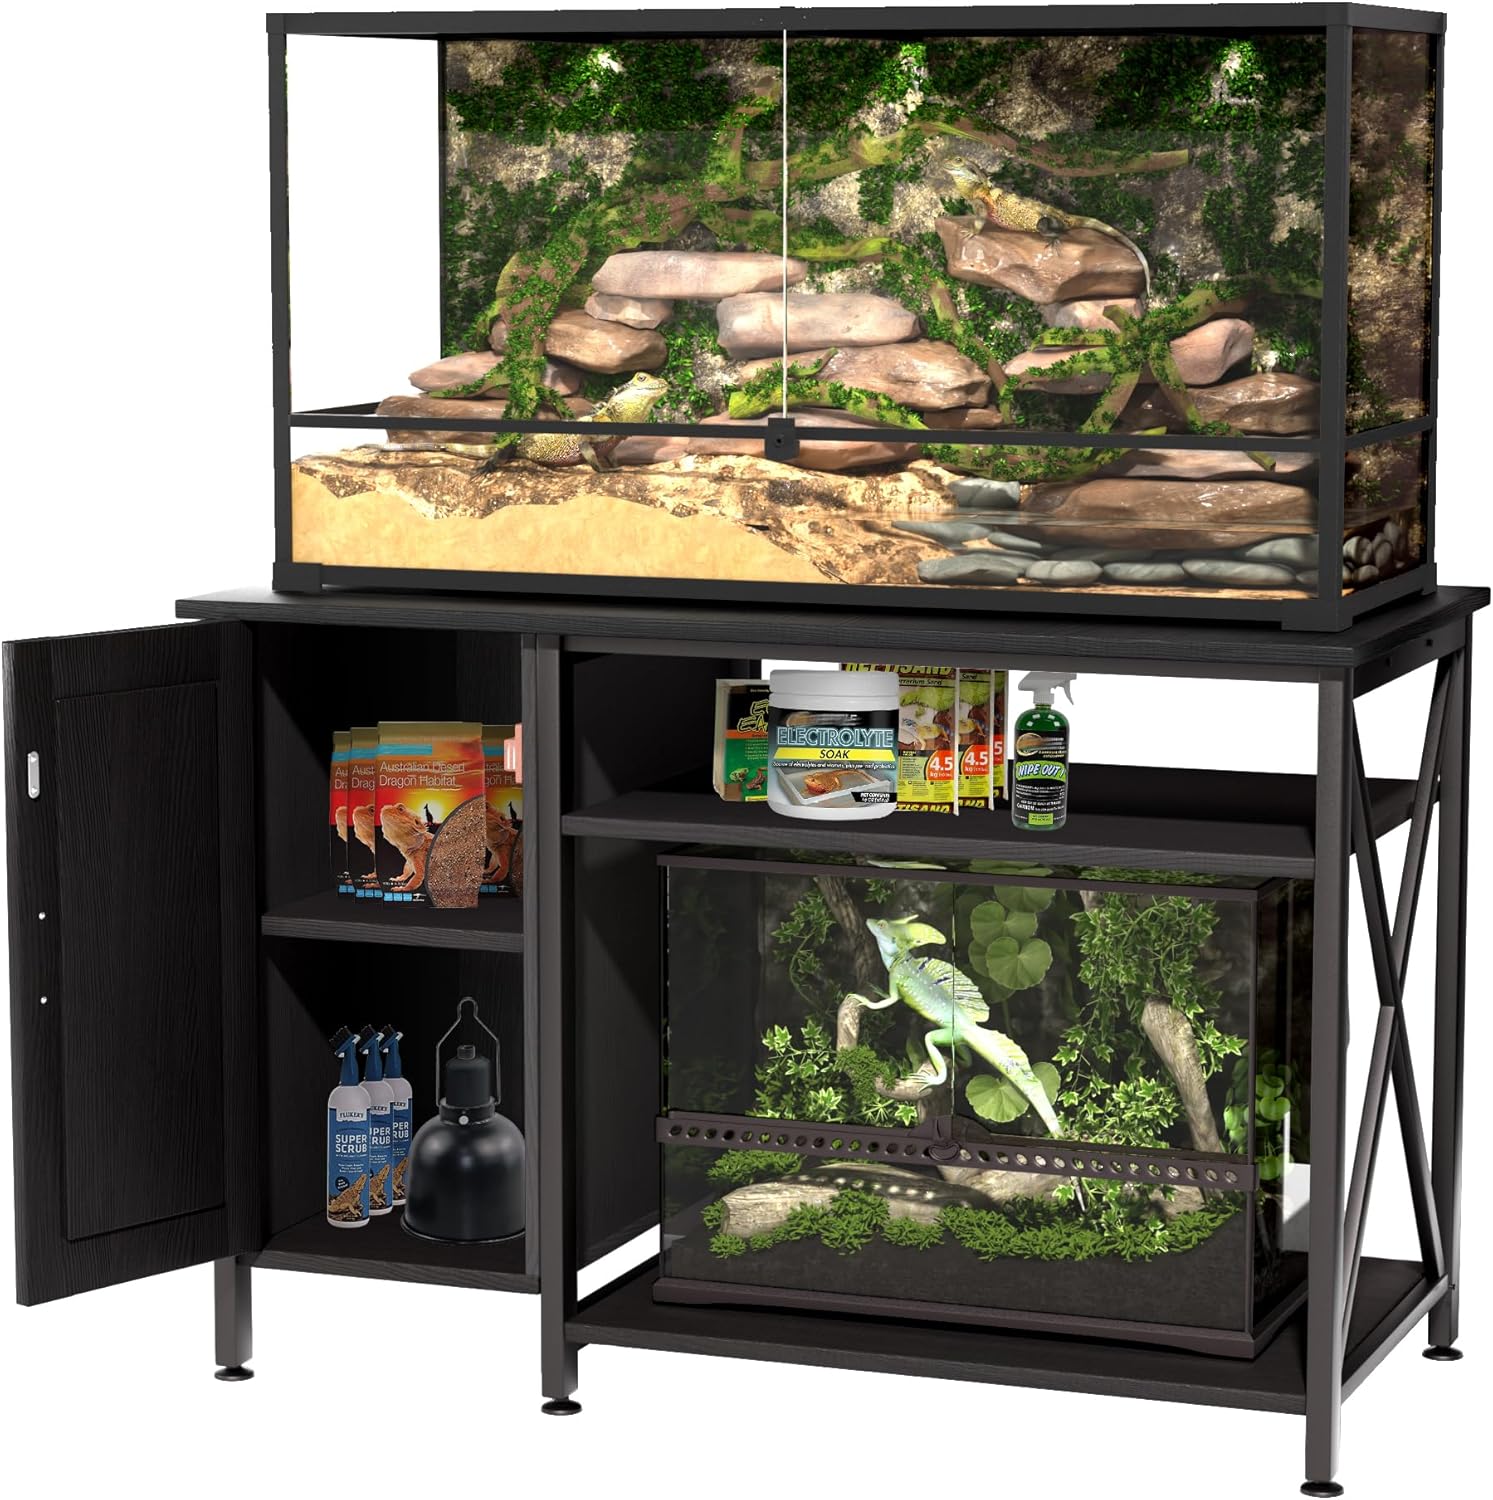
Storage Compartments
Utilize the left cabinet and upper shelf for storing reptile accessories, health supplies, habitat decor, and lighting equipment. The right-side 30" x 20" space is designed to accommodate a smaller reptile tank, allowing for a multi-tier habitat setup.
Maintenance
- Cleaning: Wipe the stand surfaces with a soft, damp cloth. Avoid harsh chemicals or abrasive cleaners that could damage the finish. Ensure the power outlet area remains dry.
- Regular Inspection: Periodically check all screws and connections to ensure they remain tight. Retighten if necessary.
- Leveling: Re-check the stand's level periodically, especially after moving or if the floor surface changes. Adjust the feet as needed.
- Power Outlet Care: Ensure the power cord is not pinched or damaged. Do not overload the power strip.
Troubleshooting
| Problem | Possible Cause | Solution |
|---|---|---|
| Stand is wobbly or unstable. | Uneven floor surface; loose connections. | Adjust the leveling feet at the bottom of the stand. Check and tighten all assembly screws. |
| Power outlet is not working. | Power cord not plugged in; circuit breaker tripped; faulty device. | Ensure the stand's power cord is securely plugged into a functional wall outlet. Check your household circuit breaker. Test the connected device in another outlet. |
| Cabinet door does not close properly. | Hinges are misaligned or loose. | Adjust the screws on the hinges to realign the door. Ensure all hinge screws are tight. |
Warranty and Support
Limited Warranty
This product comes with a limited warranty. Please refer to the product packaging or contact Herture customer support for specific warranty terms and conditions. Keep your proof of purchase for warranty claims.
Customer Support
For any questions, missing parts, or assistance with assembly or operation, please contact Herture customer support. You can typically find contact information on the product packaging or the official Herture website.
Brand: Herture
Website: Herture Store on Amazon

