
1. Introduction
This manual provides essential instructions for the safe and efficient operation of your WsrrLun Heat Press Machine Model CH2122. This electric heat press is designed for transferring designs onto various materials such as T-shirts, using heat and pressure. Please read this manual thoroughly before initial use to ensure proper setup, operation, and maintenance.
2. Safety Instructions
WARNING: Failure to follow these safety instructions may result in injury or damage to the machine.
- Always read the entire manual before operating the machine.
- Ensure the machine is placed on a stable, heat-resistant surface.
- Keep hands and body parts clear of the heating plate during operation. The heating plate reaches very high temperatures.
- Do not touch the heating plate when the machine is powered on or immediately after use. Allow it to cool completely.
- Use caution when handling hot materials after pressing.
- Ensure the power cord is not damaged and is properly connected to a grounded 110V 60Hz outlet.
- Do not operate the machine in wet or damp conditions.
- Unplug the machine from the power outlet when not in use or before cleaning and maintenance.
- Keep children and pets away from the machine during operation.

Image 2.1: Top view of the heat press, highlighting the control panel and the high-temperature warning label on the heating plate.
3. Package Contents
Carefully unpack the box and ensure all items are present and undamaged. If any items are missing or damaged, contact customer support.
- 1 x WsrrLun Heat Press Machine (Model CH2122)
- 1 x Power Cord
- Other Accessories for Installation (e.g., spare fuses)

Image 3.1: The heat press machine, power cord, and included accessories as found in the package.

Image 3.2: Detailed view of the US standard power cord.
4. Product Overview
The WsrrLun Heat Press Machine CH2122 features a robust design for efficient heat transfer. Familiarize yourself with the main components:
- Heating Plate: The upper plate that heats up and applies pressure.
- Base Plate: The lower, non-heated plate where items are placed.
- Control Panel: Digital display for temperature and time settings, with control buttons.
- Pressure Adjustment Knob: Located on top, used to adjust the downward pressure.
- Handle: Used to open and close the heating plate.
- Power Switch: Main on/off switch.

Image 4.1: Front-angled view of the WsrrLun Heat Press Machine, displaying its overall structure.
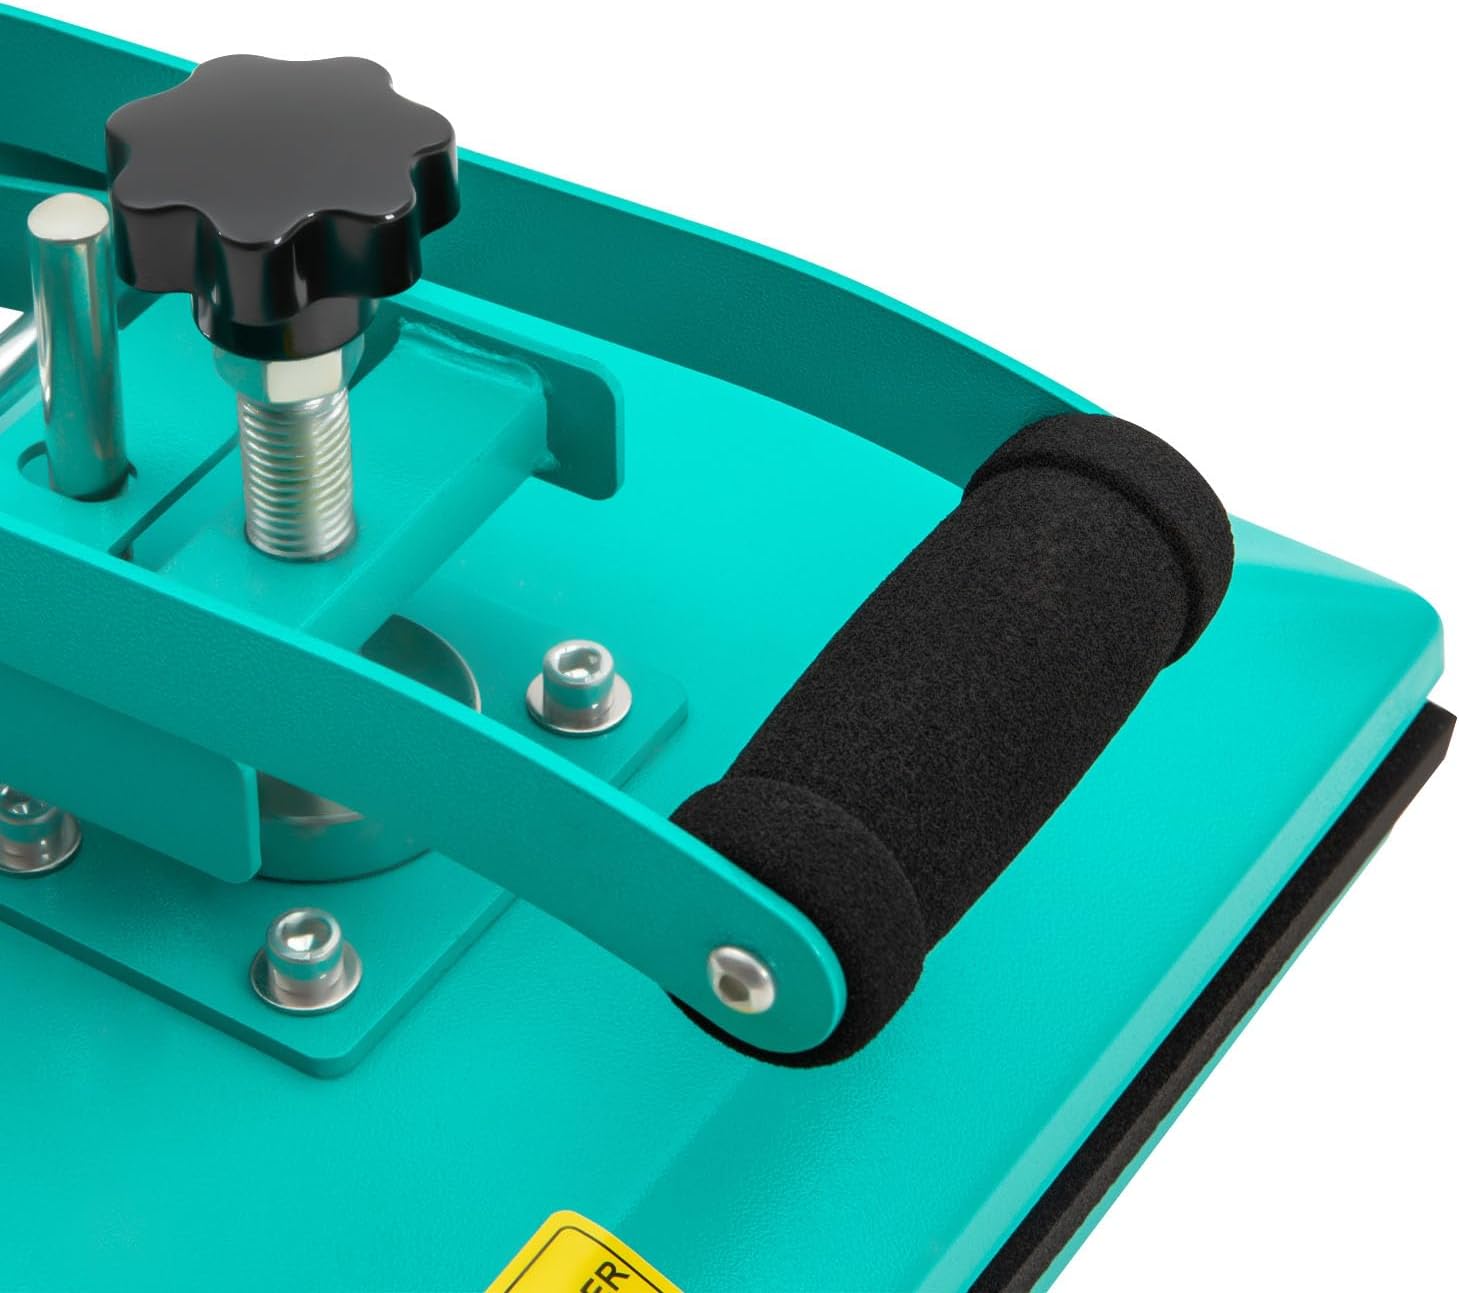
Image 4.2: Detail of the handle and pressure adjustment knob.

Image 4.3: Side view, illustrating the power switch and product identification label.
5. Setup
- Unpack: Remove all packaging materials and inspect the machine for any shipping damage.
- Placement: Place the heat press on a sturdy, level, and heat-resistant workbench or table. Ensure there is adequate space around the machine for ventilation and safe operation.
- Power Connection: Connect the power cord to the machine's power inlet, then plug the other end into a standard 110V 60Hz grounded electrical outlet.
- Initial Cleaning: Before first use, wipe down the heating plate with a clean, dry cloth to remove any dust or residue.
6. Operating Instructions
Follow these steps for successful heat transfer operations:
6.1 Power On and Initial Settings
- Turn on the main power switch, usually located on the side of the machine. The digital display will illuminate.
- Set Temperature: Use the temperature control buttons (often labeled with ▲ and ▼ or similar icons) to set the desired temperature. The machine supports a range of 0-400℃ (0-752°F). Refer to your transfer material's instructions for recommended settings.
- Set Time: Use the time control buttons to set the desired pressing duration in seconds (0-999 seconds). Refer to your transfer material's instructions.
- Allow the machine to preheat. The display will show the current temperature, and an indicator light (e.g., 'HEATING') will show when it is heating. The machine will beep or indicate when the set temperature is reached.
6.2 Adjusting Pressure
The pressure adjustment knob, located on top of the heating plate assembly, allows you to control the downward force. Turn the knob clockwise to increase pressure and counter-clockwise to decrease pressure. Test the pressure on a scrap material to ensure it is appropriate for your item and transfer type.
6.3 Heat Transfer Process
- Place your garment or item onto the base plate, ensuring it is flat and smooth.
- Position your transfer design onto the item. Use heat-resistant tape if necessary to secure it.
- Carefully lower the heating plate handle until the plate is fully closed and locked into position.
- The timer will automatically begin counting down.
- Once the timer reaches zero, the machine will typically beep. Carefully lift the handle to open the heating plate.
- Remove the transferred item. Be cautious as the item will be hot. Follow the transfer material's instructions for peeling (hot peel or cold peel).
- Repeat the process for additional items.

Image 6.1: The heat press in action, demonstrating the transfer process on a T-shirt.
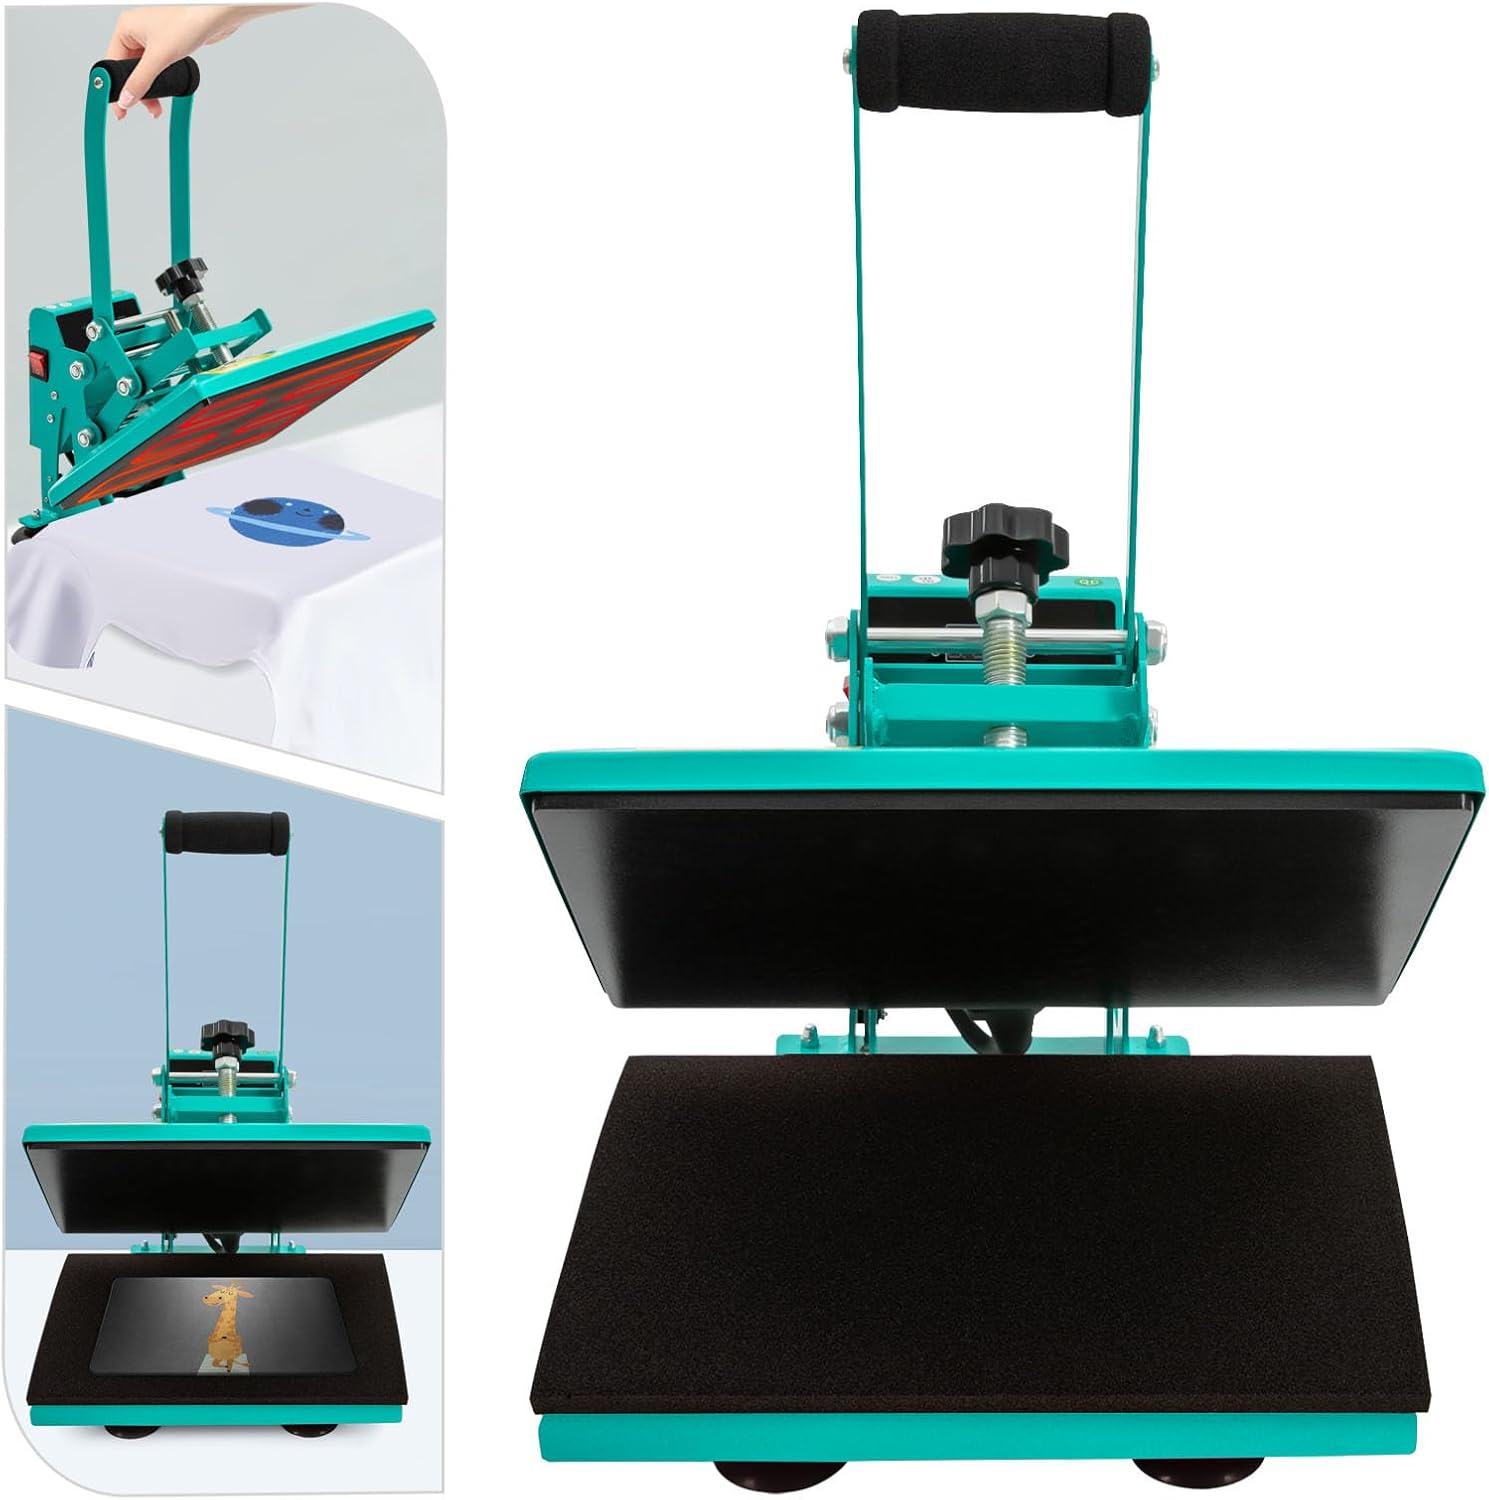
Image 6.2: Multiple views illustrating the machine's operation and open/closed states.
7. Maintenance
Regular maintenance ensures the longevity and optimal performance of your heat press machine.
- Cleaning: After each use, allow the machine to cool completely and unplug it. Wipe down the heating plate and base plate with a soft, dry cloth. For stubborn residue, use a specialized heat press cleaning solution, following its instructions. Do not use abrasive cleaners or harsh chemicals.
- Storage: Store the machine in a clean, dry environment away from direct sunlight and extreme temperatures.
- Inspection: Periodically check the power cord for any signs of damage. Ensure all screws and fasteners are secure.
8. Troubleshooting
This section addresses common issues you might encounter. For problems not listed here, contact customer support.
| Problem | Possible Cause | Solution |
|---|---|---|
| Machine does not power on. | Power cord not connected; Power switch off; Blown fuse; Outlet issue. | Ensure power cord is securely plugged in. Turn power switch on. Check and replace fuse if necessary. Test outlet with another device. |
| Uneven heating. | Heating element issue; Insufficient preheating time. | Allow adequate time for the machine to reach and stabilize at the set temperature. If problem persists, contact support. |
| Transfer not adhering properly. | Incorrect temperature; Incorrect time; Insufficient pressure; Incorrect peel method. | Verify temperature and time settings with transfer material instructions. Adjust pressure. Ensure correct hot/cold peel method is used. |
| Machine beeps continuously. | Timer has completed; Error code. | This usually indicates the set time has elapsed. If an error code is displayed, consult the manual or contact support. |
9. Specifications
Detailed technical specifications for the WsrrLun Heat Press Machine CH2122:
- Model: CH2122
- Material: Iron, Sponge, Silicone, Cast Aluminum
- Process: Spray Molding
- Power Source: Corded Electric
- Style: Modern
- Color: Blue
- Plug: US Standard
- Voltage: 110V 60Hz
- Power: 700W
- Current: 5A
- Number of Heating Tubes: 4
- Temperature Range: 0-400℃ / 0-752°F
- Time Range: 0-999 Seconds
- Power Cord Length: 1.5m / 4.92ft
- Product Height: 22cm / 8.66inch
- Working Area: 30cm * 23cm / 11.8inch * 9inch
- Item Weight: Approximately 11kg / 24.25 lbs (Net), 12kg / 26.46 lbs (Gross)
- Product Dimensions: 11.8 x 9 x 8.66 inches (L x W x H)

Image 9.1: Dimensional overview of the heat press machine.
10. Warranty and Support
For warranty information, technical support, or service inquiries, please refer to the contact details provided with your purchase documentation or visit the official WsrrLun website. Keep your purchase receipt as proof of purchase for warranty claims.