1. Introduction
This manual provides detailed instructions for the installation, operation, and maintenance of your VIANIS Motion Sensor Outdoor Wall and Post Lights. Please read this manual thoroughly before installation and retain it for future reference.
Package Contents:
- VIANIS Motion Sensor Outdoor Wall Lights (x2)
- VIANIS Outdoor Lamp Post Light (x1)
- Installation Hardware Kit
- Instruction Manual

Image 1: Overview of VIANIS Motion Sensor Outdoor Wall and Post Lights. This image displays two wall-mounted lights and one taller post light, all in a matching vintage black and gold trim design.
2. Safety Information
- Always turn off power at the circuit breaker before installation or servicing.
- Consult a qualified electrician if you are not familiar with electrical wiring.
- Ensure all wiring connections are secure and comply with local electrical codes.
- Do not exceed the maximum wattage specified for the bulbs.
- Use only dimmable LED bulbs or incandescent bulbs to prevent flickering.
- Keep packaging materials away from children.
3. Product Specifications
| Brand | VIANIS |
| Models | V81532KG (Wall Lights), V86133DKG (Post Light) |
| Material | 100% Aluminum |
| Socket Type | E26 (Bulbs not included) |
| Max Wattage (per bulb) | 60W (for post light, 3 bulbs required) |
| Sensor Type | PIR Motion Sensor, Dusk to Dawn Photocell Sensor |
| Motion Detection Range | Up to 40 feet |
| Motion Detection Angle | 220 degrees |
| Weather Resistance | Waterproof, Sunproof, Snowproof, Stormproof, Anti-Rust |
| Power Source | Hardwired 120V AC |

Image 2: Dimensions of the VIANIS Outdoor Wall Light. The image shows the wall light with measurements: 16.4 inches height, 7.0 inches width, 6.1 inches depth from wall, and a base plate of 4.5 inches width and 10.6 inches height. It also highlights the E26 base, motion sensor, die-cast aluminum frame, and tempered ripple glass.

Image 3: Dimensions and features of the VIANIS Outdoor Post Light. The post light stands 78 inches (6.5 feet) tall. Each lamp head is 24.4 inches wide and 17 inches high. The base is 23 inches wide. Key features highlighted include seeded tempered glass, advanced dusk to dawn sensor, requirement for 3x 60W E26 bulbs (not included), and easy bulb replacement with a standard E26 socket.
4. Setup and Installation
Before You Begin:
- Ensure power is OFF at the circuit breaker.
- Gather necessary tools: screwdriver, wire strippers, electrical tape, ladder (if needed).
- Unpack all components and check for any damage.
4.1 Wall Light Installation (Model V81532KG)
- Attach the mounting bracket to the junction box on your wall using the provided screws.
- Connect the electrical wires:
- Connect the black wire from the fixture to the black (hot) wire from the junction box.
- Connect the white wire from the fixture to the white (neutral) wire from the junction box.
- Connect the ground wire from the fixture to the ground wire from the junction box.
- Carefully tuck the wires into the junction box.
- Align the fixture with the mounting bracket and secure it with the provided screws.
- Install an E26 base bulb (not included) into the socket. Ensure it is a dimmable LED or incandescent bulb.
- Restore power at the circuit breaker.
4.2 Post Light Installation (Model V86133DKG)
- Assemble the post light sections according to the diagrams in the separate assembly guide (if provided, otherwise follow general assembly logic).
- Secure the base of the post light to a stable, level surface (e.g., concrete pad) using appropriate anchors (not included).
- Route the electrical wiring from your power source through the post to the top fixture.
- Connect the electrical wires at the top fixture:
- Connect the black wire from the fixture to the black (hot) wire from the power source.
- Connect the white wire from the fixture to the white (neutral) wire from the power source.
- Connect the ground wire from the fixture to the ground wire from the power source.
- Install three E26 base bulbs (not included) into the sockets. Ensure they are dimmable LED or incandescent bulbs.
- Restore power at the circuit breaker.
5. Operating Instructions
Your VIANIS outdoor lights feature both a Dusk to Dawn sensor and a Motion Sensor with three selectable operating modes.
5.1 Dusk to Dawn Sensor
The integrated photocell sensor automatically detects ambient light levels. The lights will:
- Automatically turn OFF during the daytime.
- Automatically turn ON at night (according to the selected motion sensor mode).

Image 4: Illustration of the Dusk to Dawn sensor. The image shows a house with the post light automatically turning off during the day and turning on at night, demonstrating hands-free operation.
5.2 Motion Sensor Modes
The motion sensor offers three distinct operating modes, selectable via a one-button switch located on the fixture (refer to Image 5 for switch location). Cycle through the modes by pressing the switch.

Image 5: Diagram showing the one-click mode switching for the motion sensor. An inset highlights the location of the switch on the top of the light fixture. The image illustrates the transition between DIM Mode and ECO+ Mode.
- DIM MODE:
- During the day: Light is OFF.
- At night (no motion): Light illuminates at 30% brightness.
- At night (motion detected): Light illuminates at 100% brightness.
- After motion ceases: Light returns to 30% brightness.

Image 6: Visual representation of DIM Mode operation. It shows the light off during the day, at 30% brightness at night without motion, and at 100% brightness when motion is detected, then returning to 30% brightness.
- ECO MODE:
- During the day: Light is OFF.
- At night (no motion): Light remains OFF.
- At night (motion detected): Light illuminates at 100% brightness.
- After motion ceases: Light turns OFF.

Image 7: Visual representation of ECO Mode operation. It shows the light off during the day, off at night without motion, and at 100% brightness when motion is detected, then turning off again.
- OVERRIDE MODE:
- During the day: Light is OFF.
- At night: Light remains ON at 100% brightness continuously until dawn. Motion sensor is bypassed.
5.3 Motion Detection Area
The PIR motion sensor has a super wide range for 40 feet detection distance and a 220° wide detection angle.

Image 8: Diagram illustrating the advanced PIR motion sensor's detection capabilities. It shows a 220° wide detection angle and a 40-foot detection distance, covering a wide area for approaching individuals, pets, or vehicles.
6. Maintenance
- Cleaning: Periodically clean the fixture with a soft, damp cloth. Do not use abrasive cleaners or solvents. Ensure the power is off before cleaning.
- Bulb Replacement: Turn off power at the circuit breaker. Allow bulbs to cool before replacing. Unscrew the old bulb and screw in a new E26 base bulb (dimmable LED or incandescent).
- Sensor Cleaning: Keep the motion sensor lens and photocell free from dust, dirt, and obstructions to ensure optimal performance.
- Weather Resistance: The fixtures are designed for outdoor use and are waterproof, sunproof, snowproof, and stormproof. However, regular inspection for any physical damage is recommended.
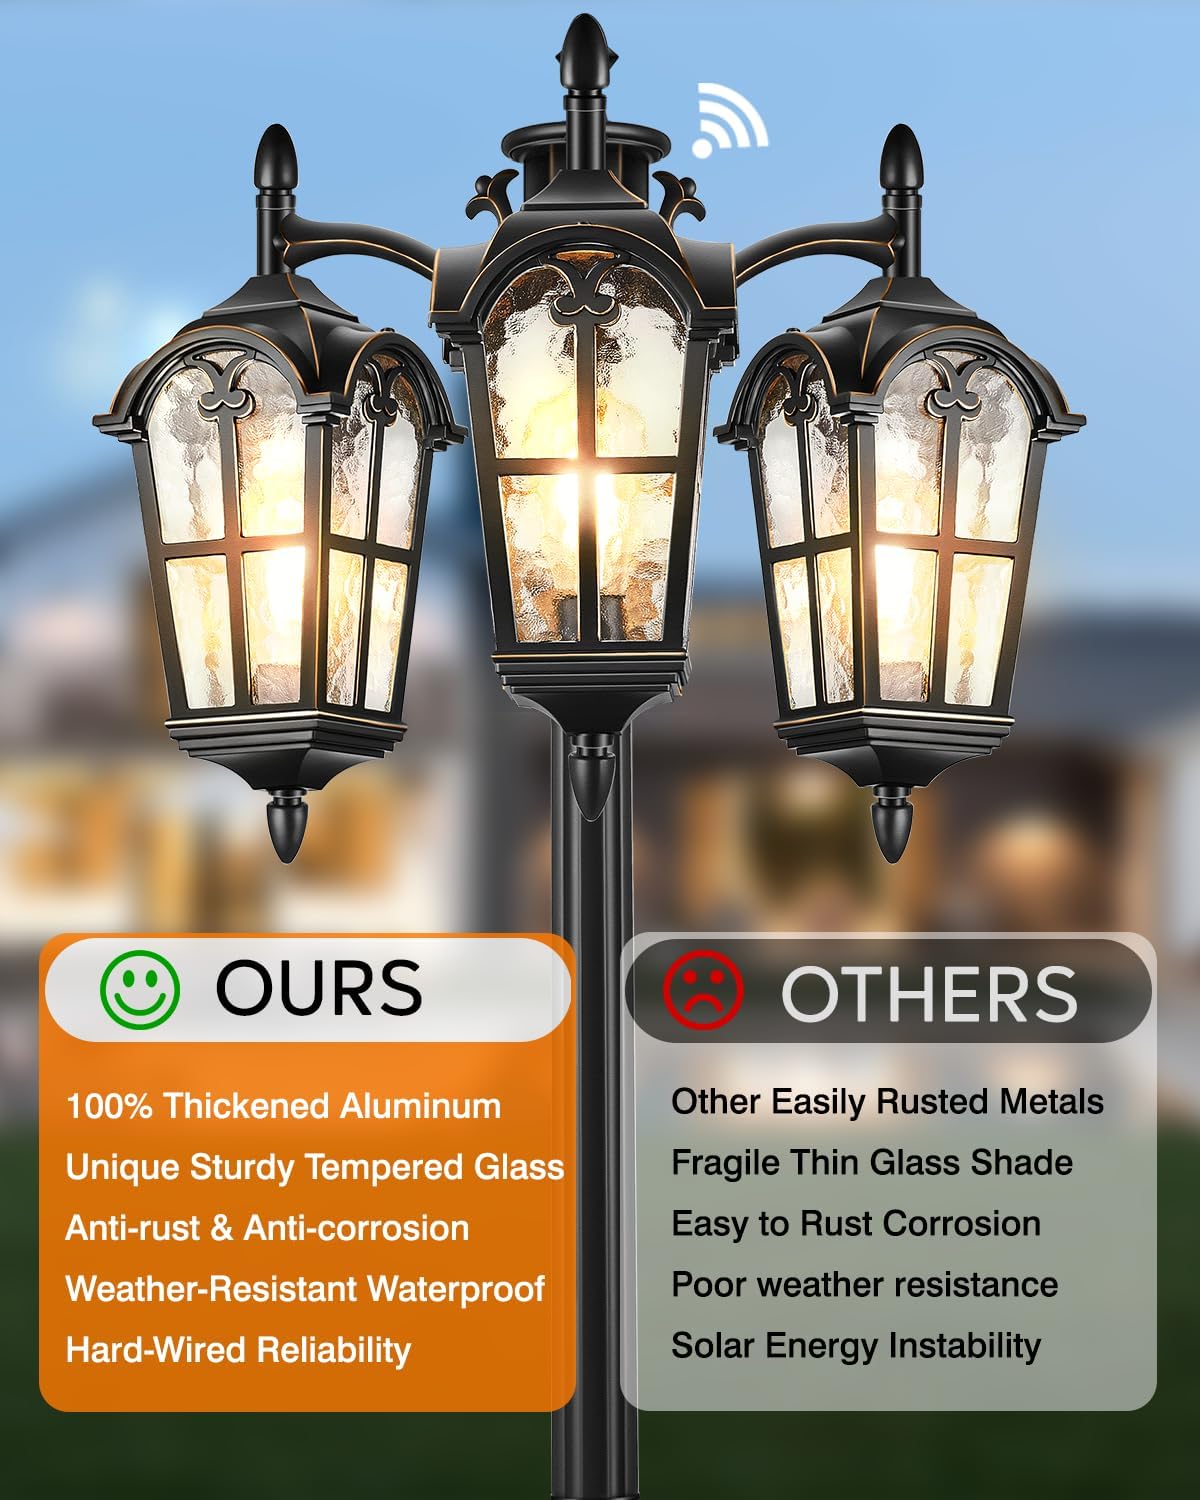
Image 9: Visual representation of the light's weather resistance. Icons indicate waterproof, sunproof, snowproof, and stormproof capabilities, highlighting the durability of the fixture against various outdoor elements.
7. Troubleshooting
| Problem | Possible Cause | Solution |
|---|---|---|
| Light does not turn on at night. |
|
|
| Light stays on during the day. |
|
|
| Motion sensor not detecting. |
|
|
| Light flickers. |
|
|
8. Warranty Information
VIANIS products are manufactured with high-quality materials and craftsmanship. For specific warranty details, please refer to the warranty card included with your product or contact VIANIS customer support.
9. Customer Support
If you have any questions, require technical assistance, or need to report a problem, please contact VIANIS customer support through the following channels:
- Online: Visit the official VIANIS website or Amazon store page for contact information.
- Email: Refer to your product packaging or warranty card for customer service email.
When contacting support, please have your product model number (V81532KG / V86133DKG) and purchase date ready.


