Introduction
This manual provides comprehensive instructions for the safe and effective use of your Andoer 48MP 1080P Digital Camera. This camera features a 48-megapixel sensor, 1080P video recording capabilities, a 2.8-inch IPS screen, auto-focus, 16X digital zoom, and an integrated LED fill light. Please read this manual thoroughly before operating the device.
Package Contents
Verify that all items listed below are included in your package:
- 1 x Andoer Digital Camera
- 1 x USB Cable
- 1 x Wrist Strap
- 1 x 32GB Memory Card
- 1 x Card Reader
- 1 x User Manual (English & Chinese)
Product Overview
Familiarize yourself with the camera's components and layout.

Figure 1: Multiple views of the Andoer 48MP Digital Camera, illustrating its various angles and button placements.

Figure 2: Front view of the Andoer 48MP Digital Camera with dimensions: 103mm (4.1in) length, 65mm (2.6in) height, and 31mm (1.2in) depth.
Setup
1. Battery Charging
The camera includes a built-in 3.7V 700mAh Lithium Battery. To charge, connect the camera to a power source using the provided USB Type-C charging cable. The charging indicator will illuminate during charging and turn off when fully charged.
2. Memory Card Installation
This camera supports TF cards up to a maximum capacity of 128GB. Locate the memory card slot on the side of the camera. Insert the TF card with the gold contacts facing the correct direction until it clicks into place. To remove, press the card gently until it springs out.
3. Initial Power On
Press and hold the power button located on the top of the camera until the 2.8-inch IPS screen illuminates. The camera is now ready for use.
Operating Instructions
1. Taking Photos
In photo mode, frame your shot using the 2.8-inch IPS screen. Press the shutter button to capture an image. The camera supports various photo resolutions including 48M, 40M, 24M, 20M, 18M, 16M, 12M, 10M, 8M, 5M, 3M, 2M, and 1M, saved in JPG format. You can also set a selfie timer for 2s, 5s, or 10s.
2. Recording Videos
Switch to video mode. Press the record button to start and stop video recording. Videos are recorded in AVI format with resolutions of 1080P or 720P. Loop recording can be set for 3, 5, or 10 minutes.
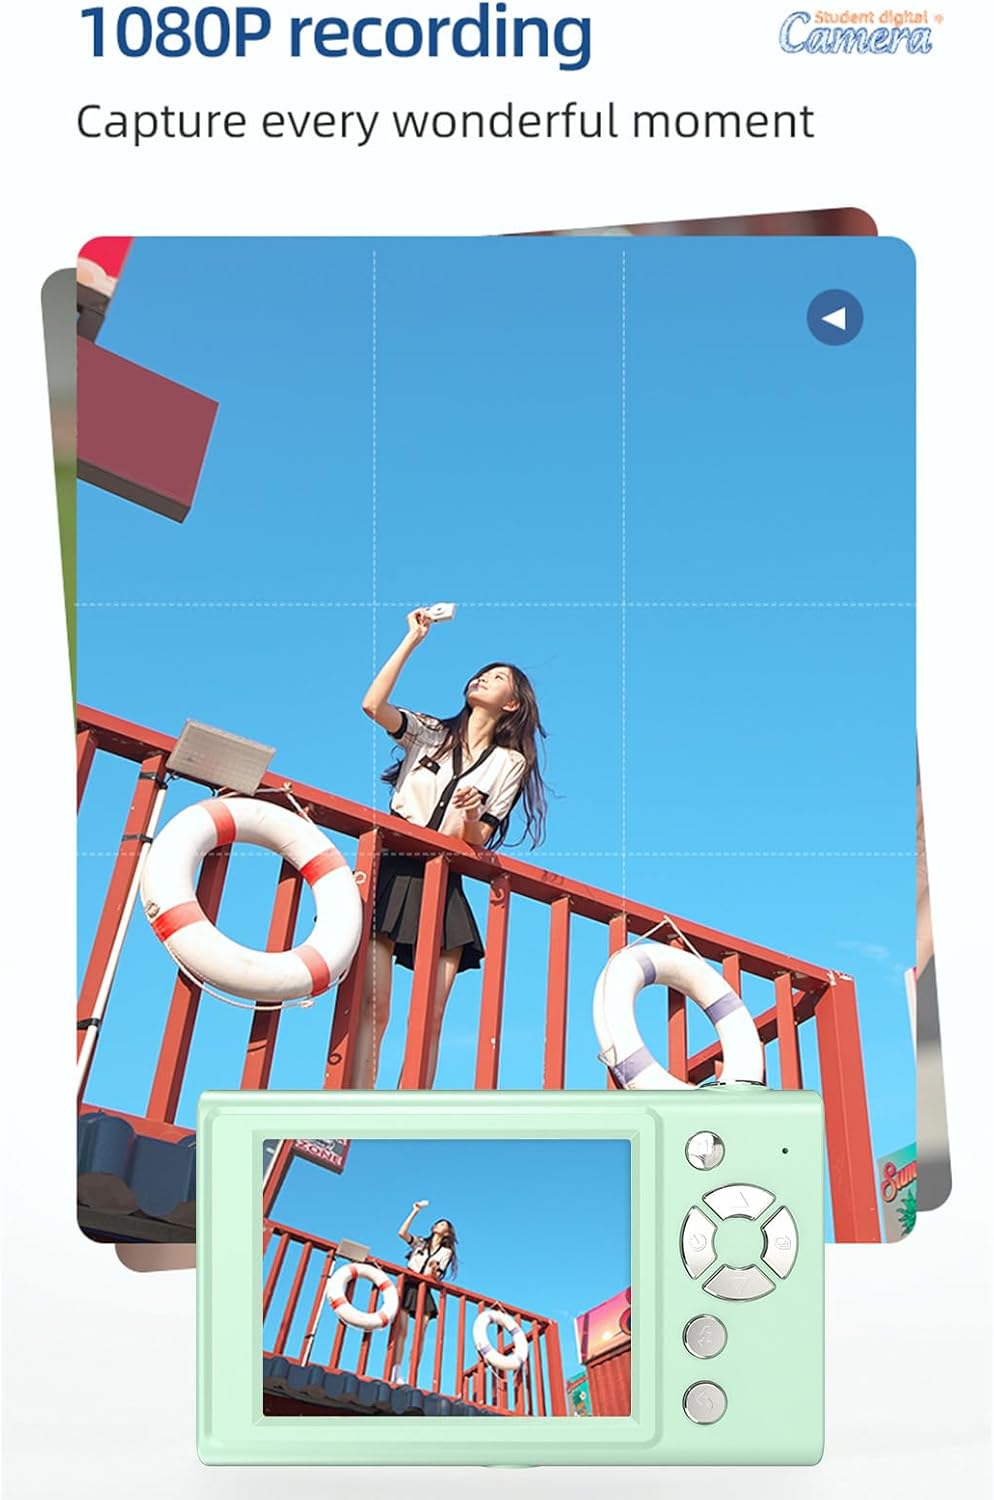
Figure 3: The camera's screen showing a scene being recorded in 1080P resolution.
3. Zoom Function
The camera features 16X digital zoom. Use the zoom controls to adjust the magnification of your subject. This allows for closer views of distant objects.

Figure 4: An illustration demonstrating the effect of 16X digital zoom compared to 1X imaging.
4. LED Fill Light
The camera has a built-in LED fill light with three distinct lighting modes: White light (bright, even, soft), Warm white light (pure natural light, soft, comfortable), and Yellow light (warm color adjustment, warm atmosphere). Select the appropriate mode for your lighting conditions.

Figure 5: The three available LED fill light modes: White, Warm White, and Yellow, as seen on the camera.
5. Selfie Mirror
An electroplated selfie mirror is integrated into the camera's design, allowing for easy self-portraits and video recording without external assistance. This feature aids in framing and expression management.

Figure 6: A user demonstrating the use of the camera's electroplated selfie mirror for taking a selfie.
6. Filter Effects
The camera includes various built-in filter effects to enhance your photos. Experiment with different filters to achieve unique visual styles for your images.

Figure 7: Examples of different filter effects available on the camera, including Primary, Red, Yellow, and Grey.
7. Games
For entertainment, the camera features 4 classic puzzle games. These games can be accessed during leisure time.

Figure 8: The camera displaying one of its built-in classic puzzle games.
8. Playback
To review captured photos and videos, switch to playback mode. Use the navigation buttons to browse through your media on the 2.8-inch IPS screen.
9. Connecting to Computer (OTG Transmission)
The camera supports OTG (On-The-Go) transmission, allowing you to connect it directly to compatible devices, such as a computer, to transfer files. Use the provided USB cable for connection.
10. Auto Power Off
To conserve battery life, the camera can be set to automatically power off after a period of inactivity. Options include off, 3 minutes, or 5 minutes.
Maintenance
Cleaning
Use a soft, dry cloth to clean the camera body. For the lens and screen, use a specialized lens cleaning cloth and solution if necessary. Avoid abrasive materials or harsh chemicals.
Storage
When not in use, store the camera in a cool, dry place away from direct sunlight and extreme temperatures. Ensure the battery is partially charged if storing for extended periods.
Troubleshooting
- Camera does not power on: Ensure the battery is charged. Connect the camera to a power source using the USB cable and try again.
- Cannot take photos/record videos: Check if a memory card is inserted correctly and has sufficient free space. Ensure the camera is in the correct mode (photo or video).
- Images are blurry: Ensure the lens is clean. Check lighting conditions and use the LED fill light if needed.
- Memory card error: Reinsert the memory card. If the issue persists, try formatting the card (this will erase all data) or use a different compatible TF card.
Specifications
| Feature | Specification |
|---|---|
| Display | 2.8 inch IPS Screen |
| Zoom | 16X Digital Zoom |
| Photo Format | JPG |
| Photo Resolution | 48M, 40M, 24M, 20M, 18M, 16M, 12M, 10M, 8M, 5M, 3M, 2M, 1M |
| Video Format | AVI |
| Video Resolution | 1080P / 720P |
| Selfie Timer | Off / 2s / 5s / 10s |
| Auto Power Off | Off / 3 mins / 5 mins |
| Loop Recording | 3 mins / 5 mins / 10 mins |
| Storage | TF card, max. 128GB |
| Power Supply | 1 x Built-in Lithium Battery (3.7V 700mAh) |
| OTG Transmission | Supported |
| Product Size | 103 x 31 x 65 mm |
| Product Weight | 149 g (5.26 oz) |
| Photo Sensor Technology | CMOS |
| Photo Sensor Size | 1/2.3-inch |
| Exposure Control Type | Automatic |
| Image Stabilization | Digital |
Warranty and Support
For warranty information or technical support, please refer to the contact details provided with your purchase documentation or visit the official Andoer website. Keep your proof of purchase for warranty claims.