1. Introduction
This manual provides essential information for the safe and effective installation, operation, and maintenance of the TJGOPKUJ ZX7200/250 Mini Single Plate Welding Machine Main Board Control Board. This universal board is designed as a replacement or upgrade component for compatible welding machines. Please read this manual thoroughly before attempting any installation or operation.
2. Safety Instructions
Improper installation or handling of electronic components can lead to electric shock, fire, or damage to the equipment. Always adhere to the following safety guidelines:
- Disconnect Power: Always ensure the welding machine is completely disconnected from the main power supply before beginning any installation, maintenance, or inspection.
- Professional Installation: Installation should only be performed by qualified and experienced technicians familiar with welding machine electronics and safety procedures.
- Static Discharge: Electronic components are sensitive to electrostatic discharge (ESD). Use appropriate ESD protection (e.g., anti-static wrist strap, mat) when handling the control board.
- Inspect for Damage: Before installation, visually inspect the control board for any signs of physical damage. Do not install a damaged board.
- Ventilation: Ensure the welding machine's enclosure provides adequate ventilation to prevent overheating of internal components, including the control board.
- Keep Dry: Protect the control board from moisture, liquids, and excessive humidity.
3. Package Contents
Verify that all items are present and undamaged upon opening the package:
- 1 x TJGOPKUJ ZX7200/250 Welding Machine Main Control Board
4. Setup and Installation
This section outlines the general steps for installing the control board. Specific wiring and mounting may vary depending on your welding machine model. Always refer to your welding machine's service manual for detailed instructions.
- Power Disconnection: Ensure the welding machine is unplugged from the power source and all residual power has dissipated.
- Access Enclosure: Carefully open the welding machine's enclosure to access the internal components.
- Identify Old Board (if applicable): If replacing an existing board, carefully note the connections and orientation of the old control board before removal. Take photographs for reference.
- Handle with Care: Using ESD precautions, carefully remove the new ZX7200/250 control board from its packaging. Avoid touching the electronic components directly.
- Mounting: Securely mount the new control board in the designated location within the welding machine's chassis. Ensure it is stable and does not obstruct other components or airflow.
- Wiring Connections: Connect all necessary wires to the control board. This typically includes power input, output to welding terminals, and connections to user interface controls (e.g., potentiometers, switches, display). Ensure all connections are firm and correctly polarized. Refer to the original wiring diagram of your welding machine.
- Visual Inspection: After all connections are made, perform a thorough visual inspection to ensure no wires are loose, pinched, or incorrectly connected.
- Close Enclosure: Carefully close and secure the welding machine's enclosure.
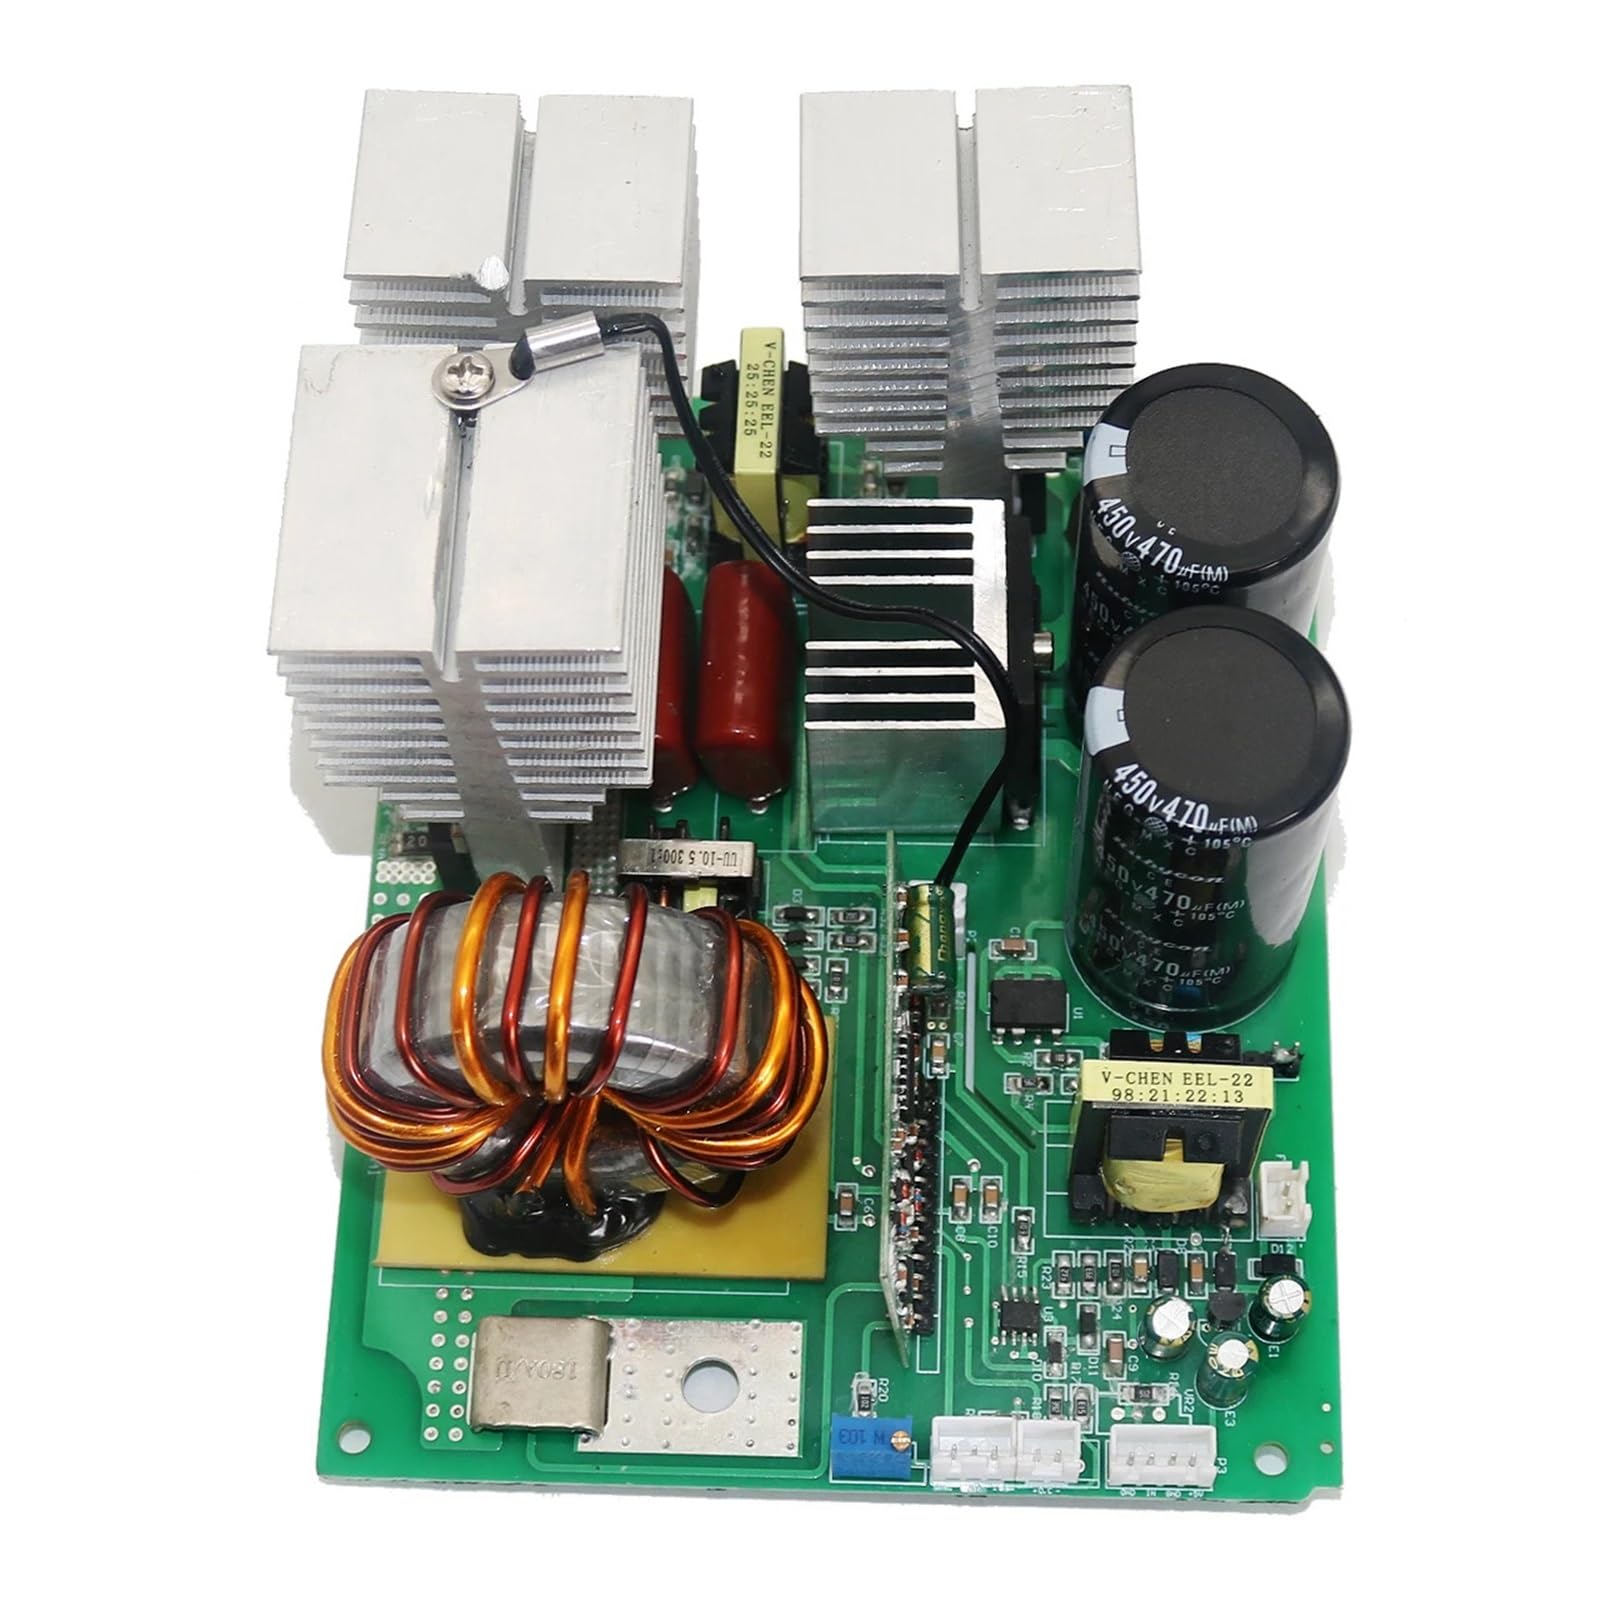
Figure 1: TJGOPKUJ ZX7200/250 Welding Machine Control Board. This image shows the general appearance of the control board, highlighting its compact design and various connection points.

Figure 2: Conceptual Installation Diagram. This illustration provides a general overview of how the control board might be positioned and connected within a welding machine chassis. (Note: Actual wiring and mounting may vary by welding machine model.)
5. Operating Instructions
The ZX7200/250 control board functions as the central processing unit for a welding machine. Its operation is integrated into the overall functionality of the welding equipment. After successful installation:
- Power On: Connect the welding machine to the appropriate power supply.
- Functionality Check: Verify that the welding machine powers on correctly and that all controls (e.g., current adjustment, mode selection) respond as expected.
- Test Welding: Perform a test weld in a safe, controlled environment to confirm proper operation and output.
Refer to your specific welding machine's user manual for detailed operating procedures and safety precautions related to welding.
6. Maintenance
Proper maintenance ensures the longevity and reliable performance of the control board and the welding machine.
- Regular Cleaning: Periodically clean the interior of the welding machine, including the control board, using compressed air to remove dust and debris. Ensure the machine is powered off and unplugged before cleaning.
- Inspect Connections: Annually, or more frequently with heavy use, inspect all wiring connections to the control board for looseness, corrosion, or signs of overheating.
- Environmental Control: Operate and store the welding machine in a clean, dry environment, free from excessive dust, moisture, and corrosive fumes.
7. Troubleshooting
If the welding machine exhibits unexpected behavior after installing the ZX7200/250 control board, consider the following troubleshooting steps:
- No Power: Check the main power supply to the welding machine. Verify all internal power connections to the control board are secure.
- Incorrect Output: Re-check all wiring connections to ensure they match the welding machine's diagram. Ensure no wires are short-circuited or incorrectly polarized.
- Intermittent Operation: Inspect for loose connections or signs of overheating on the board. Ensure proper ventilation.
- Error Codes: If your welding machine displays error codes, consult your welding machine's specific manual for interpretation.
- Professional Assistance: If issues persist, discontinue use and consult a qualified technician or the welding machine manufacturer for further diagnosis and repair.
8. Specifications
| Feature | Specification |
|---|---|
| Model Number | ZX7200/250 (Manufacturer's Model: TJGOPKUJ) |
| Type | Welding Machine Main Board / Control Board |
| Compatibility | Universal for MINI Single Plate Welding Machines |
| Package Dimensions | 1.18 x 0.79 x 0.39 inches (30 x 20 x 10 mm) |
| Item Weight | 3.49 ounces (99 Grams) |
| Power Plug Type | No Plug (Integrated component) |
| Origin | Mainland China |
9. Warranty and Support
For warranty information, technical support, or service inquiries regarding your TJGOPKUJ ZX7200/250 Welding Machine Control Board, please contact the manufacturer or your point of purchase. Keep your purchase receipt as proof of purchase.