Introduction
Thank you for purchasing the VATOS RC Helicopter XK-1. This remote-controlled helicopter is designed for ease of use, featuring one-key take-off, altitude hold, and a stable coaxial rotor system, making it suitable for beginners. Please read this manual thoroughly before operation to ensure safe and correct use of the product.

Image: The VATOS RC Helicopter XK-1, showcasing its design and features.
Safety Information
- Age Recommendation: This product is not suitable for children under 3 years of age due to small parts. The manufacturer recommends this product for ages 6 years and older.
- Supervision: Adult supervision is recommended, especially for younger users.
- Environment: Operate the helicopter in open, clear spaces, away from people, animals, and obstacles. Avoid flying near walls as air suction can affect control. When flying outdoors, ensure there is no wind.
- Water Exposure: Keep the helicopter and remote control away from water and moisture to prevent damage to electronic components.
- Battery Safety: Do not short-circuit, disassemble, or expose batteries to extreme temperatures. Use only the provided charging cables.
- Propellers: Do not touch the rotating propellers. In case of collision, the helicopter features an automatic power-off function to stop propellers.
Package Contents
Please check the package contents to ensure all items are present:
- RC Helicopter (x1)
- Remote Control (x1)
- Spare A/B Propellers (x1 set)
- USB Charging Cables (x2)
- Rechargeable Batteries (x2)
- Screwdriver (x1)

Image: The package includes the VATOS RC Helicopter, one remote control, a set of spare A/B propellers, two USB charging cables, two rechargeable batteries, and a screwdriver.
Setup
1. Charging Batteries
The helicopter comes with two rechargeable batteries. Ensure they are fully charged before first use.
- Connect one end of the USB charging cable to the battery and the other end to a USB power source (e.g., computer, USB adapter).
- Alternatively, you can charge the battery directly while it is installed in the helicopter by connecting the USB cable to the helicopter's charging port. Ensure the helicopter is powered OFF during this method.
- The battery indicator light will be red during charging and will turn off automatically when charging is complete.
- A full charge typically takes about 60 minutes.

Image: The helicopter batteries can be charged directly by connecting a USB cable to the helicopter (ensure helicopter is powered off), or by charging the battery separately using a USB cable. The battery indicator is red during charging and turns off when complete. Safe charging time is 60 minutes.
2. Installing Helicopter Battery
Carefully insert a charged battery into the battery compartment of the helicopter. Ensure it is securely connected.
3. Installing Remote Control Batteries
The remote control requires 3 AAA batteries (not included).
- Open the battery compartment on the back of the remote control using the provided screwdriver.
- Insert 3 AAA batteries, ensuring correct polarity (+/-).
- Close the battery compartment and secure it with the screw.

Image: The remote control requires the installation of 3 AAA batteries (not included). Open the battery compartment on the back of the remote control to insert them.
4. Pairing the Remote Control
- Place the helicopter on a flat surface.
- Power on the helicopter. The LED lights on the helicopter will flash.
- Power on the remote control.
- Push the throttle stick (left stick) all the way up, then all the way down. The remote control will beep, and the helicopter's LED lights will become solid, indicating successful pairing.
Operating Instructions
1. Basic Controls
- One-Key Take-off: After pairing, press the one-key take-off button on the remote control. The helicopter will automatically ascend and hover at a stable altitude.
- One-Key Landing: Press the one-key landing button, and the helicopter will slowly descend and land automatically.
- Altitude Hold: The helicopter features an altitude hold function, allowing it to maintain a stable height without constant throttle input.
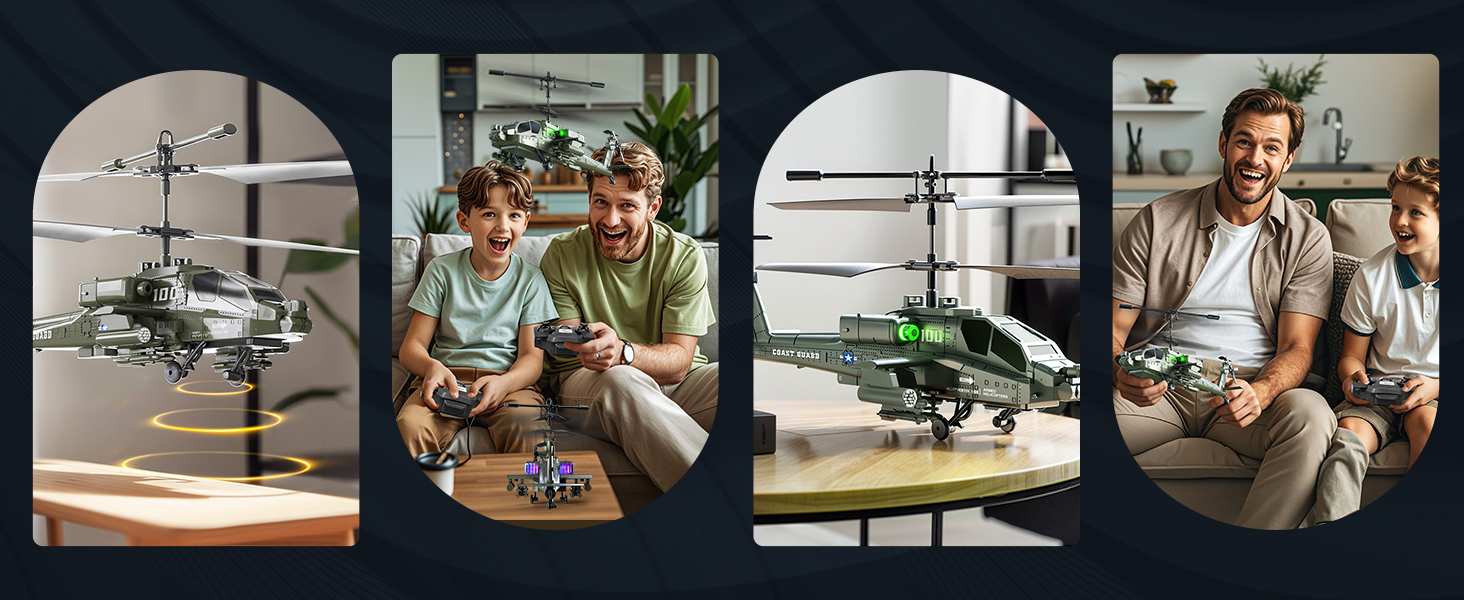
Image: The helicopter features one-key take-off and landing for simplified operation. It also includes an altitude hold function, allowing it to maintain a stable height automatically.
2. 3.5 Channel Control
The 3.5-channel remote control allows for various flight maneuvers:
- Throttle Stick (Left): Push up to rise, pull down to fall.
- Direction Stick (Right): Push up for forward flight, pull down for backward flight. Push left to turn left, push right to turn right.
- Speed Adjustment: The remote control allows for acceleration and deceleration, making flight more flexible.

Image: The 3.5-channel design allows for comprehensive control, including rising, falling, moving forward, backward, turning left, and turning right. It also supports speed adjustment.
3. LED Lights
The helicopter is equipped with colorful LED lights that illuminate when powered on, enhancing visibility and adding to the flying experience, especially in low-light conditions.

Image: The helicopter features colorful LED lights that are visible during flight.
Maintenance
- Cleaning: Use a soft, dry cloth to clean the helicopter and remote control. Do not use water or chemical cleaners.
- Battery Care: Always remove batteries from the remote control when not in use for extended periods. Store rechargeable helicopter batteries in a cool, dry place. Do not overcharge or completely discharge the batteries.
- Propeller Inspection: Regularly check the propellers for any damage or cracks. Replace damaged propellers with the provided spare parts using the screwdriver.
- Storage: Store the helicopter and remote control in a safe place, away from direct sunlight and extreme temperatures.
Troubleshooting
| Problem | Possible Cause | Solution |
|---|---|---|
| Helicopter does not respond to remote control. | Not paired; low batteries in helicopter or remote. | Ensure both helicopter and remote are powered on and successfully paired. Charge helicopter batteries; replace remote control batteries. |
| Short flight time. | Battery not fully charged; aging battery. | Ensure batteries are fully charged (60 minutes). Consider replacing old batteries if performance significantly degrades. |
| Unstable flight or difficulty controlling. | Windy conditions; damaged propellers; incorrect calibration. | Fly in calm conditions. Check and replace damaged propellers. Ensure helicopter is placed on a flat surface before take-off. |
| LED lights flashing quickly. | Low battery reminder. | Land the helicopter immediately and recharge the battery. |
| Helicopter propellers stop after a collision. | Automatic power-off protection activated. | This is a safety feature. Check for damage, then power cycle the helicopter and remote to resume operation. |

Image: The helicopter is equipped with double protection functions. In case of a collision, the propellers will automatically stop rotating to prevent damage. A low battery reminder is indicated by quickly flashing LED lights.
Specifications
| Feature | Detail |
|---|---|
| Model Number | XK-1 |
| Product Dimensions | 18 x 10 x 8 cm (7.09 x 3.94 x 3.15 inches); 450 g |
| Recommended Age | 6 years and older |
| Control Mode | Remote Control (2.4G) |
| Channels | 3.5 Channels |
| Power Source | Battery (Lithium-ion) |
| Remote Control Batteries | 3 x AAA batteries (not included) |
| Special Features | Flashing LED lights, One-Key Take-off/Landing, Altitude Hold, Anti-collision design |
| Material Type | Plastic |
| Color | Green |

Image: The helicopter measures approximately 23 cm (9.05 inches) in length, 8.5 cm (3.35 inches) in height (to main rotor), and 9.5 cm (3.70 inches) in tail height.
Warranty and Support
This product is covered by a standard manufacturer's warranty. For specific warranty details, please refer to the product packaging or contact the retailer where the product was purchased. For technical support or inquiries, please contact VATOS customer service through their official channels.


