1. Introduction
Thank you for choosing the Candy Smart Pro Inverter Washer Dryer. This manual provides essential information for the safe and efficient use, installation, and maintenance of your appliance. Please read these instructions carefully before using the washer dryer and keep them for future reference.
2. Safety Information
General Safety:
- Ensure the appliance is properly earthed.
- Do not allow children to play with or operate the appliance.
- Keep packaging materials away from children.
- Do not touch the appliance with wet hands or feet.
- Unplug the appliance before cleaning or maintenance.
- Do not open the detergent drawer during operation.
- Never force the door open.
Installation Safety:
- Remove all transit bolts before use. Failure to do so can cause severe damage.
- Ensure the appliance is level to prevent excessive vibration and noise.
- Connect the water inlet hose securely to a cold water tap.
- Position the drain hose correctly to avoid leaks.
- Do not install the appliance in areas where the temperature may fall below freezing.
Usage Safety:
- Only use detergents and additives suitable for automatic washing machines.
- Do not wash or dry items that have been cleaned, washed, soaked, or spotted with combustible or explosive substances.
- Avoid overloading the appliance. Refer to the capacity guidelines.
3. Product Overview
The Candy Smart Pro Inverter Washer Dryer combines washing and drying functions in a single unit, designed for efficiency and convenience. It features an Inverter motor for quiet operation and enhanced cleaning performance.
Key Features:
- Rapid Cycles: A selection of quick wash programs for various needs, completing cycles in under an hour.
- Snap&Wash Function: Use the companion app to take a photo of your laundry, and the appliance suggests the most suitable program based on quantity and color.
- Quick&Clean Technology: Creates a concentrated mixture of water and detergent, spraying it directly onto clothes for enhanced stain removal, even with larger loads.
- Easy Iron Plus Program (39'): Reduces wrinkles and speeds up ironing time through steam action.
- Speed Drive Inverter Motor: Boosts cleaning action by up to 50% and ensures optimal results even with rapid cycles, while reducing energy consumption and vibrations.
Appliance Components:


4. Setup and Installation
Proper installation is crucial for the performance and longevity of your appliance. It is recommended to have the installation performed by a qualified technician.
Unpacking:
- Carefully remove all packaging materials.
- Remove all transit bolts from the rear of the appliance. These bolts secure the drum during transport and must be removed before operation. Keep them for future transport.
Positioning:
- Place the washer dryer on a firm, level floor.
- Adjust the adjustable feet to ensure the appliance is perfectly level. Use a spirit level to verify.
- Ensure there is adequate space around the appliance for ventilation and maintenance.
Water and Drain Connections:
- Connect the water inlet hose to a cold water tap with a 3/4" thread. Ensure the connection is tight to prevent leaks.
- Position the drain hose into a standpipe or over the edge of a sink, ensuring it is securely fixed to prevent displacement during draining. The end of the drain hose should be between 60 cm and 100 cm from the floor.
Electrical Connection:
- Plug the appliance into a grounded electrical outlet.
- Ensure the voltage and frequency match the specifications on the rating plate of the appliance.
- Do not use extension cords or multiple adapters.

5. Operating Instructions
Follow these steps for effective washing and drying:
Preparation:
- Sort laundry by fabric type, color, and degree of soiling.
- Check garment care labels for washing and drying instructions.
- Empty pockets and close zippers and buttons.
Loading Laundry:
- Open the door and load items loosely into the drum. Do not overload.
- For washing, the maximum capacity is 8 kg. For drying, the maximum capacity is 5 kg.
- Close the door firmly until it clicks.
Adding Detergent and Additives:
- Pull out the detergent drawer.
- Add the appropriate amount of detergent to the main wash compartment (usually marked 'II').
- Add fabric softener to the dedicated compartment (usually marked with a flower symbol).
- For pre-wash, add detergent to the pre-wash compartment (usually marked 'I').
- The appliance features a smart dispenser for optimal detergent use.
- Push the detergent drawer back in completely.
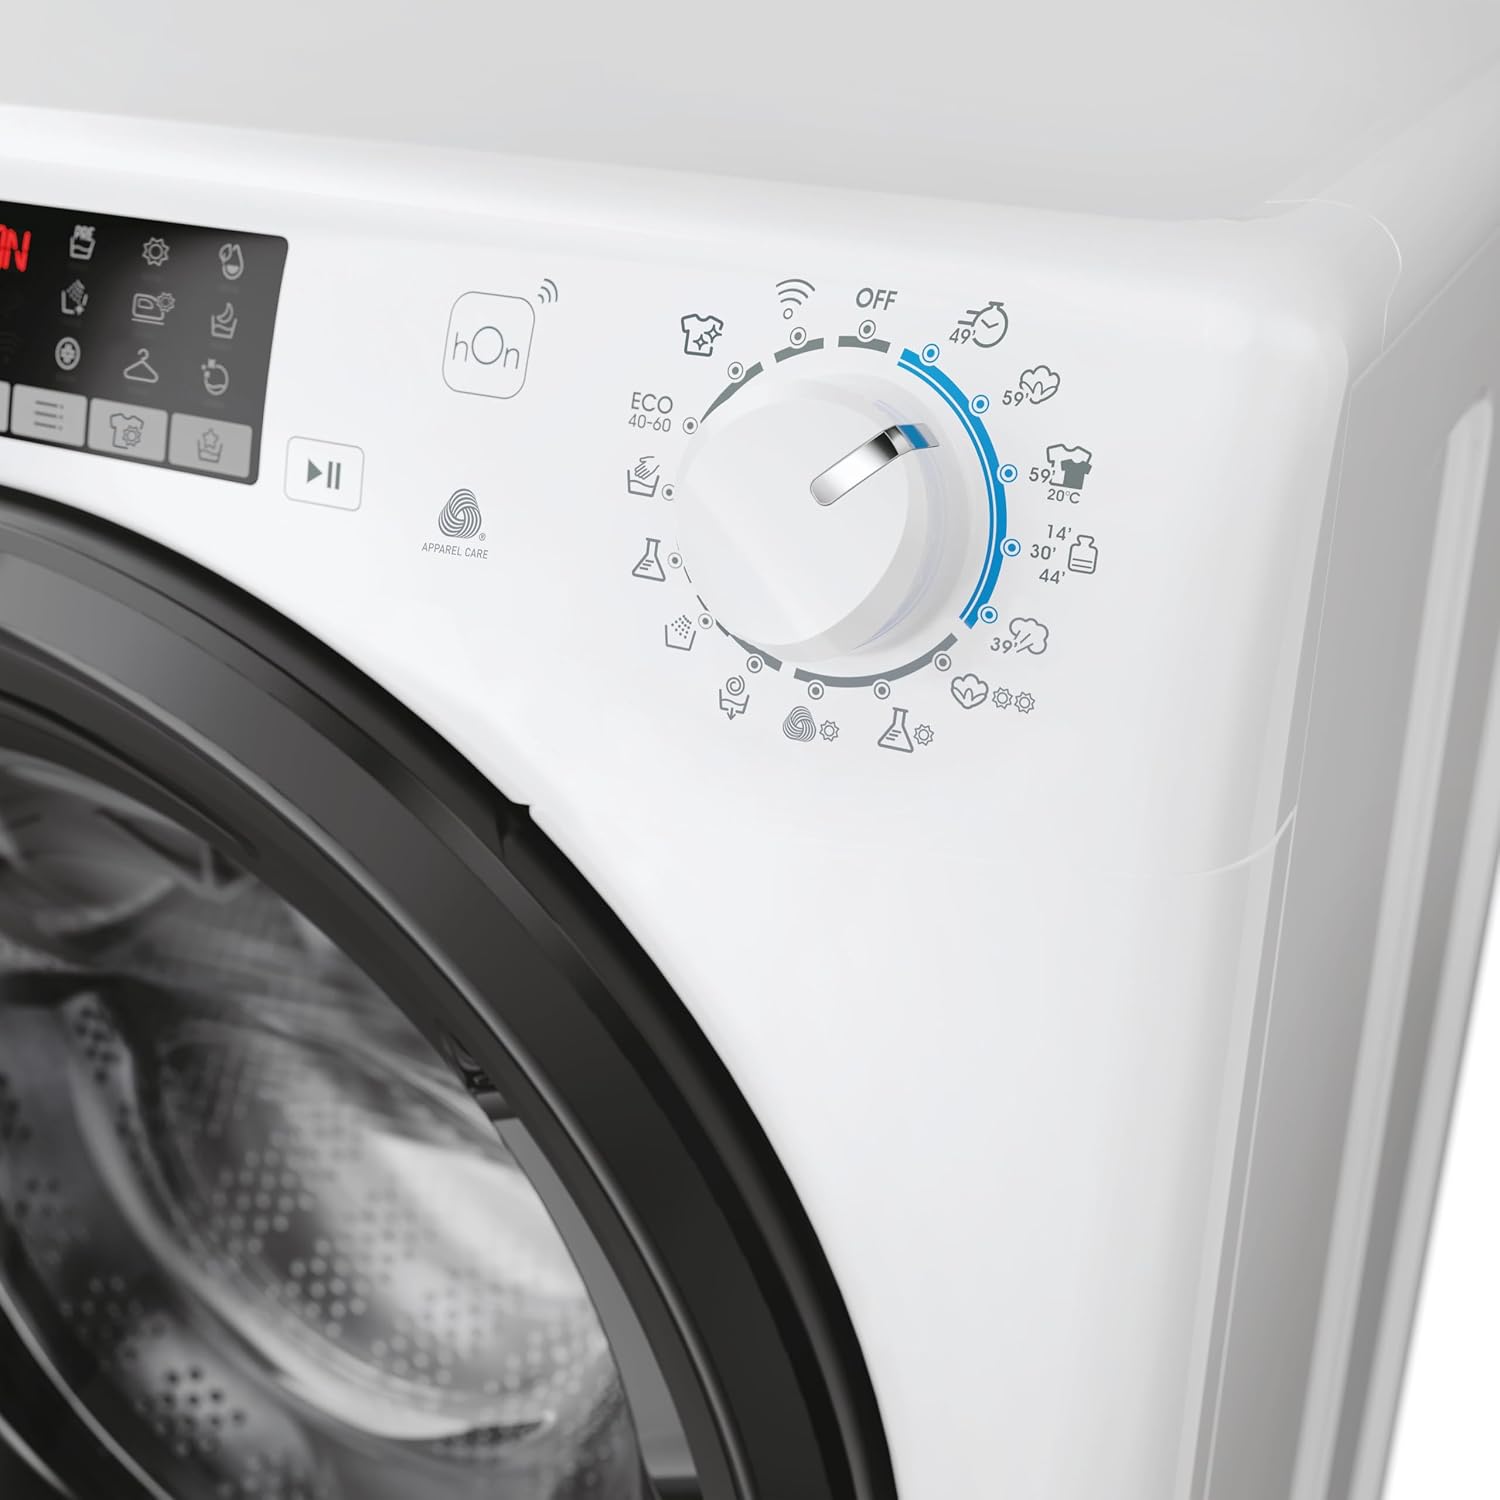
Selecting a Program:
- Turn the program selector dial to choose the desired wash program.
- The display will show the default temperature and spin speed for the selected program.
- Use the option buttons to adjust temperature, spin speed, or add special functions like pre-wash, extra rinse, or steam.
- Rapid Cycles: Select from various quick programs (e.g., 14, 30, 44 minutes) for lightly soiled items.
- Easy Iron Plus: Choose this program for items requiring reduced creasing.
- Snap&Wash: Utilize the hOn app to select the best program by simply taking a photo of your laundry.
Starting and Pausing:
- Press the START/PAUSE button to begin the cycle. The indicator light will illuminate.
- To pause a cycle, press the START/PAUSE button. The indicator light will flash. Press again to resume.
Drying Function:
- After a wash cycle, you can select a drying program.
- Ensure the load size is appropriate for drying (max 5 kg).
- Select the desired drying level (e.g., Iron Dry, Hanger Dry, Cupboard Dry) or a timed drying program.
- Press the START/PAUSE button to begin drying.
End of Cycle:
- The appliance will signal the end of the cycle.
- The door lock will release.
- Unload the laundry promptly to prevent creasing.
- Turn off the appliance and unplug it from the power outlet.
6. Maintenance and Cleaning
Regular maintenance ensures optimal performance and extends the lifespan of your washer dryer.
Cleaning the Exterior:
- Wipe the exterior surfaces with a soft, damp cloth.
- Do not use abrasive cleaners, alcohol, or solvents.
Cleaning the Detergent Drawer:
- Pull out the detergent drawer completely.
- Remove any residue from the compartments under running water.
- Clean the drawer housing with a brush.
- Reinsert the drawer.
Cleaning the Door Seal:
- Regularly inspect and clean the rubber door seal to remove lint, dirt, or detergent residue.
- This prevents mold growth and ensures a proper seal.
Cleaning the Drain Filter:
- The drain filter should be cleaned periodically to prevent blockages.
- Locate the filter cover at the bottom front of the appliance.
- Place a shallow container underneath to catch any residual water.
- Unscrew the filter counter-clockwise and remove it.
- Clean the filter under running water and remove any foreign objects.
- Screw the filter back in clockwise until tight.
Drum Cleaning:
- Run a maintenance wash cycle (e.g., a hot wash with no laundry and a descaling agent) every few months to clean the drum and internal components.
7. Troubleshooting
Before contacting customer service, please check the following common issues and solutions:
| Problem | Possible Cause | Solution |
|---|---|---|
| Appliance does not start | No power; Door not closed; Program not selected; Start/Pause button not pressed. | Check power supply; Close door firmly; Select a program; Press Start/Pause. |
| Water not filling | Water tap closed; Inlet hose kinked; Water filter blocked. | Open water tap; Straighten hose; Clean inlet filter. |
| Water not draining | Drain hose kinked or blocked; Drain filter blocked. | Check and clear drain hose; Clean drain filter. |
| Excessive vibration/noise | Transit bolts not removed; Appliance not level; Uneven load. | Remove transit bolts; Adjust feet to level; Redistribute laundry. |
| Poor washing results | Incorrect detergent dosage; Overloading; Wrong program. | Adjust detergent; Reduce load; Select appropriate program. |
| Clothes not drying properly | Overloading; Lint filter blocked; Incorrect drying program. | Reduce load; Clean lint filter; Select appropriate drying program. |
If the problem persists after trying these solutions, please contact customer support.
8. Specifications
| Feature | Detail |
|---|---|
| Brand | CANDY |
| Model Number | CSOW 4856TWMB6-S (31019851) |
| Type | Washer Dryer (Front Load) |
| Wash Capacity | 8 kg |
| Dry Capacity | 5 kg |
| Maximum Spin Speed | 1400 RPM |
| Energy Class (Wash) | A -10% (as per product description) |
| Color | White |
| Dimensions (HxWxD) | 85 cm x 60 cm x 53 cm |
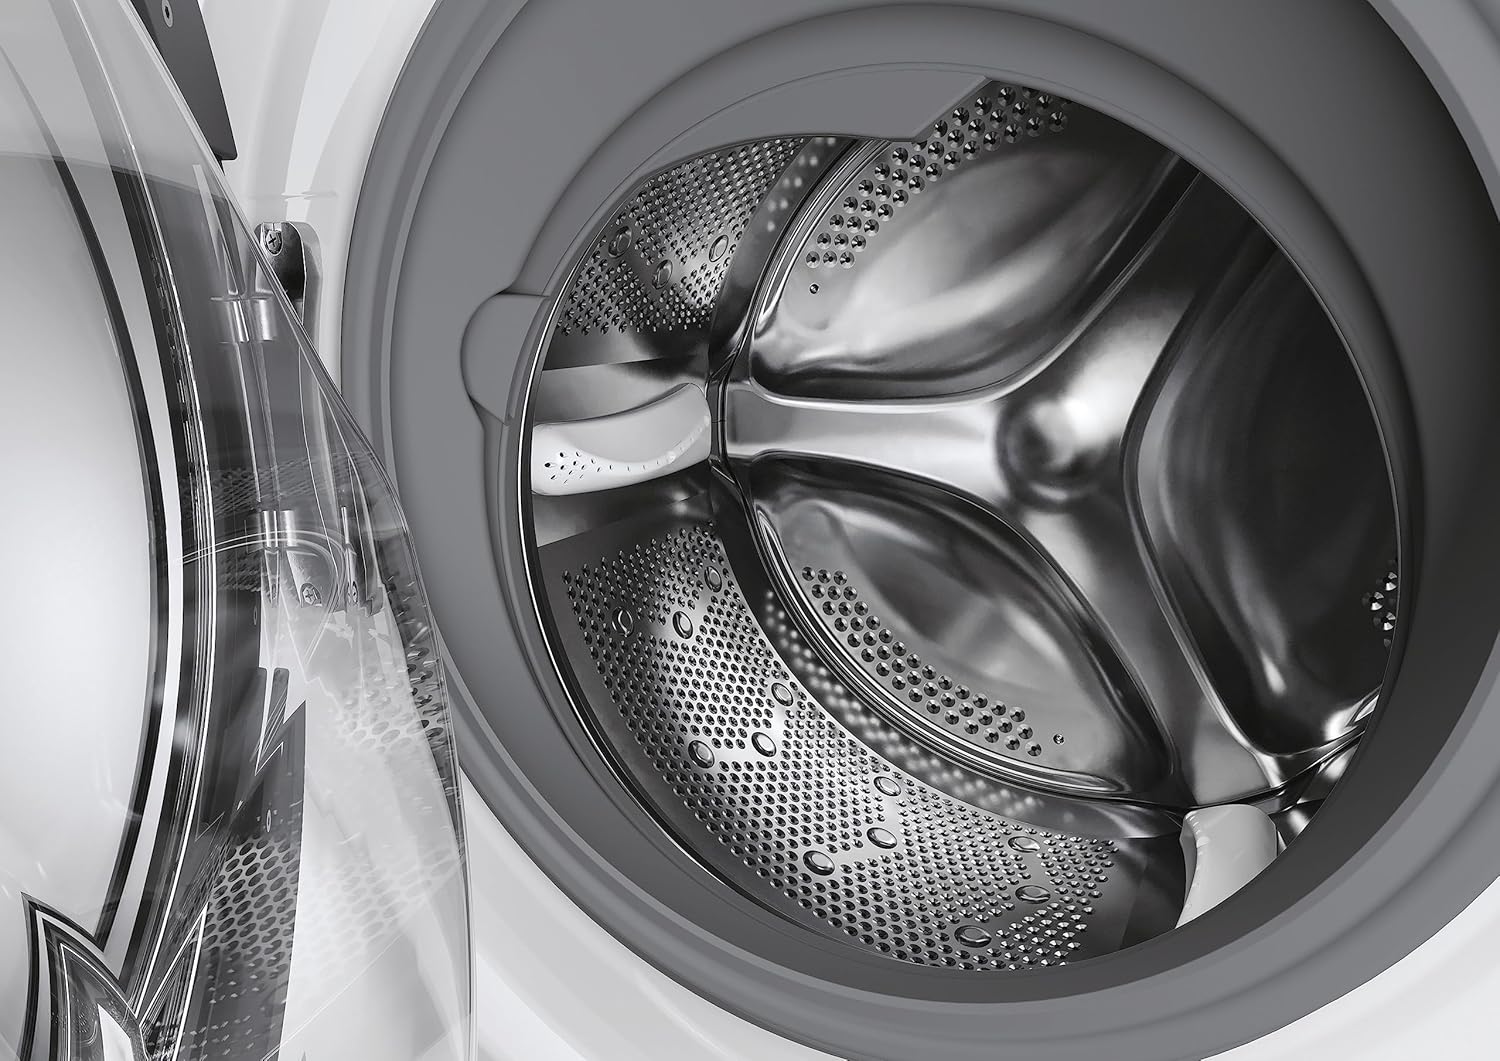
| Drum Material | Stainless Steel |
| Special Features | Snap&Wash Function, Quick&Clean Technology, Easy Iron Plus Program, Speed Drive Inverter Motor |
| Number of Wash Cycles | 5 (plus rapid cycles) |
| Number of Dry Cycles | 1 (various drying levels) |
| Detergent Dispenser | Smart dual-compartment dispenser |
| Connectivity | Wi-Fi + BLE (via hOn App) |
9. Warranty and Support
Warranty Information:
This Candy Smart Pro Inverter Washer Dryer comes with a 2-year manufacturer's warranty. This warranty covers manufacturing defects and material faults under normal domestic use. Please retain your proof of purchase for warranty claims.
The warranty does not cover:
- Damage caused by improper installation or use.
- Damage caused by external factors such as power surges or natural disasters.
- Normal wear and tear.
- Damage resulting from unauthorized repairs or modifications.
Customer Support:
For technical assistance, spare parts, or warranty service, please contact Candy customer support. Refer to the contact information provided in your purchase documentation or visit the official Candy website for your region.
When contacting support, please have the following information ready:
- Model number (CSOW 4856TWMB6-S)
- Serial number (found on the rating plate)
- Date of purchase
- A clear description of the issue