1. Product Overview
The Cloudray 30W Fiber Laser Engraver & Cutter is a portable, all-in-one laser marking machine designed for metal fabrication. It offers high precision and speed for engraving and etching various metal materials. This device is suitable for both small businesses and individual users.

Image 1.1: The Cloudray 30W Fiber Laser Engraver and Cutter.
Key features include a maximum marking speed of 10,000 mm/s, an engraving depth of up to 0.5 mm, and an accuracy of 0.01 mm. It is compatible with EZCAD2 and Lightburn software, supporting various image formats like BMP, GIF, JPG, JPEG, DXF, DST, and AI.
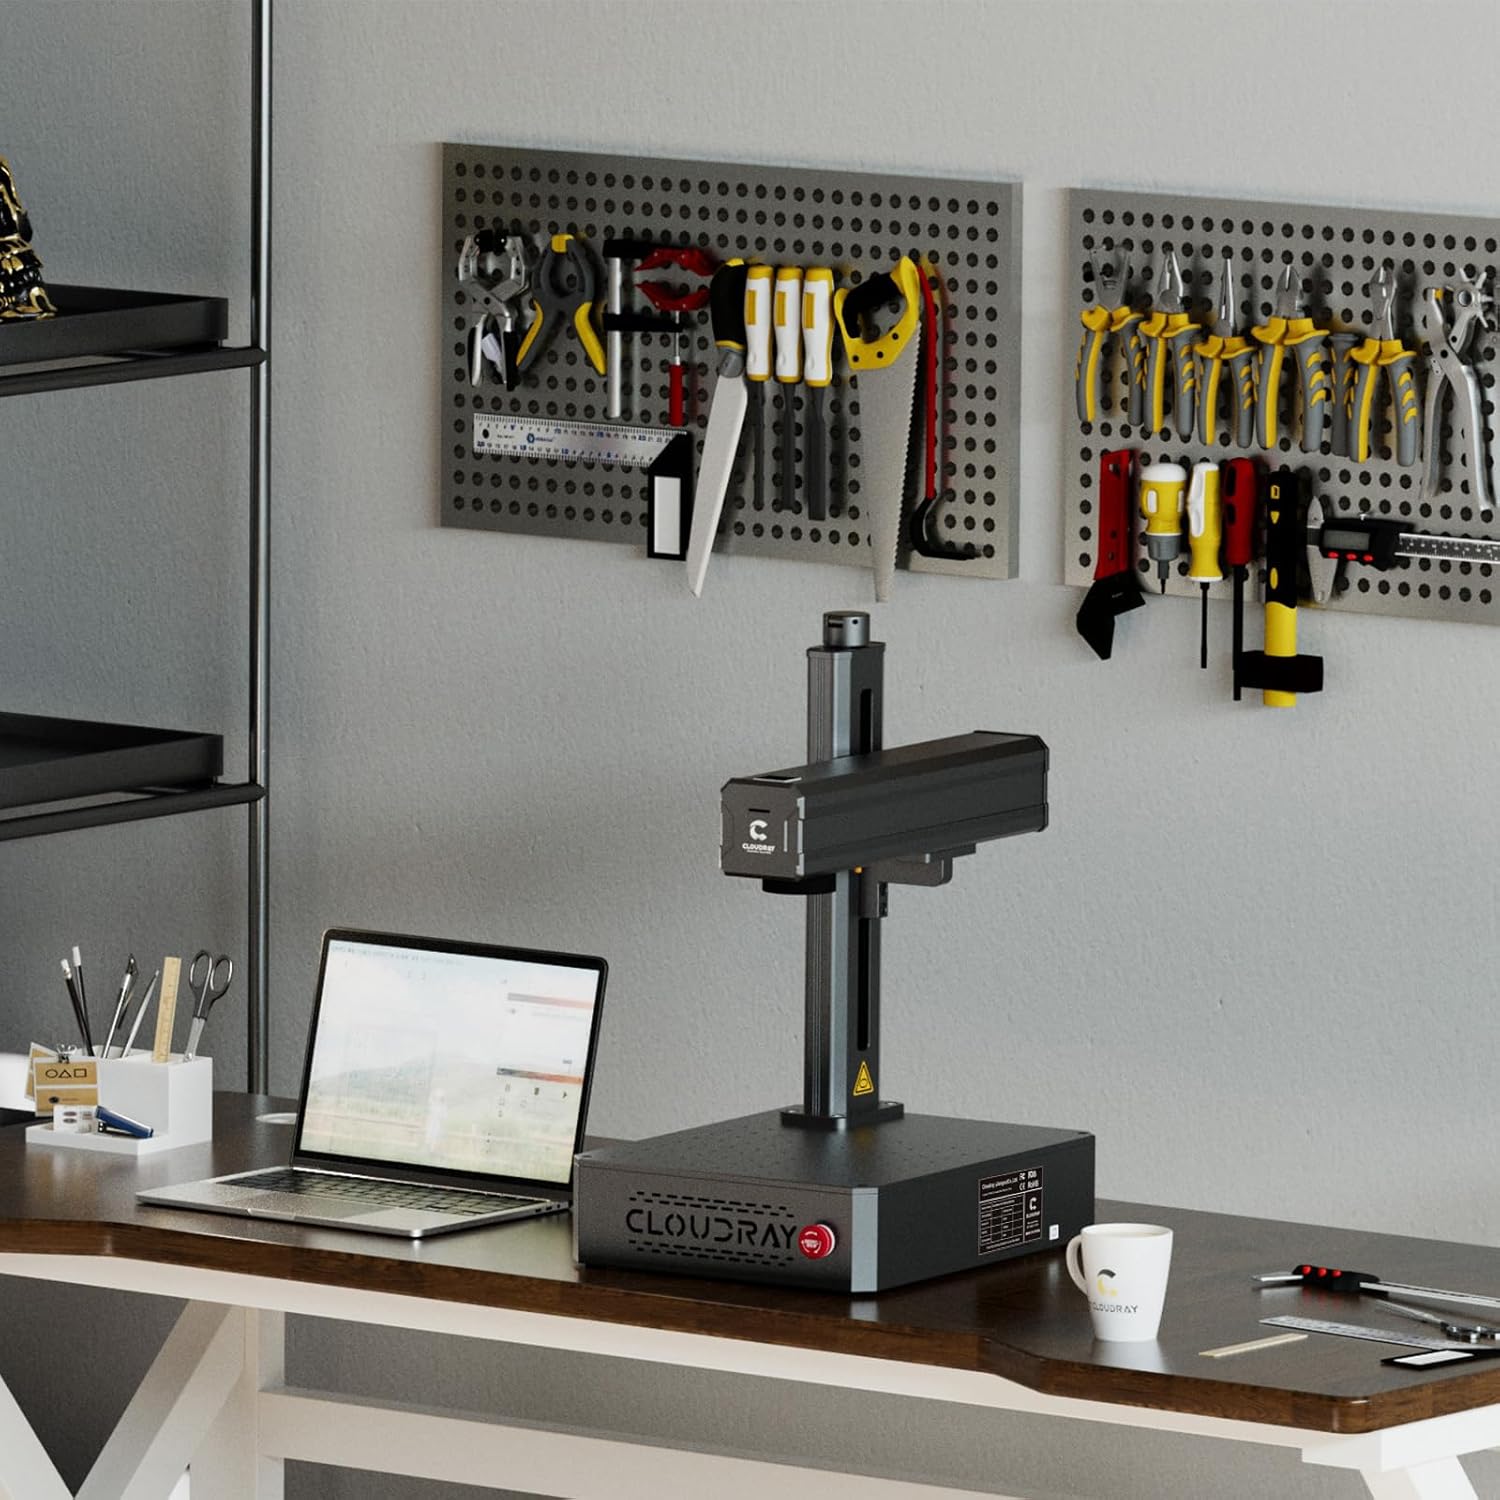
Image 1.2: Key specifications and software compatibility.
2. Safety Information
This laser engraver is classified as a Class 1 Laser device when used with the appropriate laser protective cover. Always ensure the protective cover is in place during operation to maintain Class 1 safety standards. Failure to do so may expose users to Class 4 laser radiation, which can cause severe eye and skin damage.
- Always wear certified laser safety goggles when operating the machine, especially if the protective cover is not used or is compromised.
- Ensure the work area is well-ventilated to dissipate any fumes or particles generated during engraving.
- Do not look directly into the laser beam or at reflections from shiny surfaces.
- Keep flammable materials away from the laser's path.
- Familiarize yourself with the emergency stop button location and function before operation.
3. Package Contents
3.1 Standard Accessories

Image 3.1: Standard accessories included with the engraver.
- Safety Goggles (1x)
- U Disk (1x, containing manuals and software)
- Foot Switch (1x)
- Craft Kit (1x set, with screws)
- Power Supply (1x)
- USB Cable (1x)
3.2 Optional Accessories (Purchased Separately)
- Protective Cover: Enhances safety by enclosing the laser working area.
- Rotation Axis: Allows for engraving on cylindrical objects.

Image 3.2: Optional Protective Cover.

Image 3.3: Optional Rotation Axis.
4. Setup Instructions
- Unpacking: Carefully remove all components from the packaging. Inspect for any damage during transit.
- Placement: Place the laser engraver on a stable, level surface in a well-ventilated area. Ensure sufficient space around the machine for operation and heat dissipation.
- Power Connection: Connect the power supply to the machine and then to a suitable power outlet.
- USB Connection: Connect the laser engraver to your computer using the provided USB cable.
- Software Installation: Insert the U disk into your computer and install the EZCAD2 software. Alternatively, install Lightburn software if preferred. Follow the on-screen instructions for installation.
- Initial Test: Perform a small test engraving on a scrap piece of material to ensure proper functionality and calibration.

Image 4.1: Engraver set up in a workspace.
5. Operating Instructions
5.1 Software Usage
- Launch EZCAD2 or Lightburn software on your computer.
- Import your desired design. The software supports various image formats including BMP, GIF, JPG, JPEG, DXF, DST, and AI.
- Adjust laser parameters such as power, speed, and frequency according to the material being engraved. Refer to the software's documentation for detailed parameter settings.
- Position the material on the workbed. The default working area is 4.3"x4.3" (110x110mm). Larger working areas (5.9"x5.9" or 7.9"x7.9") are available with customizable field lenses.
- Use the red light preview function to verify the engraving area and position before starting the laser.
- Initiate the engraving process. Monitor the process closely.
5.2 Compatible Materials and Applications
The Cloudray 30W Fiber Laser Engraver is designed for marking and engraving a wide range of metals, including:
- Gold
- Aluminum
- Silver
- Steel (including Stainless Steel)
- Brass
- Titanium
- Copper
Common applications include creating custom metal business cards, personalized pens, nameplates, pet tags, and various items for print shops or decorative purposes.
Video 5.1: Demonstration of the Cloudray 30W Fiber Laser Engraver with Rotary Axis in action, showcasing its capabilities on various materials.
6. Maintenance
Regular maintenance ensures optimal performance and longevity of your laser engraver.
- Cleaning: Periodically clean the lens and mirrors with a soft, lint-free cloth and appropriate lens cleaning solution. Ensure the workbed is free of debris.
- Connections: Check all electrical and USB connections regularly to ensure they are secure.
- Software Updates: Keep your engraving software updated to the latest version for improved features and stability.
- Environmental Conditions: Operate the machine within the recommended temperature and humidity ranges to prevent damage.
7. Troubleshooting
If you encounter issues with your Cloudray 30W Fiber Laser Engraver, refer to the following common troubleshooting steps:
- No Laser Output: Check power connections, emergency stop button, and software settings. Ensure the laser is enabled in the software.
- Poor Engraving Quality: Verify laser parameters (power, speed, frequency) are appropriate for the material. Clean the lens and check focus.
- Software Not Connecting: Ensure the USB cable is securely connected and the correct drivers are installed. Restart both the machine and the computer.
- Machine Not Responding: Press the emergency stop button, then release it. Restart the machine. If the issue persists, contact customer support.
8. Specifications

Image 8.1: Product specifications table.
| Feature | Specification |
|---|---|
| Product Model | 30W |
| Max Marking Speed | 10,000 mm/s |
| Marking Accuracy | 0.01 mm |
| Marking Depth | ≤ 0.5 mm |
| Working Area (Default) | 110x110 mm (4.3"x4.3") |
| Working Area (Customized) | 150x150 mm (5.9"x5.9"), 175x175 mm (6.9"x6.9") |
| Laser Type | Fiber |
| Rated Power | 30W |
| Wavelength | 1064 nm |
| Modulation Frequency | 27-60 kHz |
| Pulse Width | 90±10 ns |
| Laser Safety Classification | Class 4 Laser system, possibility to switch to Class 1 with laser protective cover |
| Operating Software | EZCAD2 (Included) / Lightburn |
| Applicable Computer System | Windows 7, 8, 10, 11 |
| Applicable Image Formats | BMP, GIF, JPG, JPEG, DXF, DST, AI, etc. |
| Input Voltage | AC 110V 50/60 Hz, AC 220V 50/60 Hz |
| Cooling | Air |
| Operating Temperature | 0-40 °C (32-104 °F) |
| Operating Humidity | 10% - 95% |
| Product Dimensions | 22 x 15.7 x 11.2 inches |
| Item Weight | 35 pounds |
9. Warranty and Support
Cloudray provides comprehensive support for its products:
- Warranty: The Cloudray 30W Fiber Laser Engraver & Cutter comes with 2 years of comprehensive coverage.
- Technical Support: Lifetime technical support is available to assist with any operational or technical queries.
For further assistance, please refer to the contact information provided on the U disk or visit the official Cloudray website.


