1. Introduction
Thank you for choosing the BACHMANN PIX Built-in Socket 926.001. This manual provides essential information for the safe and correct installation, operation, and maintenance of your new built-in power outlet. Please read these instructions carefully before beginning installation and retain them for future reference.
2. Safety Instructions
- Electrical Safety: Installation must be performed by a qualified electrician or competent person in accordance with all local and national electrical codes and regulations.
- Power Disconnection: Always disconnect the main power supply before performing any installation, maintenance, or troubleshooting.
- Voltage and Current: Ensure the socket's voltage and current ratings are compatible with your electrical system and the devices you intend to connect.
- Moisture: Do not install or use the socket in excessively wet or damp environments unless specifically rated for such conditions.
- Damage: Do not use the socket if it appears damaged. Contact a qualified technician for inspection or replacement.
- Children: Keep out of reach of children.
3. Package Contents
Verify that all components are present in the package:
- 1 x BACHMANN PIX Built-in Socket Unit (Model 926.001)
- 3 x Interchangeable Decorative Rings (Black, White, and Stainless Steel Look)
- 1 x 2-meter connection cable

Figure 3.1: Complete package contents of the PIX Built-in Socket.
4. Product Overview and Features
The BACHMANN PIX Built-in Socket 926.001 is designed for seamless integration into various environments such as kitchens, offices, or living rooms. Its minimalist and aesthetic design, combined with practical features, makes it a versatile power solution.
- Interchangeable Decorative Rings: Customize the appearance with included black, white, and stainless steel look rings to match your interior design.
- Low Installation Depth: With an installation depth of only 45 mm, the PIX socket is space-saving and suitable for thin panels or furniture.
- Versatile Application: Ideal for desks, kitchen countertops, conference tables, or any surface requiring discreet power access.
- Minimalist Design: Features a round, flat shape for a clean and unobtrusive look.
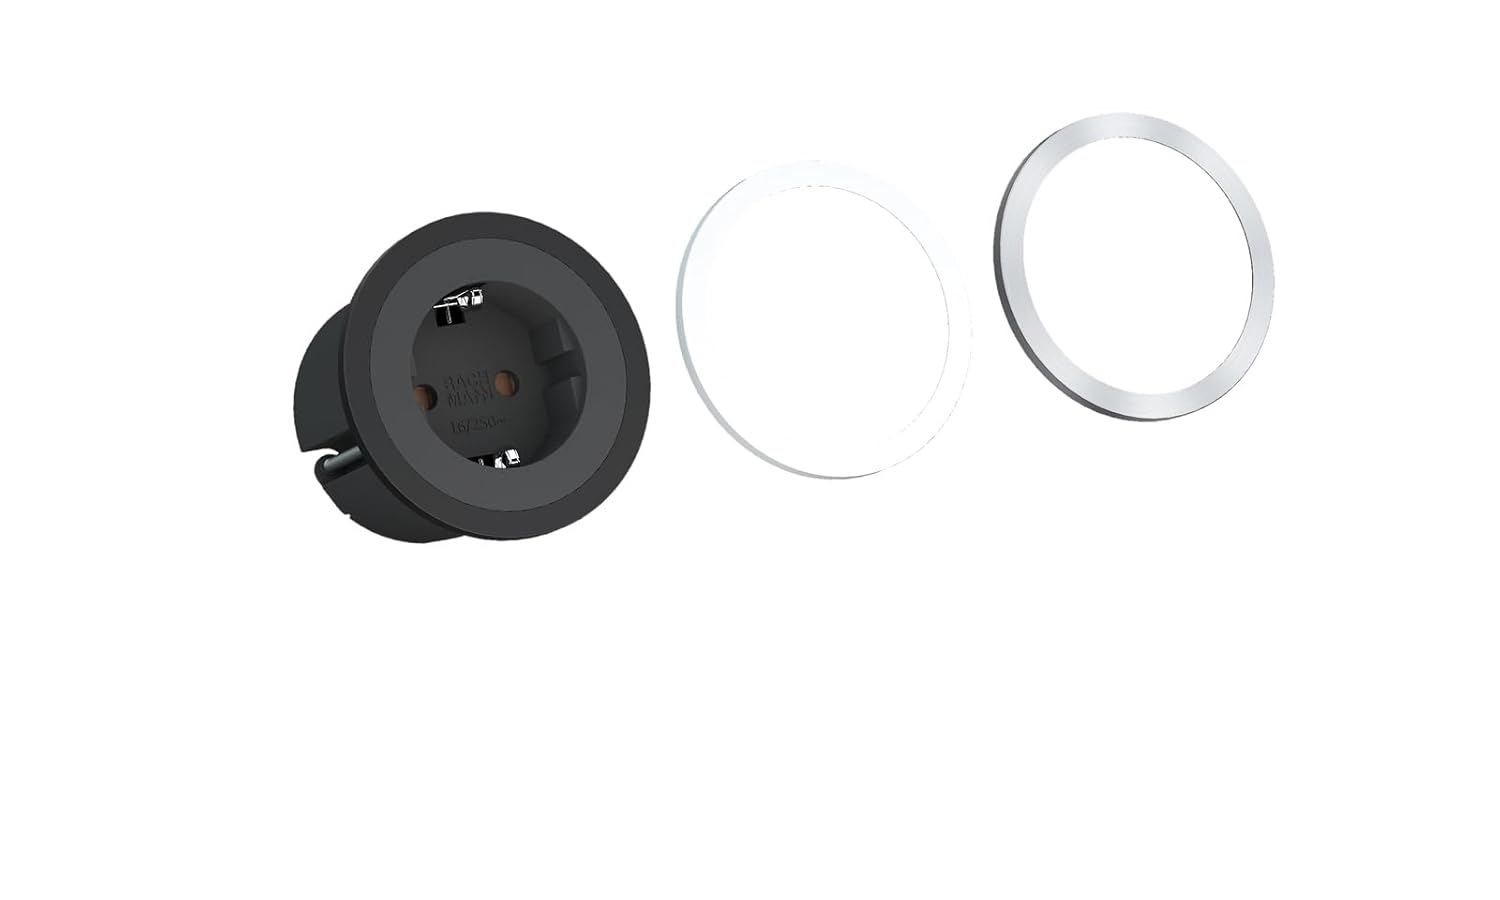
Figure 4.1: PIX Built-in Socket with interchangeable decorative rings.

Figure 4.2: Example installation of PIX sockets in a kitchen environment.
5. Setup and Installation
Follow these steps for proper installation of your BACHMANN PIX Built-in Socket. Ensure power is disconnected before proceeding.
- Prepare Mounting Hole: Using appropriate tools, create a circular mounting hole in your desired surface. The recommended installation diameter for the visible part is 68 mm (Ø68mm), with the main body requiring a minimum diameter of 55 mm (Ø55mm) and an installation depth of at least 45 mm. Refer to the dimension diagram below.
- Wiring Connection: Connect the 2-meter cable to your electrical supply. Ensure correct wiring of live, neutral, and earth conductors according to local regulations. If unsure, consult a qualified electrician.
- Insert Socket Unit: Carefully insert the PIX socket unit into the prepared mounting hole. The unit should fit snugly.
- Attach Decorative Ring: Choose your preferred decorative ring (black, white, or stainless steel look) and snap it onto the socket unit. Ensure it is securely seated.
- Restore Power: Once installation is complete and all connections are secure, restore power to the circuit.

Figure 5.1: Dimensional drawing for installation planning.
6. Operation
The BACHMANN PIX Built-in Socket operates like any standard power outlet. Once installed and powered, simply plug in your electrical devices to use them. Ensure that the total power consumption of connected devices does not exceed the socket's maximum rated capacity.
7. Maintenance
- Cleaning: To clean the socket, first disconnect power. Use a soft, dry cloth. Do not use abrasive cleaners or solvents.
- Decorative Rings: The decorative rings can be easily removed and replaced if you wish to change the aesthetic or clean underneath them. Gently pry off the ring and snap the new one into place.
- Inspection: Periodically inspect the socket for any signs of wear, damage, or loose connections. If any issues are found, disconnect power and consult a qualified electrician.
8. Troubleshooting
If you encounter issues with your PIX Built-in Socket, consider the following:
- No Power:
- Check if the main power supply to the circuit is active.
- Verify that the circuit breaker or fuse for the circuit has not tripped.
- Ensure all wiring connections are secure and correctly made. If in doubt, consult a qualified electrician.
- Loose Connection: If a device feels loose when plugged in, disconnect power and inspect the socket for any damage or debris. Do not force plugs into the socket.
For problems not resolved by these steps, contact a qualified electrician or Bachmann customer support.
9. Specifications
| Model Number | 926.001 |
| Brand | Bachmann |
| Product Dimensions | 78.74 x 2.68 x 0.1 inches (200 x 6.8 x 0.25 cm); 14.53 ounces (412 g) |
| Installation Diameter | Ø68 mm (visible part), Ø55 mm (body) |
| Installation Depth | 45 mm (minimum) |
| Material | Plastic |
| Color | Black (socket unit) |
| Cable Length | 2 meters |
| Compatible Devices | All devices (within rated capacity) |
| Manufacturer | Bachmann Electric |
10. Warranty and Support
For information regarding warranty coverage, terms, and conditions, please refer to the documentation provided with your purchase or contact your retailer. For technical support or further assistance, please visit the official Bachmann website or contact their customer service department.