1. Introduction
This instruction manual provides detailed guidance for the installation, operation, and maintenance of the Screenline 48-inch Blind Cord Operator. This component is specifically designed for use with Screenline internal blinds, also known as integral blinds, commonly found in Andersen E-Series patio doors. The operator serves as a replacement for Andersen Part Number KB048.
Please read this manual thoroughly before proceeding with installation or operation to ensure proper function and longevity of the product.
2. Product Overview
The Screenline Blind Cord Operator is a manual control mechanism for adjusting internal blinds within glass panels. It features a durable plastic housing and a poly/cotton cord for reliable operation. The overall length of the operator is 48 inches, measured from the top of the housing to the bottom of the cord exit point.
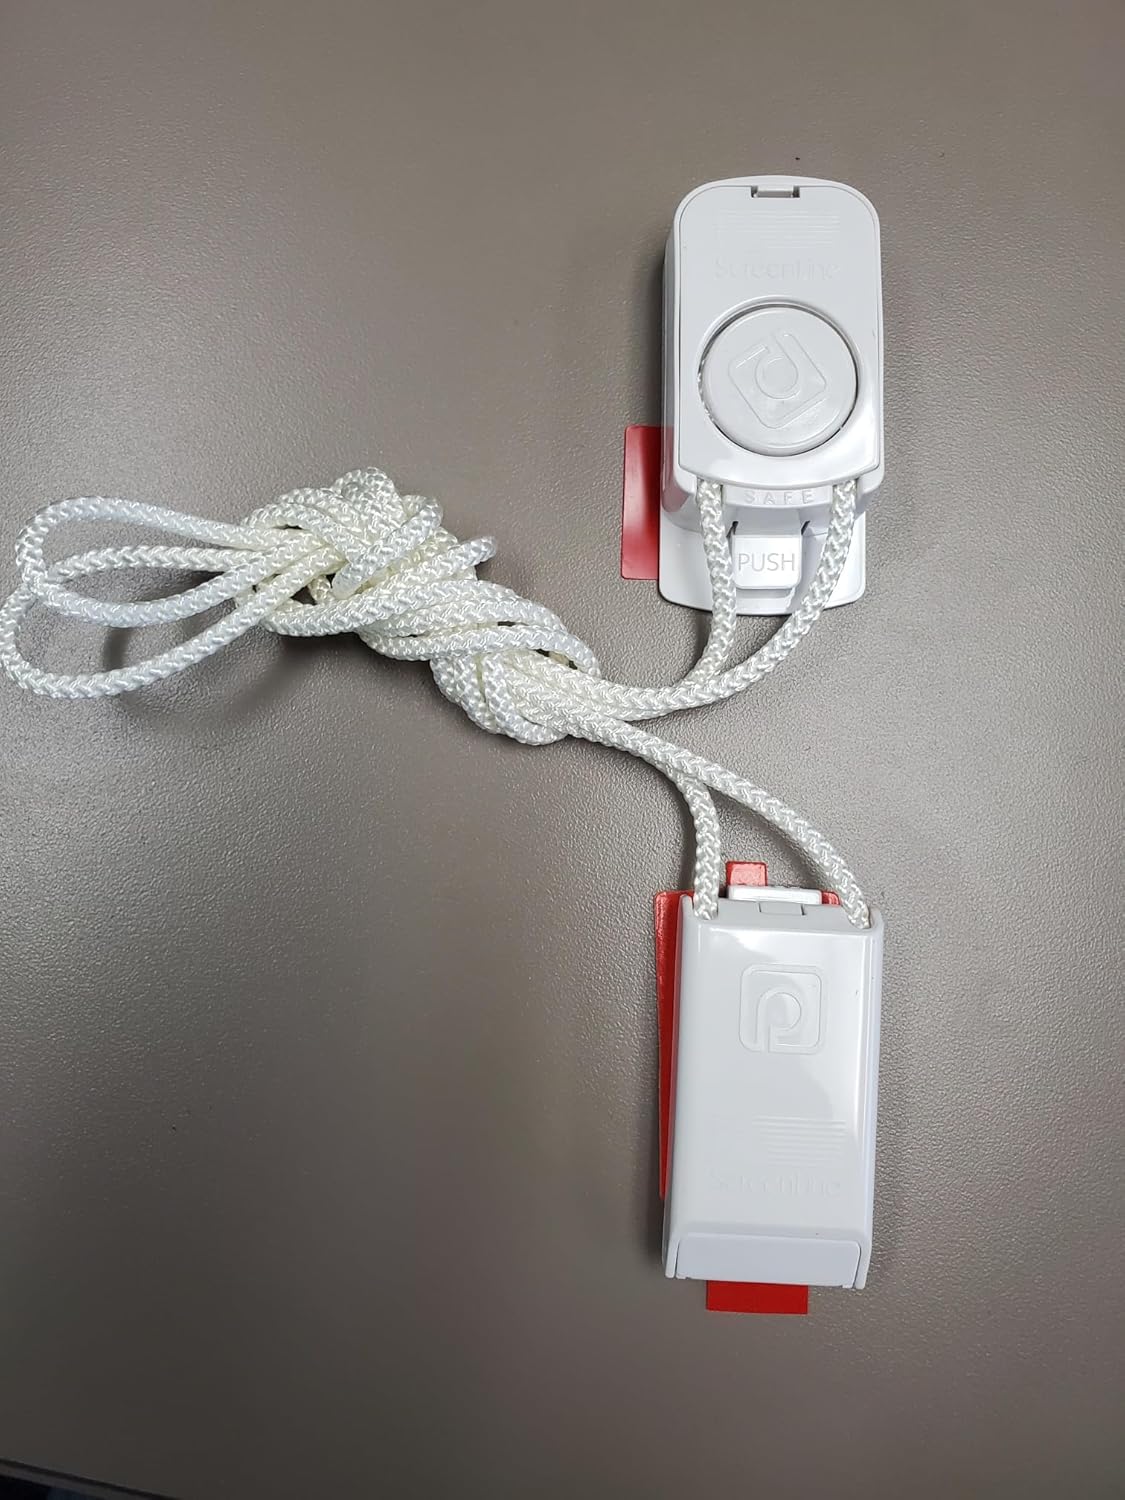
Figure 2.1: The complete Screenline 48-inch Blind Cord Operator. This image displays the white plastic housing, the braided cord, and the red mounting tabs.

Figure 2.2: Close-up view of the upper portion of the operator. This shows the 'Screenline' branding, the circular control button, and the 'SAFE PUSH' indicator for cord release.

Figure 2.3: Close-up view of the lower portion of the operator. This section also features 'Screenline' branding and the cord exit point.
3. Specifications
| Product Name | Screenline Blind Cord Operator |
| Model Numbers | SL20C, KB048 (Andersen Part Number) |
| Manufacturer | Screenline |
| Material | Plastic Housing with Poly/Cotton Cord |
| Color | White |
| Product Dimensions | 48"L x 1.25"W (1.25"W x 48"H) |
| Item Weight | 5 ounces (0.31 Pounds) |
| Operation Mode | Manual (Cord Control) |
| Mounting Type | Inside Mount |
| Recommended Use | Indoor, Patio Door Blinds |

Figure 3.1: Diagram showing how the 'OPERATOR ORDER LENGTH' is measured. The 48-inch length refers to the total vertical span of the operator when installed.
4. Setup and Installation
This Screenline Blind Cord Operator is designed to replace an existing operator in Andersen E-Series patio doors with integral blinds. Ensure the new operator matches the length of the original unit (48 inches).
4.1. Tools Required (Not Included)
- Screwdriver (appropriate for your door's fasteners)
- Pliers (optional, for cord manipulation)
4.2. Installation Steps
- Preparation: Carefully remove the existing blind cord operator from your Andersen patio door. Note how the cord is routed and secured.
- Positioning: Align the new Screenline 48-inch Blind Cord Operator with the mounting points on your door frame. The red tabs on the operator are designed for secure fitting.
- Securing: Fasten the operator securely using the appropriate screws or clips from your door system. Ensure it is firmly in place and does not wobble.
- Cord Routing: Route the blind cord through the operator as per the original setup. The 'SAFE PUSH' mechanism on the upper part of the operator allows for cord insertion and release. Press the button to open the cord channel, insert the cord, and release to secure.
- Testing: Gently operate the blind up and down to ensure smooth movement and proper engagement with the internal blind mechanism. Adjust cord tension if necessary.
For a visual guide on the installation process, you may refer to external resources. A relevant video demonstrating a similar installation can be found at: https://www.youtube.com/watch?v=7uogPwNjPHY&t=96s (start at 1:30 for operator-specific steps).
5. Operating Instructions
The Screenline Blind Cord Operator provides manual control over your internal blinds.
- To Raise Blinds: Gently pull the cord downwards. The blinds will retract upwards into the door panel.
- To Lower Blinds: Gently pull the cord upwards. The blinds will extend downwards.
- To Tilt Slats: Slight adjustments to the cord's position (e.g., pulling slightly to one side) may allow for tilting the blind slats, depending on the specific blind mechanism.
- Securing Cord: The operator is designed to hold the cord in place at the desired blind position. Ensure the cord is properly seated in the mechanism after adjustment.
Avoid excessive force when operating the cord, as this can damage the internal mechanism or the cord itself.
6. Maintenance
The Screenline Blind Cord Operator requires minimal maintenance to ensure smooth and reliable operation.
- Cleaning: Periodically wipe the plastic housing with a soft, damp cloth to remove dust and grime. Avoid using harsh chemical cleaners, as these may damage the plastic.
- Cord Inspection: Regularly inspect the poly/cotton cord for any signs of fraying, wear, or damage. If significant wear is observed, consider replacing the operator to prevent complete failure.
- Lubrication: No lubrication is required for the cord operator itself. The internal blind mechanism may benefit from specialized lubrication if it becomes stiff, but this should be done according to the blind manufacturer's instructions.
7. Troubleshooting
If you encounter issues with your Screenline Blind Cord Operator, refer to the following troubleshooting guide:
- Problem: Blinds do not move smoothly or get stuck.
Solution:- Check if the cord is properly seated in the operator's mechanism.
- Inspect the cord for any knots, twists, or fraying that might impede movement.
- Ensure the operator is securely mounted and not misaligned.
- The issue might be with the internal blind mechanism itself. Consult the blind manufacturer's manual for troubleshooting internal blind issues.
- Problem: Cord slips or does not hold the blind in position.
Solution:- Verify that the cord is correctly engaged with the 'SAFE PUSH' locking mechanism.
- Inspect the cord for excessive wear or thinning, which might reduce friction.
- If the operator's internal gripping mechanism is worn, replacement may be necessary.
- Problem: Operator housing is loose.
Solution:- Tighten any mounting screws. Do not overtighten.
- Ensure the red mounting tabs are fully engaged with the door frame.
8. Warranty Information
Specific warranty details for this Screenline Blind Cord Operator are not provided in the product information. Please refer to the retailer or manufacturer's official website for any applicable warranty terms and conditions.
9. Support
For further assistance or technical support regarding the Screenline Blind Cord Operator, please contact the retailer from whom the product was purchased. You may also visit the Screenline manufacturer's website for general product information or contact details.


