Introduction
Thank you for choosing the Generic Sonoma Oak Sideboard. This manual provides essential information for the safe and efficient assembly, operation, and maintenance of your new furniture. Please read these instructions carefully before beginning assembly and retain them for future reference.

Image: Front view of the Sonoma Oak Sideboard, showcasing its design and finish.
Setup and Assembly
This sideboard requires assembly. Please ensure all parts are present and undamaged before you begin. Assembly should be performed on a soft, clean surface to prevent scratches.
Required Tools (Not Included):
- Phillips head screwdriver
- Hammer
- Measuring tape
Safety Precautions:
- Keep small parts away from children.
- Do not overtighten screws.
- Ensure the sideboard is placed on a level surface to prevent tipping.
- Consider securing the unit to a wall using anti-tip hardware (if provided) for added stability, especially in homes with children or pets.
Assembly Steps:
- Unpack all components and verify against the parts list (usually found in the packaging).
- Attach the base and legs according to the diagram.
- Assemble the main frame of the sideboard.
- Install the drawers and their runners.
- Attach the doors and adjust hinges for proper alignment.
- Place the sideboard in its desired location and ensure stability.
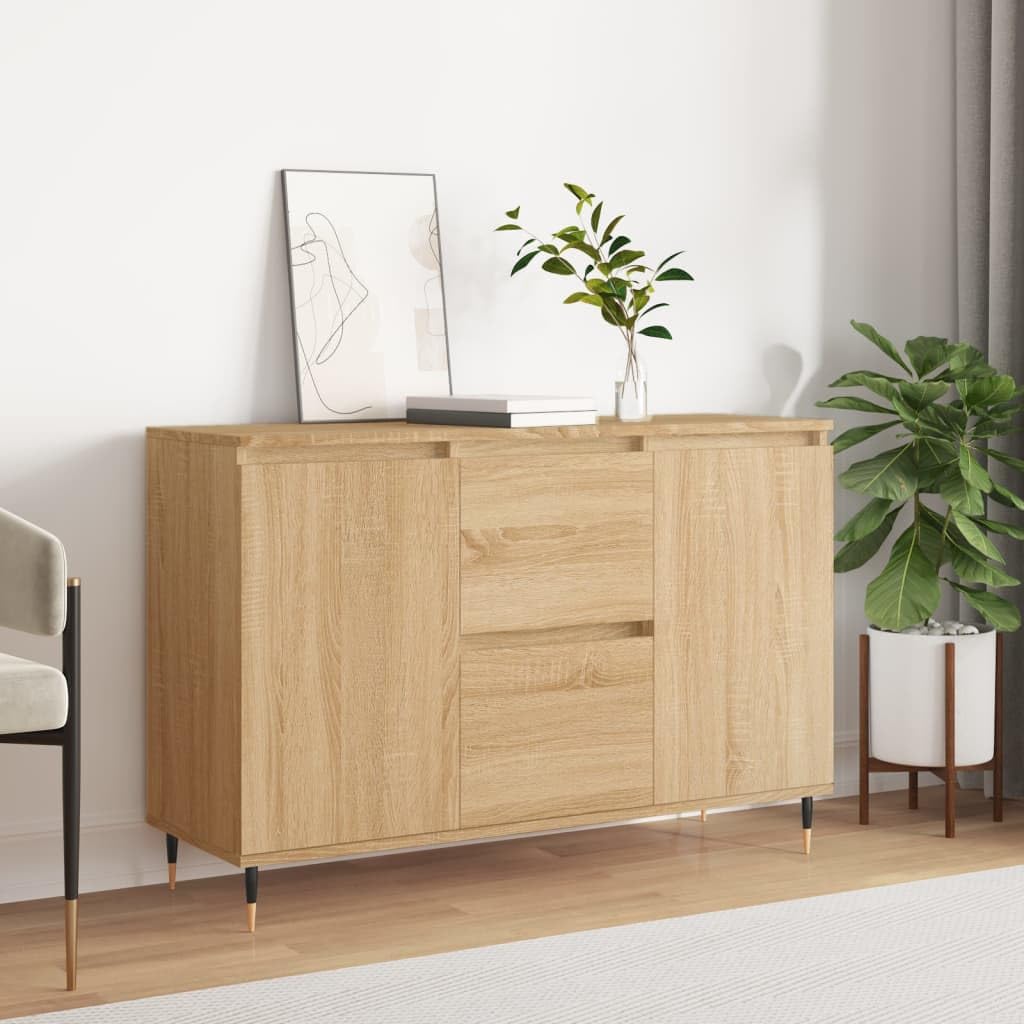
Image: Diagram illustrating the dimensions of the sideboard: 104 cm width, 35 cm depth, and 70 cm height.

Image: Close-up view of one of the sideboard's legs, featuring a black upper section and a copper-finished tip.
Operating Instructions
The Sonoma Oak Sideboard is designed for versatile storage and display. Its durable engineered wood construction ensures stability for various items.
Storage Function:
- Utilize the internal shelves and drawers to organize various household items, dinnerware, or linens.
- Distribute weight evenly across shelves and drawers to maintain stability.
- Avoid overloading drawers to ensure smooth operation and prevent damage to runners.
Display Function:
- The top surface is ideal for displaying decorative items, photo frames, potted plants, or other personal touches.
- Ensure items placed on top are stable and do not overhang excessively.

Image: The sideboard with its two side doors and two central drawers open, revealing the internal storage compartments.
Maintenance
Proper care will extend the life and appearance of your sideboard.
Cleaning:
- Wipe surfaces with a soft, damp cloth.
- Avoid using harsh chemicals, abrasive cleaners, or excessive moisture, as these can damage the engineered wood finish.
- Dry immediately with a clean, dry cloth after wiping.
General Care:
- Protect the surface from direct sunlight and heat sources to prevent fading or warping.
- Use coasters or placemats under hot or wet items to prevent marks.
- Periodically check and tighten any loose screws or fittings.
Troubleshooting
If you encounter any issues with your sideboard, refer to the following common problems and solutions:
Sideboard is Wobbly:
- Solution: Ensure all screws are securely tightened. Check that the sideboard is on a level surface; use shims if necessary.
Drawers Do Not Close Smoothly:
- Solution: Verify that the drawer runners are correctly installed and aligned. Check for any obstructions inside the drawer or on the runners. Ensure the drawer is not overloaded.
Doors Are Misaligned:
- Solution: Adjust the hinges on the doors. Most furniture hinges allow for minor adjustments to align doors vertically, horizontally, and in depth. Refer to the hinge manufacturer's instructions if available.
Specifications
Detailed specifications for the Generic Sonoma Oak Sideboard:
| Feature | Detail |
|---|---|
| Brand | Generic |
| Model | B0DMPHPXSP |
| Color | Sonoma Oak |
| Material | Engineered Wood, Iron |
| Dimensions (W x D x H) | 104 cm x 35 cm x 70 cm |
| Mounting Type | Floor Mount |
| Door Style | Slab |
| Base Type | Legs |
| Assembly Required | Yes |
Image: Diagram illustrating the dimensions of the sideboard: 104 cm width, 35 cm depth, and 70 cm height.
Warranty Information
Specific warranty details for this product are not provided in the available information. Please refer to your purchase documentation or contact the retailer for information regarding warranty coverage and terms.
Customer Support
If you have any questions, require assistance with assembly, or need to report missing/damaged parts, please contact the seller or retailer from whom you purchased this product. Please have your purchase receipt and product model number (B0DMPHPXSP) ready when contacting support.