YUSIWOAL 33569
YUSIWOAL 304 Stainless Steel Pressure Cooker Model 33569 User Manual
Model: 33569
1. Introduction
Thank you for choosing the YUSIWOAL 304 Stainless Steel Pressure Cooker. This manual provides essential information for the safe and efficient operation, maintenance, and care of your new appliance. Please read all instructions carefully before first use and retain this manual for future reference.
Important Safety Information
- Always follow the instructions for safe operation.
- Do not open the pressure cooker until all internal pressure has been released.
- Ensure all safety mechanisms are clean and functioning correctly before each use.
- Keep out of reach of children.
- Use appropriate heat sources as specified in the specifications.
2. Product Overview
The YUSIWOAL 304 Stainless Steel Pressure Cooker is designed for efficient and versatile cooking. It features a high-quality stainless steel construction for durability and easy cleaning, along with a thickened double bottom suitable for various heat sources.
Key Features:
- Material: High-quality 304 stainless steel, rust-proof, corrosion-resistant, and strong.
- Sealing: Designed with a high-quality silicone ring for a secure and healthy seal.
- Handle: Non-slip, insulated handle for safe and comfortable handling.
- Base: Thickened double bottom for efficient heat distribution and energy saving, compatible with gas and induction cooktops.
- Cleaning: Mirror-polished surface and right-angled body design for easy cleaning.

This image displays the complete pressure cooker unit, highlighting its polished stainless steel finish and robust design. The lid features a central knob and safety valves.

This image illustrates the pressure cooker in a kitchen setting, emphasizing its use for preparing meals. A plate of cooked shrimp and vegetables is positioned next to the cooker.
3. Setup and Initial Use
3.1 Unpacking and Inspection
- Carefully remove all packaging materials.
- Inspect the pressure cooker for any signs of damage. Do not use if damaged.
- Ensure all components are present: pot body, lid, sealing ring, pressure regulator, and safety valve.
3.2 Initial Cleaning
- Before first use, wash the pot body and lid thoroughly with warm soapy water.
- Rinse all parts with clean water and dry completely.
- Ensure the sealing ring is properly seated in the lid.

This close-up image focuses on the top of the pressure cooker lid, clearly showing the main pressure regulator knob (black) and the secondary safety valve (silver with a red indicator). Ensure these components are clean and unobstructed before use.
4. Operating Instructions
4.1 Filling the Pressure Cooker
- Add food and liquid to the pot. Do not fill more than two-thirds full for most foods, and no more than half full for foods that expand (e.g., rice, beans).
- Ensure the sealing ring is correctly positioned in the lid.
4.2 Securing the Lid
- Align the lid with the pot body according to the markings (if present).
- Rotate the lid handle clockwise until it locks securely into place. Ensure the lid is fully sealed.

This image shows a hand turning the black central knob on the pressure cooker lid. This knob is used to engage or disengage the lid's locking mechanism, ensuring a tight seal during cooking.
4.3 Cooking Under Pressure
- Place the pressure cooker on a suitable heat source.
- Heat on high until steam begins to escape steadily from the pressure regulator.
- Reduce heat to maintain a steady, gentle release of steam or pressure indicator.
- Cook for the recommended time.
4.4 Releasing Pressure
There are generally two methods for releasing pressure:
- Natural Release: Remove the cooker from heat and allow pressure to dissipate naturally. This is suitable for foods that benefit from continued cooking.
- Quick Release: For faster pressure release, carefully turn the pressure regulator to the vent position or use the quick release valve (if equipped). Caution: Hot steam will be released. Keep hands and face away.
Never attempt to open the lid until all pressure has been released and the safety indicator has dropped.
4.5 Opening the Lid
- Once pressure is fully released, rotate the lid handle counter-clockwise to unlock.
- Carefully lift the lid away from you to avoid steam burns.
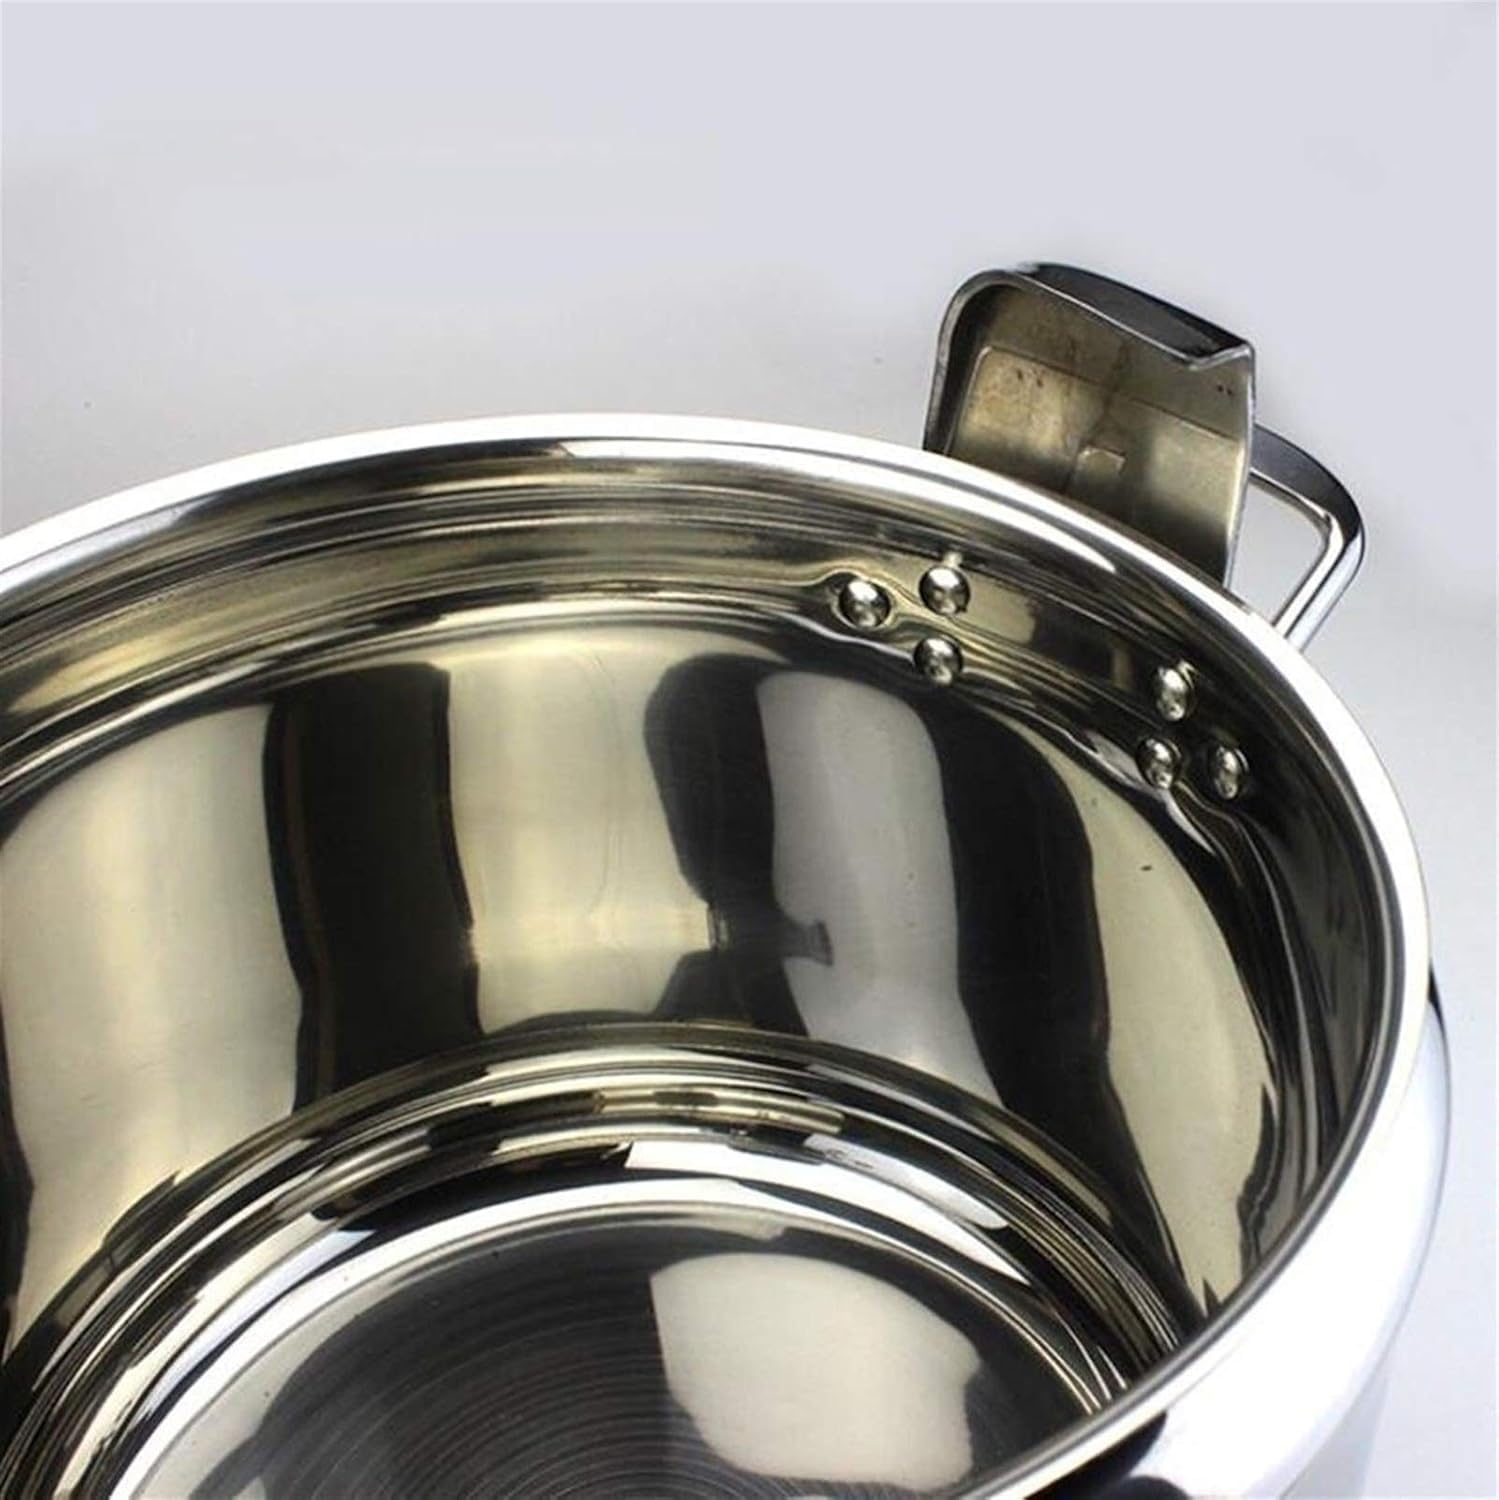
This image shows the clean, polished interior of the pressure cooker pot. The smooth surface and rounded bottom are visible, designed for efficient cooking and easy cleaning.
5. Maintenance and Care
5.1 Cleaning
- After each use, allow the cooker to cool completely.
- Wash the pot body and lid with warm soapy water. For stubborn food residues, soak before cleaning.
- Remove the sealing ring and wash it separately. Ensure it is clean and flexible before reinserting.
- Clean the pressure regulator and safety valve openings to ensure they are free from food particles. Use a small brush if necessary.
- Rinse all parts thoroughly and dry completely to prevent water spots and corrosion.
5.2 Storage
- Store the pressure cooker with the lid inverted or slightly ajar to allow air circulation and prevent odors.
- Store in a dry place.

This image provides a close-up of one of the pressure cooker's side handles, showing its sturdy attachment with rivets. A coin is placed next to it for scale, highlighting the robust construction.
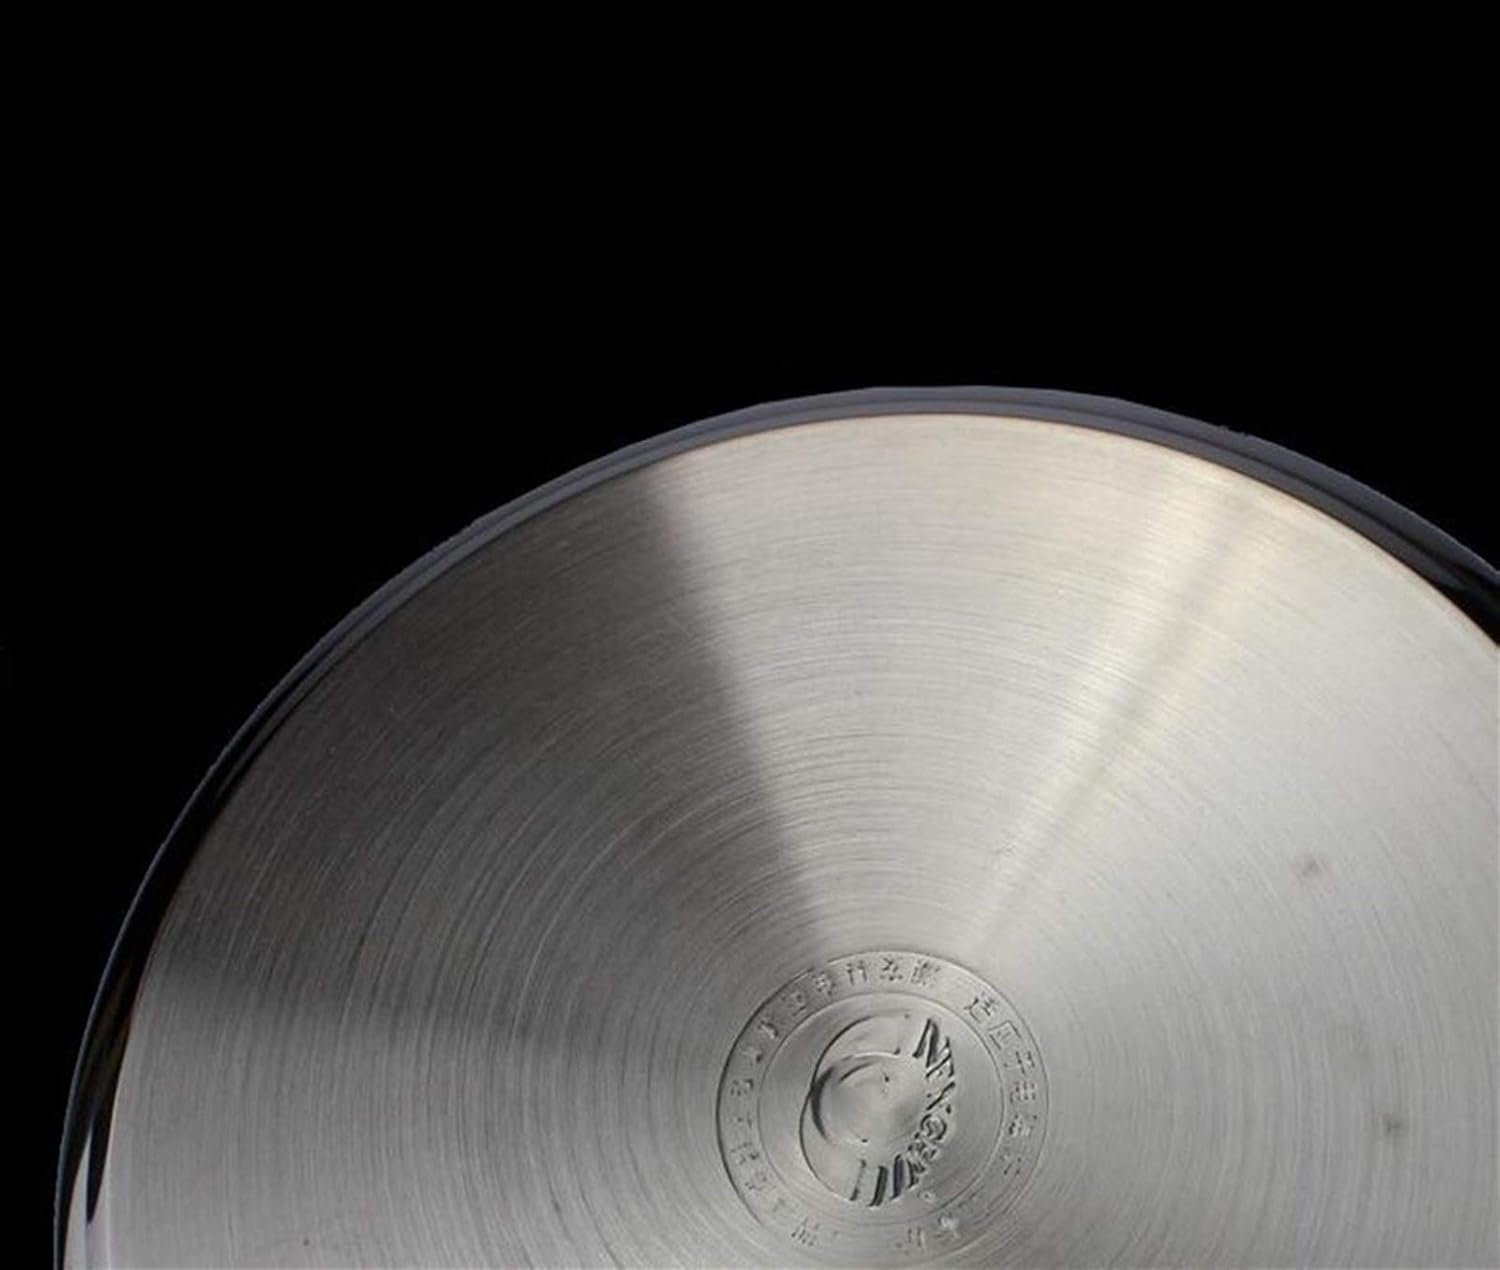
This image shows the underside of the pressure cooker, revealing its thickened double bottom. This design ensures even heat distribution and compatibility with various cooktops, including induction.
6. Troubleshooting
| Problem | Possible Cause | Solution |
|---|---|---|
| Pressure not building | Lid not sealed correctly; insufficient liquid; sealing ring damaged or misplaced. | Ensure lid is locked properly. Add more liquid. Check and reposition/replace sealing ring. |
| Steam leaking from lid edge | Sealing ring dirty, damaged, or improperly seated; lid not closed correctly. | Clean or replace sealing ring. Ensure lid is fully locked. |
| Food not cooking properly | Insufficient cooking time; heat too low; pressure not maintained. | Increase cooking time. Ensure proper heat setting and pressure maintenance. |
| Lid difficult to open after cooking | Residual pressure inside. | Ensure all pressure is released before attempting to open. Do not force the lid. |
7. Specifications
| Feature | Detail |
|---|---|
| Brand | YUSIWOAL |
| Model Number | 33569 |
| Material | 304 Stainless Steel |
| Color | Silver |
| Capacity (Example) | 22 Liters (Various specifications available: 15L, 18L, 22L, 33L) |
| Product Dimensions (Example) | 3"D x 2"W x 1"H (Note: This dimension seems incorrect for a 22L cooker, likely a placeholder from source data. Refer to product packaging for accurate dimensions.) |
| Item Weight | 9.92 pounds (4500 Grams) |
| Compatibility | Gas and Induction Cooktops (Double Bottom) |
| Finish Type | Painted (Note: Product description states mirror-polished stainless steel, this might refer to a specific component or be a general category tag.) |
| Manufacturer | YUSIWOAL |
| Date First Available | November 11, 2024 |
Note: Some specifications like "Capacity" and "Product Dimensions" may vary based on the specific variant purchased. Please refer to your product packaging for precise details. The "Wattage" and "Voltage" specifications (500 watts, 110 Volts) appear to be generic and not applicable to a non-electric pressure cooker.
8. Customer Support
For any questions regarding your YUSIWOAL pressure cooker, please contact our customer support team. We are committed to providing high-quality products and timely after-sales service.
You can typically reach us via the platform where you purchased the product, or through the contact information provided on the product packaging or manufacturer's website.
We aim to respond to inquiries within 12 hours.
Related Documents - 33569
 |
BRIO Railway Catalogue - Explore Wooden Train Sets and Toys Discover the world of BRIO wooden railway toys. Browse the latest catalogue featuring train sets, accessories, and play worlds for children of all ages, from infant to toddler and beyond. |
 |
GE Smart Switch Light Bulb Compatibility Guide Comprehensive compatibility list for GE smart switches, detailing compatible LED light bulb types, product codes, descriptions, and specifications like wattage, lumens, and color temperature. |
 |
Lutron LED Compatibility Tool for Caseta Wireless Dimmers A comprehensive list of LED bulbs compatible with Lutron Caseta Wireless Phase Selectable dimmers (PD-5NE), detailing model numbers, brands, wattage equivalents, and color temperatures to ensure optimal performance. |