1. Introduction
This instruction manual provides essential information for the safe and effective use of your LCWLYOBM PH-8851 Industrial pH Controller Sensor. Please read this manual thoroughly before installation, operation, or maintenance to ensure optimal performance and longevity of the device. This industrial pH controller is designed for continuous monitoring and control of pH levels in various applications.
2. Safety Information
Observe the following safety precautions to prevent injury and damage to the device:
- Always disconnect power before performing any installation, maintenance, or troubleshooting.
- Ensure proper grounding to prevent electrical shock.
- Handle pH electrodes with care. They contain glass and can be fragile.
- Use appropriate personal protective equipment (PPE) when handling calibration solutions or samples.
- Do not expose the controller to extreme temperatures, humidity, or corrosive environments beyond its specified operating conditions.
- Only qualified personnel should perform repairs or service on the device.
3. Product Overview
The LCWLYOBM PH-8851 is an industrial-grade pH controller designed for precise and continuous pH monitoring. It typically consists of a main controller unit and a separate pH electrode sensor.
3.1. Components
- PH-8851 Controller Unit: The main unit with a digital display and control buttons for settings and readings.
- pH Electrode Sensor: Connects to the controller to measure the pH of the solution. Various types are available for different applications (e.g., composite, high-temperature, ORP).
- Power Adapter: For supplying power to the controller.
- Mounting Hardware: For securing the controller.
3.2. Product Images

Image 1: LCWLYOBM PH-8851 Industrial pH Controller with an attached electrode sensor. The controller features a digital display and control buttons.
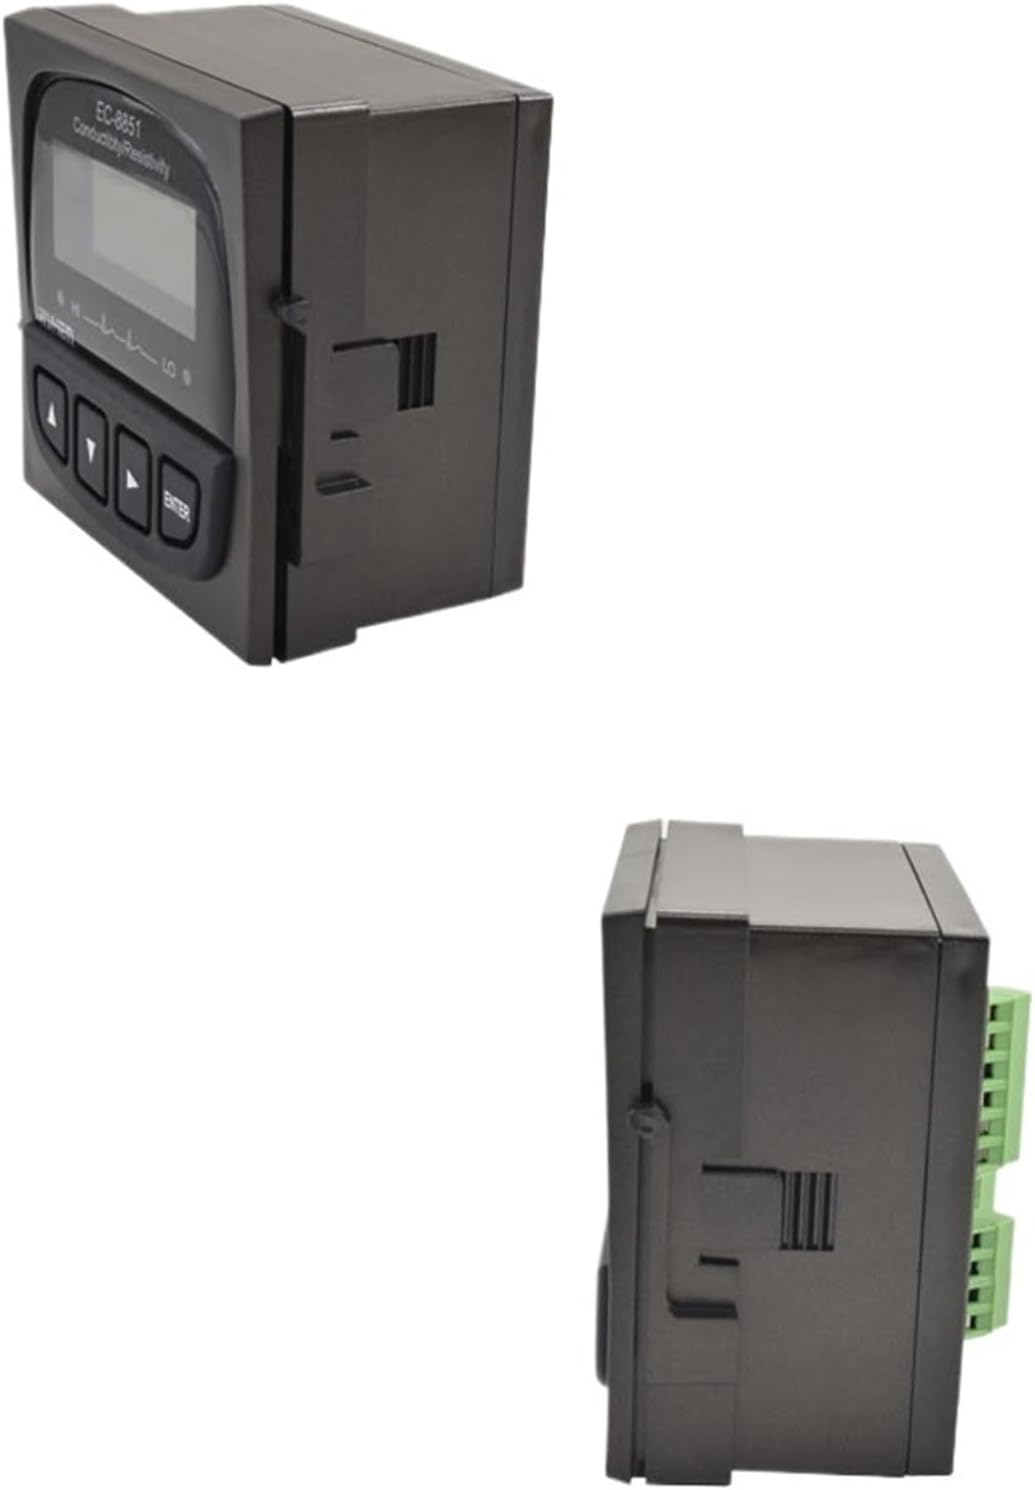
Image 2: Side view of the LCWLYOBM PH-8851 Industrial pH Controller, showing its compact design and connection ports.
4. Setup
4.1. Unpacking and Inspection
Carefully unpack all components. Inspect for any visible damage. If any damage is found, contact your supplier immediately.
4.2. Mounting the Controller
Mount the PH-8851 controller in a location that is easily accessible for viewing and operation, away from direct sunlight, excessive vibration, and extreme temperatures. Use the provided mounting hardware to secure the unit.
4.3. Connecting the Electrode
- Ensure the controller is powered off.
- Carefully remove the protective cap from the pH electrode sensor.
- Connect the electrode cable to the designated input port on the PH-8851 controller. Ensure a secure connection.
- Submerge the electrode into the solution to be measured, ensuring the sensing bulb is fully immersed.
4.4. Power Connection
Connect the power adapter to the controller's power input port, then plug the adapter into a suitable power outlet. The controller will power on and initiate its startup sequence.
5. Operating Instructions
5.1. Initial Power On
Upon powering on, the display will show a startup screen, then transition to the measurement interface, displaying the current pH value and temperature.
5.2. Calibration
Regular calibration is crucial for accurate pH measurements. Calibrate the electrode using standard buffer solutions (e.g., pH 4.01, 7.00, 10.01).
- Prepare fresh buffer solutions.
- Rinse the electrode with distilled water and blot dry.
- Enter calibration mode on the controller (refer to the specific button sequence on your device, typically involving an "ENTER" or "CAL" button).
- Submerge the electrode into the first buffer solution (e.g., pH 7.00). Wait for the reading to stabilize, then confirm.
- Rinse the electrode and submerge it into the second buffer solution (e.g., pH 4.01 or 10.01). Wait for stabilization and confirm.
- Repeat for additional calibration points if necessary.
- Exit calibration mode.
5.3. Reading Measurements
Once calibrated, the controller will continuously display the pH value. The display may also show temperature and other relevant parameters depending on the model configuration.
5.4. Setting Control Parameters (If Applicable)
If your PH-8851 model includes control outputs, you can set high and low pH setpoints. Refer to the on-screen menu or specific button combinations to access and adjust these parameters. The controller will activate relays or outputs when pH levels exceed or fall below these setpoints.
6. Maintenance
6.1. Electrode Cleaning
Regularly clean the pH electrode to remove any buildup that may affect accuracy. Rinse the electrode with distilled water after each use. For stubborn deposits, use a mild cleaning solution specifically designed for pH electrodes, followed by thorough rinsing.
6.2. Electrode Storage
When not in use, store the pH electrode in its protective cap filled with a storage solution (typically 3M KCl solution or pH 4 buffer). Never store the electrode dry or in distilled water, as this can damage the sensing element.
6.3. Controller Care
Wipe the controller's exterior with a soft, damp cloth. Do not use abrasive cleaners or solvents. Ensure all connections are secure and free from corrosion.
7. Troubleshooting
| Problem | Possible Cause | Solution |
|---|---|---|
| Inaccurate pH readings | Electrode needs calibration; dirty electrode; expired buffer solutions; damaged electrode. | Calibrate the electrode; clean the electrode; use fresh buffer solutions; replace the electrode. |
| Unstable readings | Air bubbles on electrode; poor connection; electrical interference; sample instability. | Gently tap electrode to remove bubbles; check connections; ensure proper grounding; allow sample to stabilize. |
| Controller not powering on | No power supply; faulty power adapter; internal fault. | Check power connection and outlet; test power adapter; contact support if problem persists. |
| "Error" message on display | Electrode fault; calibration error; internal system error. | Check electrode connection; re-calibrate; power cycle the device; consult support. |
8. Specifications
| Parameter | Value |
|---|---|
| Model | PH-8851 |
| Brand | LCWLYOBM |
| Package Dimensions | 1.18 x 0.79 x 0.39 inches |
| Item Weight | 1.76 ounces |
| Number of Pieces | 1 (Controller unit) |
| Color (Current Variant) | Type3 (Controller + 5m temperature compensation composite electrode) |
| Manufacturer | LCWLYOBM |
Note: Specifications are subject to change without prior notice. Refer to the product packaging or manufacturer's website for the most current information.
9. Warranty and Support
LCWLYOBM products are designed for reliability and performance. For warranty information, technical support, or service inquiries, please refer to the warranty card included with your product or visit the official LCWLYOBM website. Keep your purchase receipt as proof of purchase for warranty claims.
For specific product support, you may need to provide the model number (PH-8851) and purchase date.