
1. Introduction
This manual provides detailed instructions for the installation, operation, and maintenance of your Jingelsye 8Core 64G 9 Inch Android 13 Car Radio Stereo. Please read this manual thoroughly before using the product to ensure proper functionality and safety. Keep this manual for future reference.
2. Safety Information
- Always operate the vehicle safely. Distracted driving can lead to accidents.
- Do not attempt to install or repair the unit yourself if you are not qualified. Refer to a professional for installation.
- Ensure all wiring is correctly connected to prevent short circuits or damage to the vehicle's electrical system.
- Keep the volume at a safe level to remain aware of road conditions and traffic.
- Avoid exposing the unit to extreme temperatures, direct sunlight for prolonged periods, or excessive moisture.
3. Package Contents
Verify that all items listed below are included in your package:

Figure 3.1: Product List
- Car Radio Stereo Head Unit
- RCA Cable
- Power Cable
- 4G Antenna (if applicable to your configuration)
- Crowbar (for panel removal)
- MIC (Microphone)
- Reversing Line
- GPS Module
- 2*USB Cables (4-pin and 6-pin)
- CANBUS Box
- Original USB Adapter
- AHD 1080P Rear View Camera
4. Setup & Installation
Professional installation is recommended for this product. Ensure the vehicle's power is disconnected before beginning installation.
4.1. Pre-Installation Overview

Figure 4.1: Before and After Installation
This image illustrates the visual transformation of your Toyota Tacoma's dashboard after the car stereo installation.
4.2. Wiring Connections
Follow the steps below to connect the necessary cables to the head unit. Refer to the wiring video for a visual guide.
Video 4.1: Jingelsye Wiring Instructions
This video provides a detailed guide on connecting all components to the car stereo head unit.
- Power Cable: Connect the main power cable harness to the corresponding port on the head unit. Ensure a secure fit.
- CANBUS Box: If your vehicle requires a CANBUS decoder, connect the CANBUS box to the power cable harness and then to the head unit using the 8-pin connector.
- RCA Cable: Connect the 20-pin RCA cable harness for audio/video inputs and outputs. This includes connections for external amplifiers, subwoofers, and auxiliary devices.
- 3.5mm Microphone: Plug the external microphone into its designated port for improved call quality.
- USB Cables: Connect both the 4-pin and 6-pin USB cables to their respective ports on the head unit. These are used for USB drives, phone charging, and wired CarPlay/Android Auto connections.
- GPS Antenna: Connect the GPS antenna to the GPS port on the head unit. Position the antenna in a location with a clear view of the sky for optimal signal reception.
- Rear Camera Signal Wire: Connect the 10-pin rear camera signal wire to the head unit. This will enable the backup camera functionality.
- Radio Antenna: Connect the vehicle's radio antenna to the head unit's antenna input.
5. Operating Instructions
5.1. Power On/Off
To power on the unit, start your vehicle. The unit will automatically power on. To power off, turn off your vehicle's ignition.
5.2. Touchscreen Interface
The unit features a responsive 9-inch 1280x800 HD touchscreen. Navigate through menus and applications by tapping, swiping, and pinching gestures.
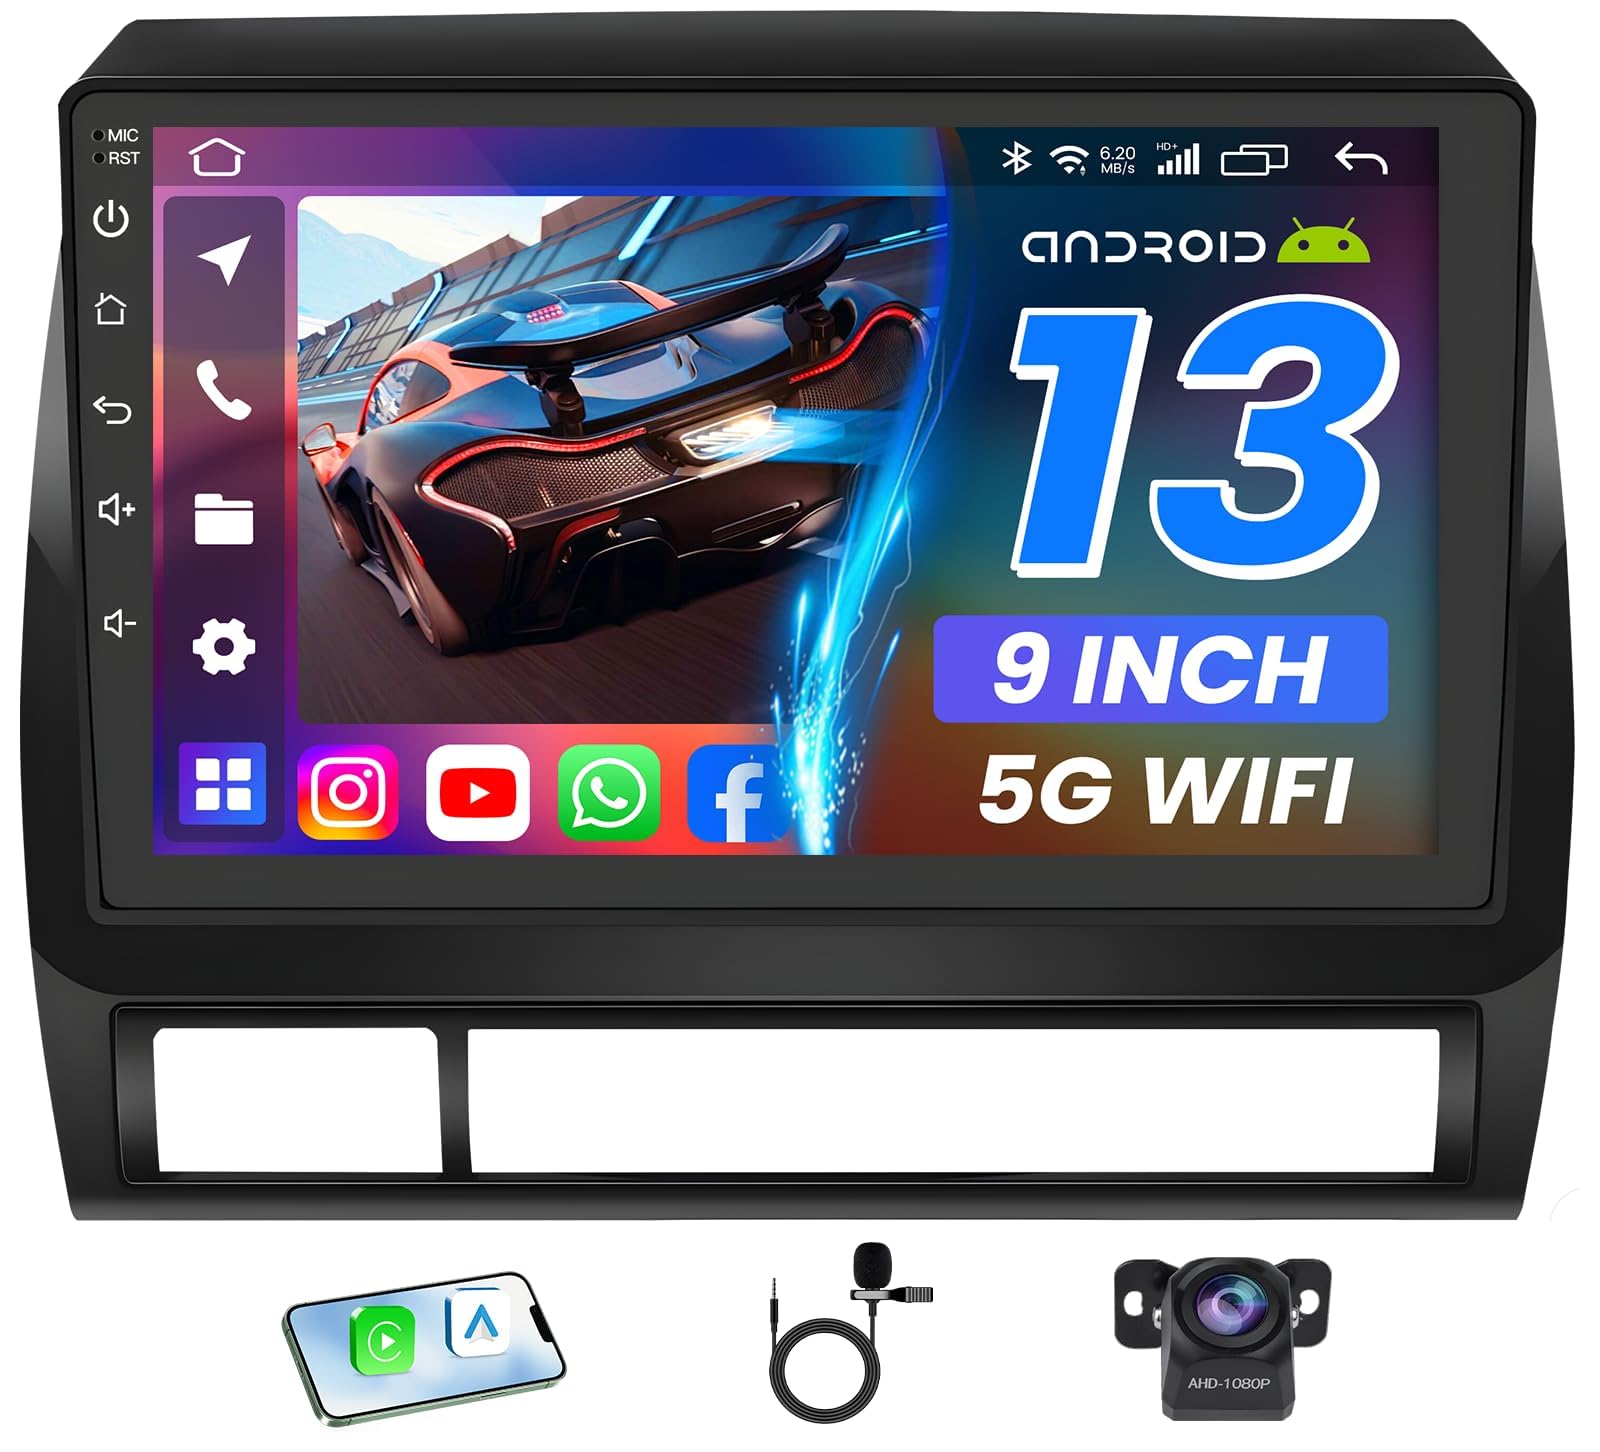
Figure 5.1: Main Touchscreen Interface
This image provides an overview of the main touchscreen interface with various application icons and widgets for quick access.
5.3. Wireless CarPlay & Android Auto
Connect your smartphone wirelessly to access navigation, music, calls, and messages directly on the stereo display.

Figure 5.2: Wireless CarPlay & Android Auto
This image illustrates wireless CarPlay and Android Auto functionality, mirroring phone content to the stereo display.
Video 5.1: CarPlay and Android Auto Demonstration
This video demonstrates the seamless connectivity and user interface of wireless CarPlay and Android Auto.
5.4. Bluetooth 5.0
Pair your mobile phone via Bluetooth for hands-free calling and audio streaming. Access your phonebook and call history directly from the stereo.

Figure 5.3: Bluetooth Interface
This image shows the Bluetooth connectivity interface for hands-free calls and music streaming.
5.5. GPS Navigation
The unit includes a built-in GPS module supporting both online and offline navigation applications. Connect to Wi-Fi to download and update maps.

Figure 5.4: GPS Navigation
This image displays the GPS navigation interface with map data and search options.
5.6. FM/RDS Radio
Enjoy your favorite radio stations with the built-in FM/RDS tuner. The unit supports audiophile-grade lossless sound quality and 18 preset stations.
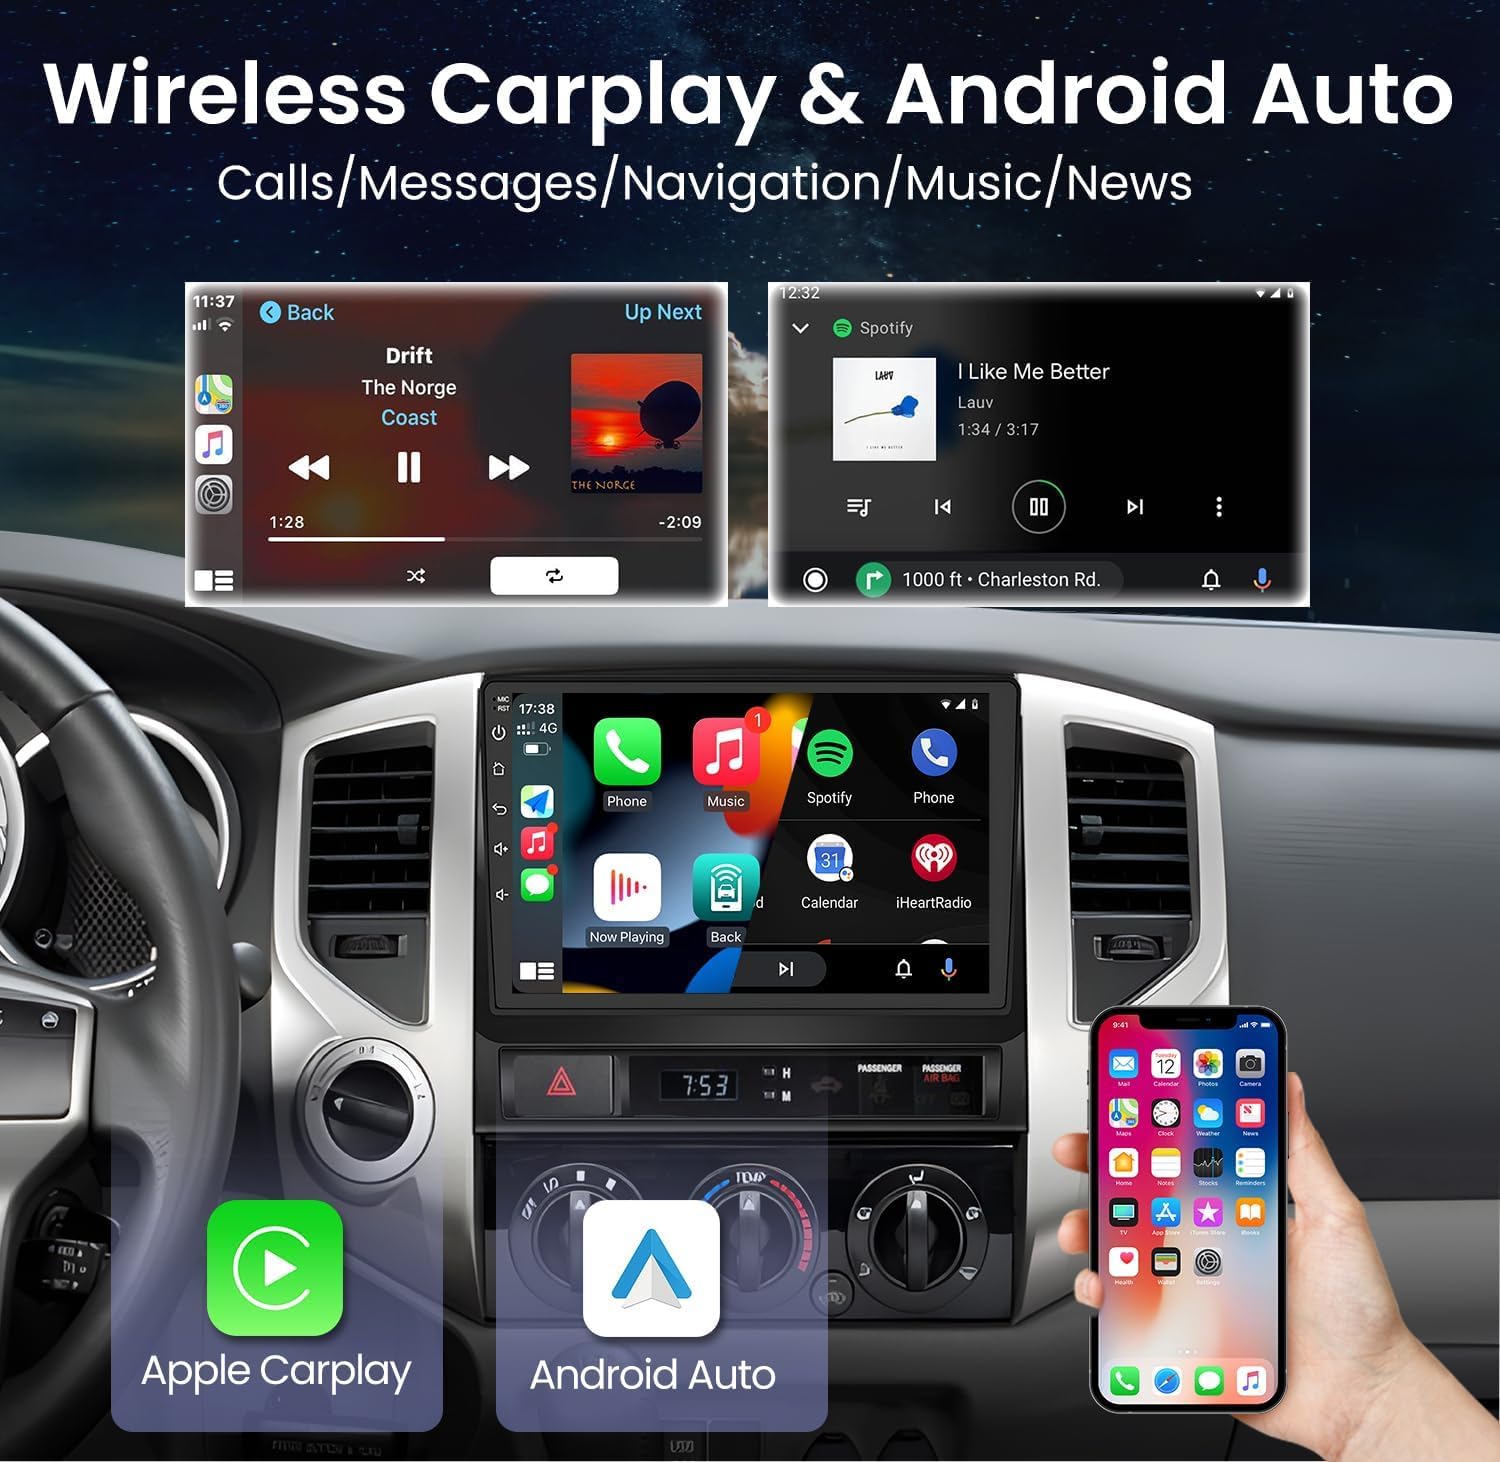
Figure 5.5: FM Radio Interface
This image illustrates the FM radio interface with frequency tuning and preset station options.
5.7. Steering Wheel Control (SWC)
Utilize your vehicle's existing steering wheel controls to manage the stereo functions without taking your hands off the wheel. This feature enhances driving safety and convenience.

Figure 5.6: Steering Wheel Controls
This image shows the steering wheel control interface for managing stereo functions.
5.8. DSP Sound Settings
Customize your audio experience with the Digital Sound Processor (DSP). Adjust equalizer settings, sound field, stereo sound enhancement, and bass levels for optimal sound quality.

Figure 5.7: DSP Sound Settings
This image displays detailed DSP sound settings for audio customization, including equalizer and sound field adjustments.
5.9. UI Theme Customization
Personalize the look and feel of your stereo's interface by selecting different UI themes from the settings menu.
Video 5.2: UI Theme Replacement
This video demonstrates how to change the user interface theme on the car stereo.
5.10. WiFi Connection
Connect to a Wi-Fi network to access online features, download applications, and update maps.

Figure 5.8: WiFi Function
This image shows the WiFi connection interface for accessing online features and applications.
5.11. Backup Camera
The included AHD 1080P rear view camera provides clear night vision and waterproof design, automatically displaying the reverse image when shifting into reverse gear.

Figure 5.9: 1080P Backup Camera
This image provides a view of the backup camera display with parking guidelines.
5.12. Language Settings
To change the system language, navigate to the 'Settings' menu, then 'General', and select 'Language Settings'. Choose your preferred language from the available options.
6. Troubleshooting
If you encounter any issues with your car stereo, please refer to the following common troubleshooting steps:
- No Power: Check all power connections. Ensure the vehicle's ignition is on. Verify fuses are intact.
- No Sound: Check speaker connections. Verify volume levels and mute settings. Ensure audio output settings are correct.
- Touchscreen Unresponsive: Try restarting the unit. If the issue persists, a factory reset might be necessary (note: this will erase all user data).
- GPS Signal Loss: Ensure the GPS antenna is properly connected and positioned with a clear view of the sky.
- Bluetooth Connectivity Issues: Ensure Bluetooth is enabled on both the stereo and your device. Try unpairing and re-pairing the device.
- CarPlay/Android Auto Not Connecting: Verify your phone's settings for CarPlay/Android Auto. Ensure a stable USB or Wi-Fi connection.
For persistent issues, contact customer support for assistance.
7. Specifications
| Feature | Specification |
|---|---|
| Brand | Jingelsye |
| Vehicle Service Type | Car, Truck |
| Screen Size | 9 Inches |
| Special Feature | Bluetooth, Touchscreen, Waterproof |
| Connectivity Technology | Bluetooth, USB, Wi-Fi |
| Map Type | Worldwide |
| Audio Output Mode | Stereo |
| Operating System | Android, Windows, iOS (Compatibility) |
| Memory Storage Capacity | 64 GB (as per title, JSON spec says 32GB, using title for consistency) |
| Touch Screen Type | Capacitive |
| Display Type | LCD |
| Human-Interface Input | Touchscreen |
| Compatible Devices | Smartphone |
| Control Method | Touch, Voice |
| Supported Satellite Navigation System | GPS |
| UPC | 797387432288 |
| ASIN | B0DMJY5D61 |
8. Maintenance
- Cleaning the Screen: Use a soft, lint-free cloth to gently wipe the touchscreen. For stubborn smudges, slightly dampen the cloth with water or a screen-safe cleaner. Avoid harsh chemicals.
- Software Updates: Periodically check for software updates through the unit's settings menu or the manufacturer's website to ensure optimal performance and access to new features.
- General Care: Keep the unit free from dust and debris. Avoid placing heavy objects on the unit or exposing it to extreme temperatures.
9. Warranty and Support
This product comes with a manufacturer's warranty. Please refer to the warranty card included in your package or visit the official Jingelsye website for detailed warranty terms and conditions.
For technical support, troubleshooting assistance, or any questions regarding your product, please contact Jingelsye customer service through their official channels. Good communication will help resolve any issues efficiently.