1. Product Overview
The MISONDA DAB-004 is a Digital Audio Broadcast (DAB/DAB+) USB receiver designed to integrate with Android car navigation systems. It allows users to receive high-quality digital radio broadcasts in their vehicle, enhancing the in-car entertainment experience. This device comes with a dedicated DAB+ antenna for optimal signal reception.

Image 1.1: MISONDA DAB-004 DAB+ USB Receiver. This image shows the compact black receiver unit with "DAB+" branding and a connection port.
2. Package Contents
Please verify that all items listed below are present in your package:
- MISONDA DAB-004 DAB+ USB Receiver
- DAB+ Antenna with SMB connector
- USB Cable
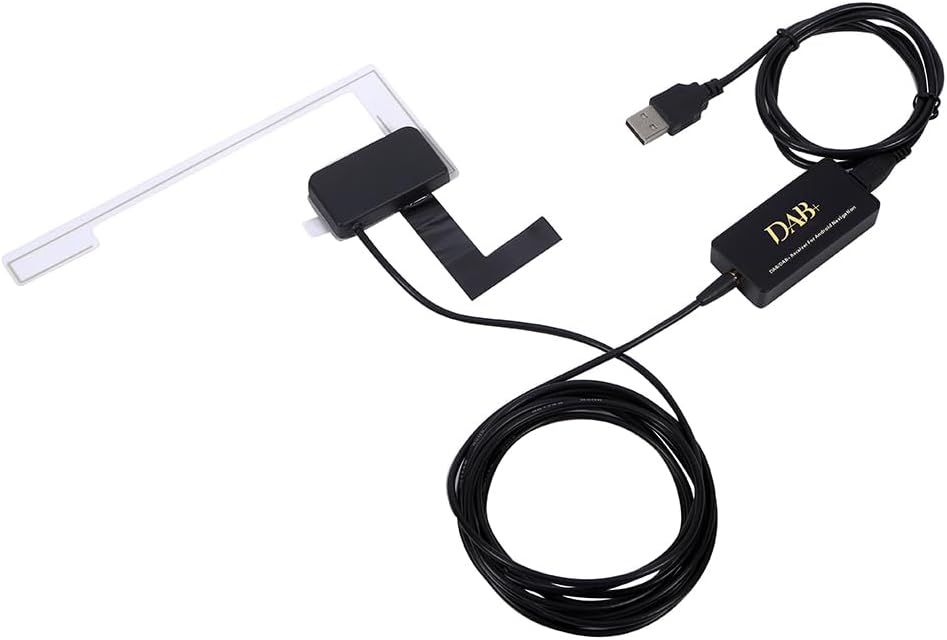
Image 2.1: Package contents including the DAB+ receiver, antenna, and USB cable.
3. Setup and Installation
Follow these steps to properly install your MISONDA DAB-004 receiver and antenna.
3.1. DAB Box Installation
The DAB+ receiver unit is compact and connects via USB. Ensure your Android navigation system has a compatible USB port.
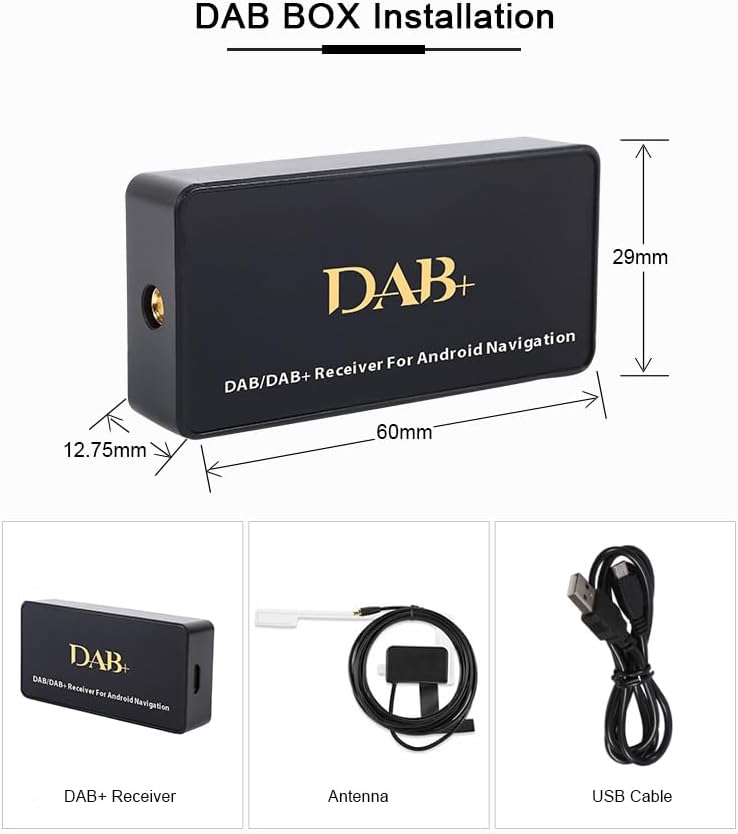
Image 3.1: Diagram showing the dimensions of the DAB+ receiver (60mm x 29mm x 12.75mm) and its components: receiver, antenna, and USB cable.
3.2. DAB Antenna Installation
Proper antenna placement is crucial for optimal DAB/DAB+ signal reception. It is recommended to install the antenna on the windshield or a side window.
- Disassemble the plastic border of the right window: Carefully remove the plastic trim around the window where you intend to install the antenna.
- Remove protective paper from the black film and transparent film on the antenna: Peel off the backing from both the adhesive black film and the transparent film on the antenna.
- Stick the black film on the metal frame and transparent film on the glass: Adhere the black film part of the antenna to the vehicle's metal frame and the transparent film part to the window glass. Ensure to leave space for re-installing the plastic border.
- Tighten the black film and transparent film, and fix the cable securely: Press firmly on both films to ensure a strong adhesion. Route and secure the antenna cable to prevent interference or damage.
- Put the plastic border back: Carefully re-install the plastic trim around the window. Exercise caution to avoid breaking the plastic.

Image 3.2: Visual guide for installing the DAB antenna on a car window, showing steps from disassembling trim to securing the antenna and cable.
4. Operating Instructions
Once the DAB+ receiver and antenna are installed, connect the USB receiver to your Android car navigation system. The system should detect the device. You may need to install a compatible DAB+ application on your Android navigation unit to scan for and play digital radio stations. Refer to your Android navigation system's manual for details on installing and managing external USB devices and applications.
- Connect: Plug the MISONDA DAB-004 USB receiver into an available USB port on your Android navigation system.
- Software: Open the DAB+ application on your Android navigation system. If not pre-installed, you may need to download one from your system's app store or a trusted source.
- Scan: Within the DAB+ application, initiate a scan for available digital radio stations.
- Select: Choose your desired DAB/DAB+ station from the list.
5. Maintenance
To ensure the longevity and optimal performance of your MISONDA DAB-004 receiver:
- Keep the device and antenna clean and free from dust and debris. Use a soft, dry cloth for cleaning.
- Avoid exposing the device to extreme temperatures, direct sunlight for prolonged periods, or excessive moisture.
- Ensure all cable connections are secure.
- Do not attempt to open or repair the device yourself, as this may void any potential warranty and cause damage.
6. Troubleshooting
If you encounter issues with your MISONDA DAB-004, consider the following:
- No Signal/Poor Reception:
- Check antenna connection: Ensure the DAB+ antenna is securely connected to the receiver.
- Antenna placement: Verify the antenna is correctly installed on the window and not obstructed. Try repositioning if possible.
- Rescan channels: Perform a new channel scan within your DAB+ application.
- Location: DAB/DAB+ signal strength can vary by geographical location. Move to an area with known good reception.
- Device Not Recognized by Android System:
- USB connection: Ensure the USB cable is firmly connected to both the receiver and the Android navigation system.
- USB port: Try a different USB port on your Android system, if available.
- Restart system: Restart your Android navigation system.
- Software: Ensure you have a compatible DAB+ application installed and updated on your Android system.
- No Audio:
- Volume: Check the volume levels on both your Android system and the DAB+ application.
- Application settings: Verify audio output settings within the DAB+ application.
7. Specifications
| Brand | MISONDA |
| Model Number | DAB-004 |
| Special Features | DAB/DAB+ Digital Audio Broadcast |
| Compatible Devices | Android Car Navigation Systems, Tablet, Laptop (with compatible software) |
| Connector Type | USB Type B |
| Antenna Connector | SMB |
| Number of Ports | 1 (USB) |
| Power Source | USB Powered |
| Country of Origin | China |
8. Warranty and Support
Specific warranty information for the MISONDA DAB-004 is not provided in the product details. For warranty claims or technical support, please refer to the retailer or manufacturer's official website where the product was purchased. Keep your proof of purchase for any warranty-related inquiries.