ZLPOWER B0DMCPKWHD
ZLPOWER Photo Booth Instruction Manual
Model: B0DMCPKWHD
1. Introduction
This instruction manual provides comprehensive guidance for the setup, operation, and maintenance of your ZLPOWER Photo Booth. This versatile unit is designed for dual use, supporting both iPad devices (10.2", 10.9", 11", 12.9") and DSLR cameras (Canon/Nikon/Sony), making it ideal for various events and professional applications. It features an RGB ring light with music sync capabilities, APP control, and a robust flight case for portability and protection.
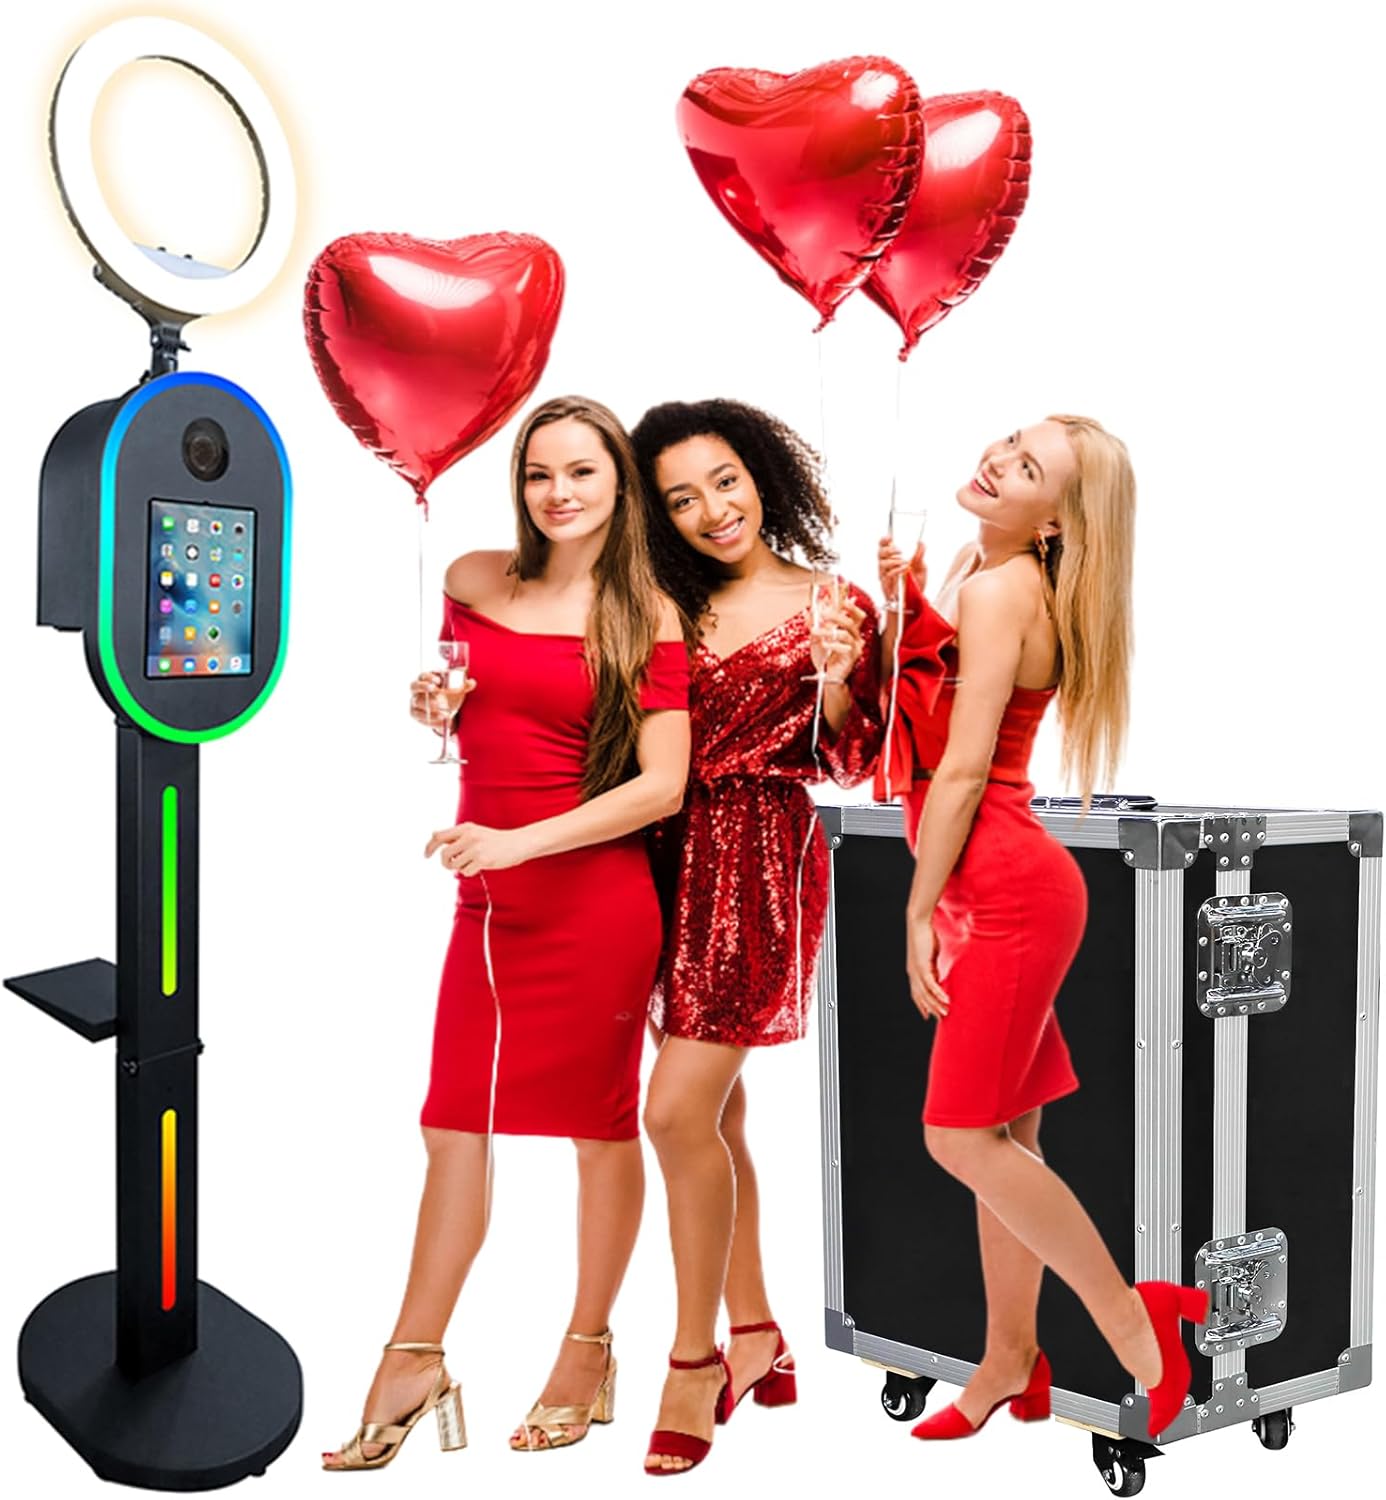
Image 1.1: The ZLPOWER Photo Booth, showcasing its sleek design and included flight case, ready for events.
2. Safety Information
- Ensure all connections are secure before operation.
- Do not expose the unit to water or excessive moisture.
- Use only the provided power adapter and cables.
- Keep out of reach of children to prevent accidental damage or injury.
- Avoid blocking ventilation openings to prevent overheating.
- In case of malfunction, disconnect power immediately and contact customer support.
3. Package Contents
Verify that all components are present and in good condition upon unboxing.
- Photo Booth Head Unit (with iPad/Camera panel)
- Support Rods (2 sections)
- Base Plate
- Printer Stand
- 18-inch RGB Ring Light
- Wireless Remote Control
- Accessory Bag (screws, wrenches, power cables)
- Flight Case (for Flight Case Black model)

Image 3.1: Detailed view of the photo booth components and their functions.
4. Setup Instructions
Follow these steps to assemble your ZLPOWER Photo Booth. For a visual guide, please refer to the installation video below.
4.1. Support Rod Assembly
- Select the two support rods. Align the upper and lower interfaces.
- Ensure the hinge is flat and secure it using the provided 4*M5 flat head Phillips screws. Lock the screws firmly.
4.2. Printer Bracket Installation
- Select the printer mount.
- Align the hole position on the support rod.
- Use 2*M6 hexagonal screws and wrenches to secure the printer mount. Note the orientation of the printer mount.
4.3. Base Mounting
- Select the base plate.
- Insert the support rod into the base. The base is non-directional, so you can position it as needed.
- Lock the bottom four screws first using the 8*M6 hex socket screws and spacers.
- Then, lock the top two screws.
- Finally, lock the remaining bottom screws. Use a hex wrench to ensure all screws are securely tightened.
- Install the side support screw for additional stability. Align the holes and lock.
4.4. Head Mounting and Wiring
- Place the assembled support horizontally on the floor.
- Open the back cover of the support rod. Connect the support rod to the ambient light circuit.
- Thread the power cable through the center hole of the head unit.
- Connect the ambient light cable to the power cord inside the head unit. Note the interface direction for proper connection.
- Thread the head atmosphere lamp cord through the top of the support rod.
- Lock the back cover of the support rod.
- Mount the head unit onto the support rod. Use 4*M6 hex socket screws and spacers to secure it. Ensure hexagonal screw locking.
- Connect the 18-inch fill light to the top of the head unit. Align with the hole and rotate to secure. Plug in the power cable connector for the fill light.
4.5. iPad and DSLR Camera Installation
- Open the back cover of the head unit.
- Remove the iPad bar hand screw.
- Carefully insert your iPad (10.2", 10.9", 11", 12.9") into the panel. Note the direction you put it in. Lock the batten to secure the iPad.
- To install a DSLR camera, choose the right DSLR camera (Canon/Nikon/Sony). Place it on the support rod inside the head unit.
- Use the camera screws to lock it in place. The camera needs to be attached to the glass. Ensure the glass is closed to avoid blurring dark corners.
- The camera angle can be adjusted by loosening the screw. Landscape and portrait photography are available.
Video 4.1: ZLPOWER Photo Booth Installation Guide. This video provides a step-by-step visual demonstration of the assembly process for the photo booth, including mounting the support rods, base, printer bracket, head unit, and connecting the internal wiring.

Image 4.1: Diagram illustrating iPad compatibility and camera lens support.
5. Operating Instructions
The ZLPOWER Photo Booth offers various functionalities for capturing and sharing memorable moments.
5.1. Light Control (RGB Ring Light)
- The RGB ring light can be controlled via the included wireless remote or a dedicated mobile APP (BanlanX).
- Adjust color, brightness, and choose from various lighting modes (Super model, Running light mode, Breathing pattern, Segmented mode, Dazzle color pattern, Rainbow pattern).
- The lighting effect can be synchronized with music, enhancing the party atmosphere.

Image 5.1: Wireless remote control and various RGB lighting modes for the ring light.

Image 5.2: The photo booth's lighting effects can be controlled via a mobile app and synchronized with music.
5.2. Photo/Video Capture and Sharing
- The photo booth supports various booth software for both iPad and DSLR camera modes.
- Capture photos and videos directly from the iPad interface or through a connected DSLR camera.
- Edit photos and videos directly on the iPad for perfection.
- Easily share captured content on popular social media platforms (Instagram, Facebook, YouTube, TikTok, etc.) via Bluetooth or internal platform sharing.
- Connect an external printer (not included) to print photos instantly.

Image 5.3: The photo booth allows for instant sharing of photos and videos to social media and supports external printer connection.
Video 5.1: ZLPOWER Photo Booth Demonstration. This video showcases the photo booth in action, demonstrating its features such as adjustable ambient light modes, iPad-only functionality, DSLR camera integration, support for various special effects, and easy sharing to social media platforms.
6. Maintenance
- Cleaning: Use a soft, dry cloth to clean the exterior surfaces. For stubborn marks, a slightly damp cloth with mild soap can be used, followed by drying. Avoid abrasive cleaners or solvents.
- Storage: When not in use, store the photo booth in its flight case in a cool, dry place to protect it from dust and physical damage.
- Cable Management: Periodically check all cables for wear and tear. Ensure they are neatly organized to prevent tangling and damage.
7. Troubleshooting
| Issue | Possible Cause | Solution |
|---|---|---|
| Unit does not power on. | Power cable disconnected, power outlet issue. | Check all power connections. Try a different power outlet. |
| RGB lights not working. | Loose connection, remote battery dead, APP not connected. | Verify ambient light circuit connection. Replace remote battery. Ensure APP is properly connected via Bluetooth. |
| iPad/Camera not recognized. | Incorrect installation, software issue. | Ensure iPad/camera is correctly seated and secured. Restart the iPad/camera and the photo booth. Check software settings. |
| Cannot share photos/videos. | No internet connection, incorrect sharing settings. | Verify Wi-Fi or Bluetooth connection. Check sharing permissions in the photo booth software. |
8. Specifications
- Brand: ZLPOWER
- Model: B0DMCPKWHD
- Compatible iPad Sizes: 10.2", 10.9", 11", 12.9"
- Compatible Cameras: Canon, Nikon, Sony DSLR cameras
- Lighting: RGB Ring Light with APP/Remote Control, Music Sync
- Power Interface: Supports 100-240V wide voltage
- Connectivity: Bluetooth, Wireless
- Item Weight: 80.8 pounds
- Package Dimensions: 26.75 x 21 x 16.75 inches
9. Warranty and Support
Your ZLPOWER Photo Booth comes with a standard manufacturer's warranty. For specific warranty terms and conditions, please refer to the documentation included with your purchase or contact ZLPOWER customer support.
For technical assistance, troubleshooting, or any inquiries regarding your product, please visit the ZLPOWER Store on Amazon or contact their customer service directly.
Ask a question about this manual
Ask about setup, troubleshooting, compatibility, parts, safety, or missing instructions. Manuals+ will review the question and use this page’s manual context to help answer it.